Hello everyone.
Today's post is about how the baking soda blasting with a Karcher I've been trying for a while finally worked reasonably well.
I hope it's useful.
Results of baking soda blasting with a Karcher
Let's go straight to the results!
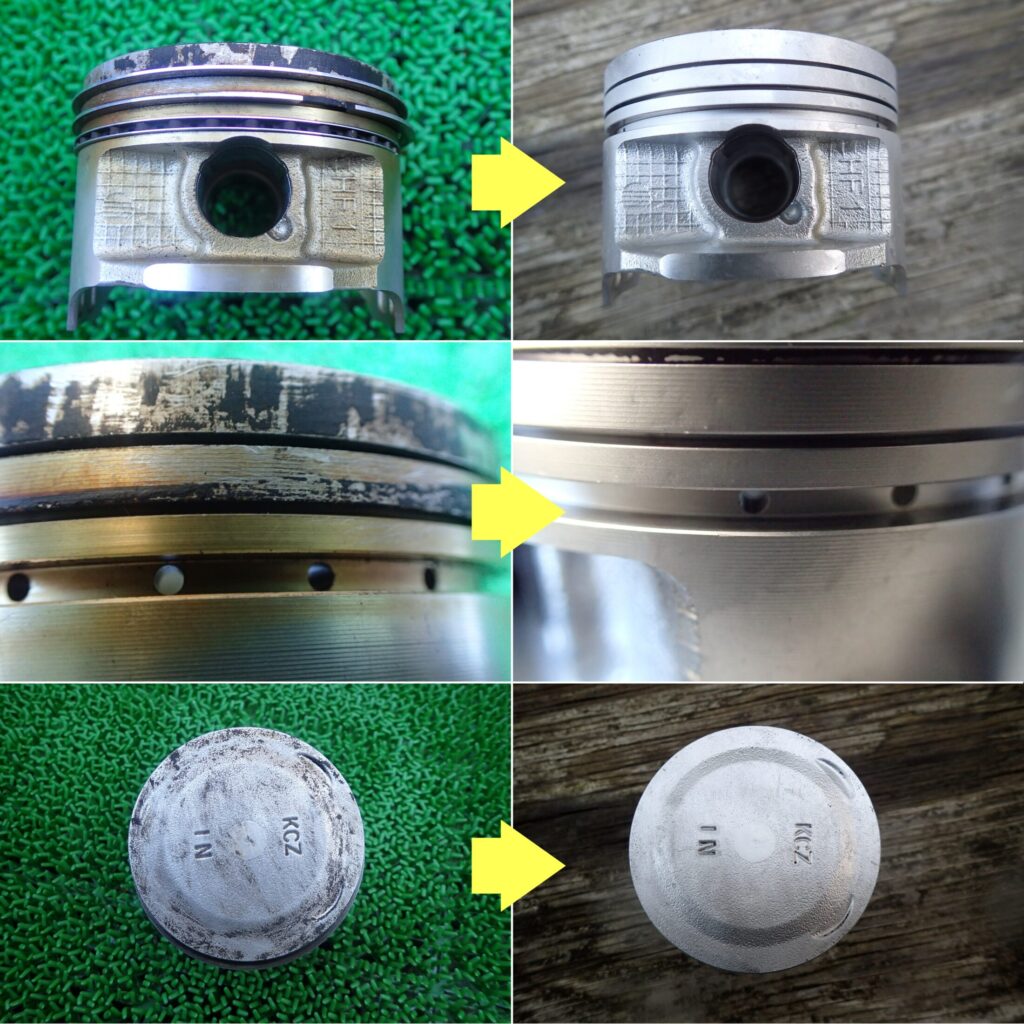
All the trial and error paid off!
As in the photo above, I was able to clean the carbon off my Honda XR250's pistons!!
What I changed
This time I'd call it pretty much a success, so here's what I changed from before.
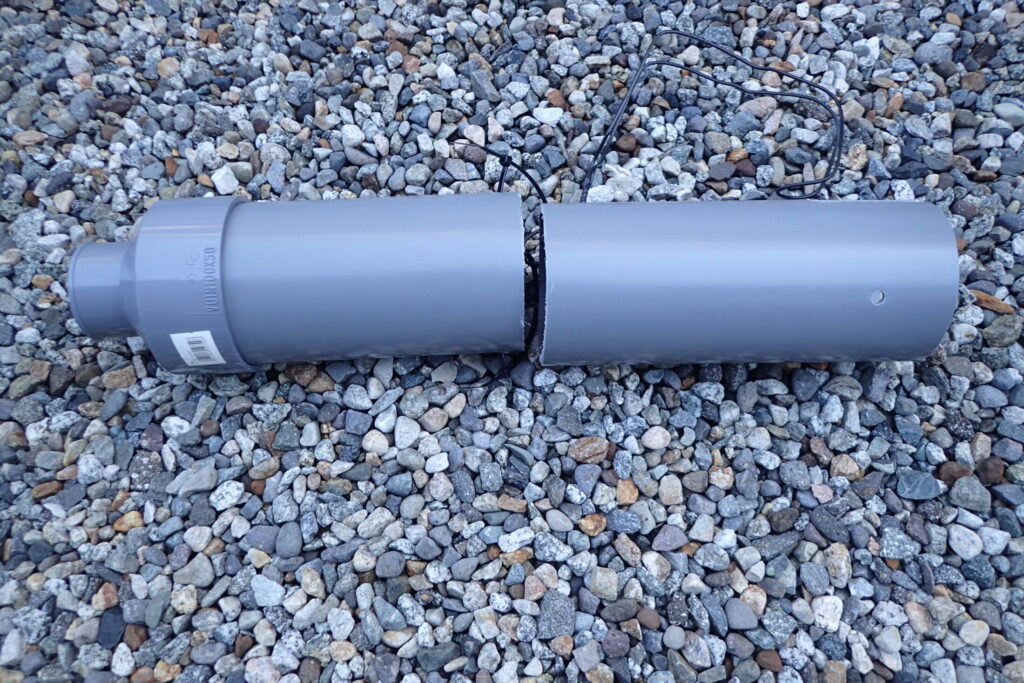
First, the PVC pipe that holds the baking soda was too long, so I cut it to about half.
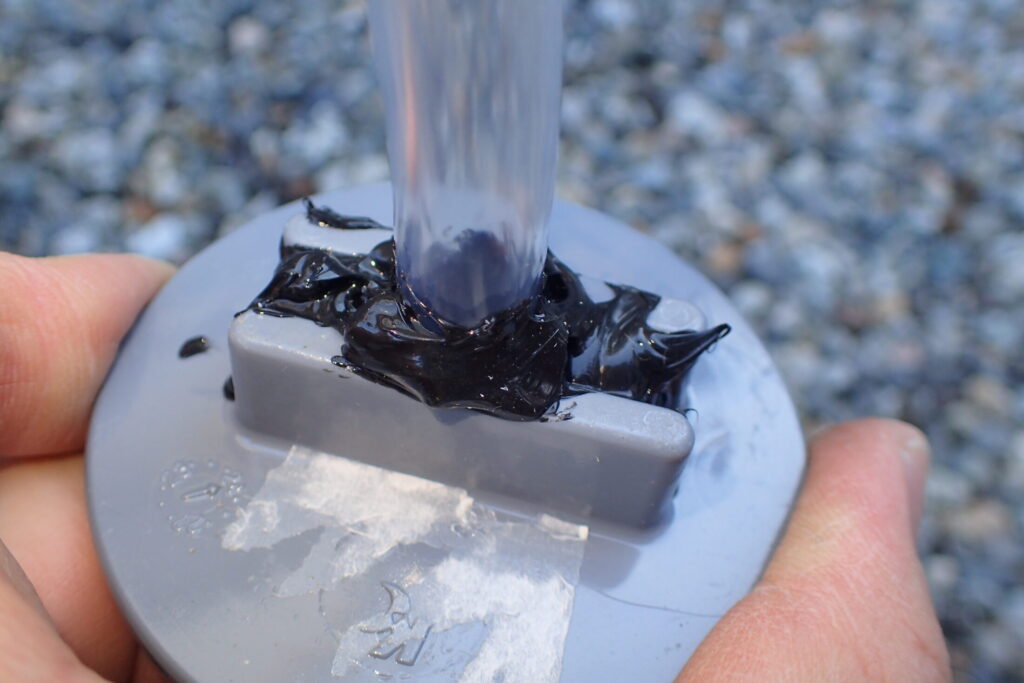
Also, there was a gap at the joint between the clear pipe that connects to the Karcher and the PVC pipe, so I filled it with caulk. If there's a gap here, air gets sucked in, the vacuum weakens and it won't draw up the baking soda.
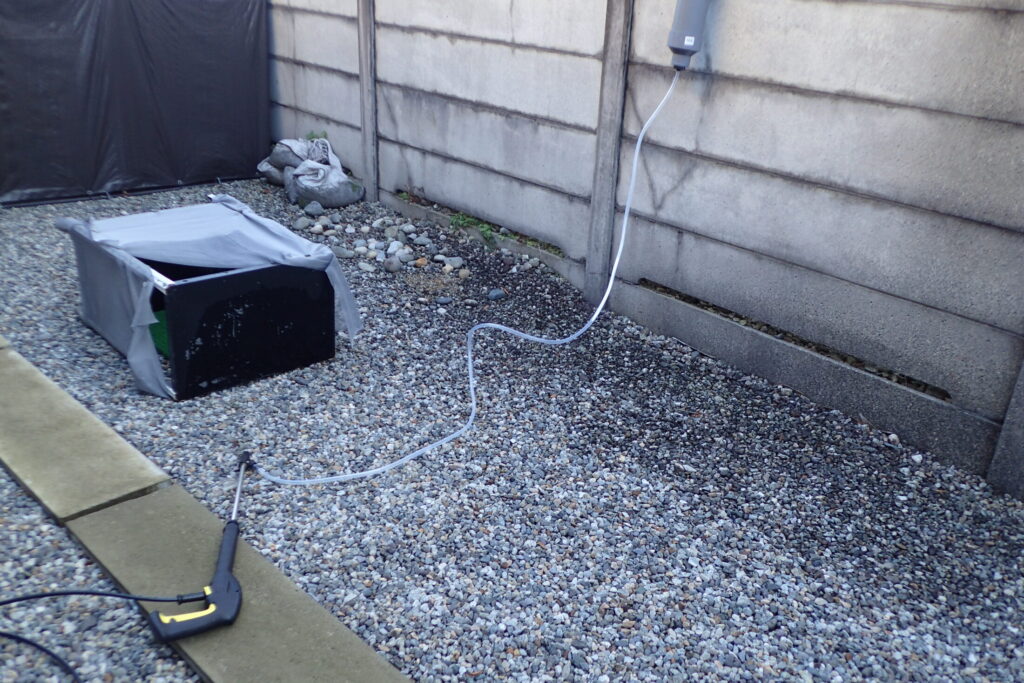
Finally, I made the clear hose from the PVC pipe soda container to the blast gun about 1.5 m long. (The photo above is before cutting it.)
I think this change did the most to make it work.
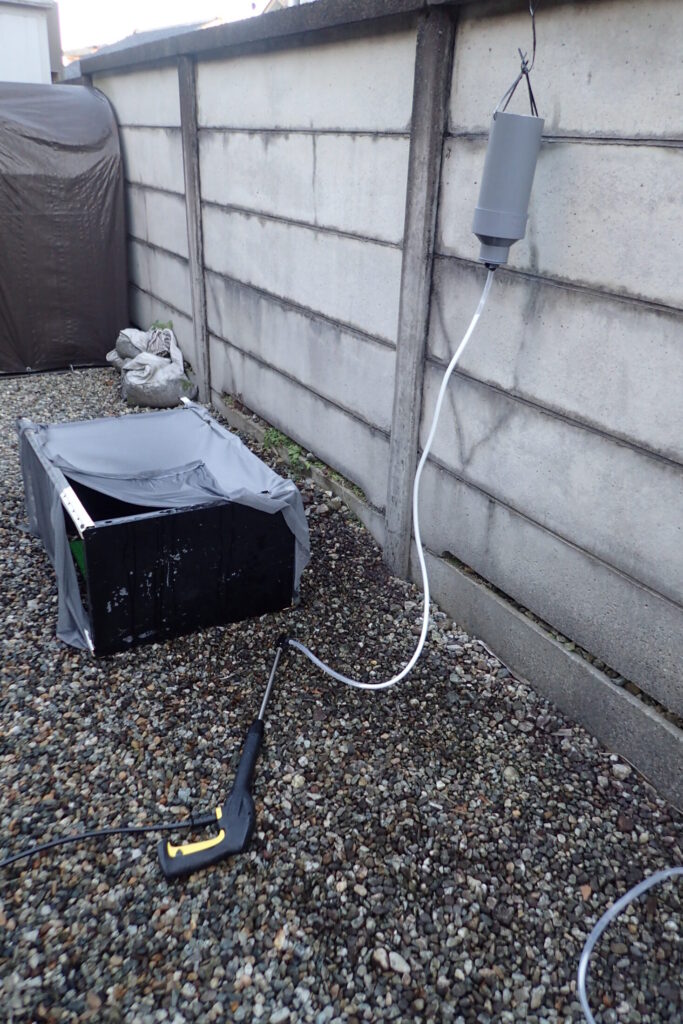
This is the final form of my "baking soda blasting with a Karcher". With the hose this short, it draws up the baking soda properly. However, the soda sometimes stops feeding partway, or stops going into the pipe inside the PVC container, so those are things to improve.
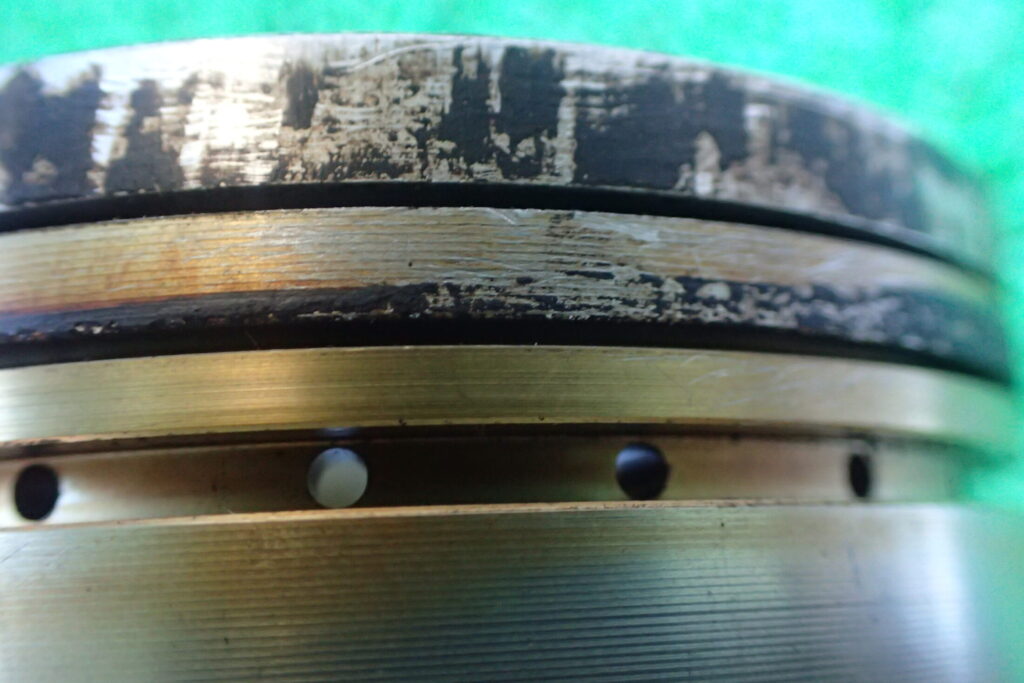
Even so, the piston in the photo above...
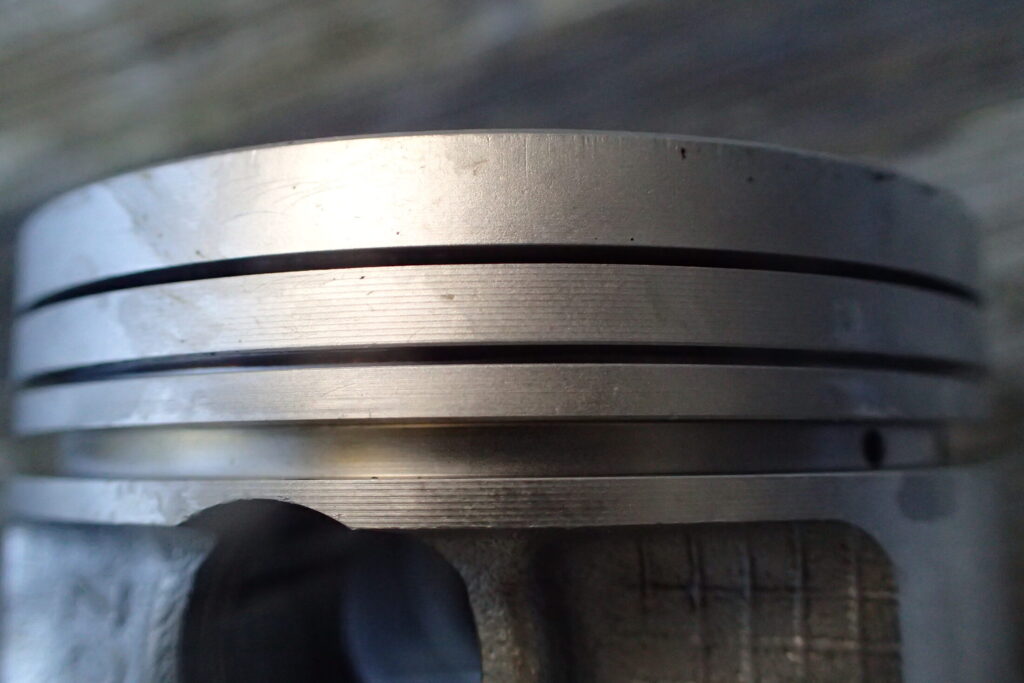
comes up this clean!!
To be honest, the trial and error went on so long that I sometimes thought, "Maybe I should just buy an air compressor and everything and set up proper wet blasting..." But I'm glad I didn't give up.
I plan to write a summary post on baking soda blasting with a Karcher at some point, but for now here are links to my earlier posts.
I got the PVC pipe from a DIY store.
My Karcher blasting series
These are my notes from building a DIY baking soda (wet) blaster with a Karcher pressure washer. The set-up, tools and cautions that finally worked are summarised in my DIY guide.
- First try: baking soda blasting with a Karcher
- Part 1: a funnel-shaped baking soda container
- Part 2: a splash cabinet, and baking soda that won't feed
- Part 3: feeding the soda from below
- Part 4: clogs and air leaks
- Part 5 (final): what worked (this post)
- Baking soda blasting a carburettor
- Wet blasting with glass beads (fork axle holders)
- Wet blasting a rear brake caliper
- Removing blast media thoroughly afterwards
- Does baking soda blasting strip anodising?
- A traffic cone as the media container
- DIY guide: what finally worked