Hello everyone.
Among motorcycle mods, a home-made mudguard is one that shows your own style. You can give it exactly the features you need, but because it's home-made, you have to work out for yourself how to look after it.
In fact, maintaining a mudguard is not just about keeping it looking good. If mud and sand are left caked on, the material can deteriorate and the mounting can break, and in the worst case it can affect safety while riding.
In this post, I show how I washed and inspected mine to make a home-made mudguard last.
What is my home-made mudguard?
I made it mainly to protect the rear suspension from mud thrown up by the rear tyre. For how I made and fitted it, see this post.
Why does a home-made mudguard need maintenance?
To stop it looking tired
A mudguard catches mud and spray, so it gets dirty easily. Without care, some materials fade or crack.
To prevent unexpected breakage
Unlike off-the-shelf parts, every home-made mudguard uses different materials and fixings. If mud, water and UV degrade the material, part of it could break while riding and touch the tyre or the drive chain. Regular washing and inspection help you spot problems early.
Tools for the job
Shampoo and sponge
Detergents with abrasives or strong alkalis can damage paint and some materials, so I use motorcycle shampoo or a neutral car shampoo. To avoid dragging grit across the surface, I wash with a soft microfibre cloth or sponge.
For the record, this is the shampoo I use. You dilute it, so it goes a long way.
Protectants (coatings)
You can also apply a protectant after washing. What suits depends on the material.
- FRP and plastic: a UV-blocking wax or a coating for plastics
- Carbon: usually clear-coated, so a coating for painted surfaces
- Aluminium and other metals: a rust-preventive spray or wax for metal
My mudguard is made of rubber, so I just cleaned it.
Inspecting the home-made mudguard
* It might be better to inspect after cleaning, but this time I wanted to see how dirty it was, so I inspected it first.
The rear wheel is off because I was replacing the swingarm pivot shaft.

With the rear wheel off, I can inspect the mudguard closely.
Inspection results and fixes
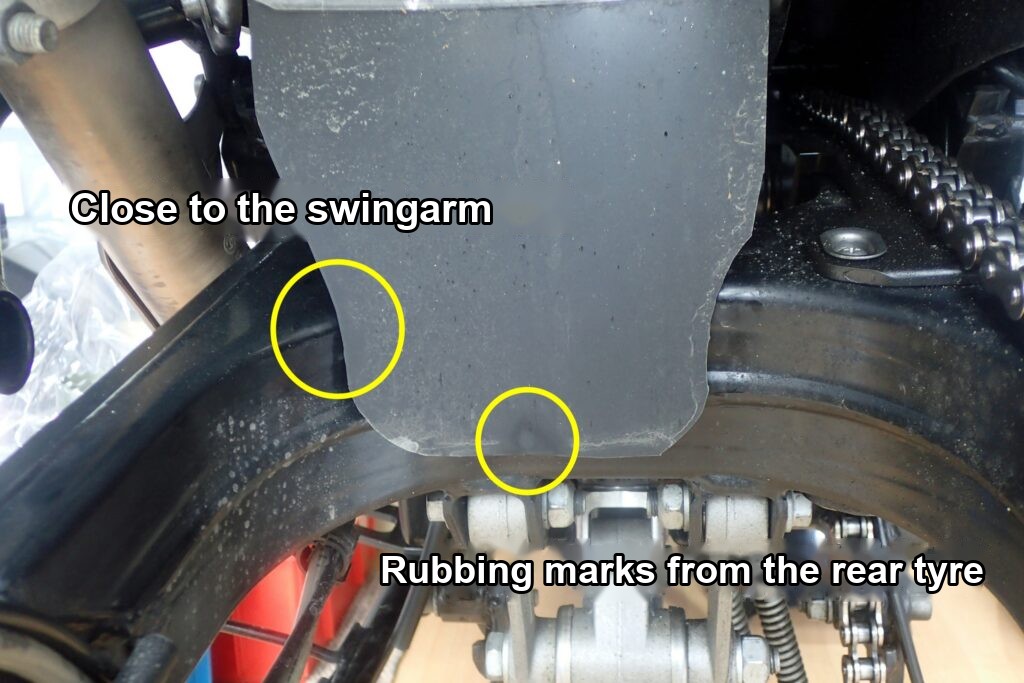
Looking closely at the mudguard, I found the following.
- The left side of the mudguard looks likely to touch the swingarm
- There are rubbing marks from the rear tyre in the middle of the bottom edge
Here's what I did about each.
I trimmed the part that looked likely to touch the swingarm with scissors.
As for the rubbing marks, the tyre doesn't seem to rub all the time; I judged that it only rubs occasionally, depending on the wind and the swingarm angle.
So I did nothing about it this time.

One more thing: looking at the joint between the mudguard and the bike, I found sand building up on the clear plastic plate that holds it.

A close-up of where the sand had built up.
I used thin clear plastic so that it would follow the curve. Because it's thin, I doubled it up, but the two layers have lifted slightly apart and sand has got in between.
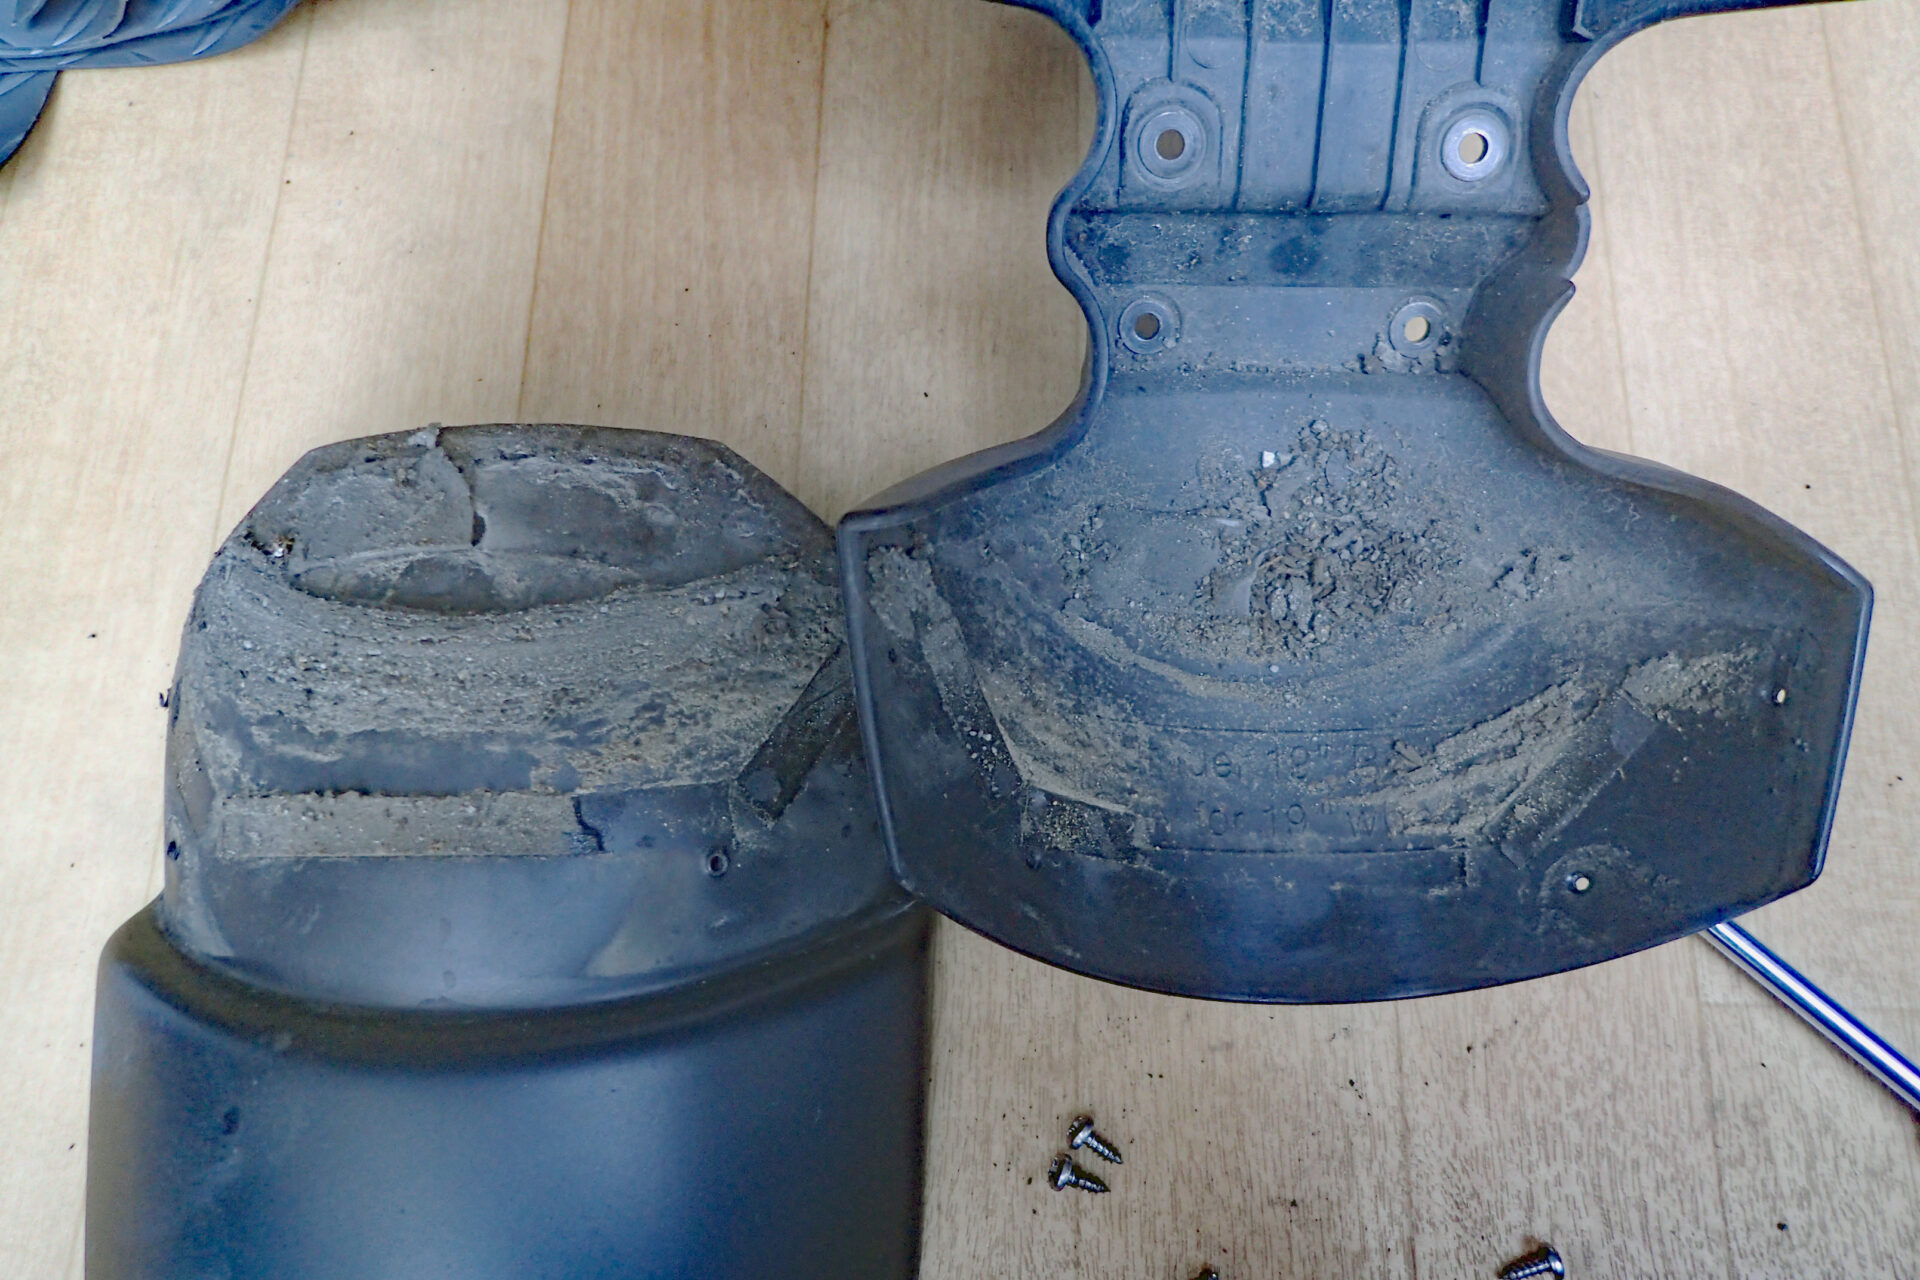
This is the same thing I found when I inspected my front fender extender: sand getting into gaps.
I didn't have time this time, so I plan to do the same fix as on the front fender extender. (If you're interested, see the posts below.)
-

-
BMW G650GS Fender Extender Realignment: Unsprung Weight & Fixing Guide
Hello everyone! A front fender extender (fender flap) is a handy custom accessory that shields the front of your engine and exhaust headers from mud and pebbles flung up by the front tire. For adventure bikes that frequently see action on unpaved tracks, it is an absolute staple upgrade. However, if you make a mistake during the installation process, this part will not only fail to perform as intended but can also trigger unexpected negative effects on your bike's handling. Recently, while performing a routine inspection on the front running gear of my BMW G650GS, I noticed that the fender ...
-

-
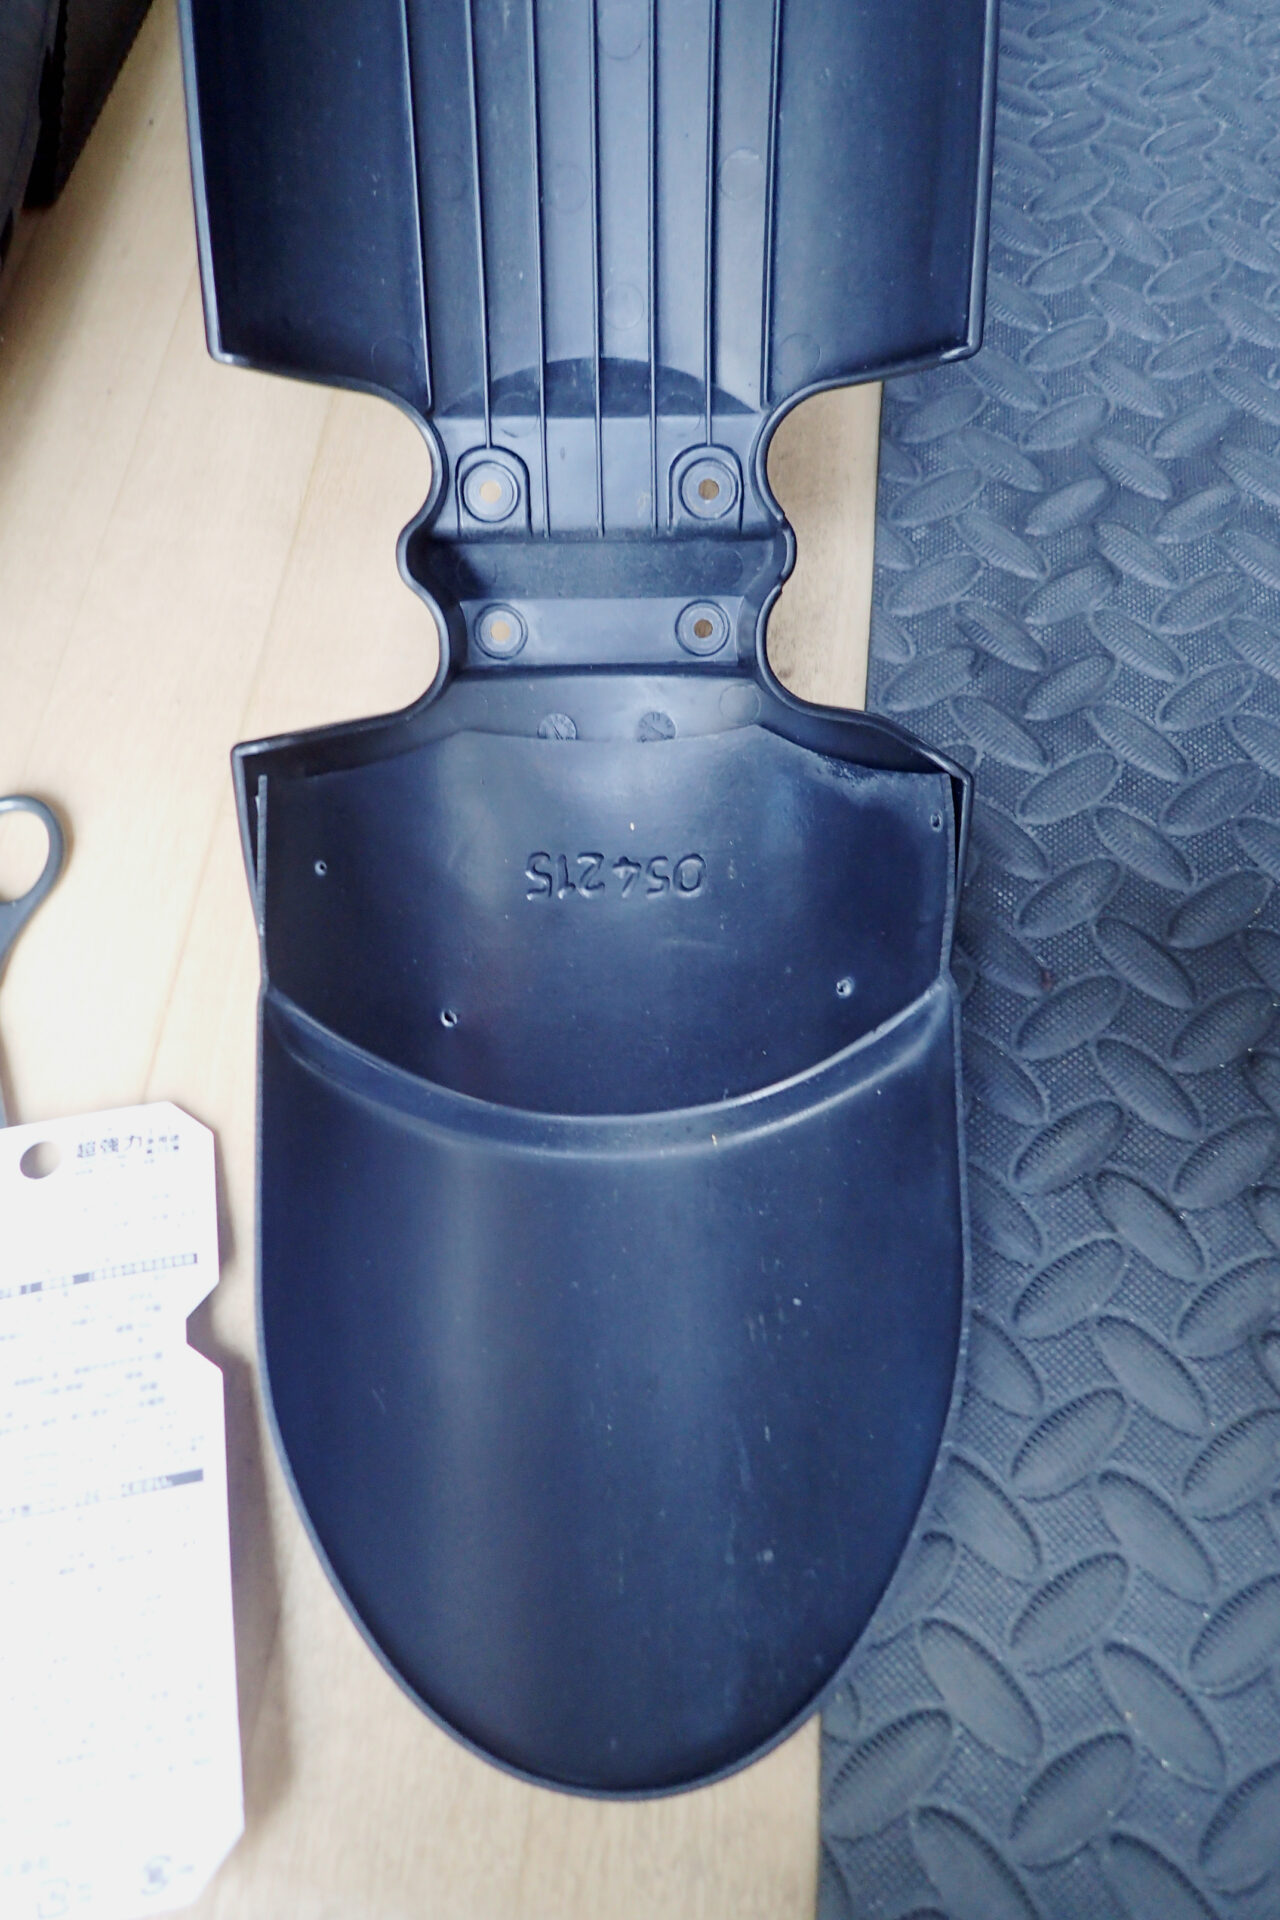
BMW G650GS Fender Extender Re-bonding: Smart Tape Layout Guide
Hello everyone! In my previous post, I shared a frustrating discovery on my BMW G650GS: a misaligned front fender extender installed by the previous owner had created a gap that became packed tight with a massive build-up of sand and mud. As we discussed, allowing road grime to accumulate in these hidden seams silently increases your unsprung weight and robs your suspension of its supple responsiveness. https://motorcyclelifeboo.com/en/bmw-g650gs-fender-extender-realignment-unsprung-weight-fixing-guide/ In this practical installment, I am reporting on the reassembly phase—how I completely deep-cleaned the components and re-bonded them using a strategic layout designed to make it physically impossible for water or mud ...
-
-
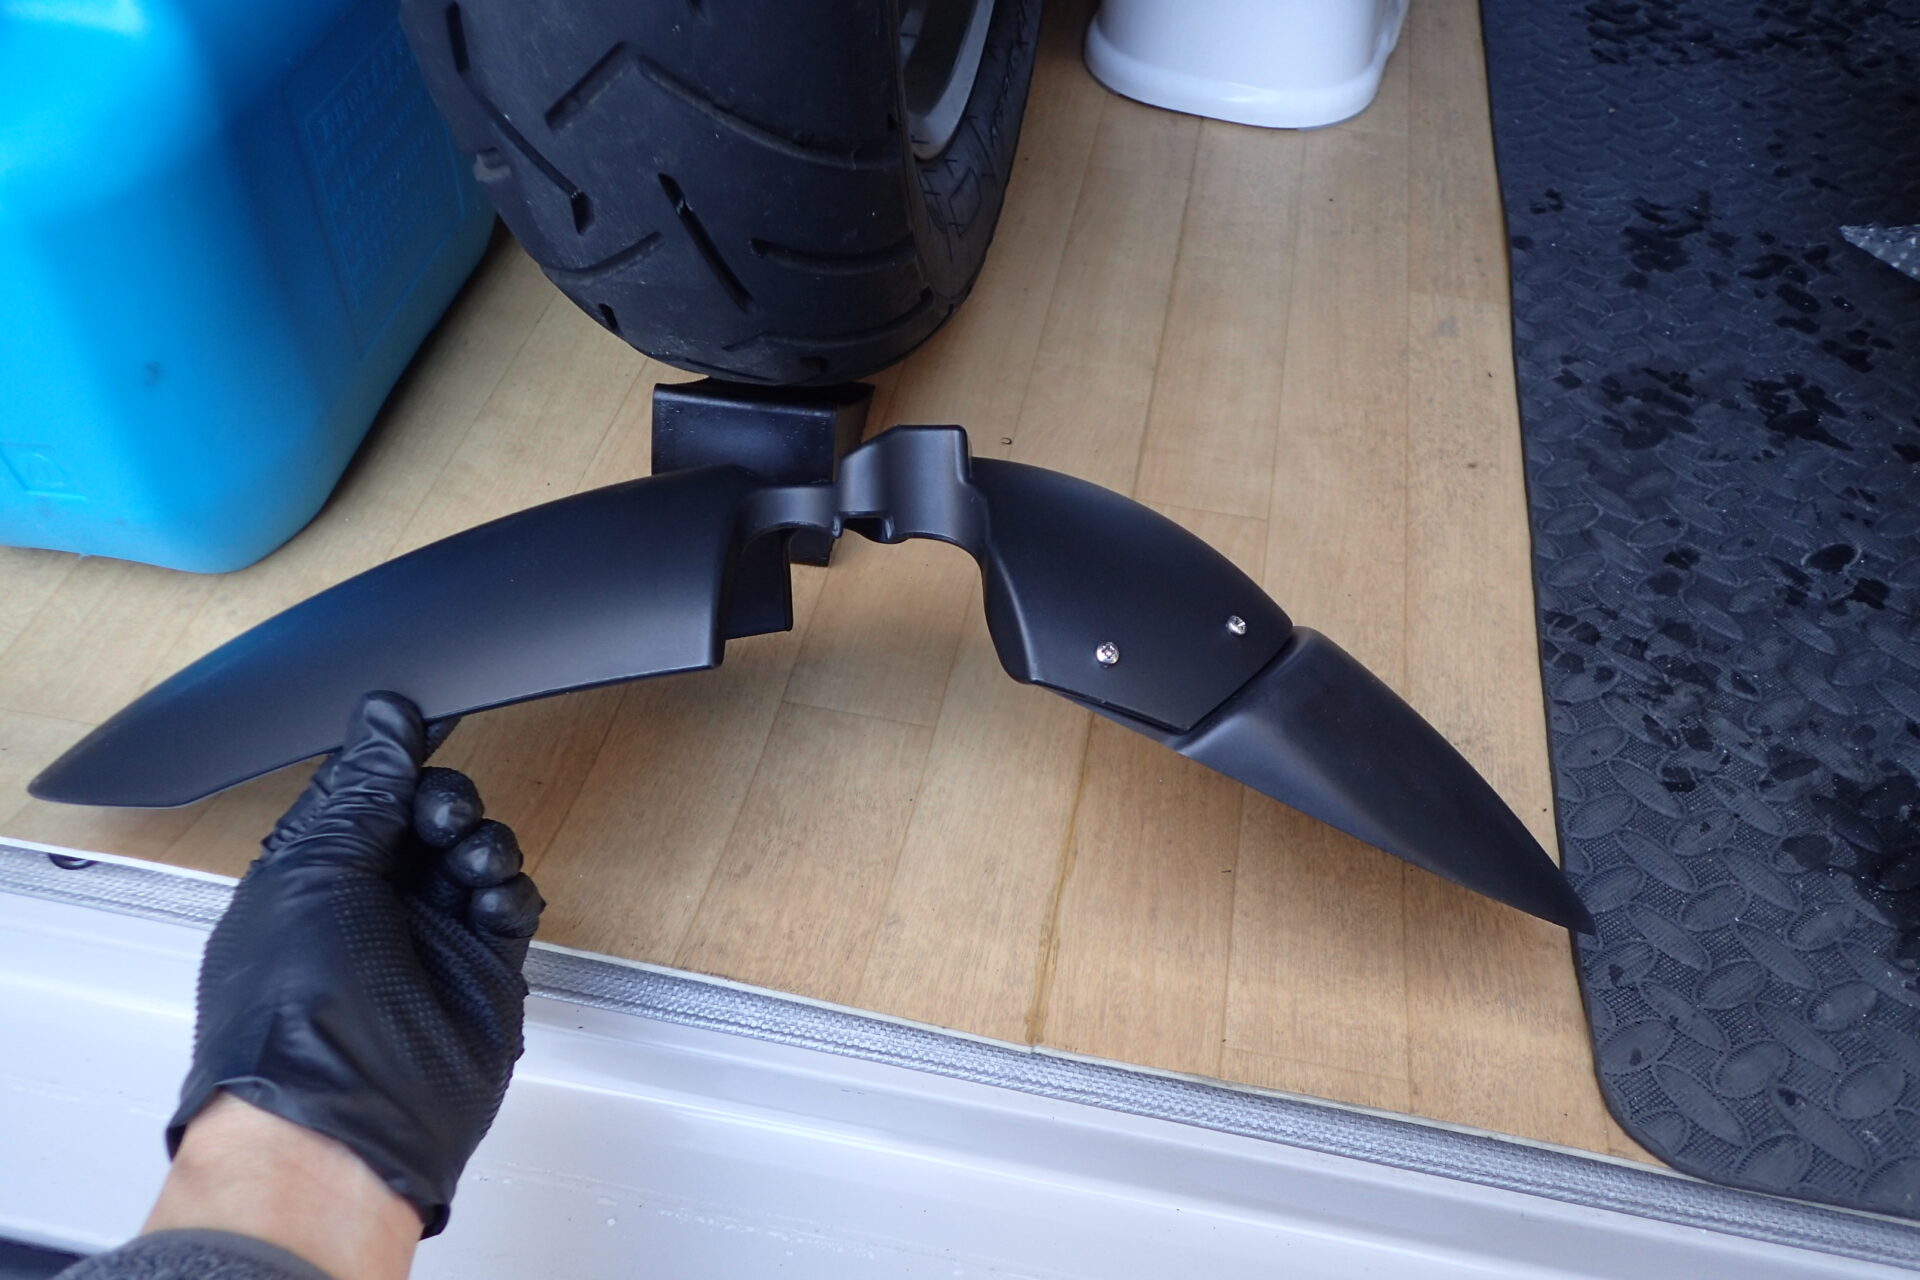
BMW G650GS Fender Extender Final Install: Screw Securing & Silicone Sealing
Hello everyone! In my previous post, I showed you how I removed a crooked front fender extender installed by the previous owner, executed a meticulous degreasing routine, and re-bonded the components using 3M ultra-strong double-sided tape. While I ran into a classic DIY accident where the insane initial tack of the 3M tape locked the pieces down instantly before I could perfect the alignment, the inner tape layout designed to block out mud entry was executed flawlessly. https://motorcyclelifeboo.com/en/bmw-g650gs-fender-extender-re-bonding-smart-tape-layout-guide/ Today, we have reached the final installment of this fender extension upgrade! In this post, I will break down the mechanics of ...
Finally, with the rear wheel off, I cleaned the places that are hard to reach normally.

For cleaning, I use VuPlex.
It removes dirt and protects the surface at the same time.