Hello everyone.
This is part 2 of my project to do baking soda blasting with a Karcher pressure washer.
For the results of baking soda blasting with a Karcher, see my first post:
Result of this post: the splash protection worked to some extent, but I couldn't solve the problem of the baking soda not being sucked up this time.The method that finally worked is summarised in my DIY guide, and how I baking-soda-blasted a carburettor is in the post below.
Protecting against splashing while blasting
So far, baking soda blasting with a Karcher had left me with these problems:
- A place where it doesn't matter if baking soda sprays around (work inside an enclosure, and have wellington boots (rubber boots), safety glasses and a rain suit ready)
- A way to make the baking soda flow smoothly to the Karcher nozzle (hang the baking soda up high so gravity helps? Make the container a downward-pointing funnel shape?)
This post is about trying to solve those two problems.
To give you the conclusion first: I couldn't solve either of them satisfactorily.
Now, here is what I actually did.
First, the place where baking soda can spray around. I decided to stop the baking soda from spraying around in the first place.
Specifically, I made something like a blasting cabinet.
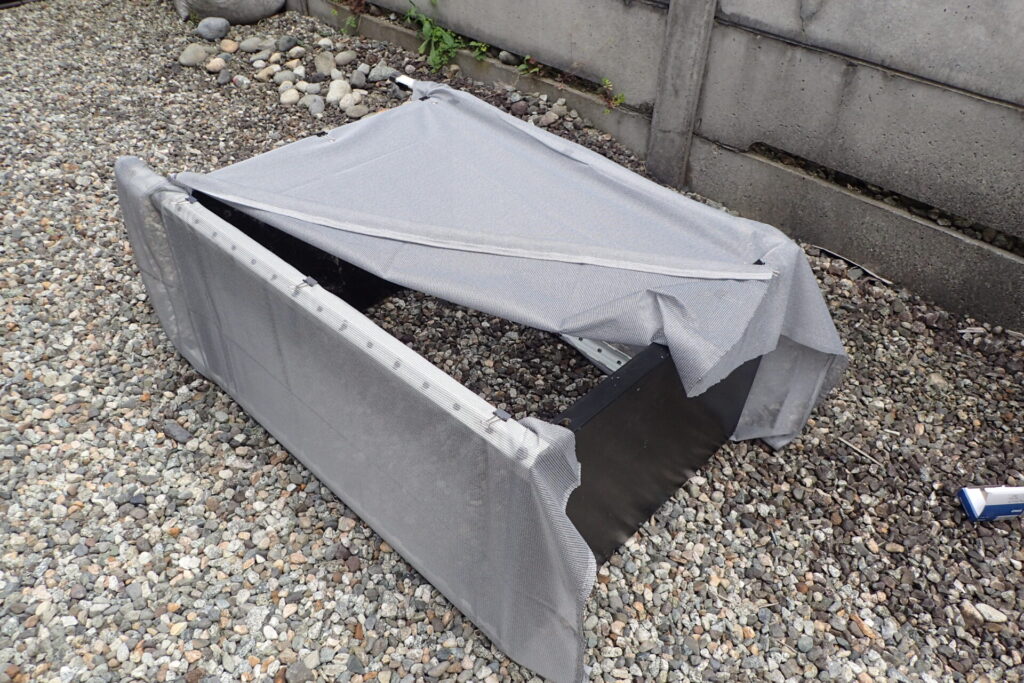
This is what I made (if you can call it that).
I just clipped fine-mesh insect screen onto a steel shelf unit I had spare at home, using bulldog clips.
I used things I wasn't using, so the only new cost was about 700 yen for the screen mesh.
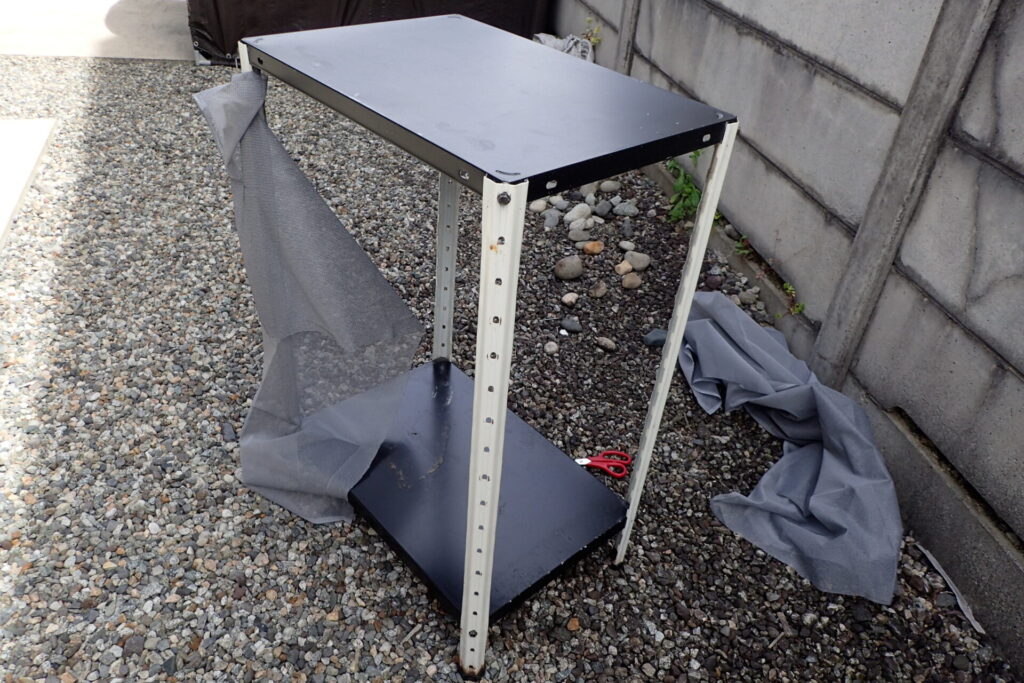
As you can see, I just fitted the mesh to the shelf unit.
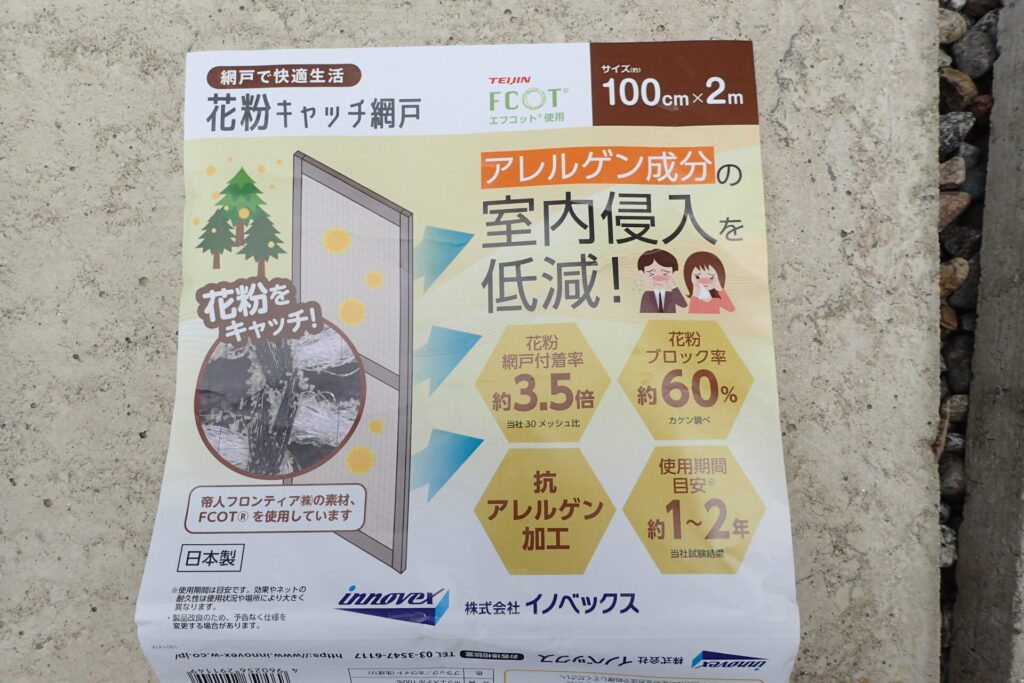
This is the mesh I used.
It normally costs about 2,000 yen, but it was reduced to about 700 yen, maybe because the pollen season was over, so I bought it.
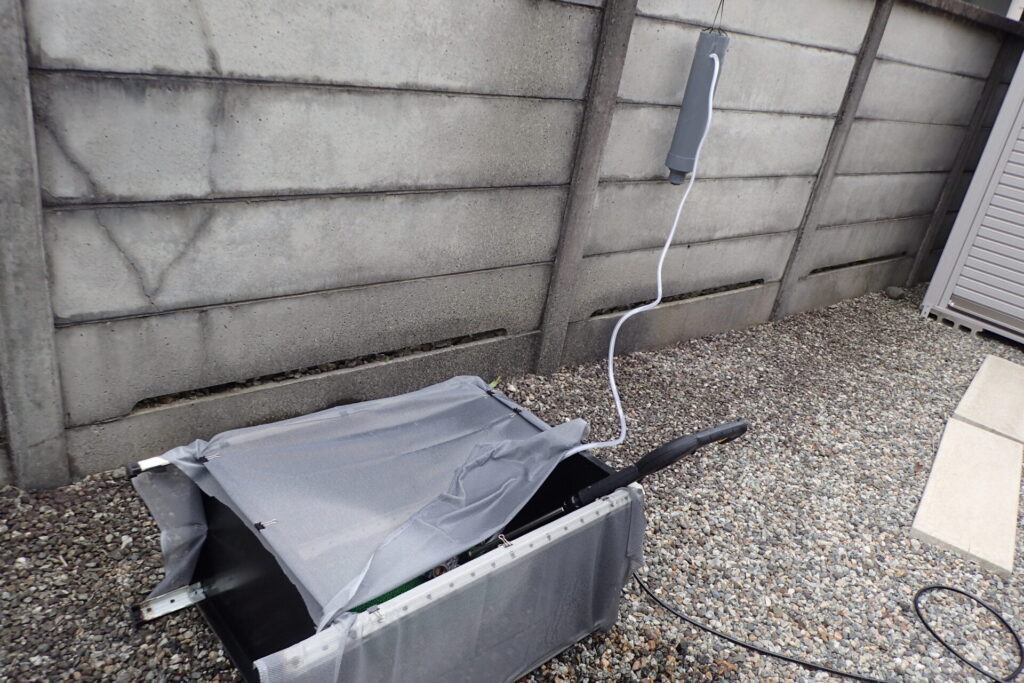
This is how I used it.
The baking soda is in the PVC pipe at the top right of the photo.
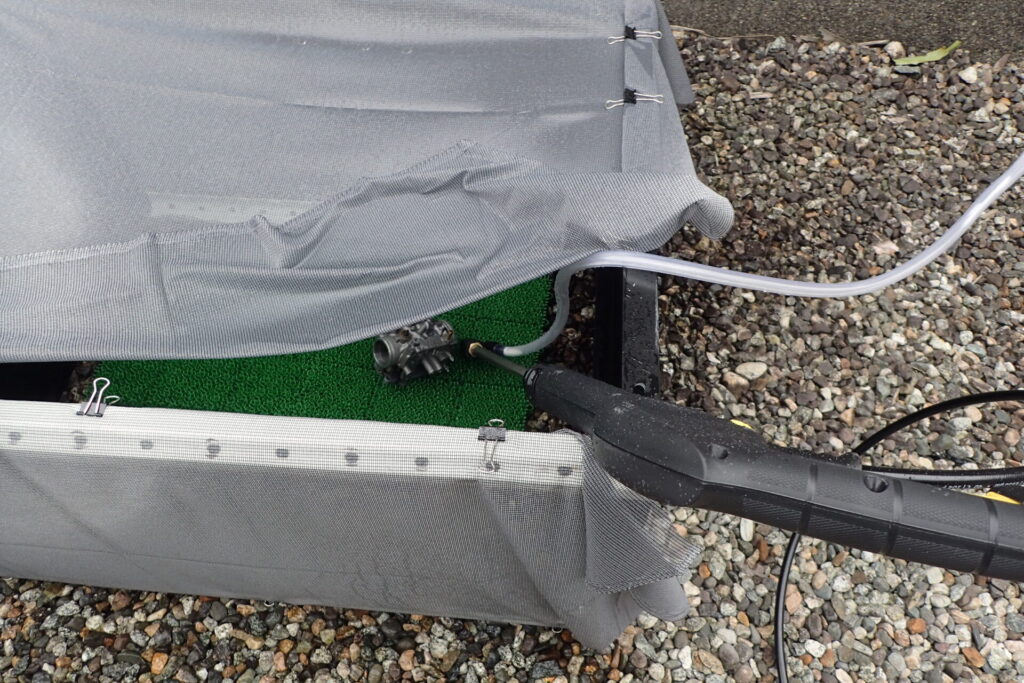
I tried it out.
As in the photo above, I opened the mesh on top a little and put my hand and the Karcher in through the gap to blast.
Sometimes baking soda bounced back out through the gap, but adjusting the angle between the Karcher and the part reduced the splash-back.
And since it is mesh, some of the water that bounces back does get through.
Even so, it greatly reduced the baking soda spraying around.
So next time I plan to use clear panels instead of mesh.
The baking soda won't get sucked up!!
Next, the problem of getting the baking soda to feed properly.
At first the baking soda fed quite well, but as I kept blasting, the feed gradually got worse.
I think this is one of the reasons the feed gets worse.
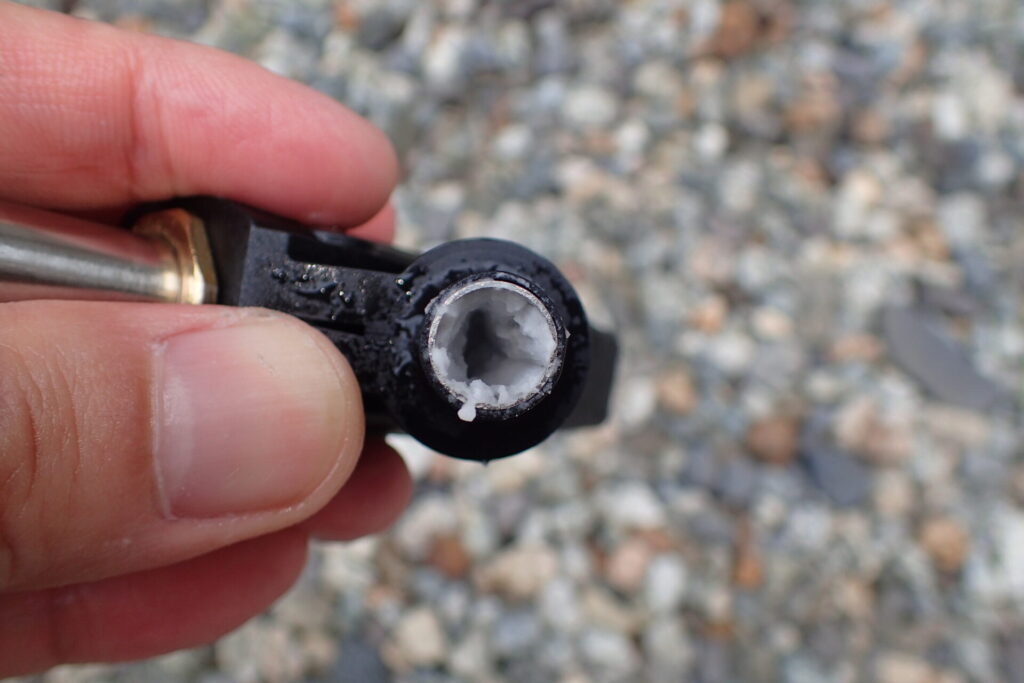
The baking soda gets damp near where it meets the water, and the pipe gradually clogs up.
I kept working, clearing the clogged pipe and shaking the PVC pipe, but it became incredibly inefficient, so I gave up on this method.
(For the first 10 minutes or so, the baking soda fed well.)
So I tried the opposite approach:
mix the baking soda and water together from the start.
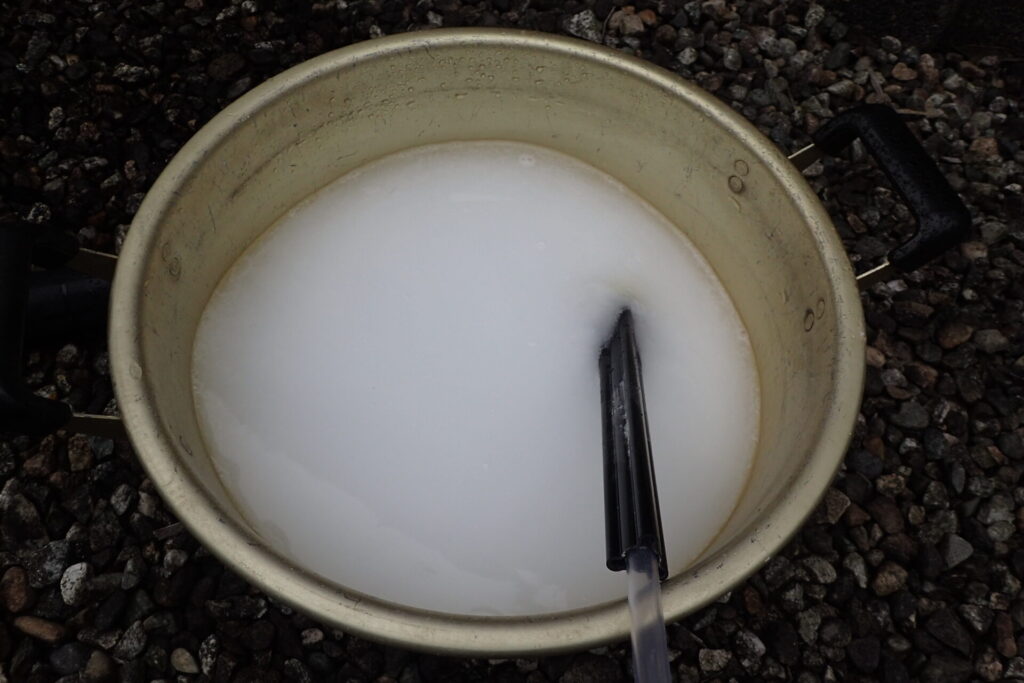
This is baking soda and water mixed at about 1:1.
By stirring it all the time while blasting, I could blast well.
But 1:1 was too thick, so a ratio of about 1:5 to 10 (baking soda to water) looks about right.
This method lets you blast well, but the drawback is that you have to keep stirring the mixture with one hand.
By the way, the photo below shows a crankcase blasted this way.
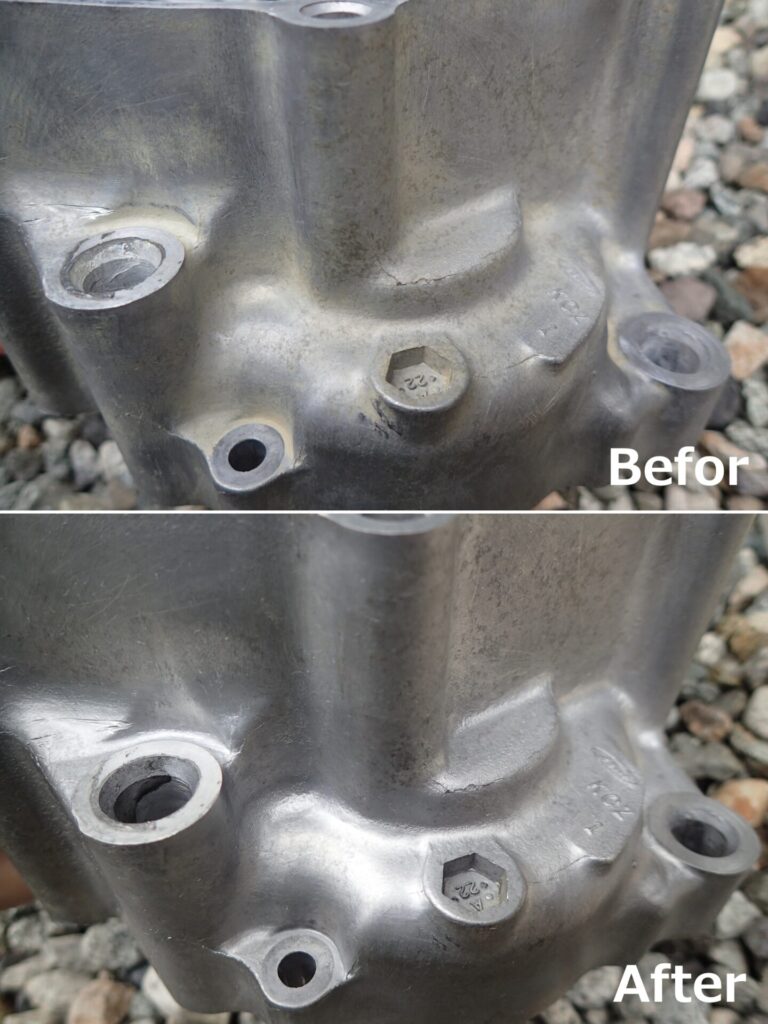
Wow, it really does come out clean!
I want to make the work more efficient.
So, after this experience, these are the problems and what I will do next:
- Keep using the steel shelf unit to stop baking soda spraying around, and close the open parts with clear panels
- Rethink how the baking soda is fed: 1. rethink a system that feeds the baking soda as a powder, or 2. mix water and baking soda beforehand, and try a few different ratios
This continues in "Trial and error, part 3" (in Japanese only for now).
That's all for today.
My Karcher blasting series
These are my notes from building a DIY baking soda (wet) blaster with a Karcher pressure washer. The set-up, tools and cautions that finally worked are summarised in my DIY guide.
- First try: baking soda blasting with a Karcher
- Part 1: a funnel-shaped baking soda container
- Part 2: a splash cabinet, and baking soda that won't feed (this post)
- Part 3: feeding the soda from below
- Part 4: clogs and air leaks
- Part 5 (final): what worked
- Baking soda blasting a carburettor
- Wet blasting with glass beads (fork axle holders)
- Wet blasting a rear brake caliper
- Removing blast media thoroughly afterwards
- Does baking soda blasting strip anodising?
- A traffic cone as the media container
- DIY guide: what finally worked