Hello everyone.
The weather is good and I'm so happy to be able to wet blast at home that I've been blasting every day, so here is another one.
Today I wet blasted the rear brake caliper from my Honda XR250 (the Japan-market XR250 BAJA / MD30) with glass beads (#120).
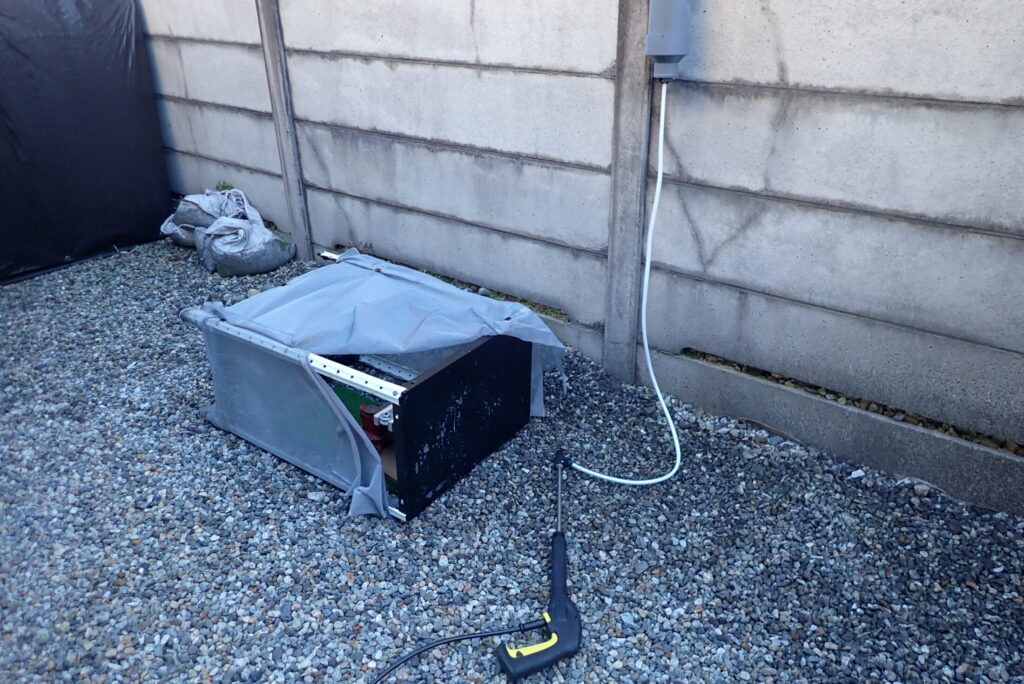
This is the set-up I arrived at through trial and error.
Today I did some trial wet blasting to use up my #120 glass beads.
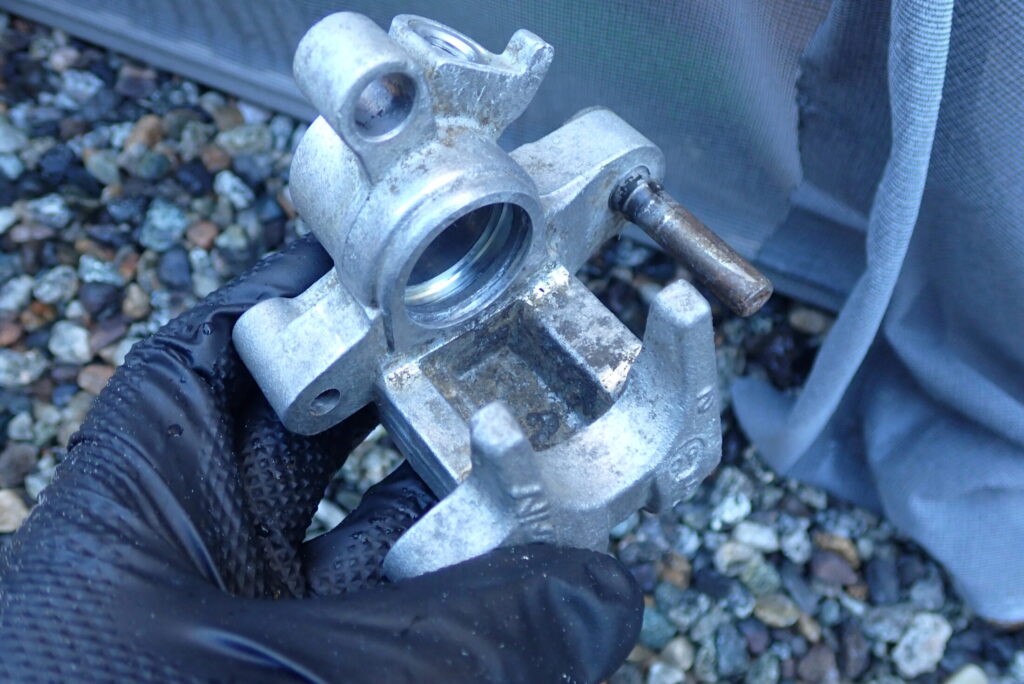
Today's part is the XR250's rear caliper.
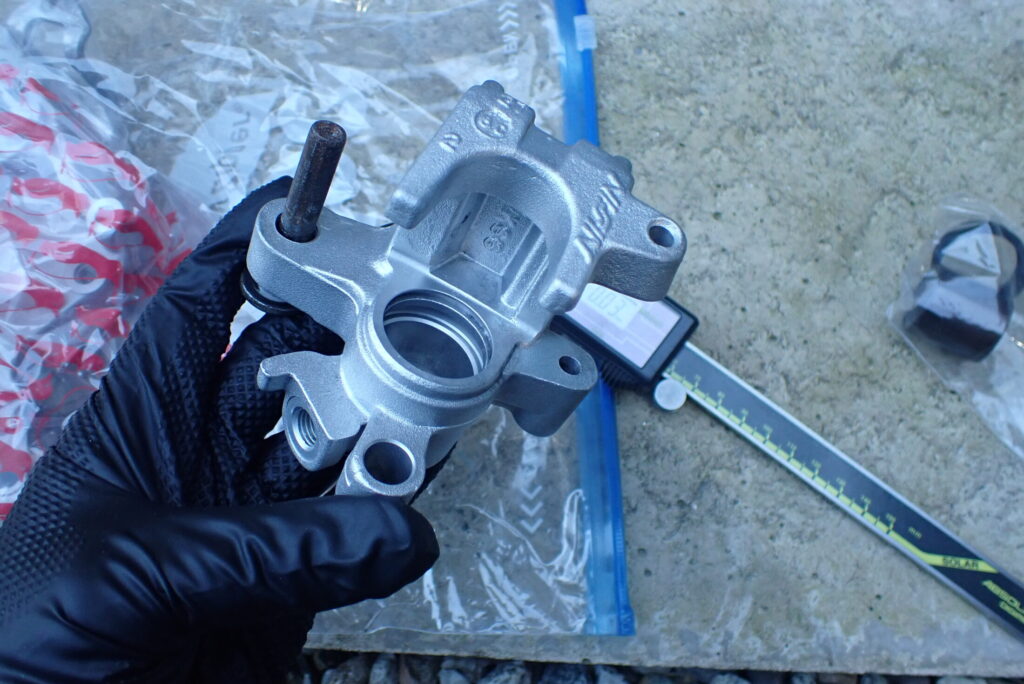
Straight to the finished photo. It looks completely different.
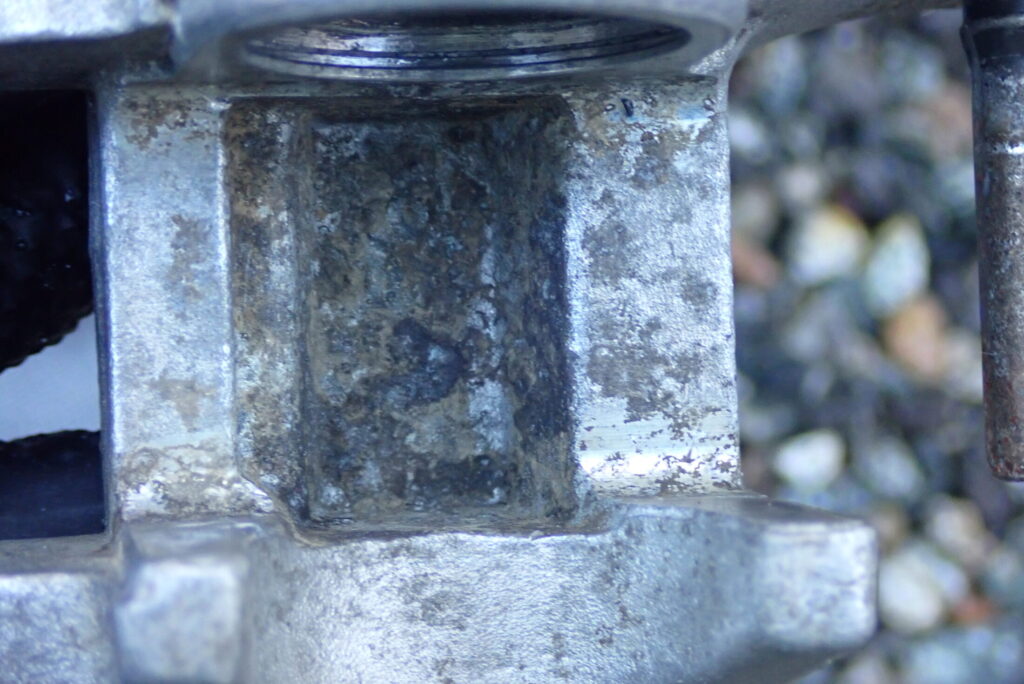
Even where brake dust was caked on...
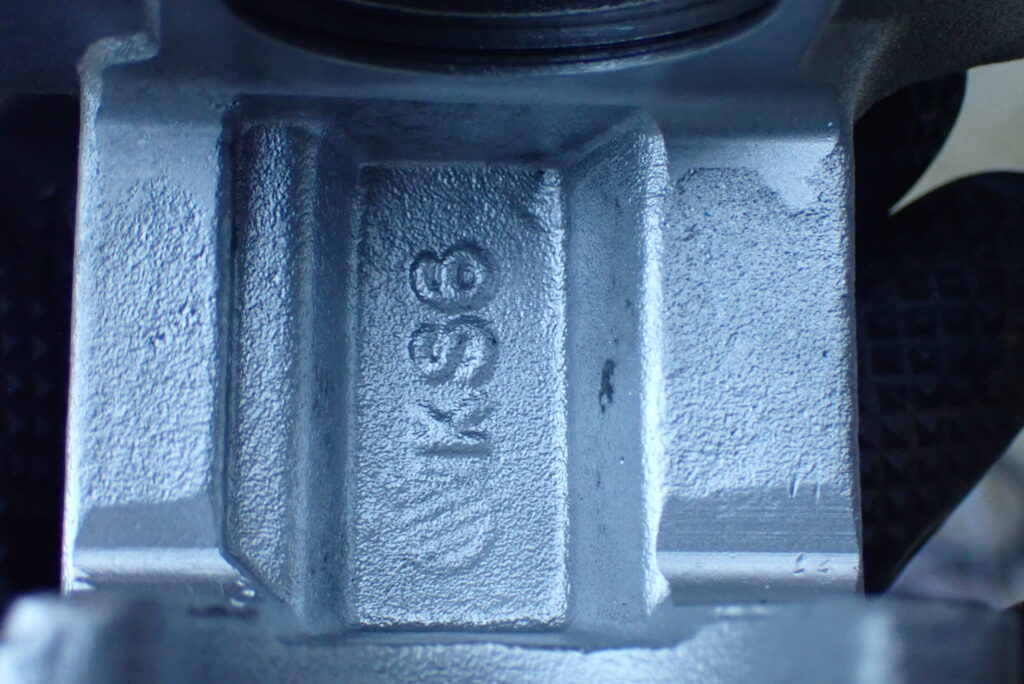
...it comes out this clean. Before blasting, I couldn't even tell there was a "KS6" mark stamped on it.
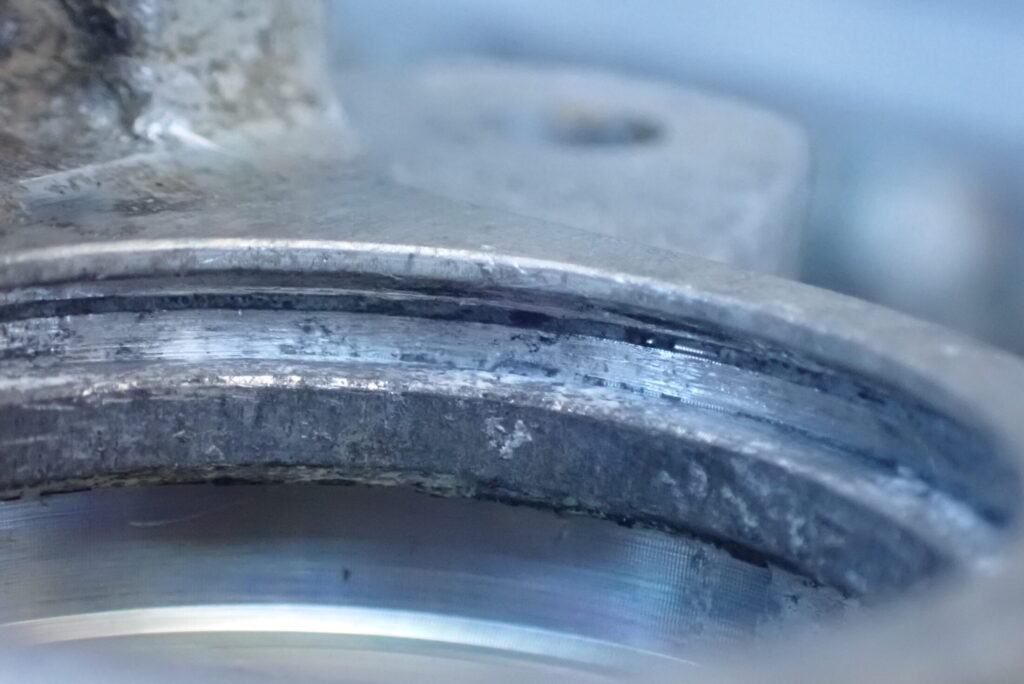
Since this was a trial, I also blasted the piston seal area.
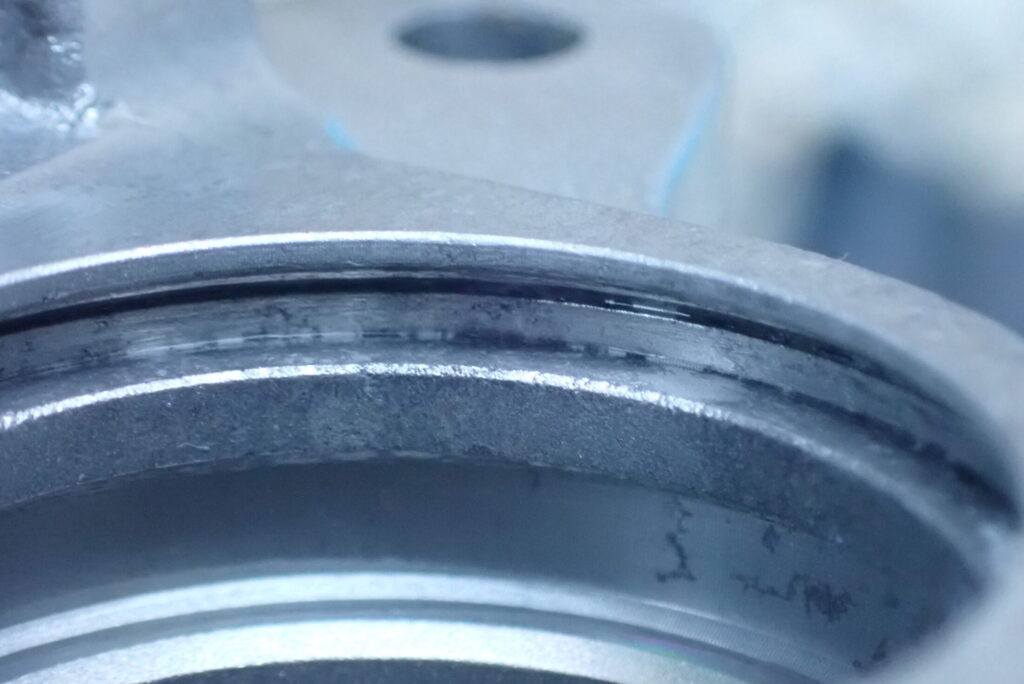
With moderate blasting, it comes out like this.
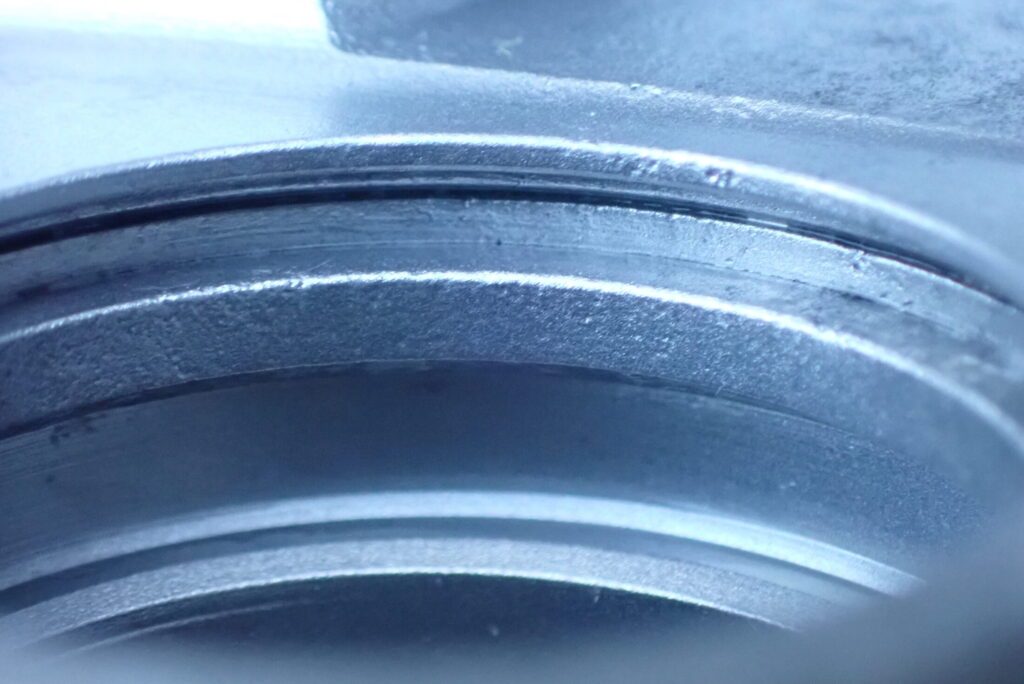
With a bit longer blasting, it comes out this clean.
This caliper is a spare, and I haven't used it since blasting it.
The seal groove is where the seal has to seal, so a smooth surface matters. Opinions differ on whether it is OK to blast it with glass beads, and any media left behind could damage the seal or the piston. So on a caliper you are actually going to use, I think it is safer to mask the groove or clean it with a brush instead (this is my own view).
Today is the last day of 2025.
This was the year I started blogging seriously, and I learned how hard it is to keep posting regularly.
I hope to keep sharing useful information at a pace I can manage.
I wish you all a happy new year.
My Karcher blasting series
These are my notes from building a DIY baking soda (wet) blaster with a Karcher pressure washer. The set-up, tools and cautions that finally worked are summarised in my DIY guide.
- First try: baking soda blasting with a Karcher
- Part 1: a funnel-shaped baking soda container
- Part 2: a splash cabinet, and baking soda that won't feed
- Part 3: feeding the soda from below
- Part 4: clogs and air leaks
- Part 5 (final): what worked
- Baking soda blasting a carburettor
- Wet blasting with glass beads (fork axle holders)
- Wet blasting a rear brake caliper (this post)
- Removing blast media thoroughly afterwards
- Does baking soda blasting strip anodising?
- A traffic cone as the media container
- DIY guide: what finally worked