Hello everyone.
Today's post is about maintaining my T-REV (a crankcase pressure reducing valve, also called a reducer).
The T-REV is made by TERAMOTO (Teramoto Jidosha Shokai Co., Ltd., a Japanese company). By reducing the pressure inside the engine's crankcase, it gives effects such as:
- less engine vibration
- sharper throttle response
- less engine braking
Other companies sell similar parts, but for my G650GS I chose TERAMOTO's product, because it listed the F650GS (a single) as a compatible model.
For the effect it had after fitting, see the article below.
According to TERAMOTO's website, the T-REV should have:
- a check and clean every year or 10,000 km
- a full overhaul every 2 years or 20,000 km
As for me, I have forgotten when I fitted it, but it was certainly more than a year or two ago.
So this time I decided to overhaul it.
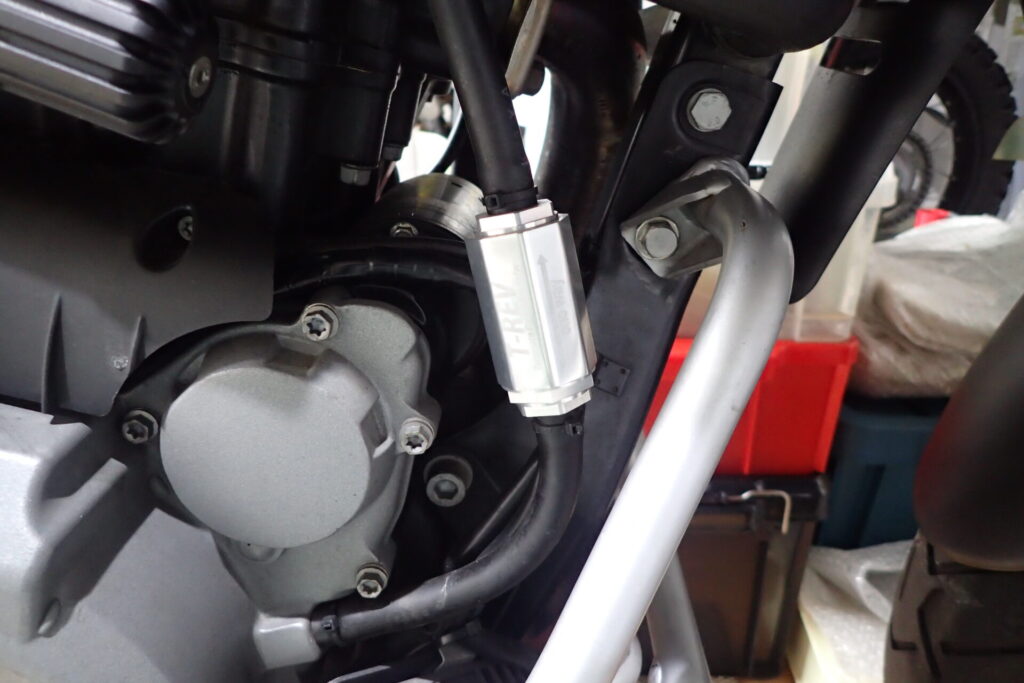
Let's take it off.
I fitted mine at this point on the hose that runs from the crankcase to the airbox.

The T-REV is aluminium, so I had fitted it with cable ties.
Cut the cable ties with side cutters.
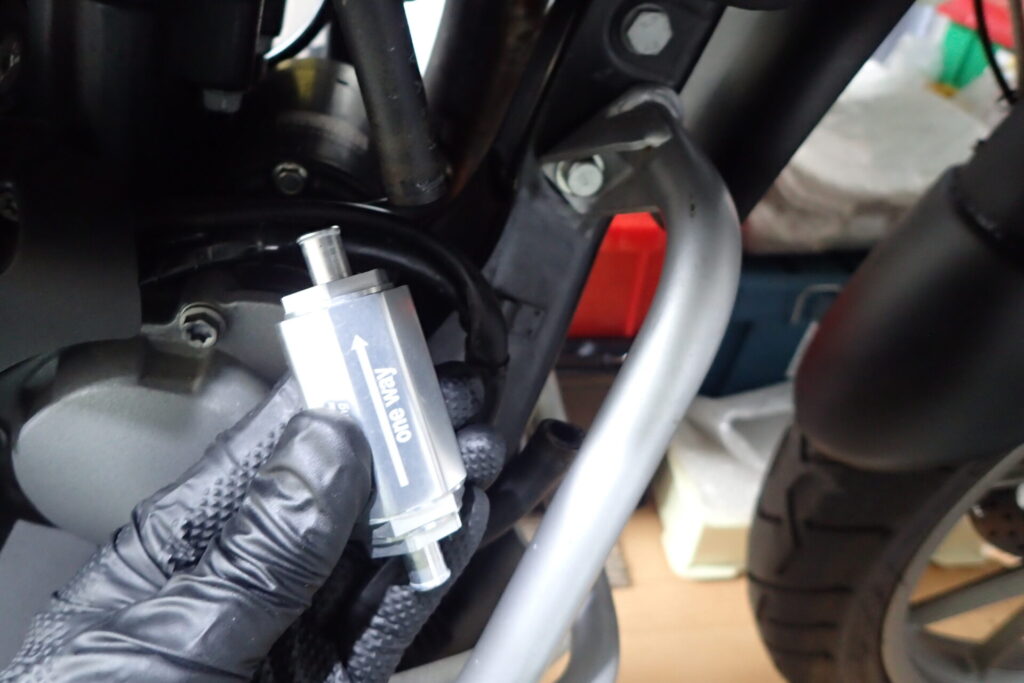
Once the ties are cut, it pulls straight out.
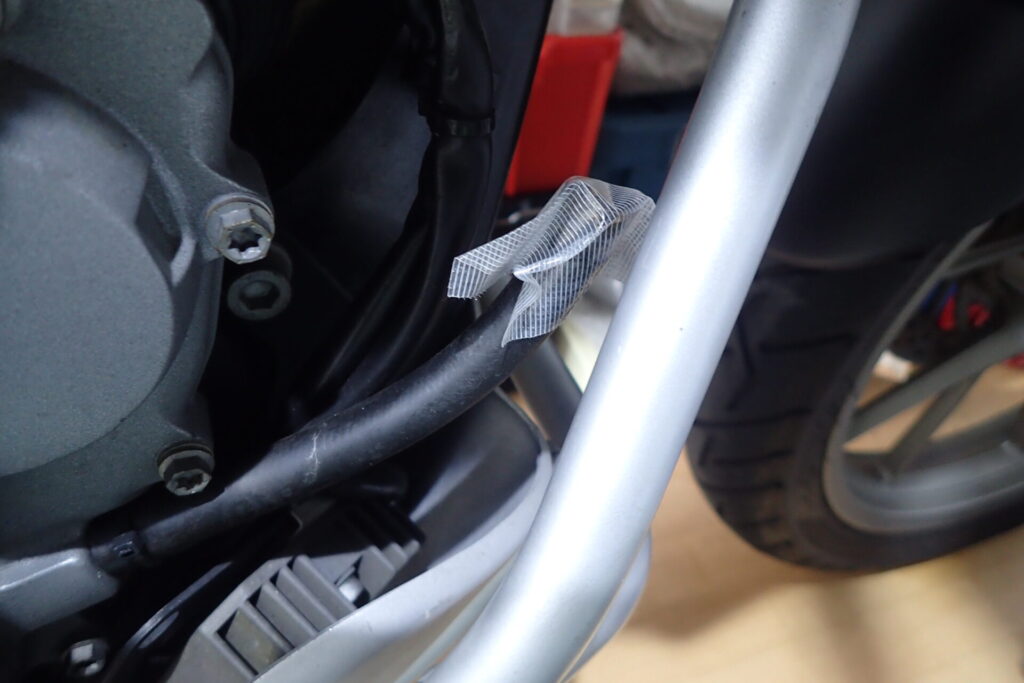
I don't want dirt getting into the crankcase, so I sealed the hose with tape.
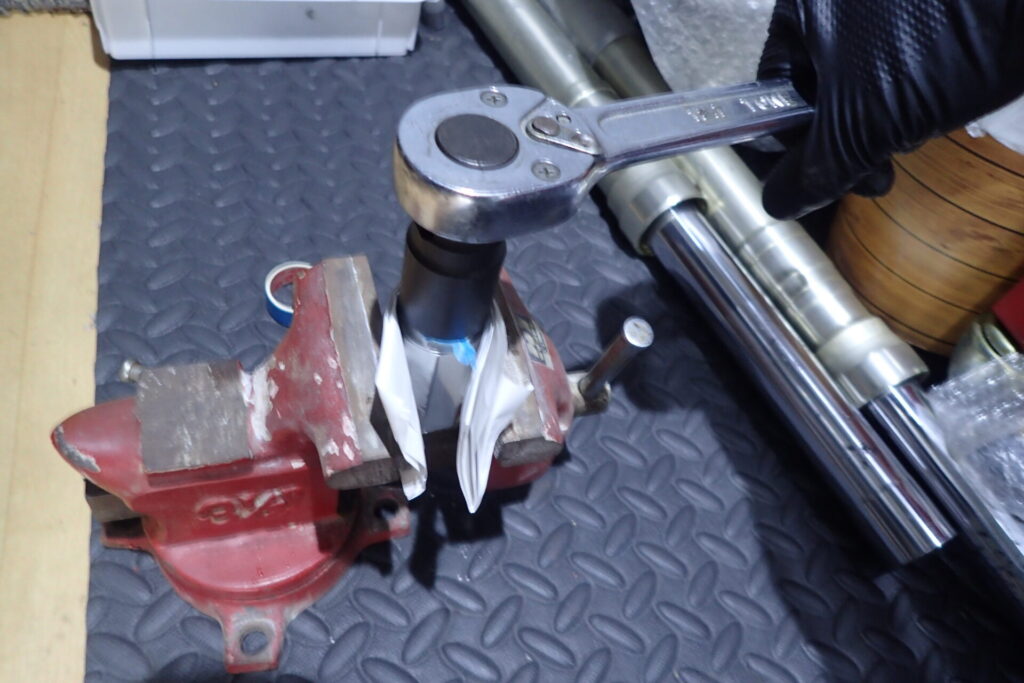
To avoid scratching the body, wrap it in paper and hold it in a vice.
Loosen it with a 22 mm spanner (wrench).
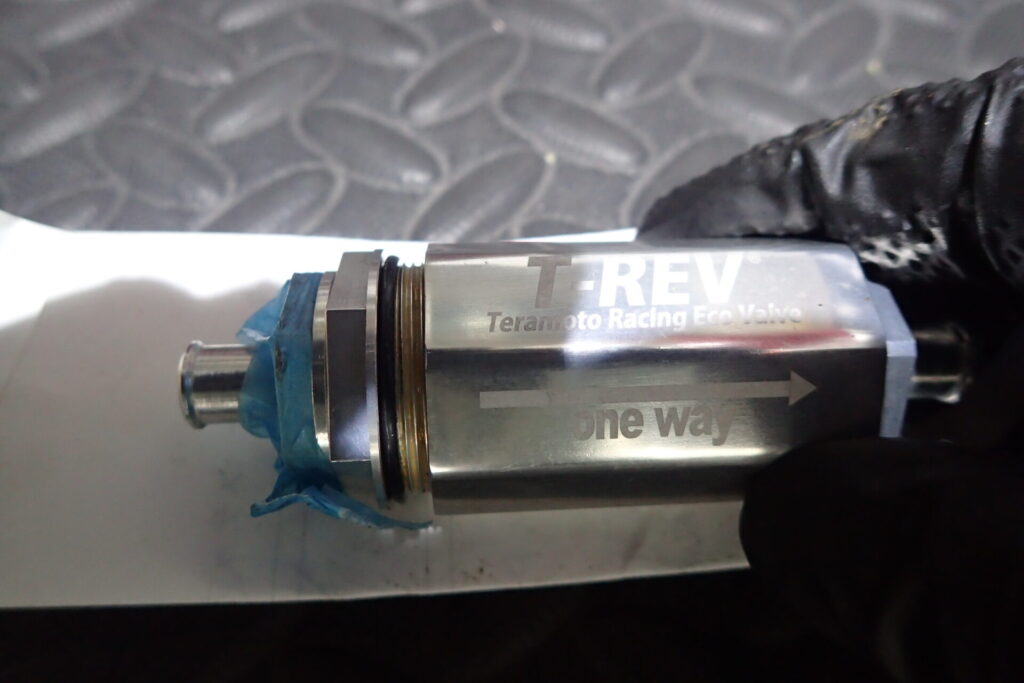
The thread is loose.
I also protected the other part of the body with masking tape, so the spanner would not scratch it.
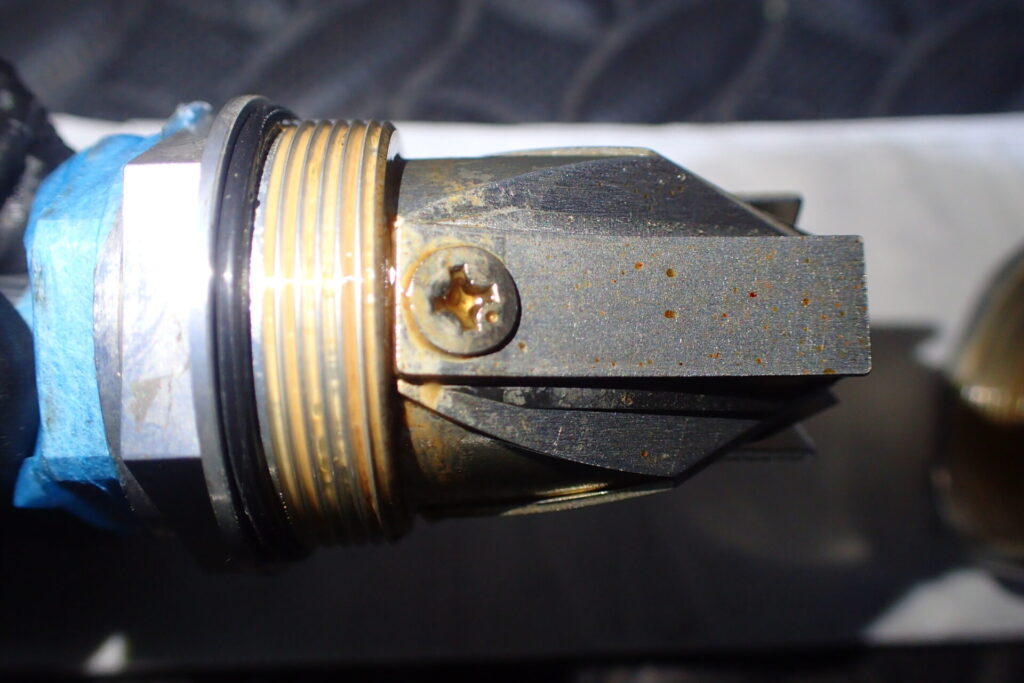
Here it is, taken apart.
There was emulsion on it (a state where things that normally don't mix, like water and oil, are dispersed in each other as tiny droplets).
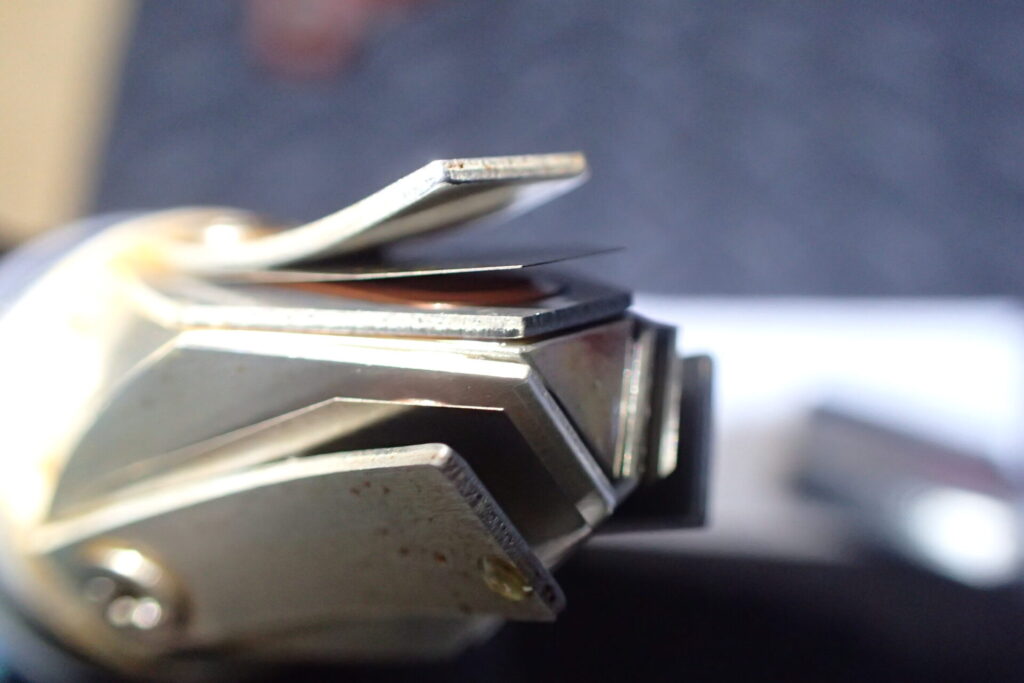
This is the heart of the T-REV.
You can see that the thin metal plates (reeds) are lifting.
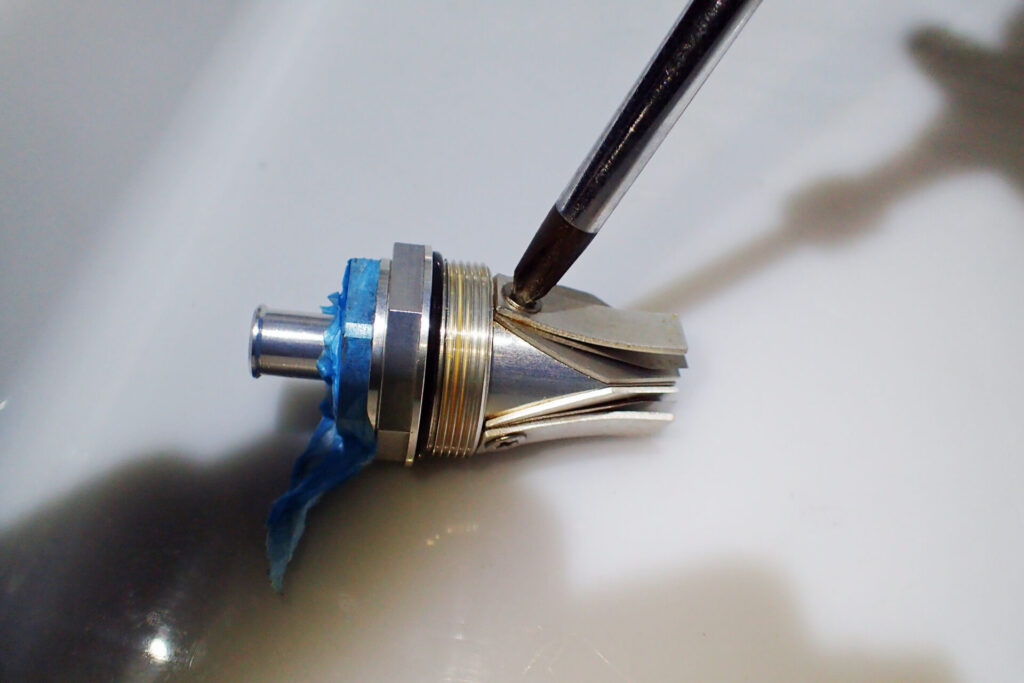
Undo the screws.
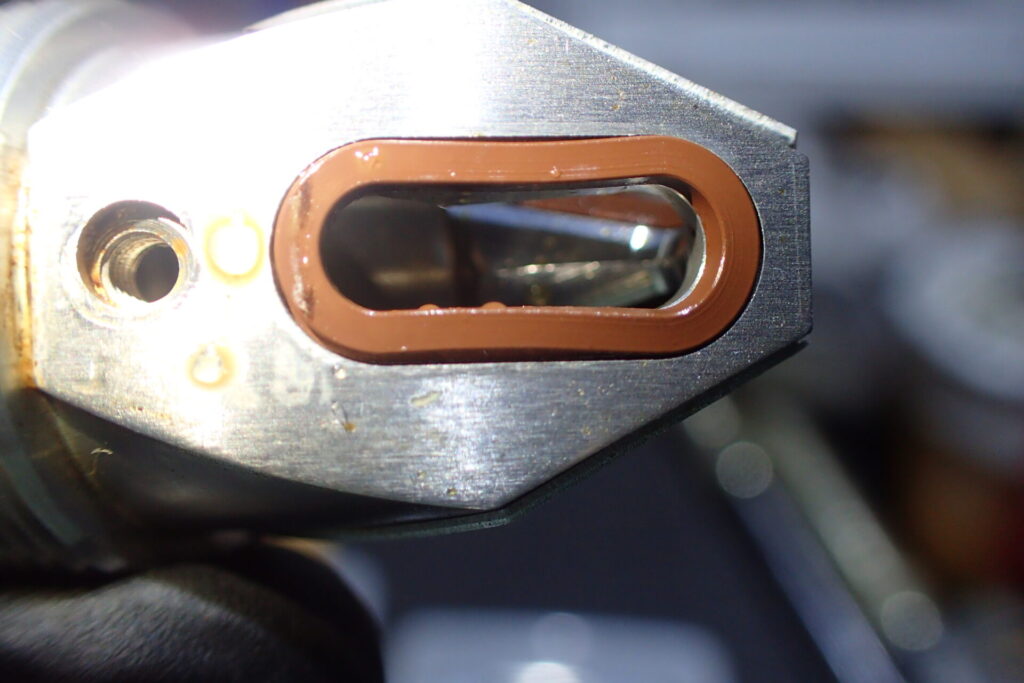
This is the first of the three rubber gaskets.
I don't know what it looks like new, but it is not a neat oval; it seems distorted.
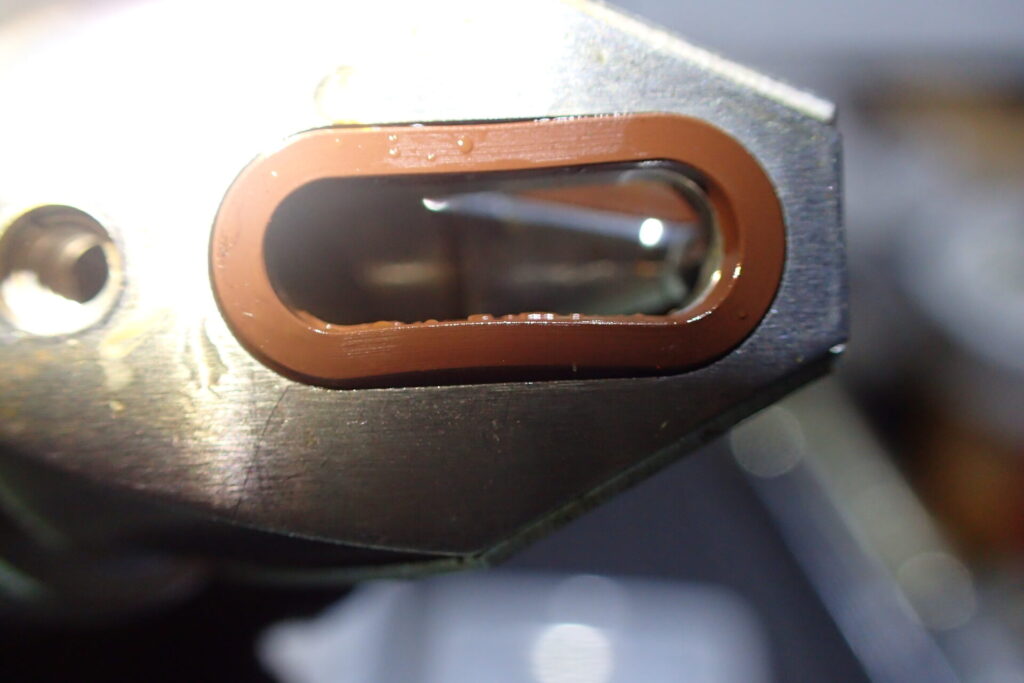
This is the second of the three rubber gaskets.
This one is a little distorted too.
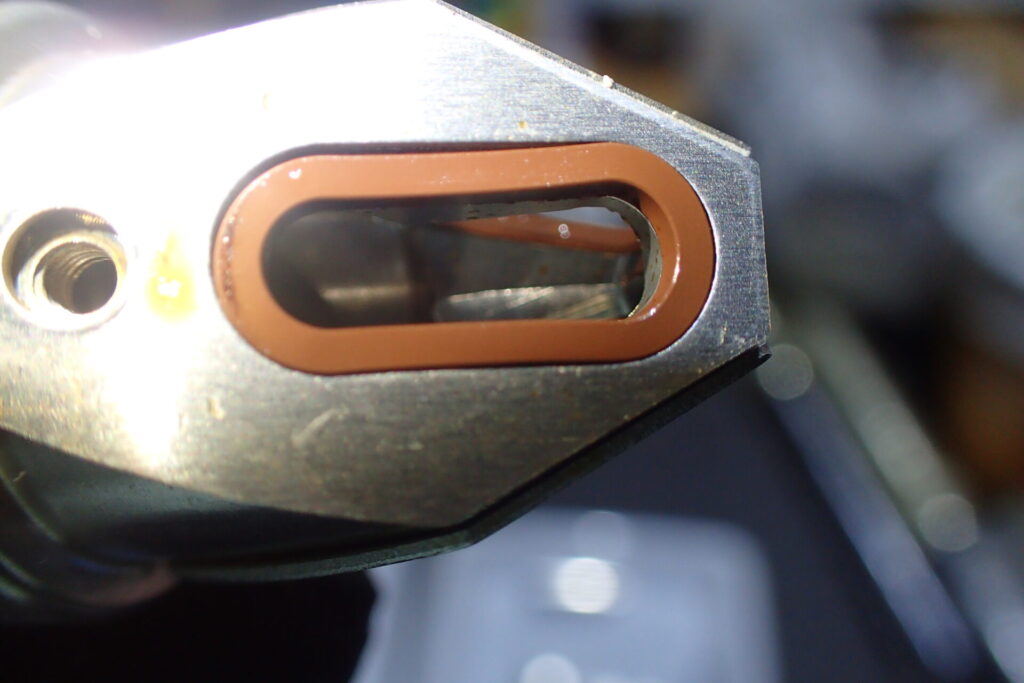
This is the third of the three rubber gaskets.
This one is distorted too.
I can't tell whether this distortion is from wear or whether they were like this from new.
From the way it is built, I don't think the distortion affects how well it seals.
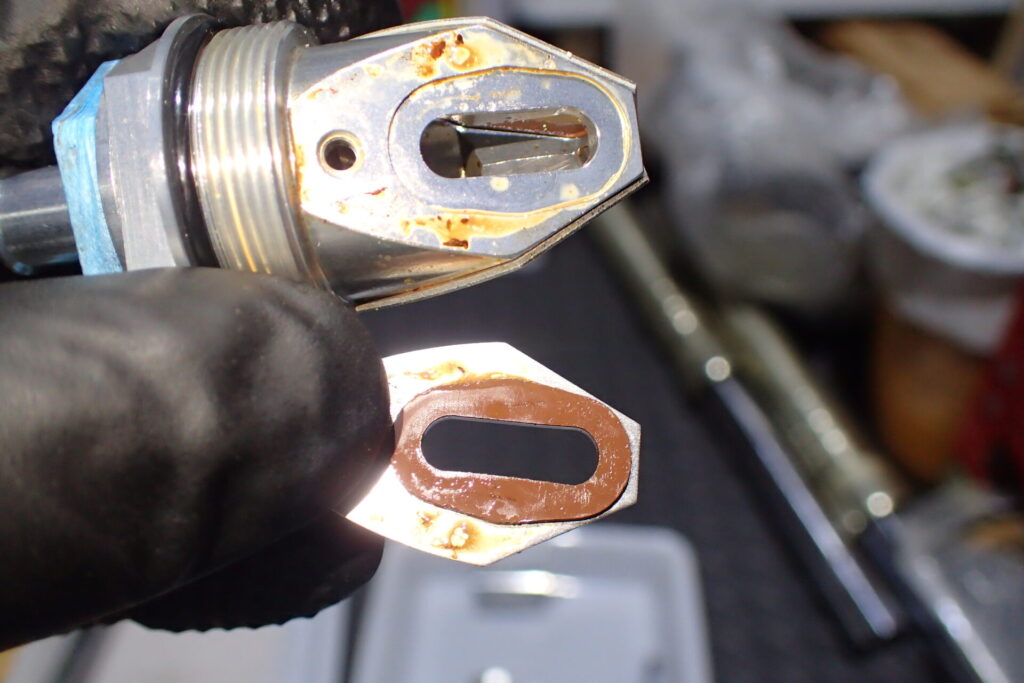
I removed the throttle (TERAMOTO's name for the inner valve block), the rubber gaskets and the gasket retaining plates.
There is emulsion on these too.
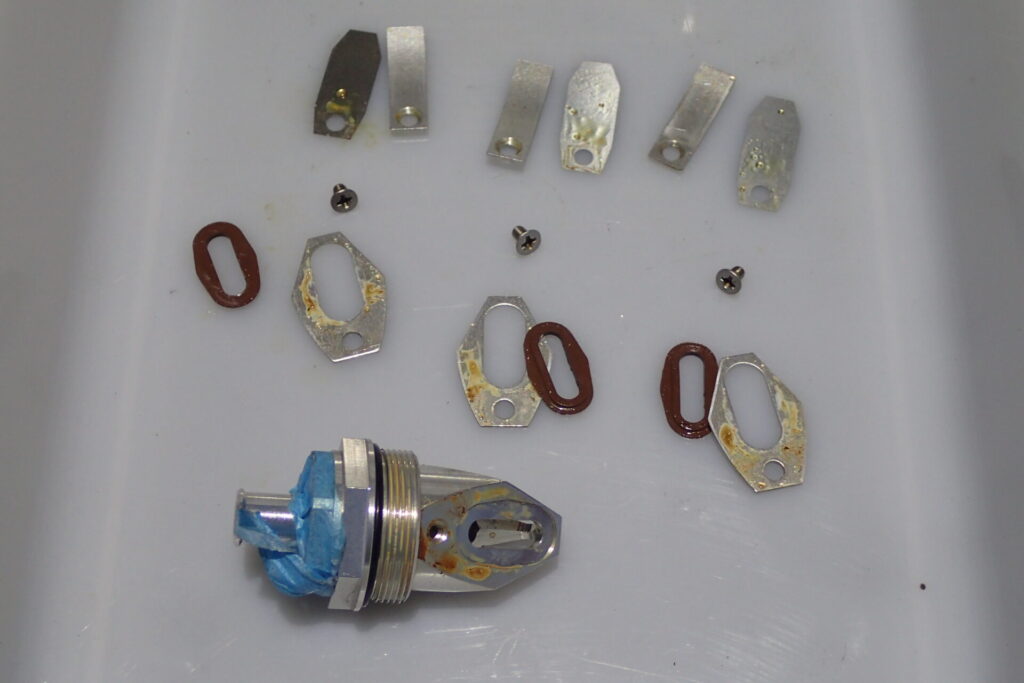
Here all three are taken apart.
Each one had the same oil and emulsion on it.
At this point, I couldn't decide whether to clean it and put it back together, or to buy a full overhaul kit (6,600 yen) from TERAMOTO and replace the parts.
But it was several years old, and I thought that if I just cleaned it and reassembled it now, I would never get round to a full overhaul. So I decided to do a full overhaul, hoping it would make the bike nicer to ride.
By the way, for cleaning I used Kimwipes, a lint-free wiper that leaves very little fluff or paper dust.
I didn't want paper fibres getting on the gaskets and spoiling the seal.
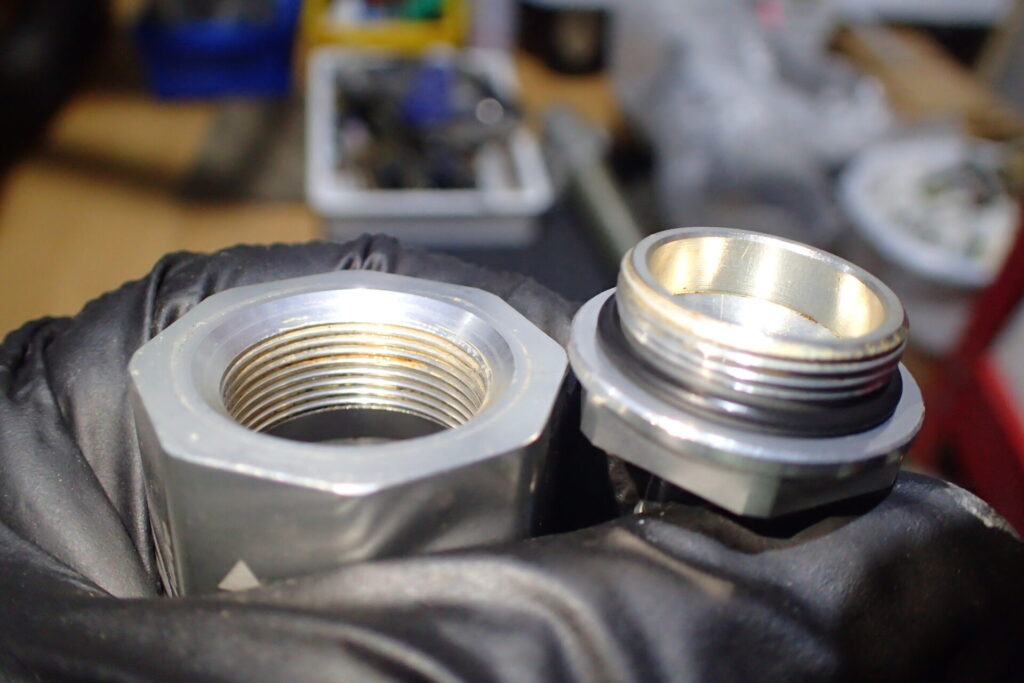
If you are doing a full overhaul, also take apart the side opposite the throttle.
The full overhaul kit also includes the O-ring on the right.
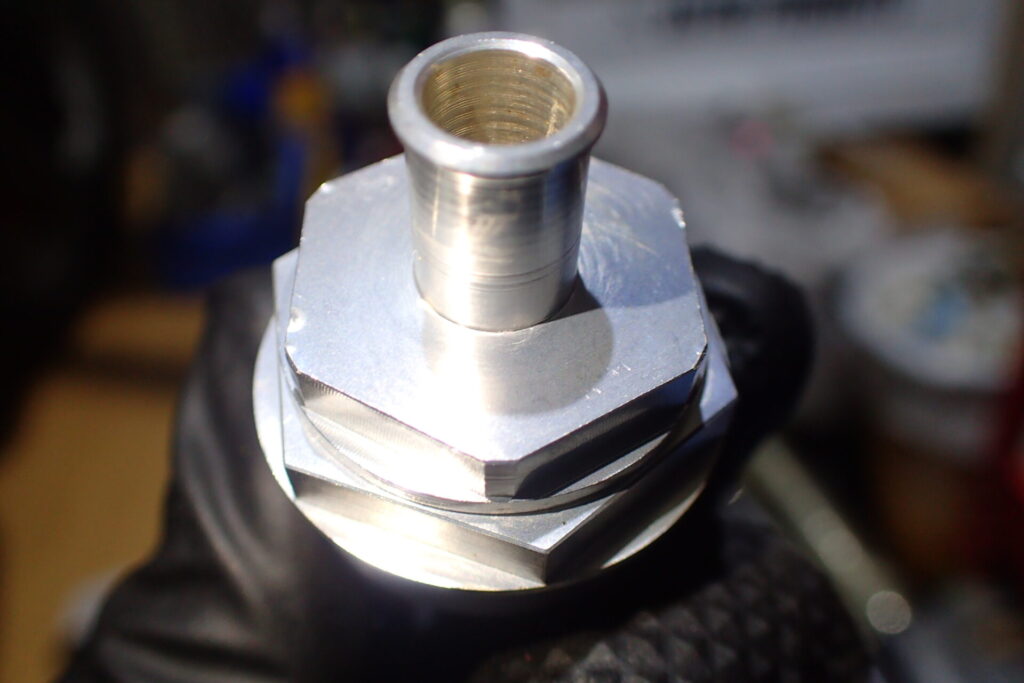
Now for a mistake I made.
The throttle side can be taken apart further from the state in the photo above.
Can you see that the hexagon has two steps?
This part can be loosened.
But as you can see in the photo above, the flats for the spanner are very thin.
So I tried to loosen it with the thinnest tool I had, but...
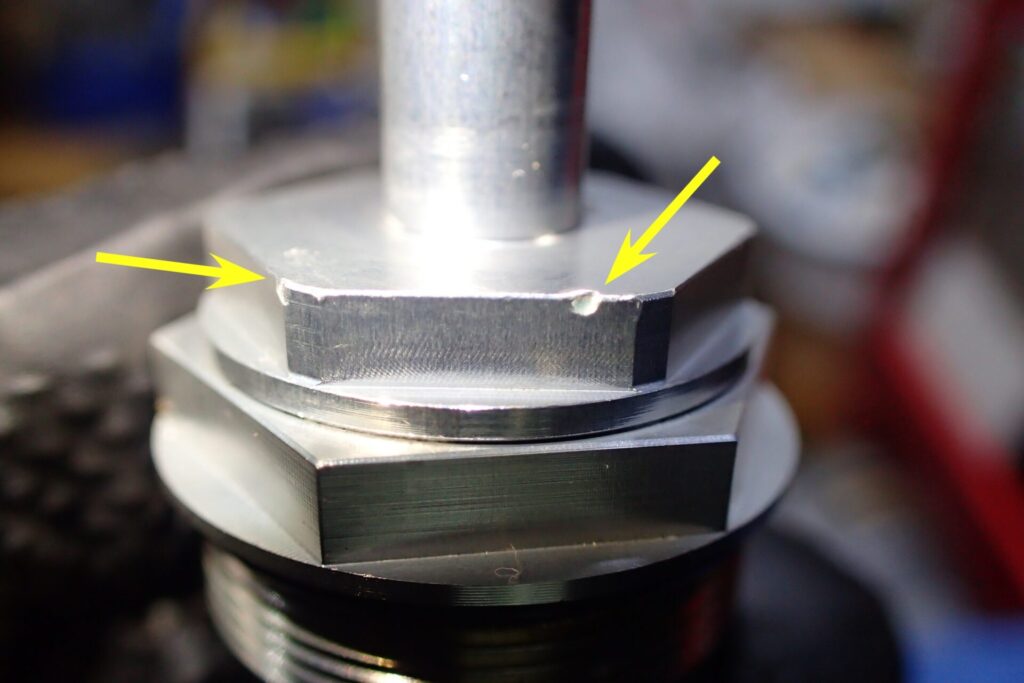
My spanner was too thick, so it sat at an angle. The force did not go where it should, and all I did was dent the body.
TERAMOTO sells a special T-REV tool.
I used to wonder who would ever buy one, but after doing this job myself, I understand why they sell it.
I gave up on replacing the O-ring in this part...
The special T-REV tool costs 8,000 yen each, after all...
With the disassembly done, I ordered the full overhaul kit and am waiting for the parts to arrive.
Continued in Part 2.
My T-REV series on the BMW G650GS:
- Review: how the T-REV changed my G650GS
- Fitting the T-REV
- Maintenance part 1: taking it apart (this post)
- Maintenance part 2: full overhaul
- Removing the T-REV and riding without it