Hello everyone, Boo here.
Today I'm replacing the rear hub dampers on my BMW G650GS.
First, what is a rear hub damper?
It's the part marked with the yellow arrows in the photo below.
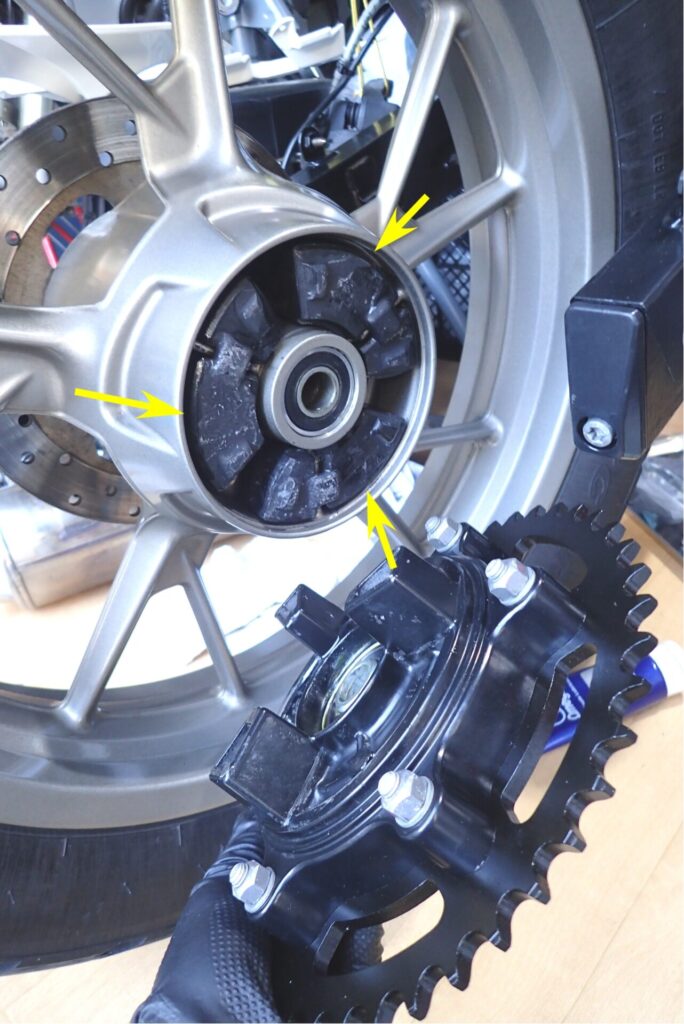
You could describe the rear hub damper as something that cushions the shocks between the rear wheel and the rear sprocket.
A bike moves because the engine's rotation is passed to the chain, and the chain turns the rear tyre.
In other words, the engine's rotation and the tyre's rotation are linked.
But the tyre's speed changes from moment to moment, for example over bumps in the road, while the engine tries to turn at a steady speed if you hold the throttle steady.
This creates small differences between the engine's rotation and the tyre's rotation. Slack and tension in the chain probably absorb some of this, but whatever isn't absorbed is passed to the engine or felt as jerkiness when riding.
The rear hub damper is the part that absorbs these speed differences.
Recent bikes also have a slipper clutch in addition to the hub damper, so I think strong engine braking and jerkiness are reduced further.
The G650GS has three dampers.
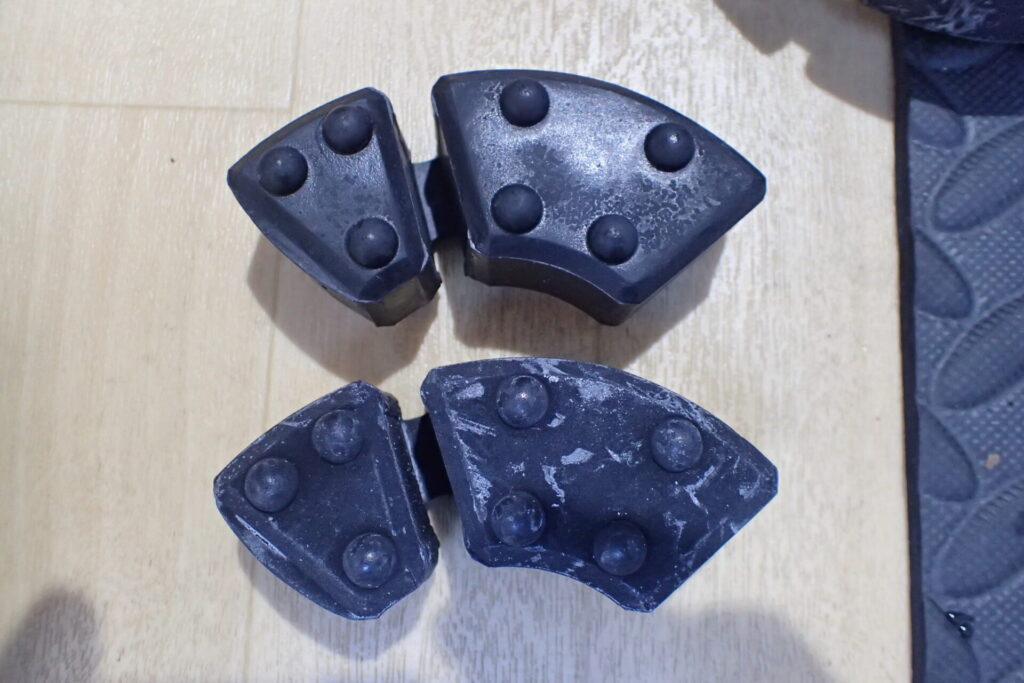
On their own, they look like the photo above. By the way, the top ones in the photo have done about 20,000 km and the bottom ones are new (the bottom ones look dirtier, so you might think it's the other way round, but the bottom ones are new).
Comparing old and new, I couldn't see any obvious wear or dents.
The old ones just felt a little harder.
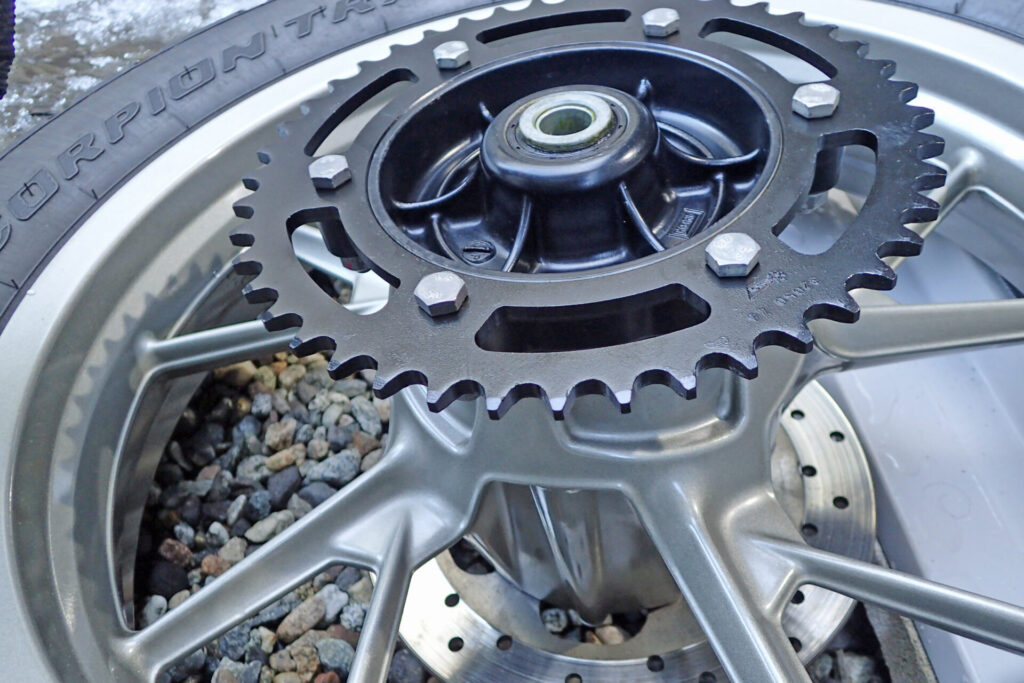
Now for the replacement.
Remove the wheel from the bike.
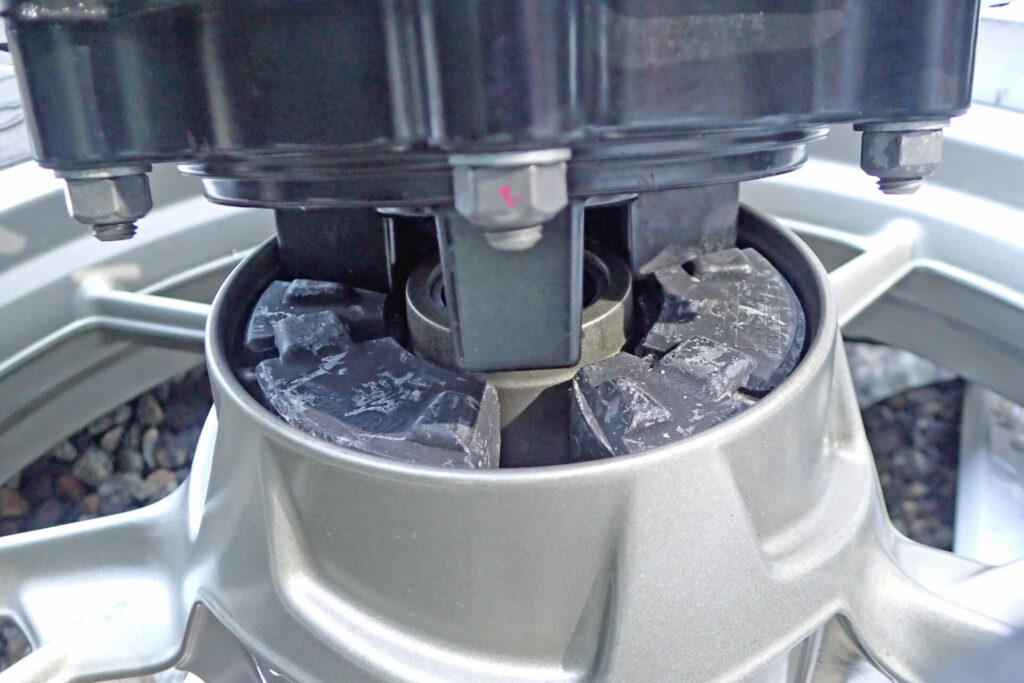
The sprocket just sits in the wheel, so it comes off when you lift it.
The fit isn't tight; if anything it's loose and comes off easily.
I suppose it needs this much play to absorb the shocks.
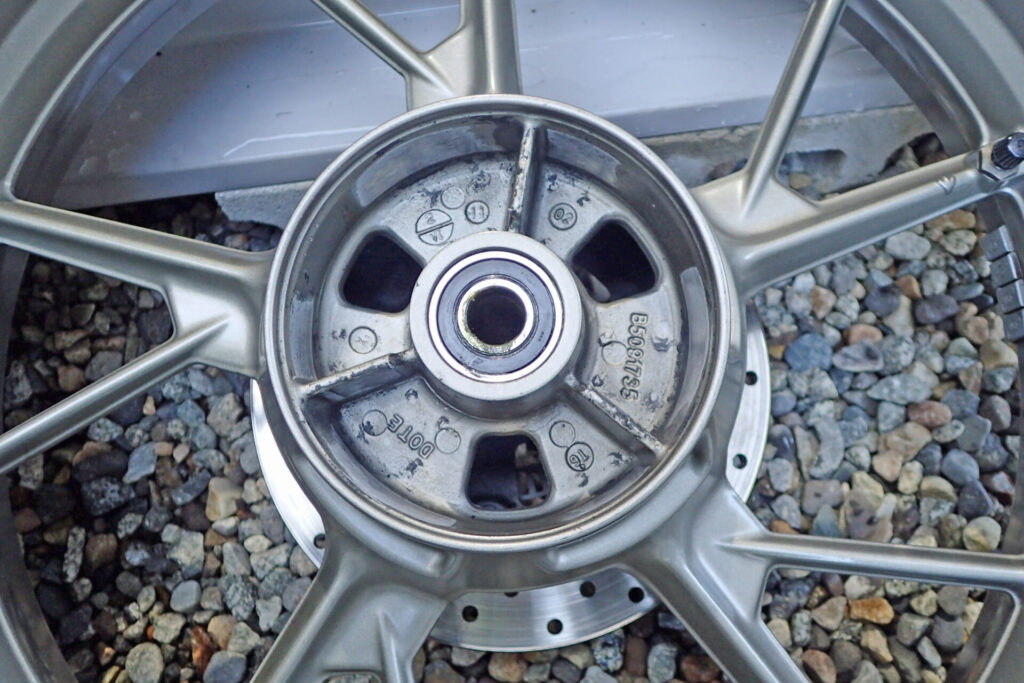
Here the hub dampers are out.
Where the hub dampers sat, the paint had worn off and there were small bits of rubber, so I could see they had been doing their job as dampers.
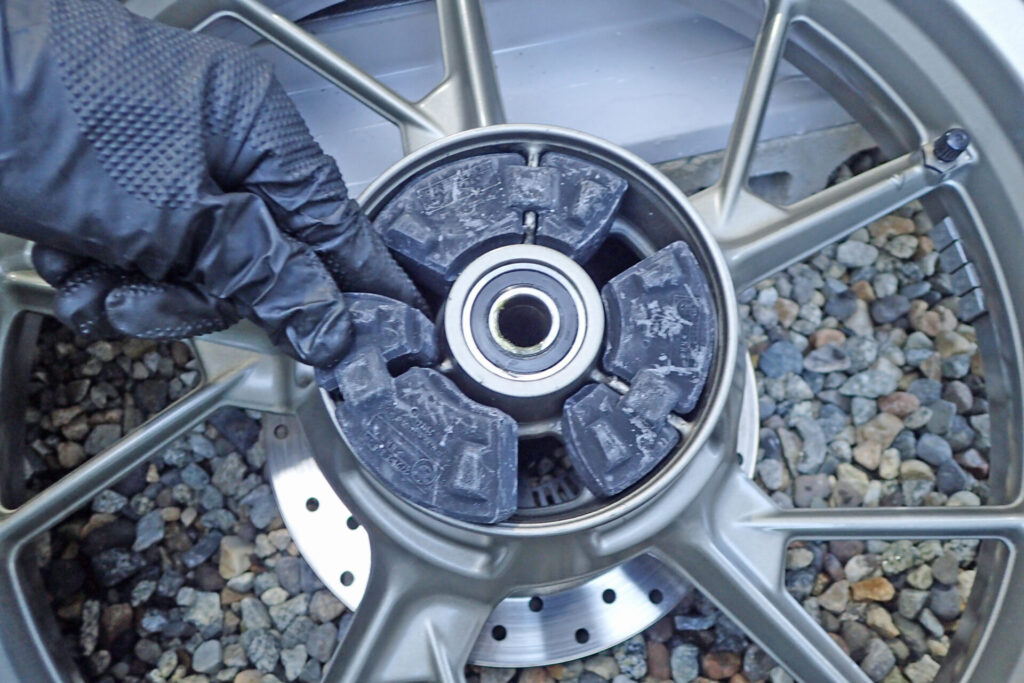
Fitting the dampers.
I was worried about which way round they go, but they're shaped so they only fit the right way.
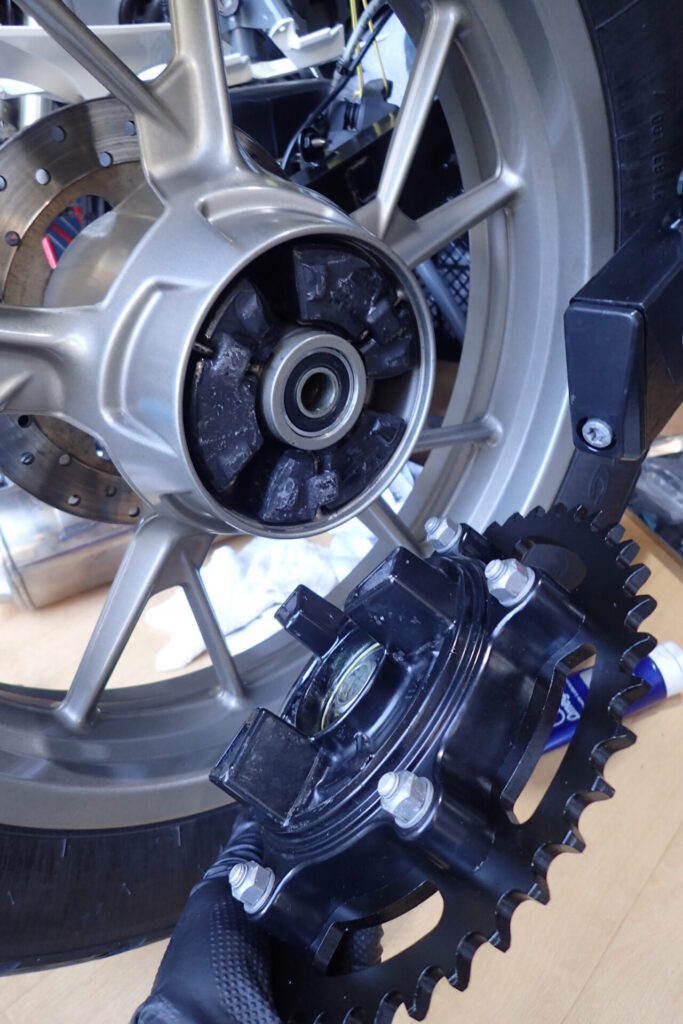
Refit the sprocket and you're done.
I've covered what to check after replacing them, and how to apply rubber grease to the hub dampers, in this post.