"My rear brake doesn't seem to work as well lately..." "Come to think of it, I've never looked at the rear brake fluid."
Are you feeling a little uneasy about your bike's brakes right now?
In motorcycle maintenance, something just as important as engine oil is the brake fluid.
The rear brake fluid in particular is easy to put off checking, because the reservoir can be hard to find or hidden behind a side cover.
But leaving it is very dangerous.
In the worst case, it can cause vapour lock, where the brake suddenly stops working while you are riding.
Don't worry: checking the rear brake fluid needs no special tools, and anyone can do it in about three minutes.
In this post I explain, so that even beginners can follow, how to check the rear brake fluid properly (level and colour) and why the fluid level drops.
To protect your bike and yourself, take these three minutes before a tour.
Why do you need to check the rear brake fluid?
To prevent vapour lock, which can be life-threatening
Why do you need to check the level and colour of a fluid?
Because brake fluid is hygroscopic (it absorbs moisture easily).
Fluid that hasn't been changed for a long time contains water. If you then work the brake hard and it heats up, the water boils and forms bubbles in the lines. The bubbles absorb the pressure, so the lever or pedal goes spongy and the brake stops working: this is vapour lock.
Checking regularly and knowing how worn the fluid is is the first step to preventing accidents.
Step by step with photos: checking the rear brake fluid
You can check it yourself, but brakes are critical safety parts. If you are not confident about work such as changing the fluid, leave it to a professional.
1. Find the reservoir
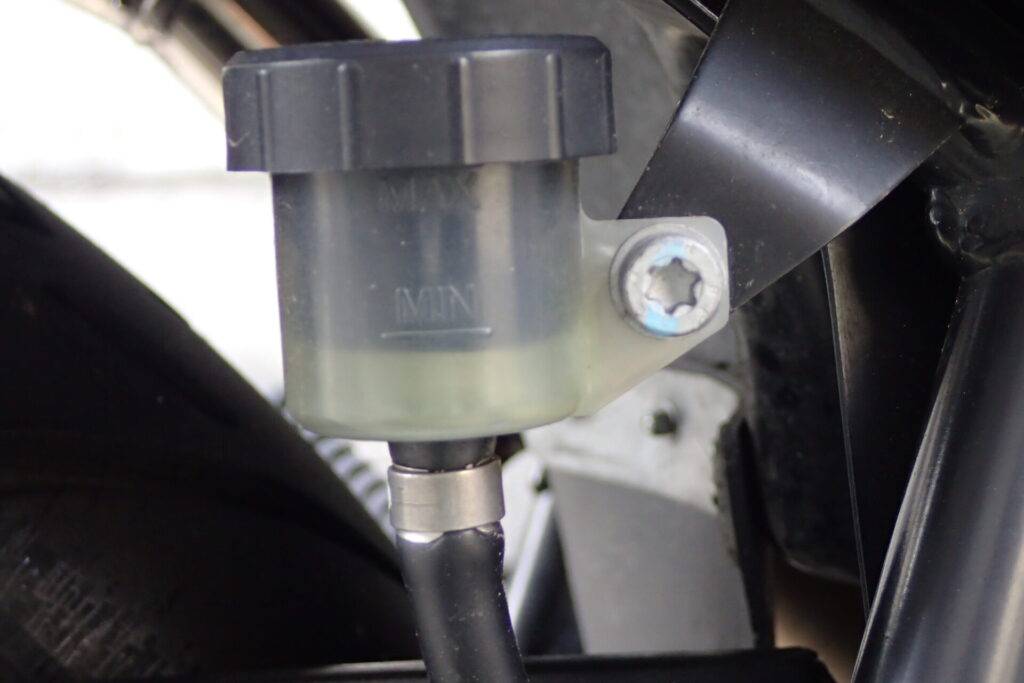
First, find the reservoir that holds the rear brake fluid. Its position varies between bikes, but it is usually in one of these places:
- Near the right footrest: the most common place. Look near the base of the rear brake pedal.
- Inside a side cover: on off-road bikes and some naked bikes, you may not see it until you remove the cover.
- Around the seat rail: with a separate (remote) reservoir, it may be mounted a little higher up.
Look for a small translucent plastic container with fluid inside.
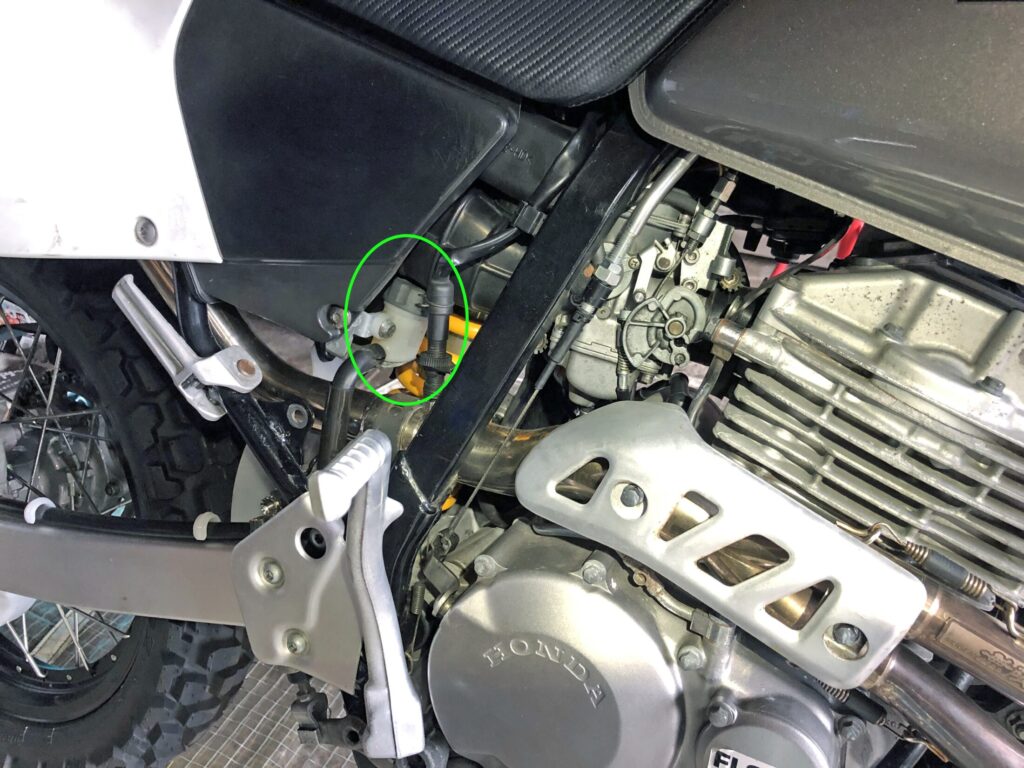
On a Honda XR250 (the Japan-market XR BAJA), it is where the green circle is in the photo above.
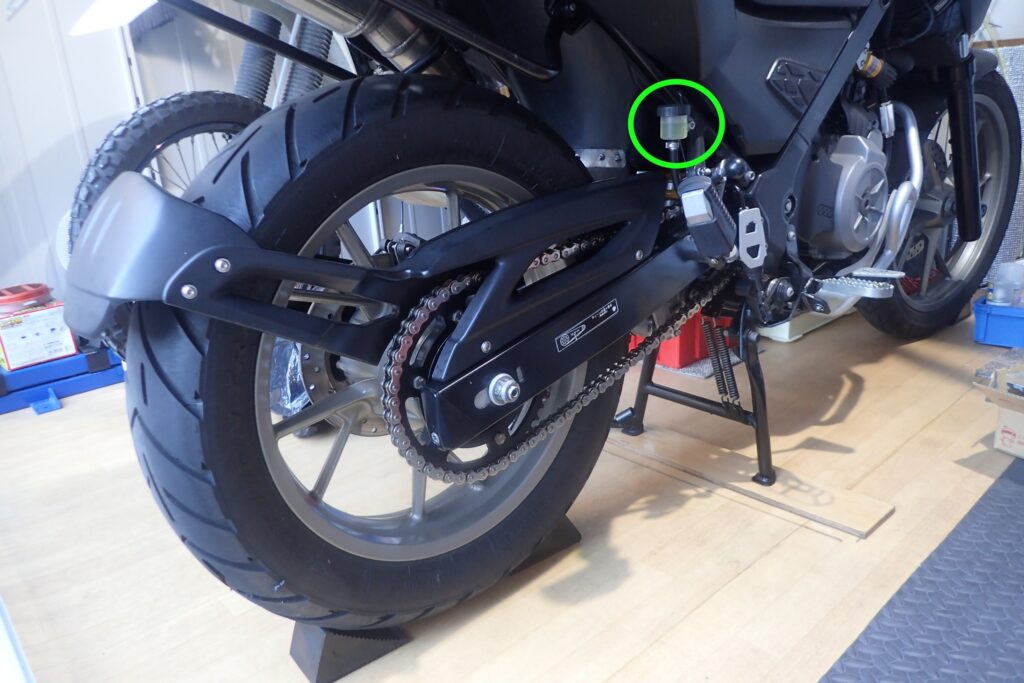
On a BMW G650GS, it is where the green circle is in the photo above.
2. Hold the bike upright and check the level
Once you've found the reservoir, check the fluid level first. The important thing here is to hold the bike upright. Leaning on the side stand, you can't see the level accurately.
- If it has a centre stand, put it on the centre stand.
- If not, sit on it and hold it upright (or use a paddock stand).
The reservoir has two lines: UPPER and LOWER (MAX and MIN on some bikes). If the fluid is between these two lines, the level is fine. If it is right at the LOWER line or below it, take care.
3. Judge how worn the fluid is by its colour
Check the colour along with the level. New brake fluid is almost always clear and colourless, or pale amber (yellowish).
- Light brown: it has started to deteriorate. Get ready to change it soon.
- Dark brown to black: it is completely worn out. Its performance has dropped, so change it straight away.
If it looks clearly dark from the outside, there may well be dirt built up at the bottom of the reservoir too.
This is the rear brake fluid reservoir on my G650GS.
It is translucent, so you can check both the colour and the level by eye.
In the photo above, the diaphragm has sunk down onto the fluid surface, so you can't see the level.
Why does it drop? Two reasons the rear brake fluid level goes down
Reason 1: brake pad wear (the most common case)
"It isn't leaking, but the level has somehow dropped to near the LOWER line..." In most cases, this is because the brake pads have worn.
As the pads wear thinner, the piston moves further out. To fill the space the piston leaves, fluid moves from the reservoir into the system, so the level in the reservoir drops.
In this case, don't top up the fluid; first check how much pad is left. When you fit new pads and push the piston back, the level returns to where it was. If you top up carelessly, the fluid will overflow when you change the pads.
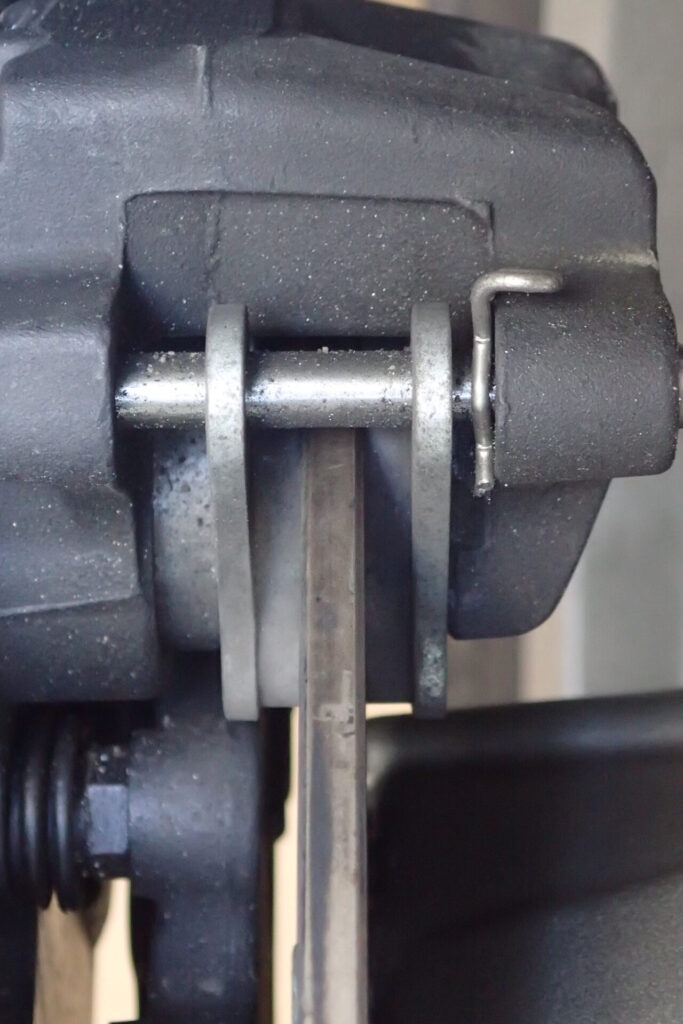
So I checked the rear brake pads, and they didn't seem unusually worn.
Reason 2: fluid is leaking somewhere (dangerous!)
If the fluid drops quickly while there is plenty of pad left, a leak is possible.
- Brake hose joints
- Caliper seals
- The reservoir hose
Check these places for seeping fluid. If you find a leak, stop riding and consult a motorcycle shop straight away, or replace the parts.
Fixing a sunken diaphragm
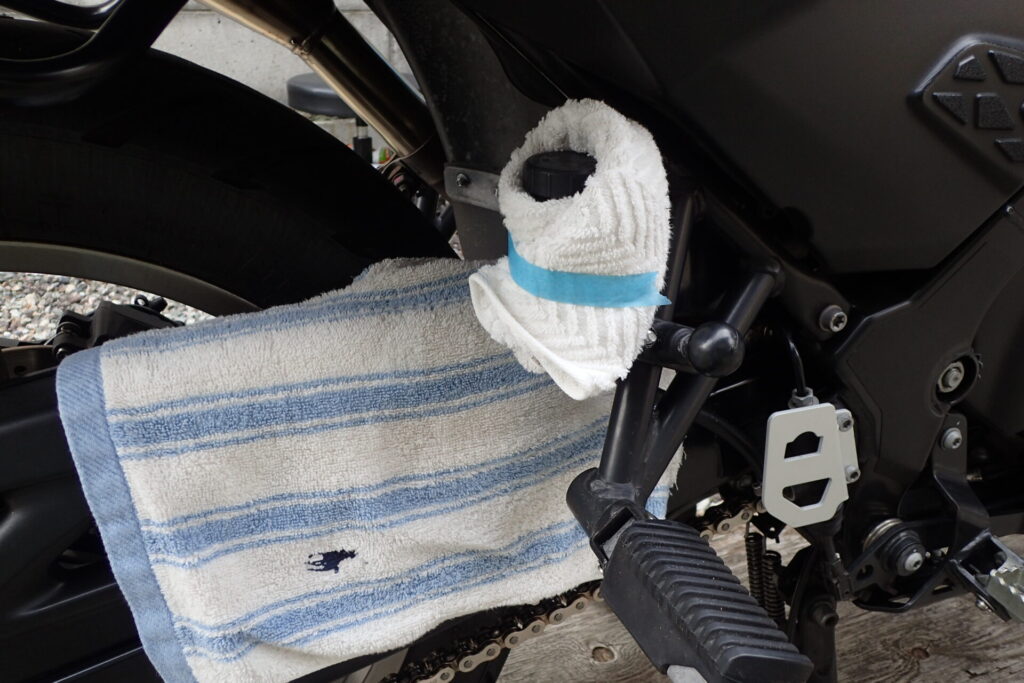
My check showed that the diaphragm had sunk down, so I'll fix that.
Brake fluid damages paint and other surfaces, so cover the area around it with rags in case of splashes.
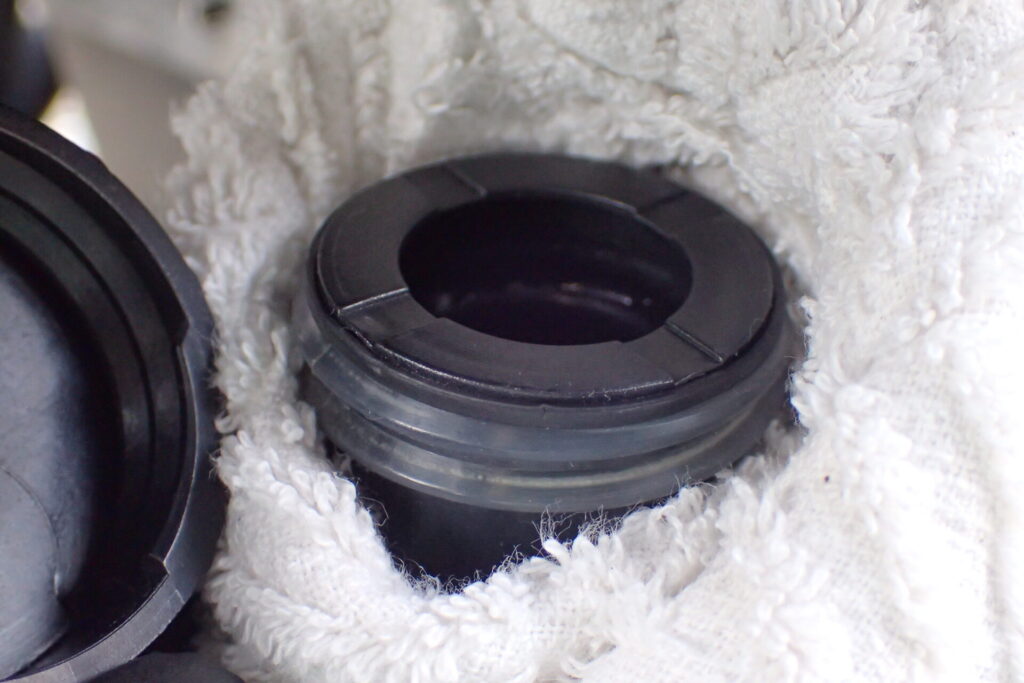
The cap comes off by turning it anticlockwise.
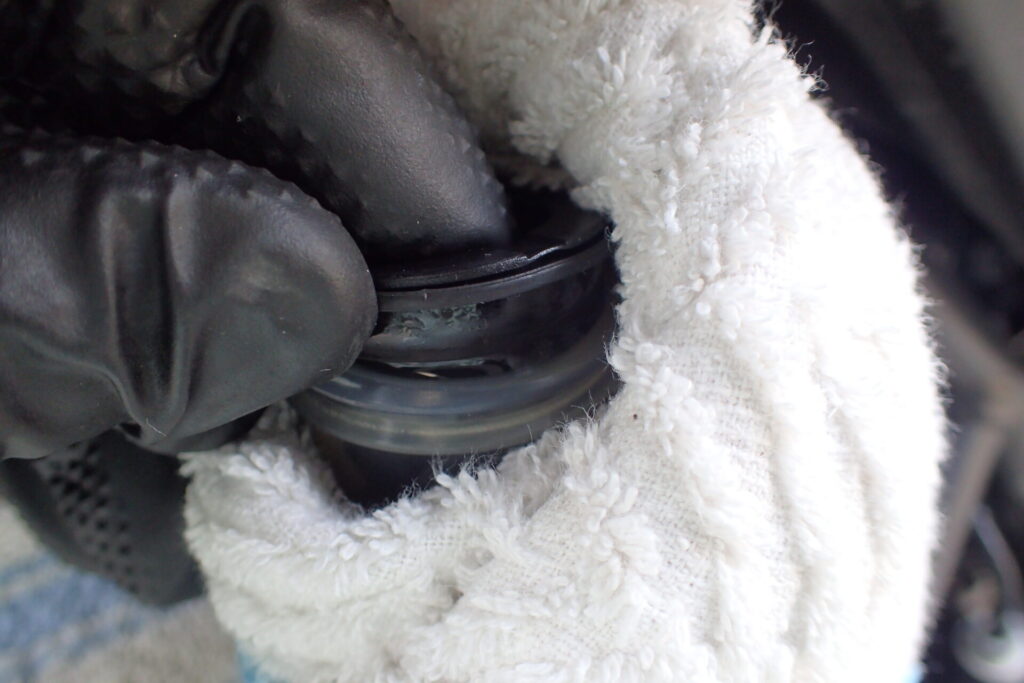
Under the cap there is a hard inner cover and a rubber diaphragm (this may differ between bikes).
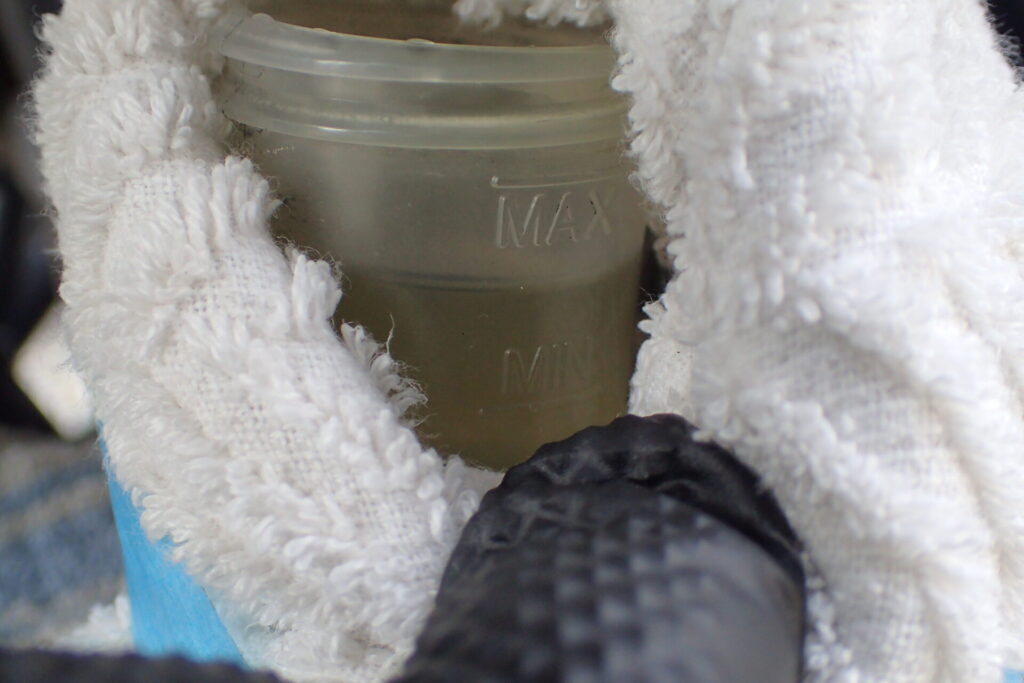
Here I have carefully removed the diaphragm, without spilling fluid or letting fluid on the diaphragm drip onto the bike.
Now you can check the level. The fluid is exactly halfway between the MAX and MIN lines, so the amount seems fine.
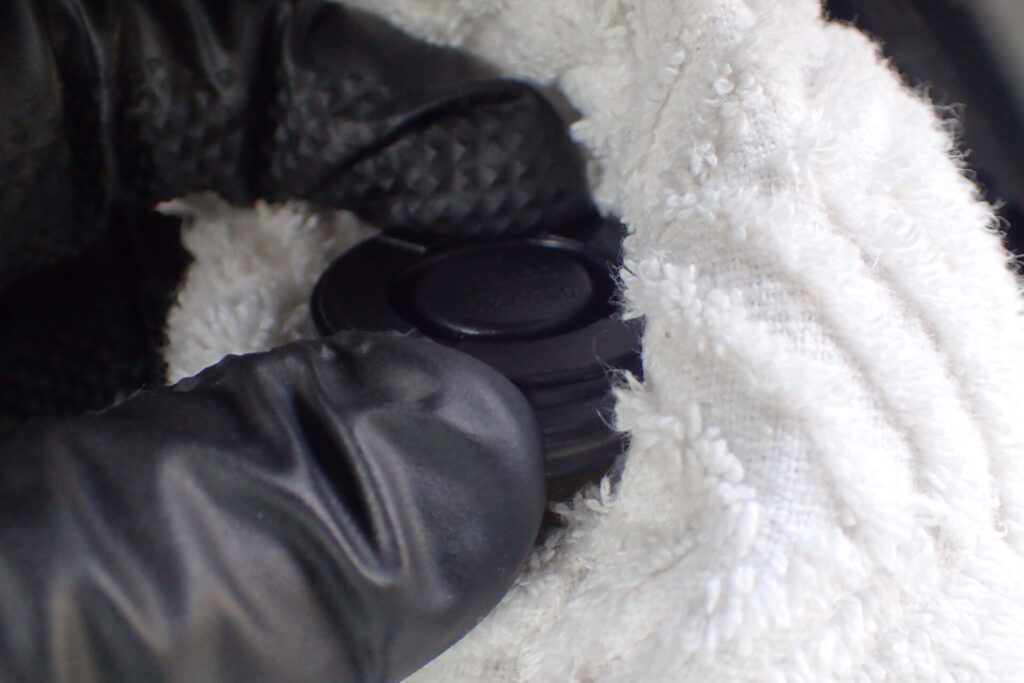
Refit the diaphragm and inner cover just as carefully as you removed them, so as not to spill any fluid.
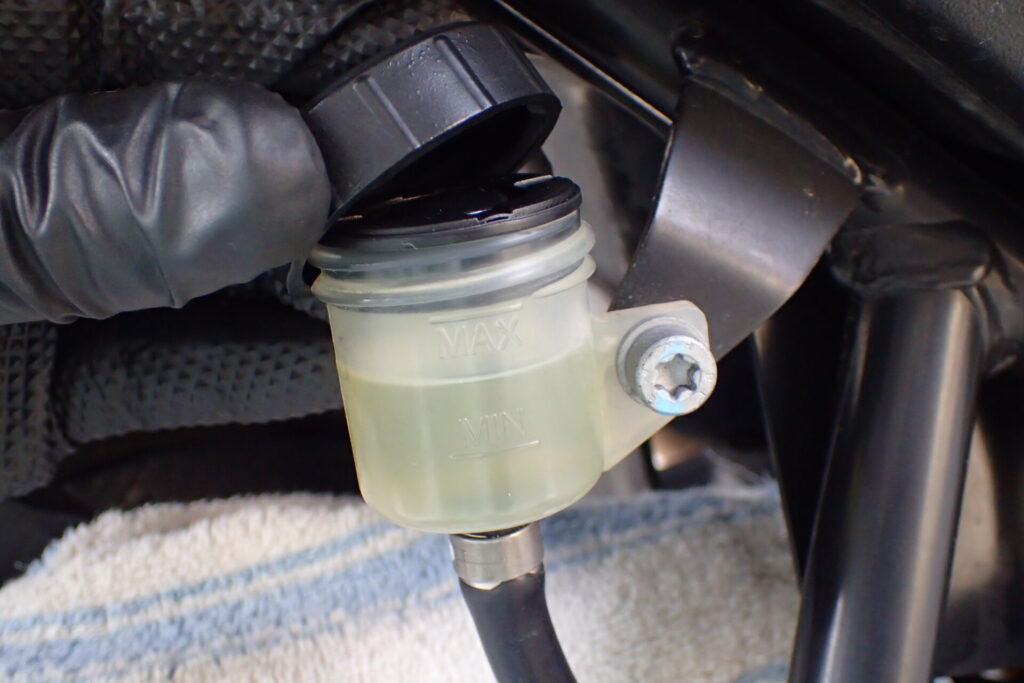
With the inner cover and diaphragm back in, refit the cap and the job is done.
The fluid is slightly yellowish (it was clear and colourless when new), so I planned to change it soon, but in the end I didn't change it before I sold the G650GS.
Recommended items for doing it yourself
DOT 4 is the usual standard for changing or topping up
If the check shows the fluid is dirty or low, it needs changing. Most bikes use DOT 4 brake fluid (*older bikes and Harley-Davidsons may use DOT 5 or DOT 3, so always check the standard stamped on the reservoir cap or in the service manual).
For topping up, it helps to have these items ready.
- Brake fluid (DOT 4): genuine fluid from Honda, Yamaha and so on is good quality and a safe choice.
- Oil-resistant tube and a waste container: for disposing of old fluid.
- Parts cleaner: essential for cleaning up straight away, because brake fluid dissolves paint.
By the way, the brake fluid I use now is an A.S.H. DOT 4 fluid, a bit of a splurge.