Hello everyone.
This is the final part of my front fork maintenance on the Honda XR250 BAJA (the Japan-market XR250 / MD30): setting the oil level, fitting the WPC-treated springs and completing the assembly.

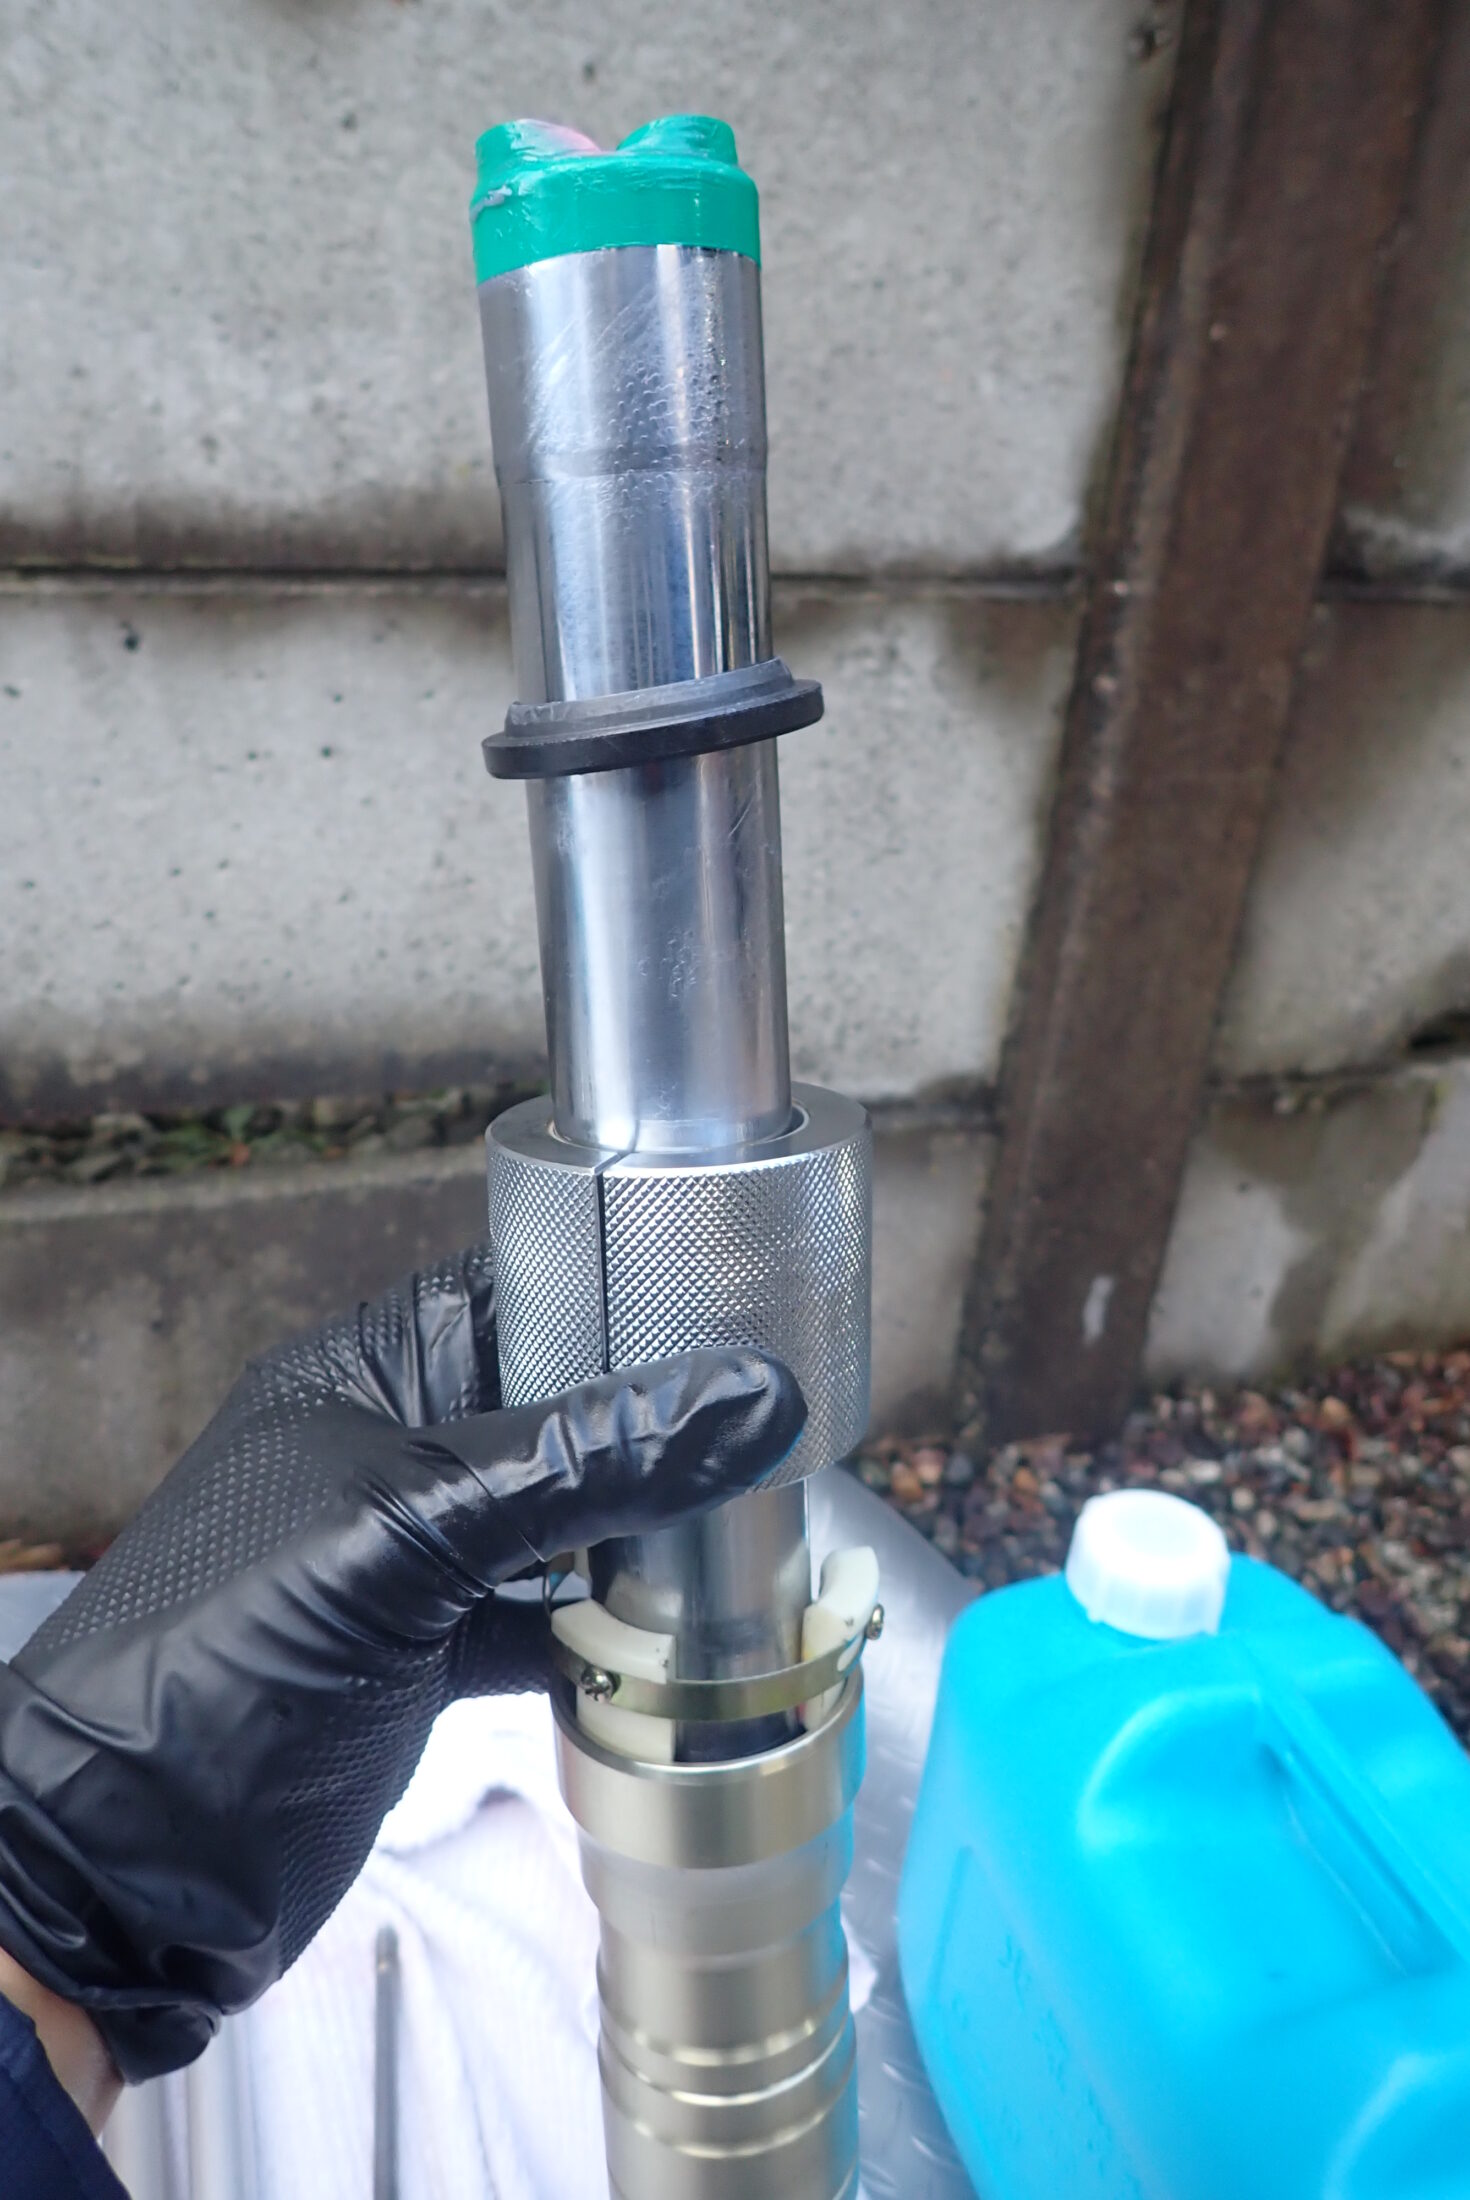
This is my home-made tool for setting the oil level.
It's a syringe that can be used with oils, clear hose from a DIY store and a metal pipe that fits the hose.
It's cheap but a bit awkward to use, so if you set fork oil levels yourself, I think a proper tool is a better choice.
I haven't used them myself, but among commercial tools, the DRC gauge apparently lets you set the level with one hand. If you can keep the fork standing upright, a syringe-type oil level tool (such as Daytona's) could also work.

I marked the oil level from the service manual (107 mm for the XR BAJA (Y)) on the metal pipe.

This is how it's used.

Once the oil level is set, it's time to prepare the springs.
I had the springs WPC-treated (a fine-particle shot-peening surface treatment), and a note came with them.
The note said: “After WPC treatment the parts have been ultrasonically cleaned, but please clean them with parts cleaner or similar before use (on arrival).” So I cleaned them with parts cleaner.

This is the parts cleaner after washing. It's cloudy, but I think this is probably residue from the cleaning oil. There were no visible particles.

This rag is what I used to wipe the four springs after cleaning them with parts cleaner. This much dirt came off, which shows that cleaning before fitting really is necessary, just as the note said.

Now to put the springs in. Keep the wire that holds up the rod straight, or it will catch on the springs and give you a hard time.

Between the long spring (spring B) and the short spring (spring A) goes the washer in the photo above.
However, I decided to replace this washer with a thrust bearing.

This is the thrust bearing I got.

The stock washer was 1.56 mm thick.

The thrust bearing I'm fitting is 4.00 mm, so it adds about 2.4 mm (4.00 − 1.56) of preload.
I sometimes fit a screen, a smartphone and a 360° camera at the front, which adds weight, so I'm happy with this.

I put the thrust bearing between springs A and B.

Next, spring A goes on top of the thrust bearing.
At its free length the spring stands taller than the rod, as in the photo. So the job is to compress the springs and fit spring A before the rod drops down.
I took the photo above while stopping the rod from dropping with my thumb and middle finger, holding spring B down with my thumb and ring finger, and supporting spring A with my index finger and thumb.

I just about managed to fit the top bolt.

The spring and the thrust bearing have the same outer diameter.

Tighten the top bolt (22 mm) and the nut (17 mm) to secure them.

Once the top bolt is secured to the inner tube, the job is done.

Maintenance on both front forks is finished!!

The inner tubes, re-chromed by Toyo Koka, a plating company in Japan!

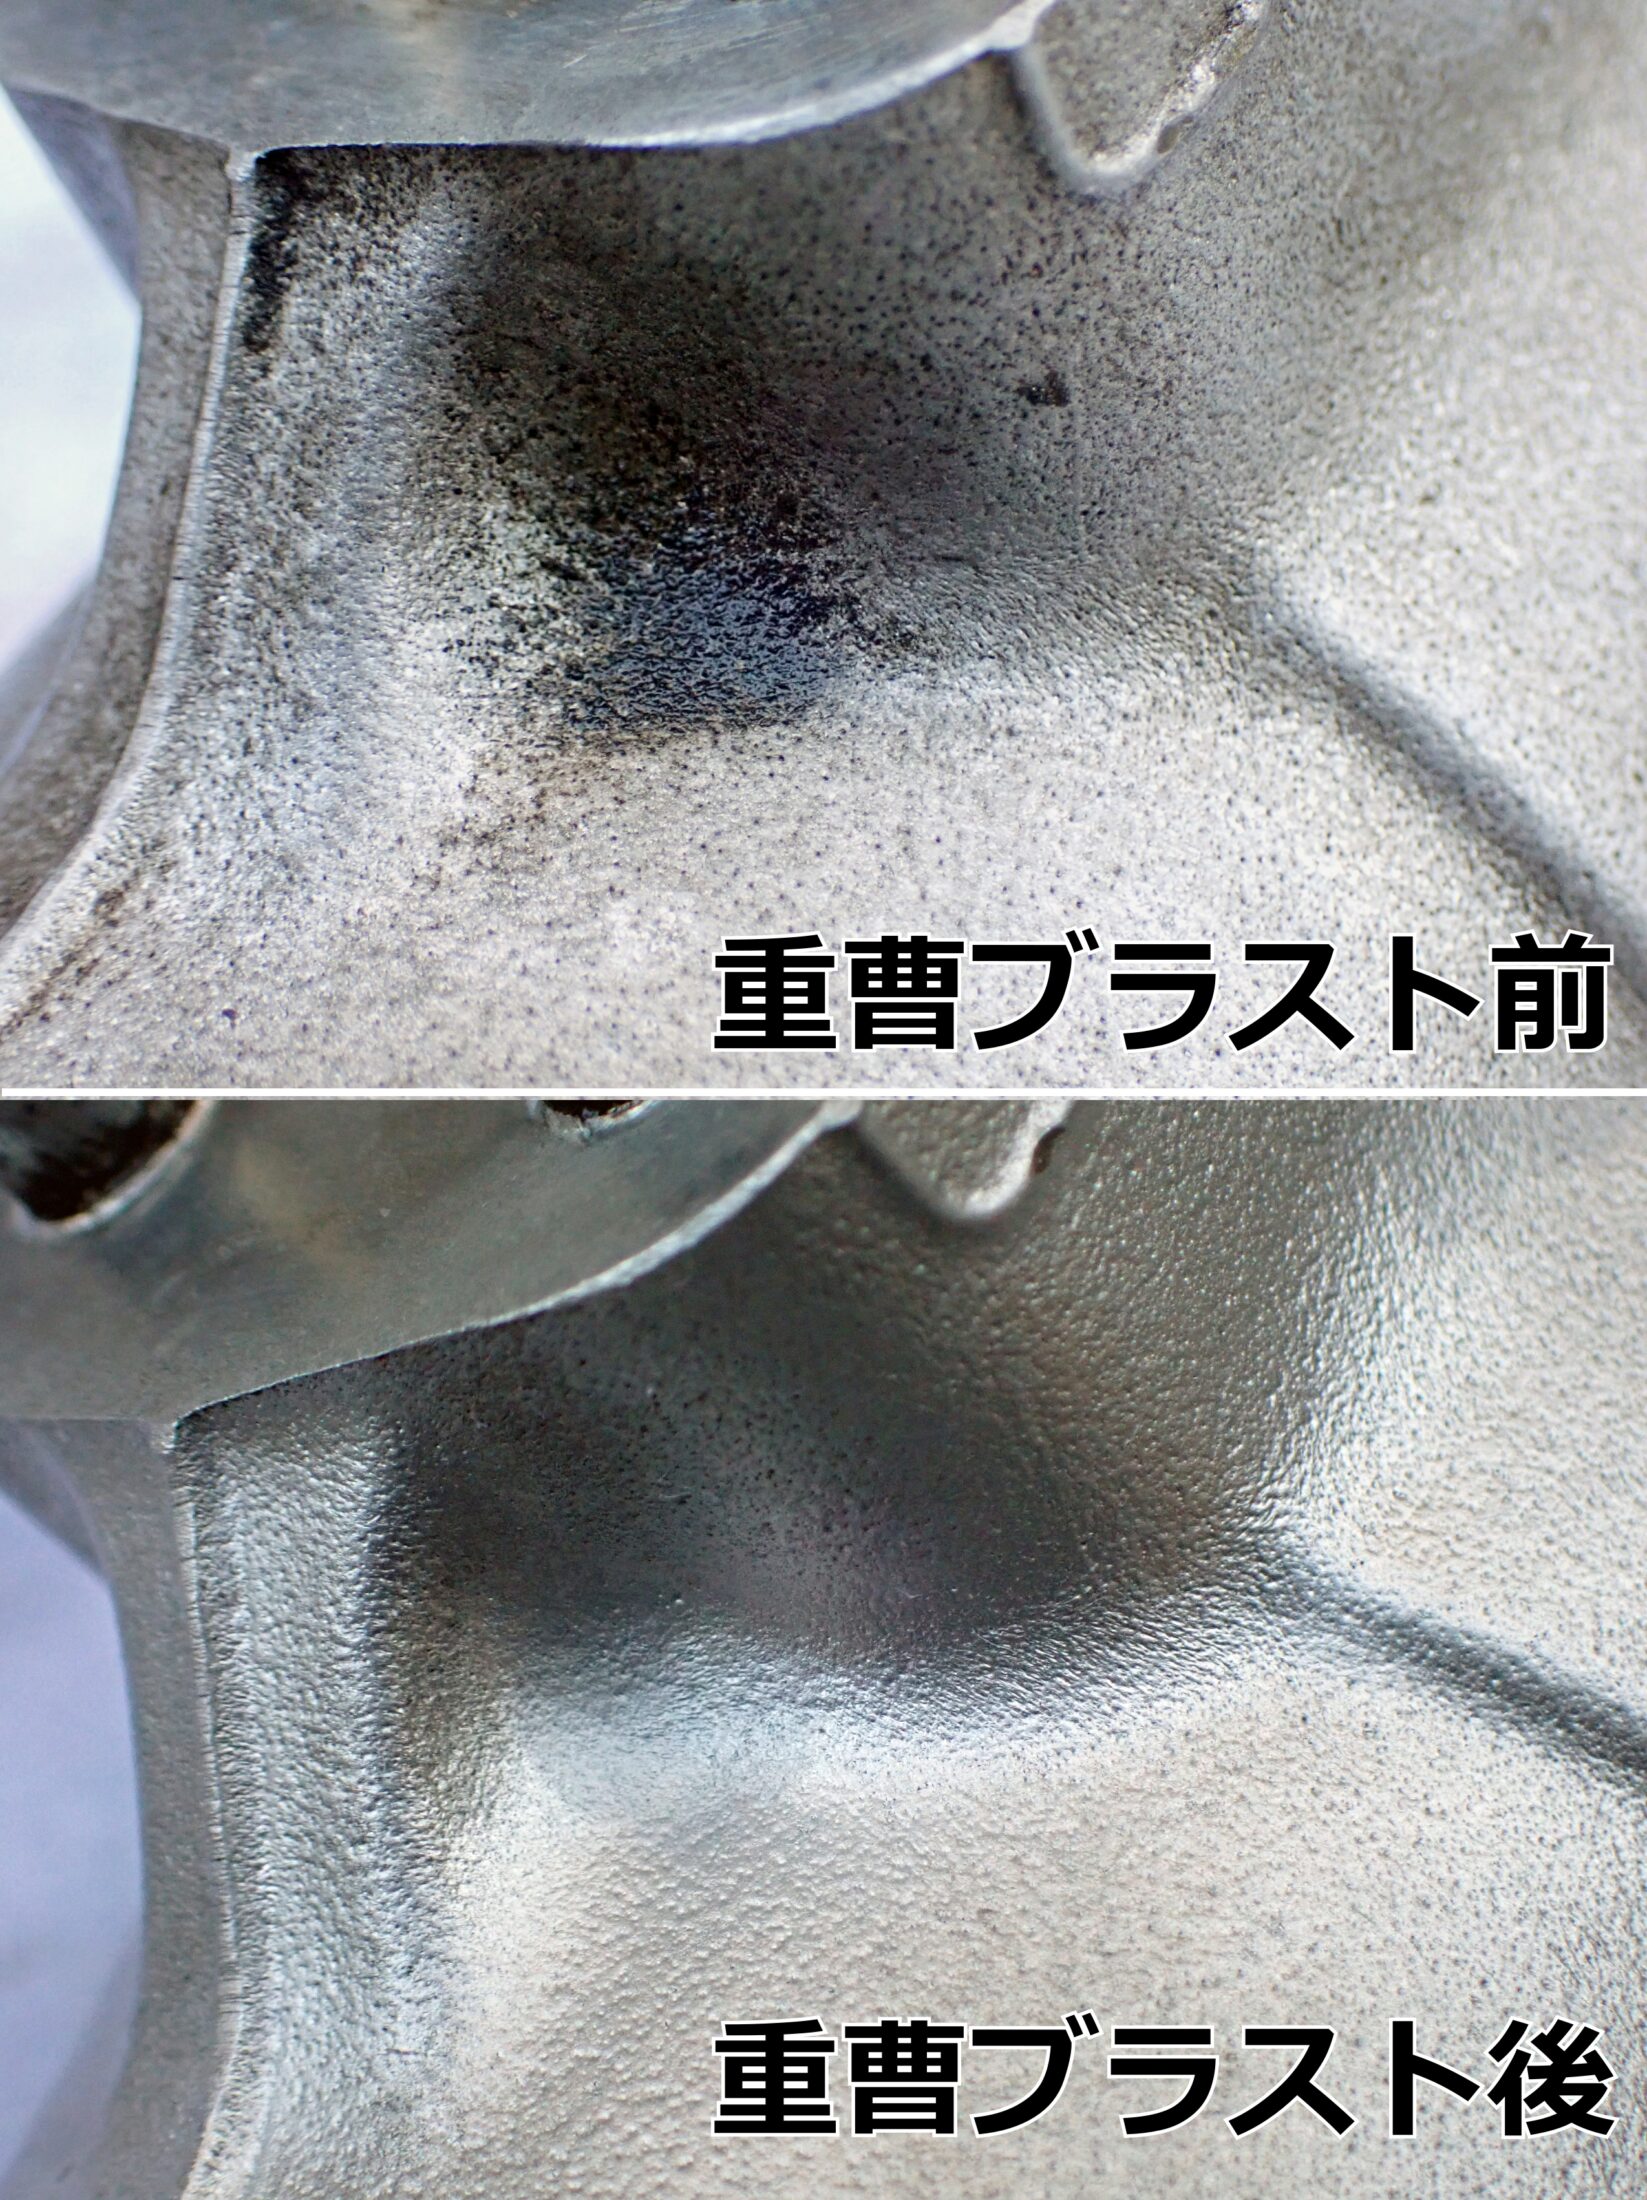
And the fork bottoms (axle holders), which I wet-blasted with glass beads using a Kärcher after a lot of trial and error.
-

-
Wet Blasting Fork Axle Holders with Glass Beads and a Karcher (Honda XR250)
Wet blasting the aluminium fork axle holders of a Honda XR250 (XR250 BAJA) with #120 glass beads and a Karcher: masking the anodised tubes, baking soda vs glass bead results, and why the clean-up put me off.
It took a long time to get here, but I enjoyed doing it bit by bit.
If you're working on XR250 BAJA forks, my teardown series compares the internals of these forks (ME08 springs and damping) with the stock MD30 parts:
-

-
Finding a Hidden Racer Setup: Honda XR BAJA (MD30) Front Fork Teardown (Part 1)
Hey everyone! There is always a unique, treasure-hunt-like thrill to buying secondhand parts, isn't there? You never quite know what kind of custom work the previous owner left behind. Recently, I picked up a set of used front forks for my own Honda XR BAJA (Model: MD30 / conventional fork model) and set out to perform a complete overhaul and oil change. Overview of the secondhand front forks waiting for a rebuild However, as I got deeper into the project, something started to feel slightly off. As I tore the forks down, a shocking truth came to light: these weren't ...

Earlier in this rebuild, part 2 covers fitting the seals and slide bushes and tightening the centre bolt:
-

-
Honda XR250 BAJA Front Fork Rebuild (Part 2): Seals, Slide Bushes, Seal Driver and Centre Bolt
Part 2 of rebuilding my XR250 BAJA forks: taping the inner tube, greasing seal lips, using a fork seal driver without scratching the tube, fitting the snap ring, and tightening the ME08 centre bolt while holding the cylinder.