Finding a Hidden Racer Setup: Honda XR BAJA (MD30) Front Fork Teardown (Part 1)
Hey everyone!
There is always a unique, treasure-hunt-like thrill to buying secondhand parts, isn't there? You never quite know what kind of custom work the previous owner left behind.
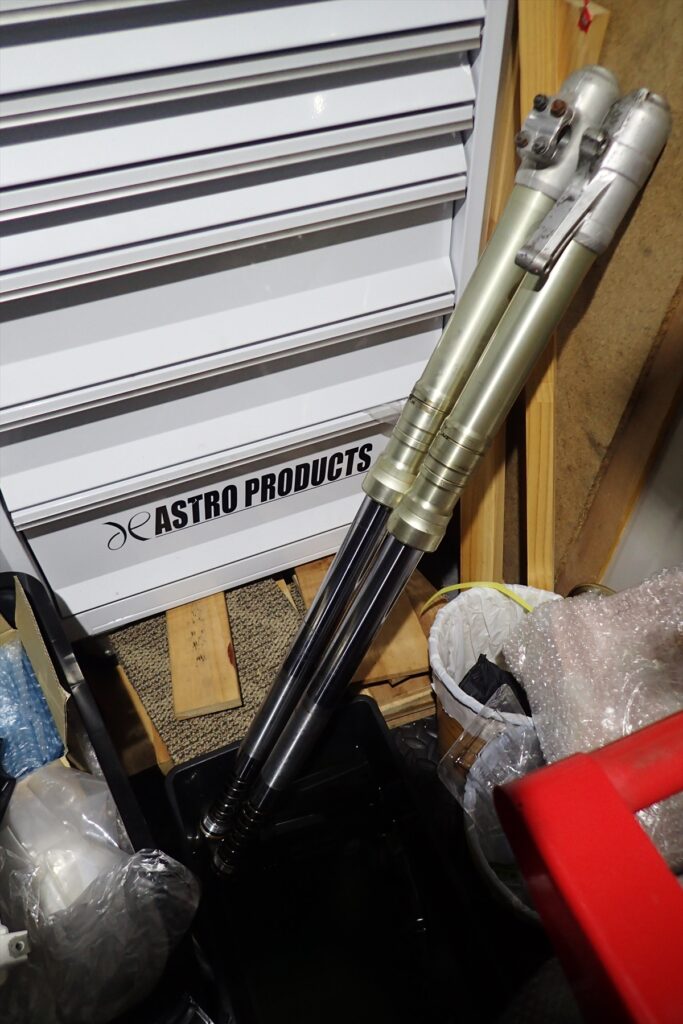
Recently, I picked up a set of used front forks for my own Honda XR BAJA (Model: MD30 / conventional fork model) and set out to perform a complete overhaul and oil change.
[Image 1: Overview of the secondhand front forks waiting for a rebuild]
However, as I got deeper into the project, something started to feel slightly off. As I tore the forks down, a shocking truth came to light: these weren't from a street-legal MD30 at all. They were high-performance forks from the pure enduro racer, the XR250R (Model: ME08)!
In this first installment of our three-part series, I’ll walk you through pulling the front forks, tearing them down, and the exact process that led me to realize these were competition-spec ME08 components.
1. Starting Maintenance: Removing the Fork Top Cap
First, remove the front forks from the bike and get ready to loosen the top caps.
🔧 Pro Tip: Always crack the top caps loose while the forks are still securely clamped in the triple trees (triple clamps). Once you take the forks off the bike, securing the slick outer tubes becomes incredibly difficult, making it nearly impossible to apply enough torque safely.
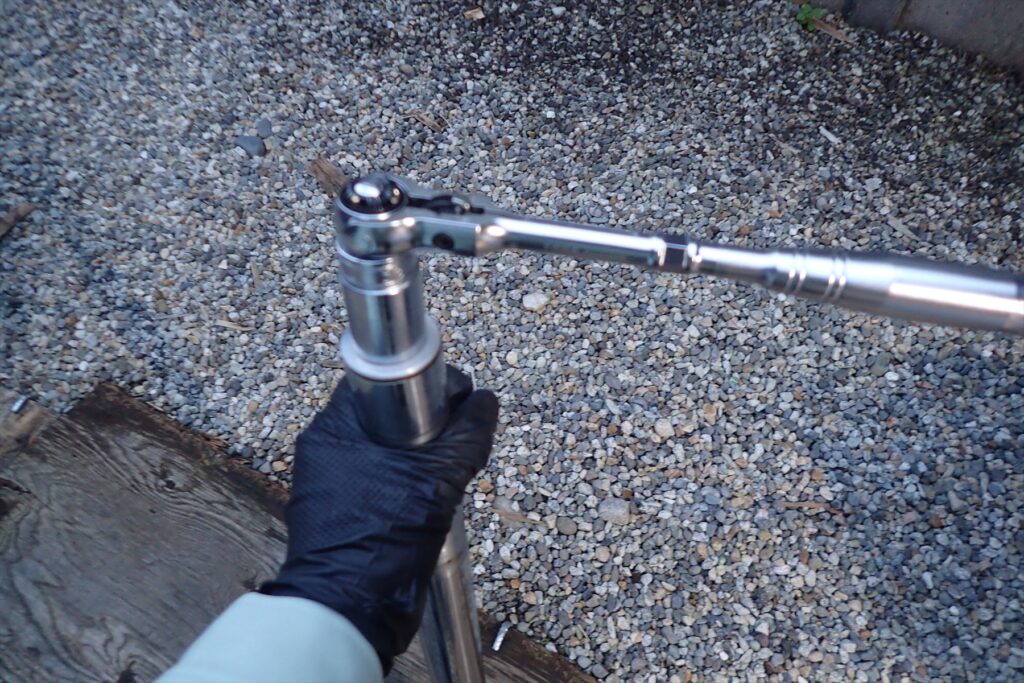
In my case, I was doing some fine adjustments with the forks already off the machine. To handle this properly, clamp or hold the inner tube carefully using proper protection to avoid scratching the surface, then use a ratchet wrench and a tight-fitting socket to loosen the top cap.
[Image 2: Loosening the fork top cap with a socket wrench]
Honda off-road bikes often feature odd, specialized sizes for their top caps (such as 24mm or 17mm, depending on the exact model year). Because of this, always use a high-precision socket tool. Press down firmly and squarely on the wrench while turning to ensure you don't round off the shallow hex flats of the cap.
2. Pulling the Springs: Something Feels Off with the Components
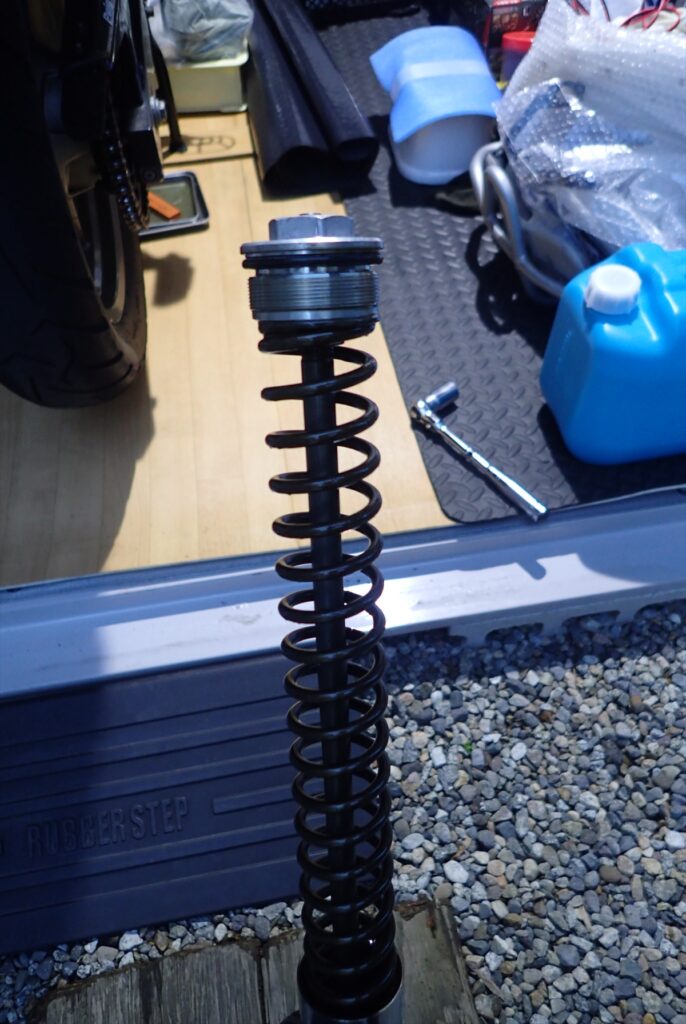
Once the top cap unthreads completely, pull out the inner rod and the front fork spring.
[Image 3: The extracted front fork spring and inner rod]
The exact moment I pulled the spring out, the first red flag went up.
"Wait a minute... the winding pitch and the length of this collar feel completely different from a stock MD30 setup."
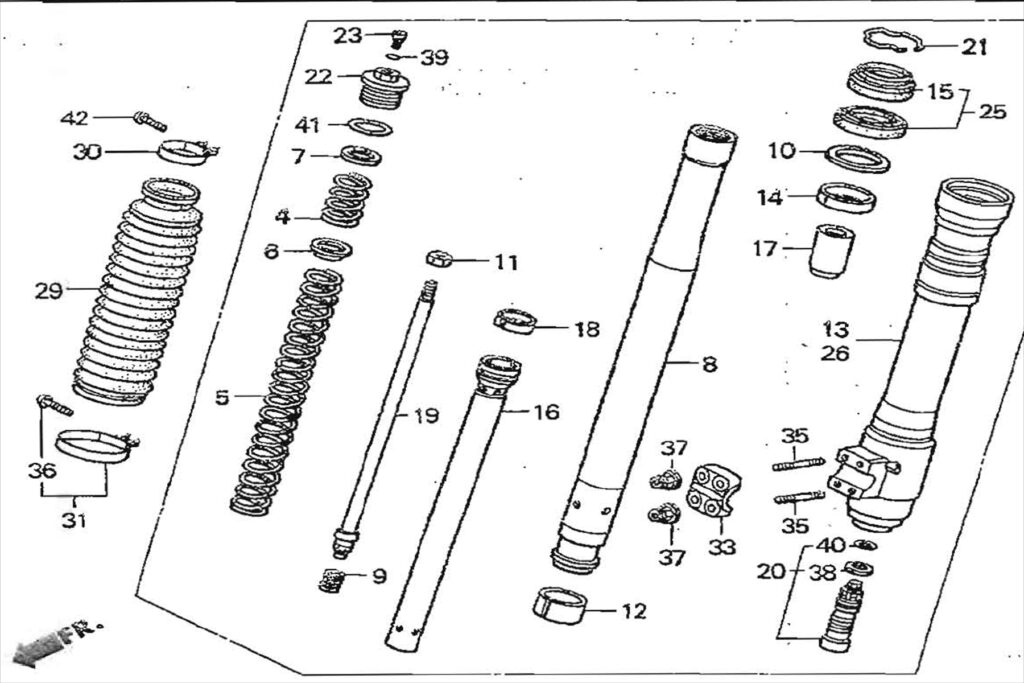
Excerpted from the XR250 parts list.
[Image 4: Diagram sourced from the official Honda XR250 parts catalog]
As shown in the parts diagram above, a stock MD30 fork setup is supposed to utilize a two-piece configuration consisting of two different spring rates (labeled as items #4 and #5). However, the fork assembly I just tore down contained only a single, continuous spring.
When you perform a front fork teardown, measuring the free length of the spring and cross-referencing it with the factory service manual specs is incredibly useful. It doesn't just reveal spring sag—it acts as a diagnostic tool to verify whether the internals actually belong to your specific bike model.
3. Draining the Fork Oil: Checking Contamination and Internal Structure
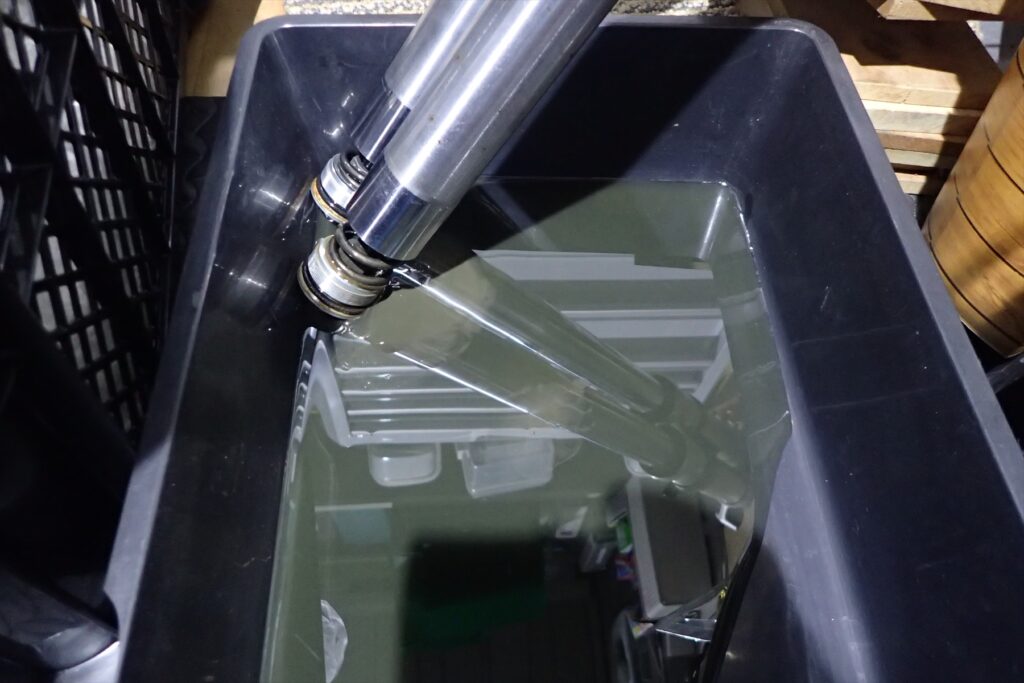
With the internal components removed, turn the fork upside down to drain the old fork oil. For this step, I set up a clean, organized workspace using an Astro Products drain pan and a proper parts cabinet to keep things efficient.
[Image 5: Draining the old, contaminated fork oil into an oil pan]
The oil that poured out was heavily discolored from years of hard use. When fork oil degrades over time, your damping performance drops significantly, causing excessive nose-dive under heavy braking. Regular oil changes are absolutely critical to maintaining your suspension and chassis performance.
Pump the fork legs up and down multiple times while upside down to fully purge the old oil trapped inside. As I pumped the tubes, I closely inspected the smooth slide of the inner rod and paid close attention to the structural layout of the internal damper cartridge.
4. The Deciding Factor: The Compression Adjuster at the Bottom of the Case
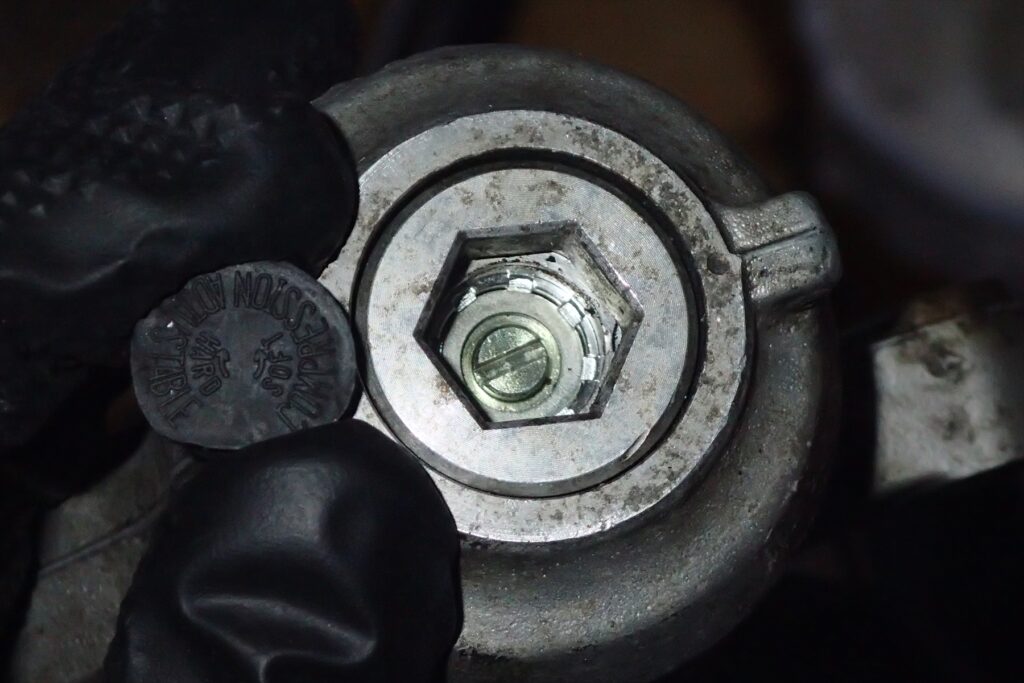
While analyzing the internal cartridge design, I finally hit the ultimate smoking gun. It was waiting for me at the absolute bottom of the fork assembly (the base of the axle holder/bottom case).
[Image 6: Close-up of the bottom compression adjuster and its protective rubber cap]
The rubber cap was clearly stamped with the words: "COMPRESSION ADJUSTABLE." Popping the cap off revealed a flathead clicker screw.
While the conventional forks on a street-legal XR250 (MD30) do feature adjusters, the physical shape of this bottom casting, the pliable texture of the rubber cap, and the exact font style of the stamping are a dead ringer for the grey-import enduro racer, the XR250R (ME08).
The ME08 front forks feature a completely different internal valving layout (shim stack) and a far wider damping adjustment range built to withstand abusive competition environments. The previous owner must have swapped out the entire stock running gear for this ME08 front end to chase serious off-road performance.
With this final piece of evidence, I am now 100% certain: these forks are genuine ME08 racer components!
Summary: A Welcome Surprise and Next Steps
Discovering that my secondhand front forks were actually high-performance components from a race-spec ME08 was an incredible, welcome surprise—talk about hitting the jackpot!
However, prepping a racer’s fork for a rebuild brings up some fresh questions: "Are the oil capacity, oil level specs, and OEM part numbers for the replacement oil seals the same as the street-legal MD30?"
In our upcoming Part 2, we will thoroughly cross-reference the exact factory data for the ME08 front forks (required oil capacity, oil level, and the recommended aftermarket parts) and walk through the actual reassembly process.
You won't want to miss seeing how a proper overhaul completely transforms the suspension and chassis dynamics. Stay tuned!
🔧 Essential Tools & Consumables Used in This Project
These are highly reliable, essential items for tackling a DIY front fork overhaul in your home garage:
TONE Swivel Ratchet Handle: An incredibly versatile ratchet that functions as a standard handle or can be spun quickly like a screwdriver for fast fastening.
Oil-Resistant Nitrile Gloves (Black): Protects your hands from the harsh odor and contaminants of old fork oil. The textured grip ensures smooth handling during precise internal component work.
Astro Products Oil Tray (Pan): The perfect size for catching waste fluids. Keeps your garage floor spotless and your workspace clean.