Hello everyone.
Today I'm going to show you how I maintained the fuse box on my Honda XR250 BAJA (the Japan-market XR250 / MD30).
"My lights seem a bit dim lately…" "What if the engine suddenly cuts out while I'm riding?"
I suspect plenty of riders enjoying discontinued or high-mileage bikes have worries like these.
Even if you look after the engine and suspension, one thing that's surprisingly easy to overlook is the fuse box.
In fact, electrical problems on a motorcycle aren't always just a blown fuse. They can also be caused by oxidation and poor contact at the terminals as they age.
On an older bike that's been ridden for many years in particular, moisture and dirt that build up inside the fuse box can get in the way of the current and, at worst, leave you stranded with a bike that won't start.
It's easy to dismiss it as "just a fuse".
But refreshing it helps prevent problems caused by poor contact.
In this article I explain, in a way that DIY beginners can follow, how to inspect and clean the fuse box, which is a basic part of electrical maintenance, and how I used contact restorer.
Let's look at how to keep the "path for the electricity" in good order so you can keep riding your bike with peace of mind for a long time.
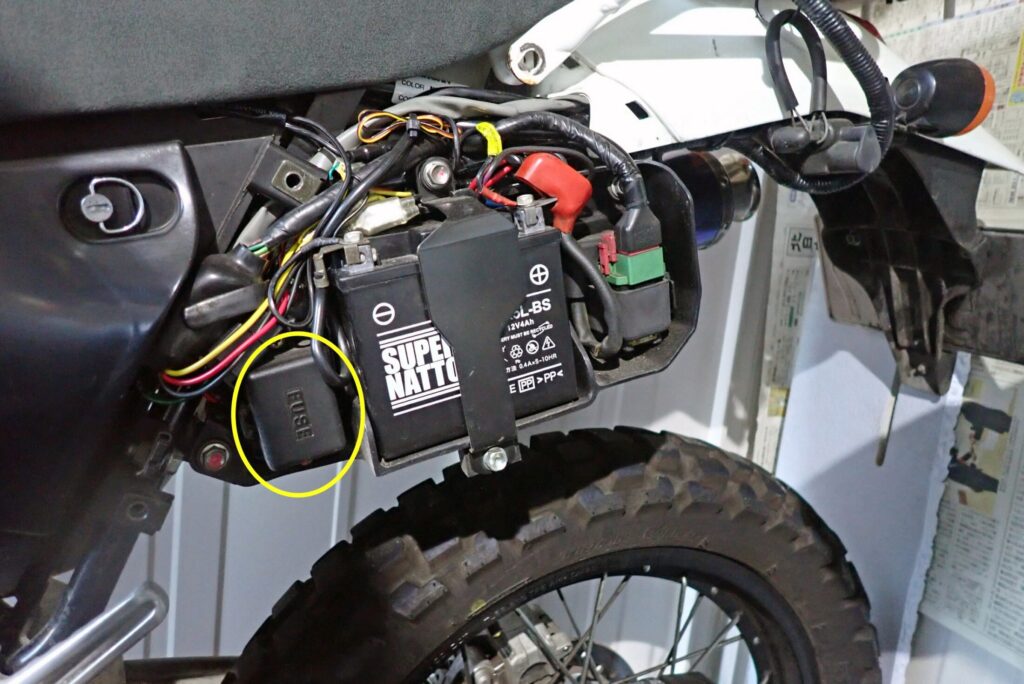
The fuse box is often next to the battery, somewhere fairly easy to reach, such as under the seat or behind a side cover.
The photo above shows the XR250 BAJA with the left side cover removed.
The part circled in yellow, right next to the battery, is the fuse box.
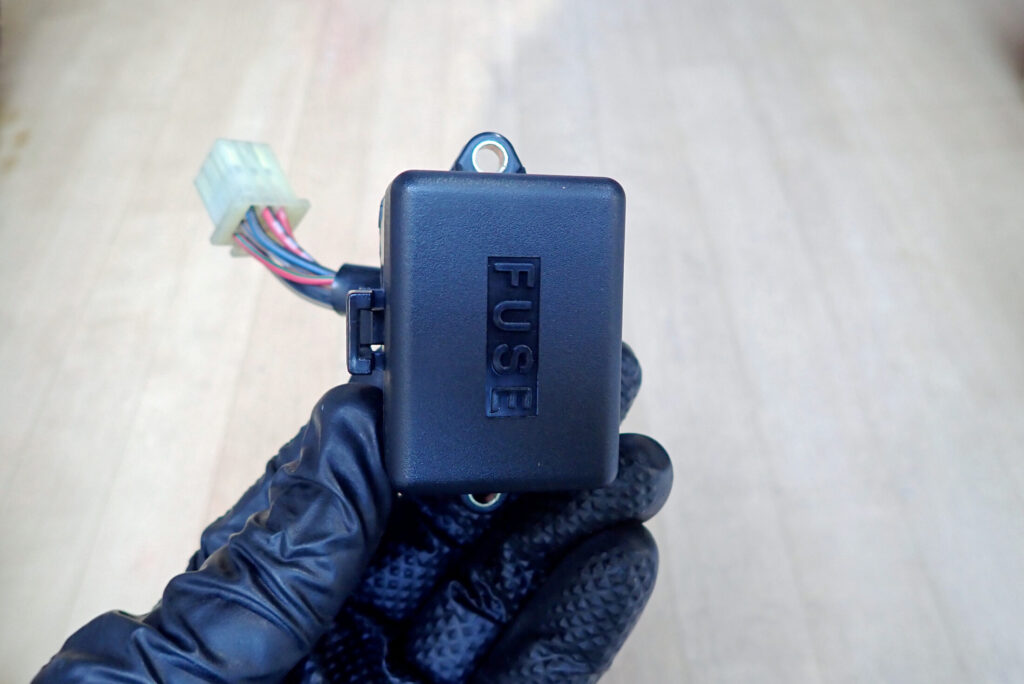
I removed the fuse box to make the job easier.
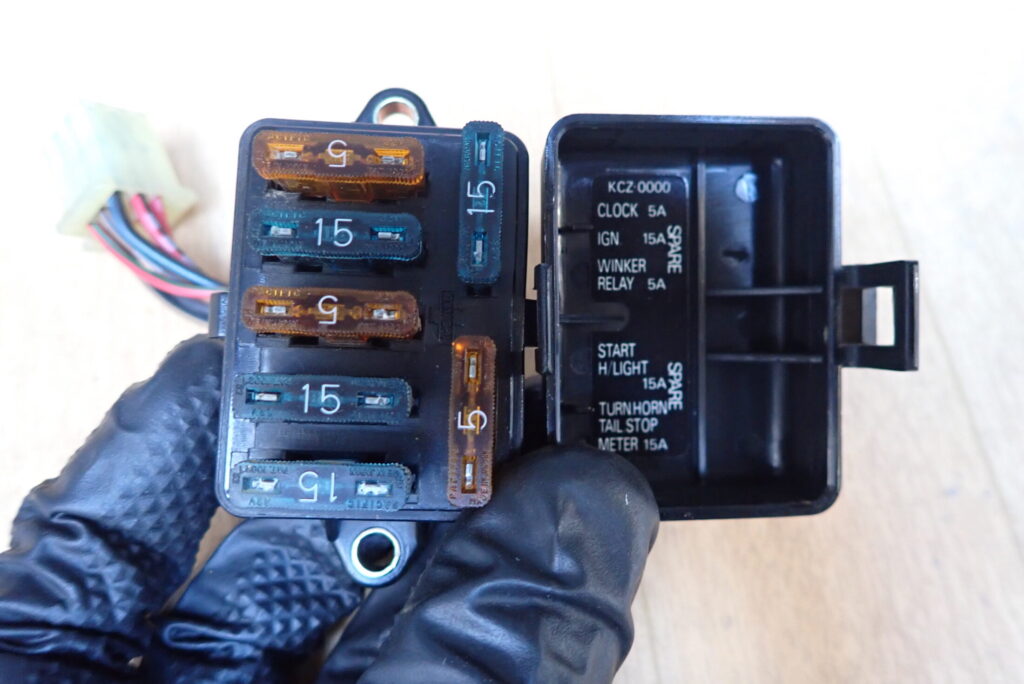
I took the lid off the fuse box.
The five fuses in a vertical row are the ones in use, and the two on the right are spares.
On the inside of the lid there's a label showing what each fuse is for and what rating (A) of fuse goes in each slot.
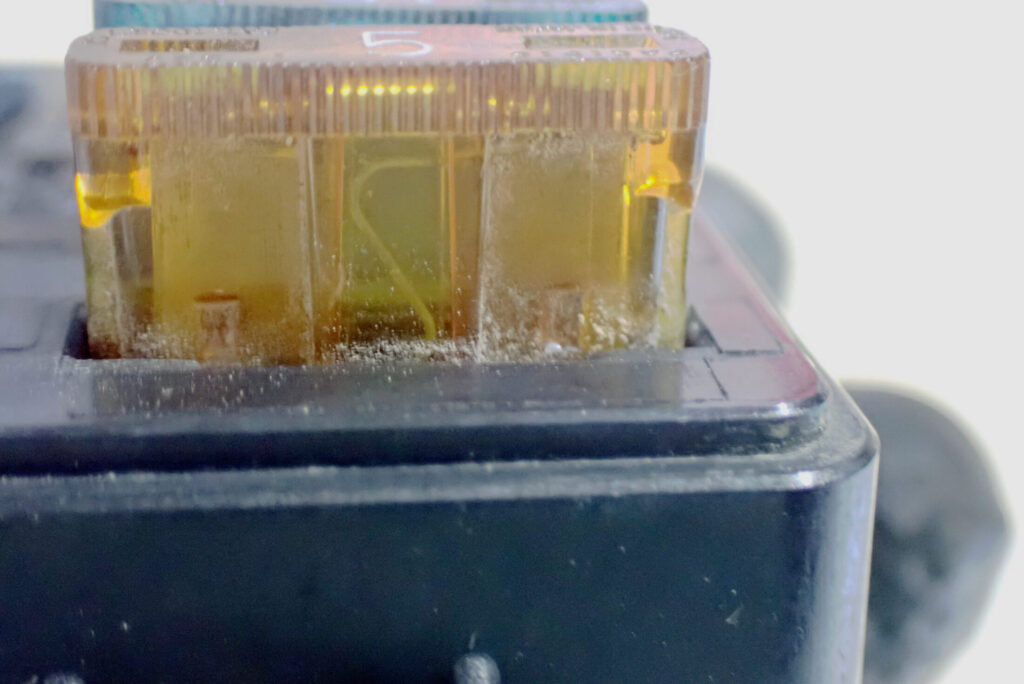
The fuse box looked clean, but on closer inspection there was sand inside.
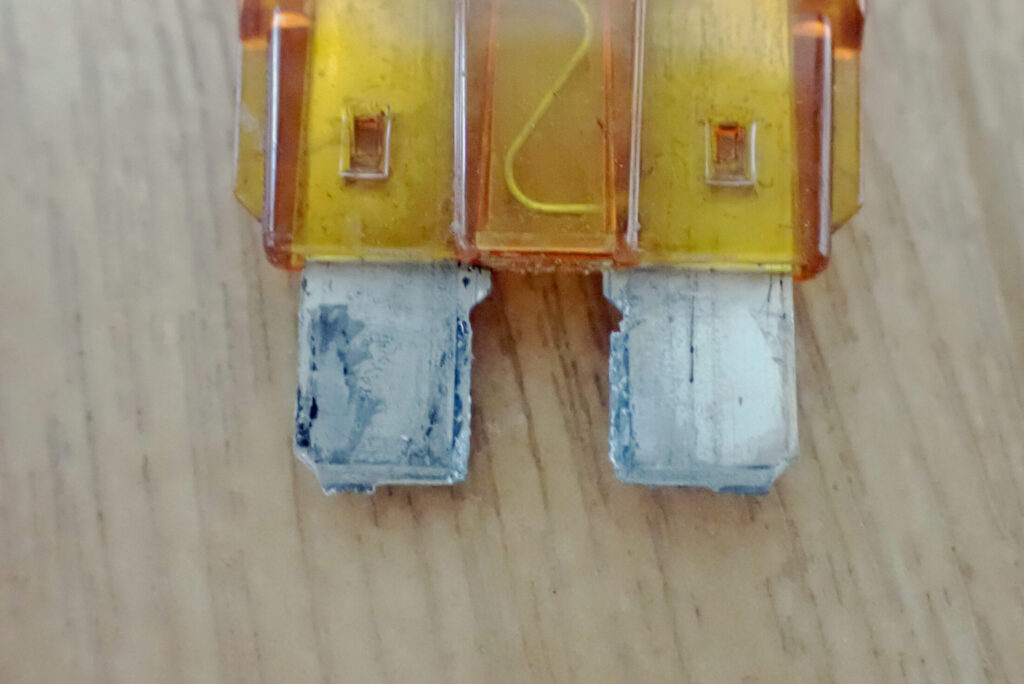
When I pulled out a fuse, the terminals were dirty.
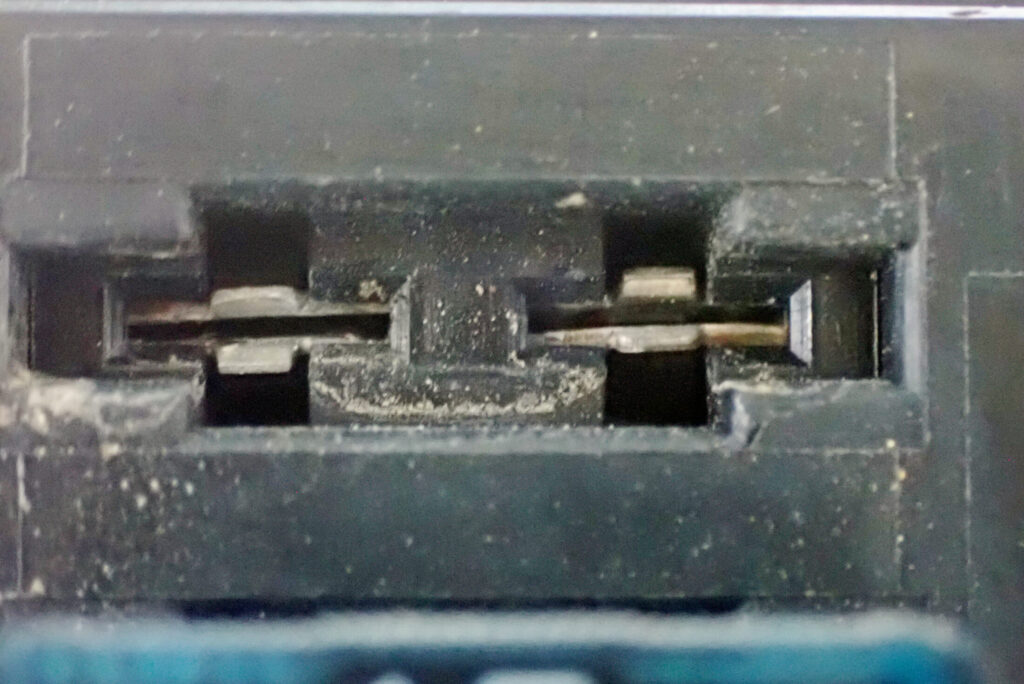
Looking where the fuse had been, sand had got in there too.
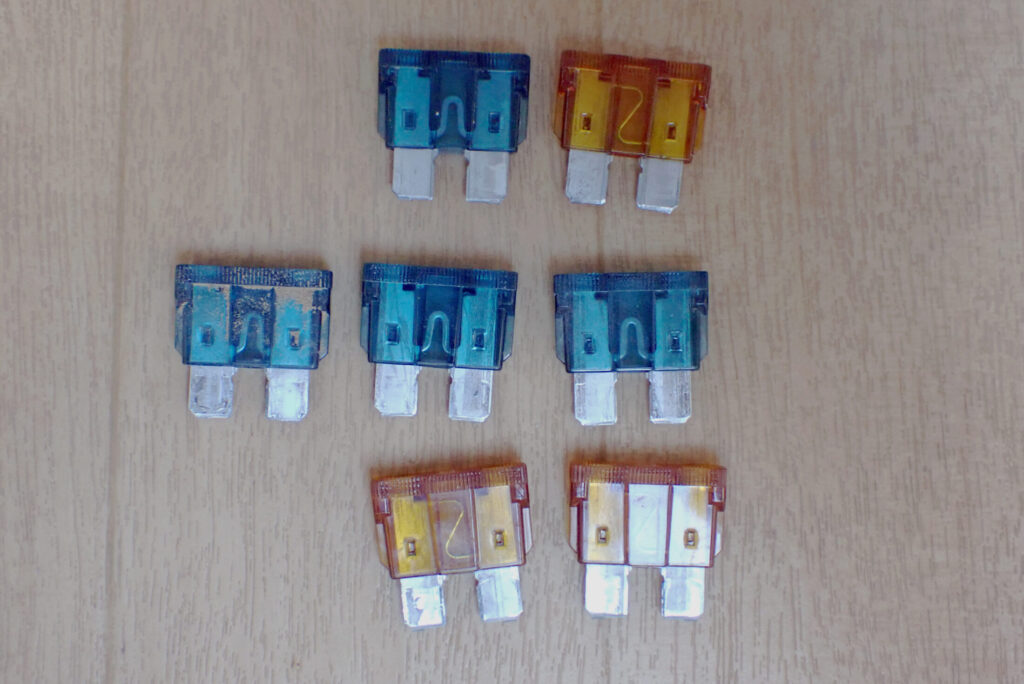
I removed all the fuses. The two in the top row are the spares, and the two rows below are the ones that were in use.
They look clean in the photo, but the terminals on almost all of the fuses in use were dirty.
Some of the fuses even had sand stuck to them.
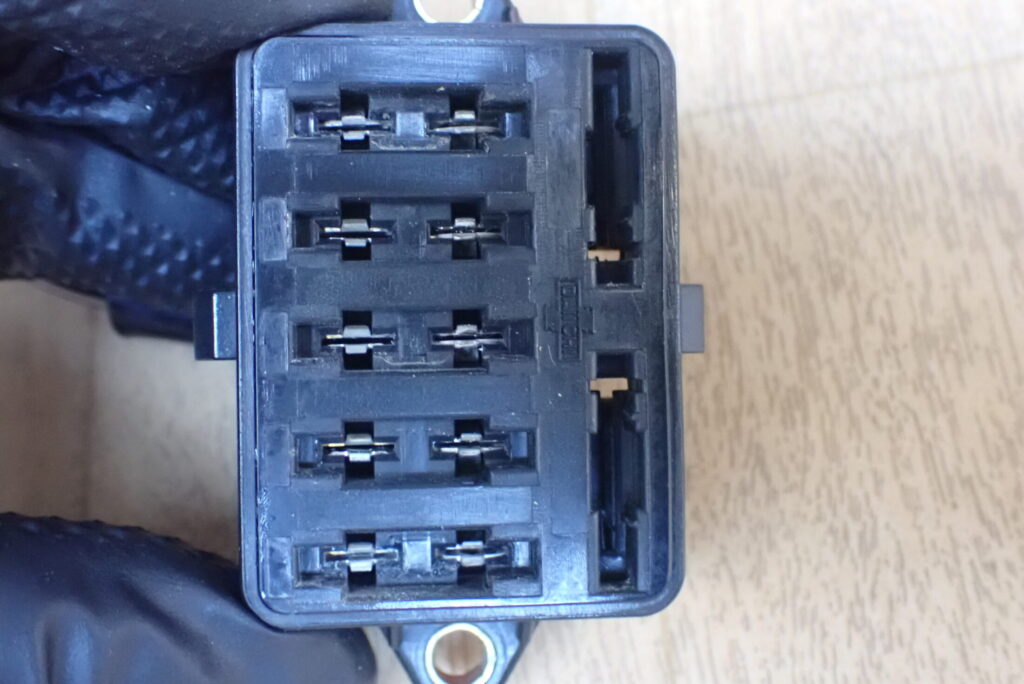
This is the fuse box with the fuses removed.
If you look closely, you can see sand in the top and bottom slots. Perhaps sand gets into the top and bottom positions more easily?
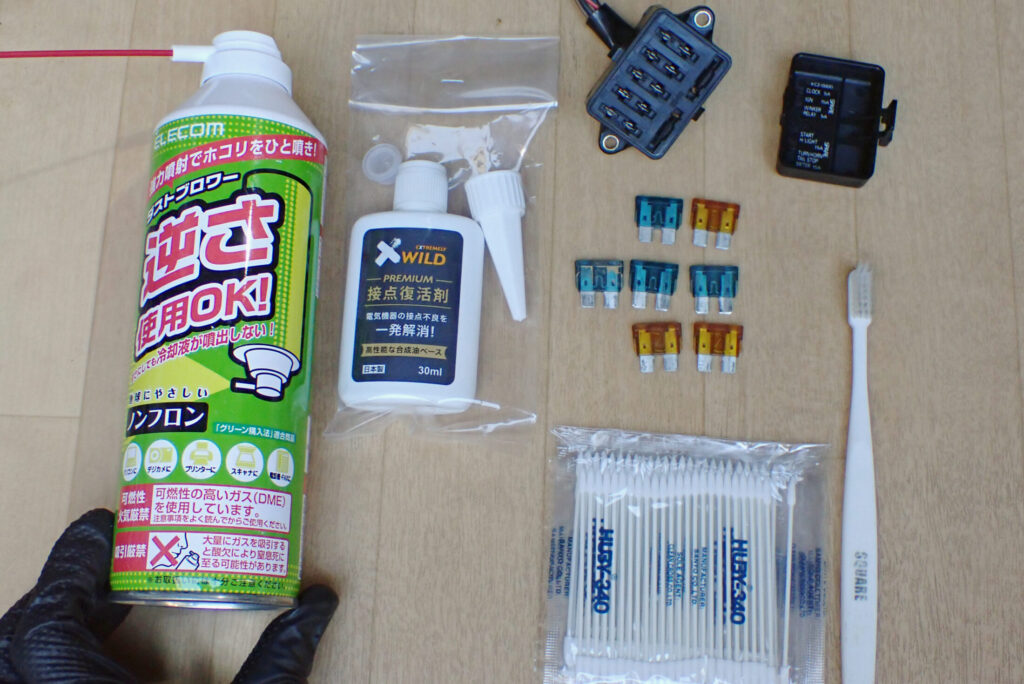
To clean the path the current takes through the fuses, I got these things ready.
To cut to the chase, the thin cotton swabs I'd bought specially turned out to be unnecessary.
Here's what I used:
- Air duster
- Contact restorer
- An old toothbrush (one with fine bristles)
- Pointed cotton swabs
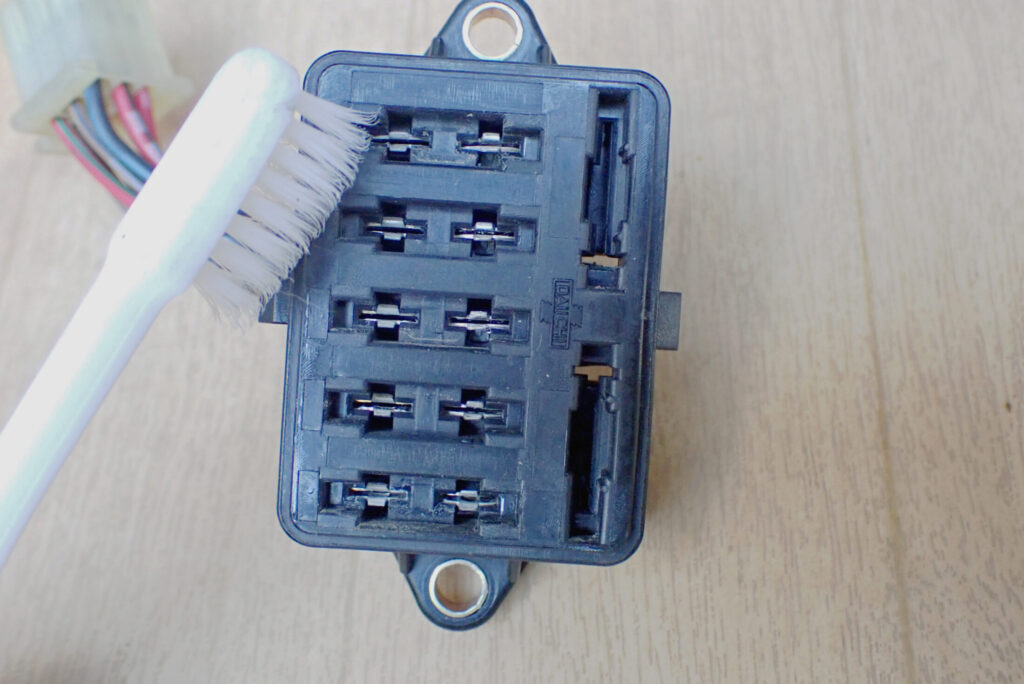
First, I removed the dirt with the toothbrush.
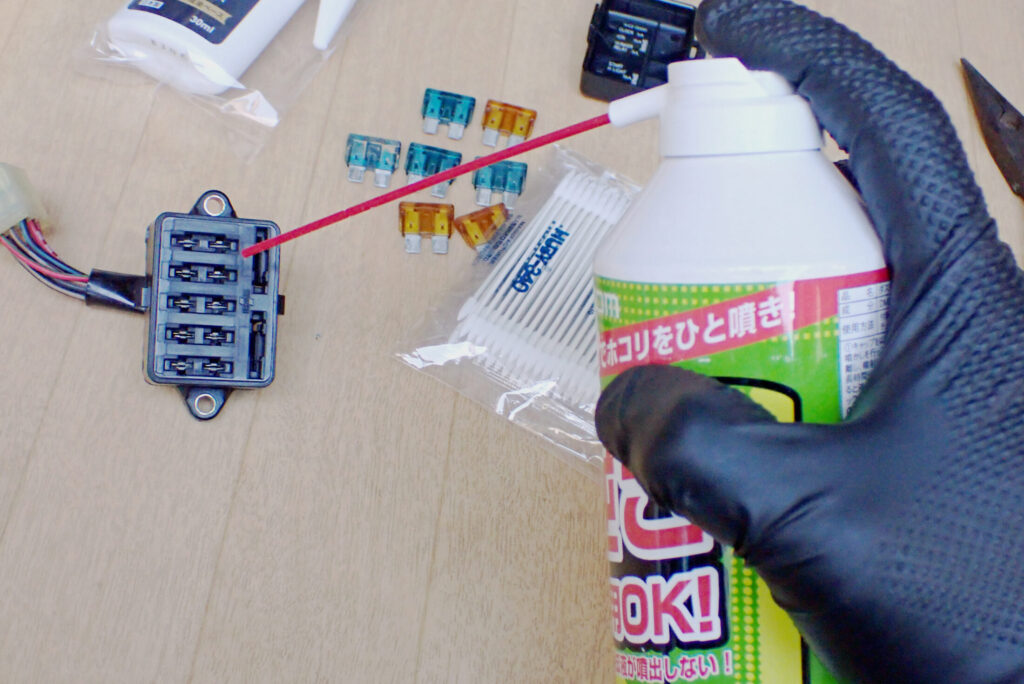
Then I blew away the loosened dirt with the air duster.
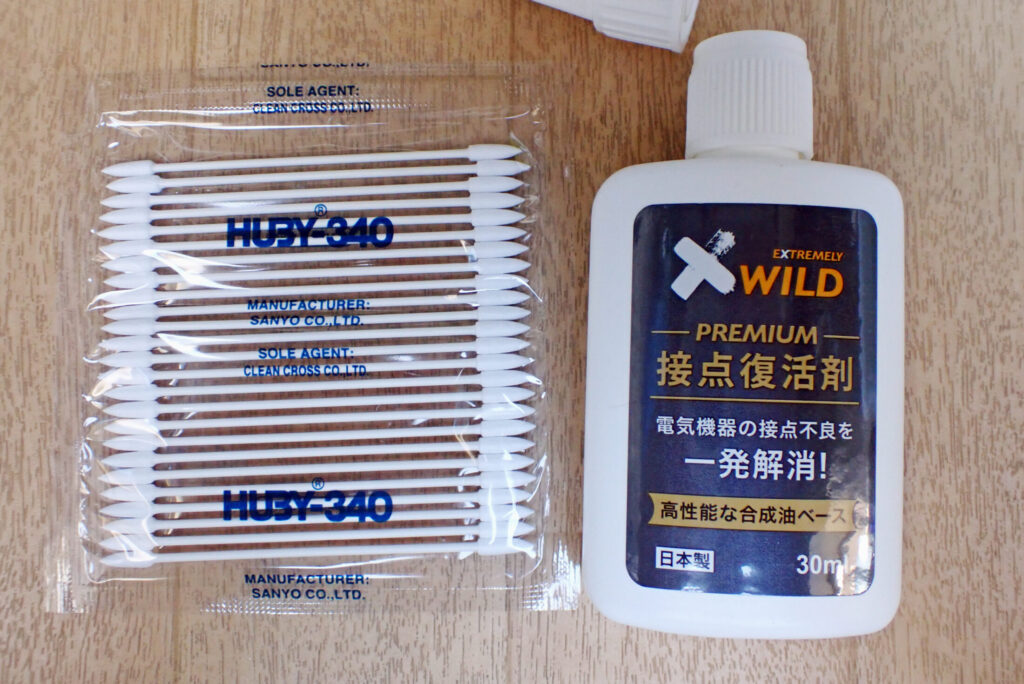
I used AZ's Premium contact restorer.
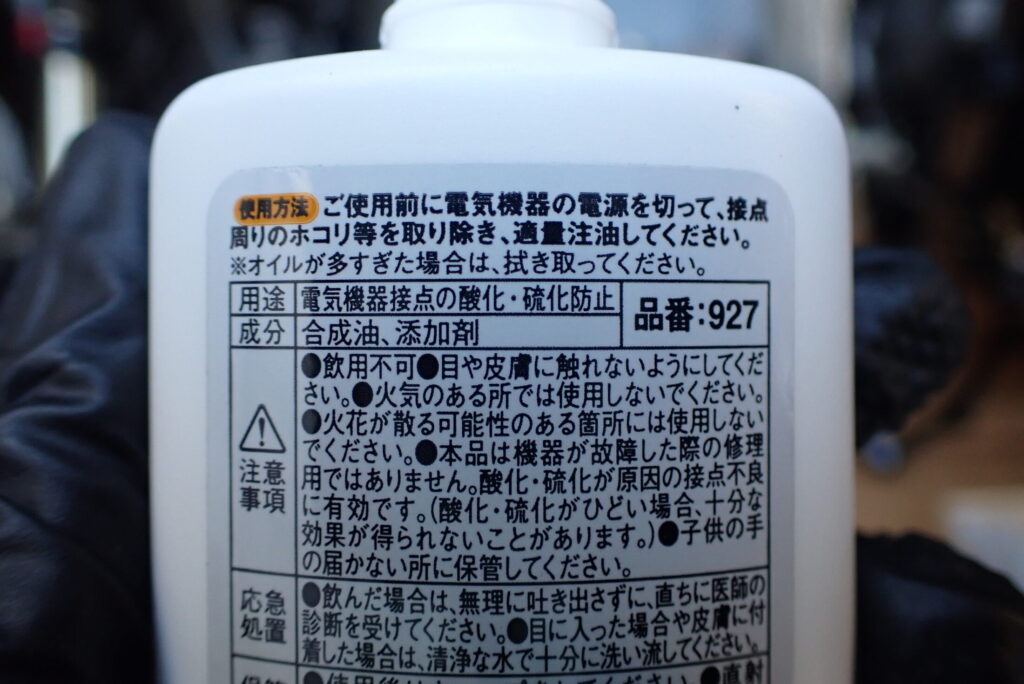
According to the instructions on the back of the bottle, you just apply a suitable amount to the contacts. But I couldn't tell where the oil would run, so I decided to apply it to the contacts with a cotton swab instead.
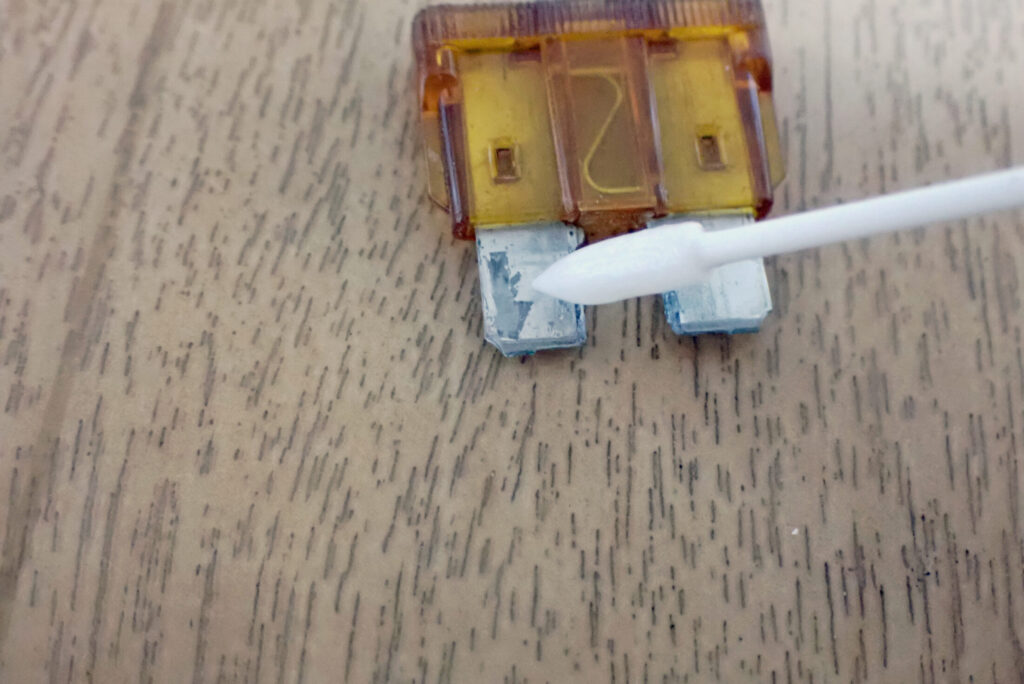
First, I applied contact restorer to the metal terminals of each fuse and wiped them to clean the contacts.
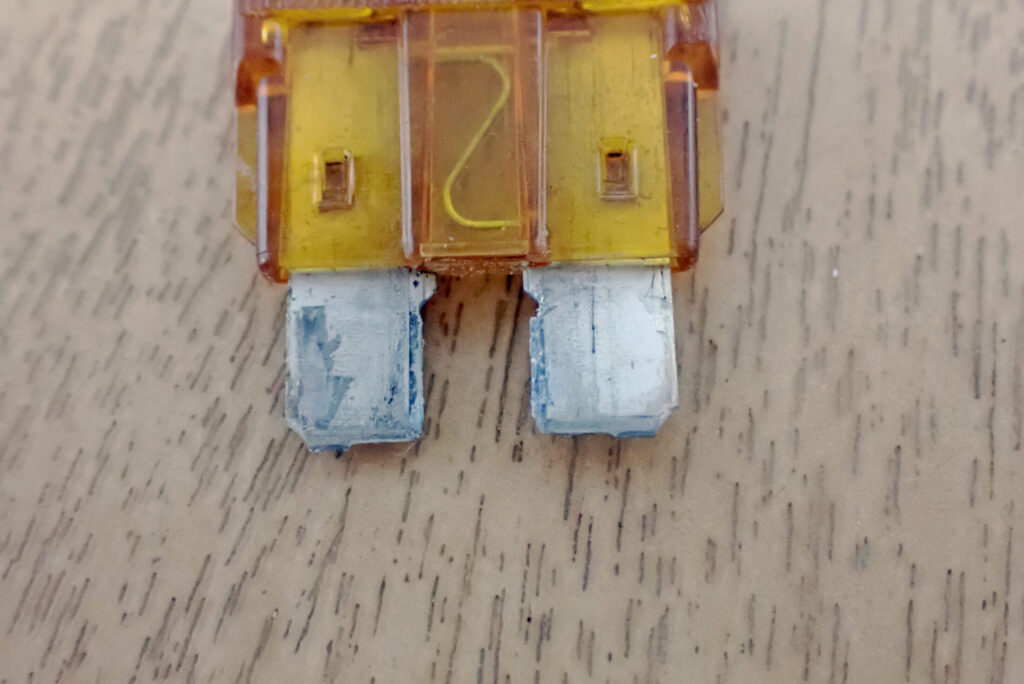
The photo above is before cleaning.
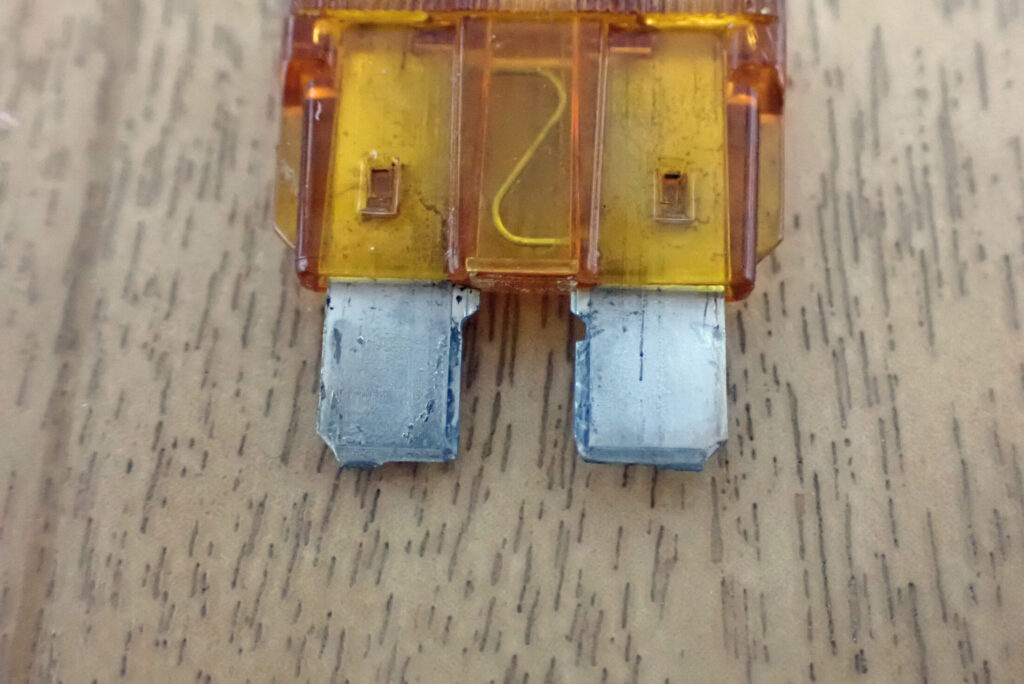
The photo above is after applying contact restorer and cleaning with a Kimwipe. The dirt has come off.
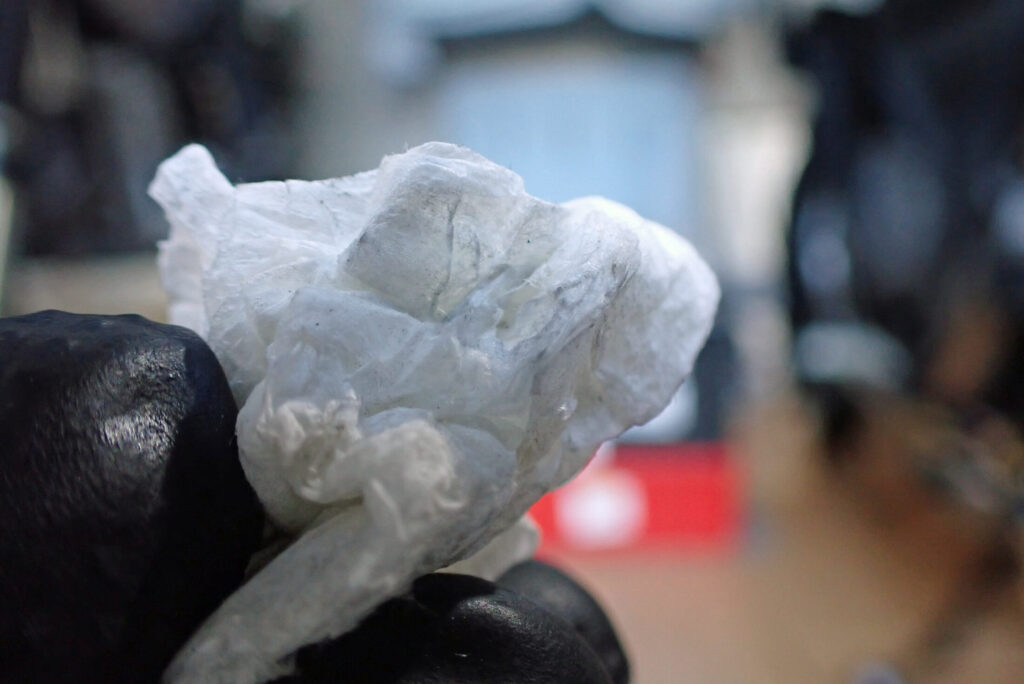
This is the dirt on the Kimwipe. Cleaning them like this makes you realise how dirty they were.
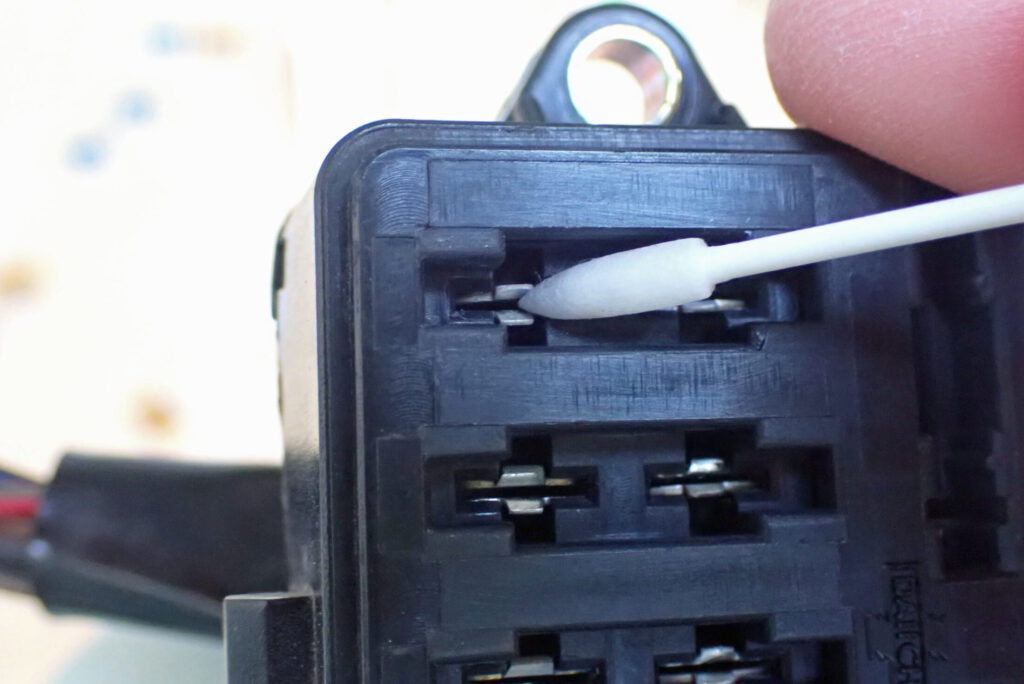
With all the fuses cleaned and coated with contact restorer, I moved on to cleaning the fuse box side.
I'd planned to use the extra-fine cotton swabs I'd bought, but as you can see in the photo above, they wouldn't fit.
That's why I said at the start that the thin cotton swabs turned out to be unnecessary.
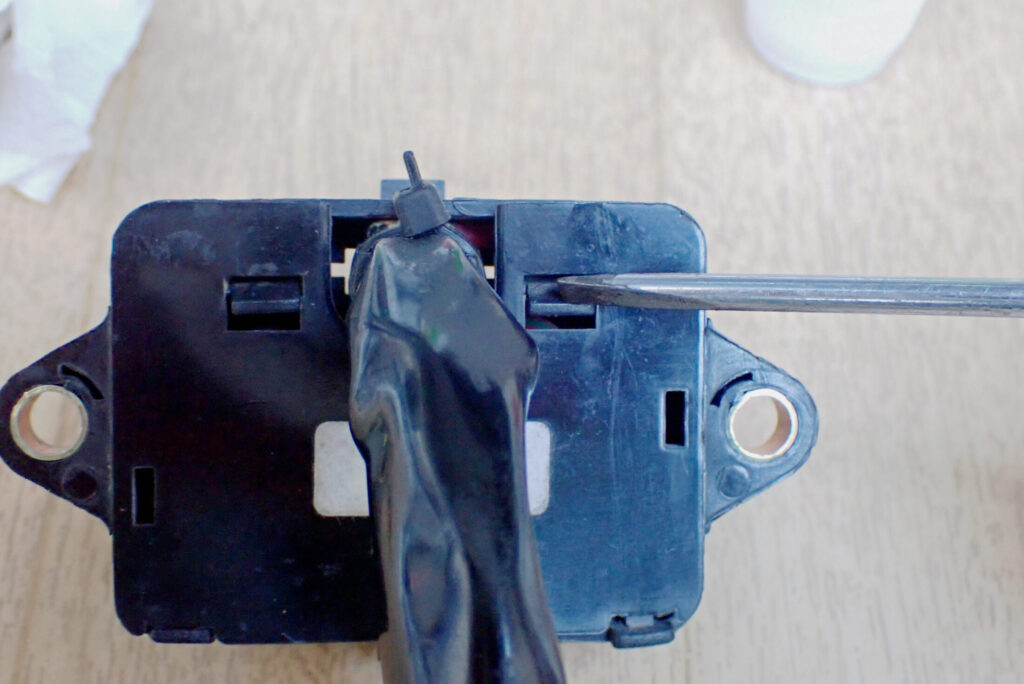
I really wanted to clean the terminals on the fuse box side too, so I tried taking the fuse box apart.
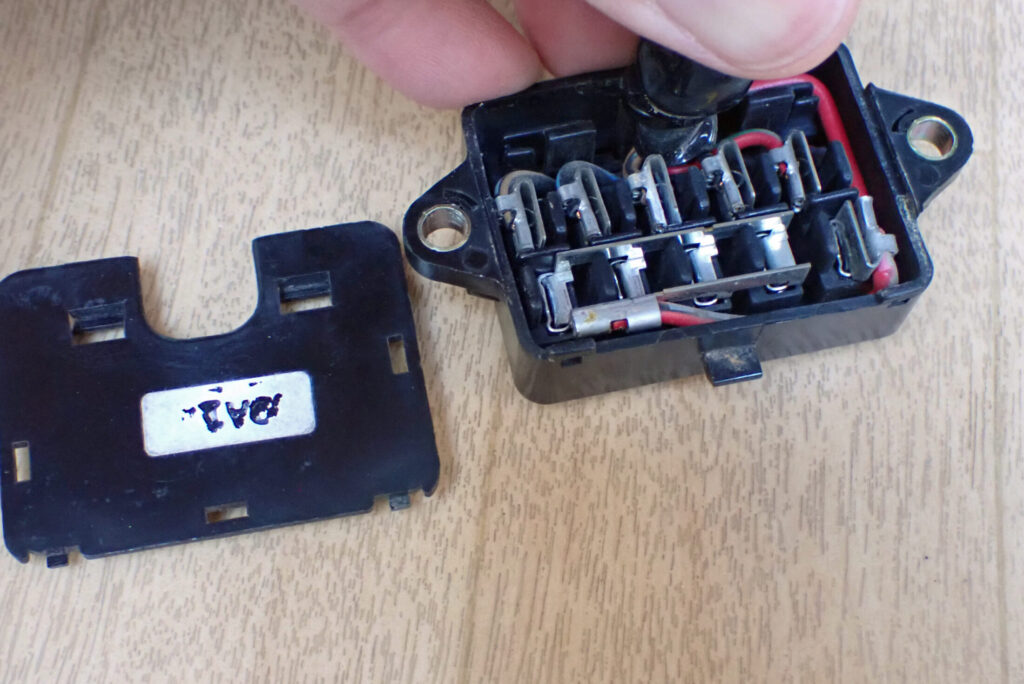
Here it is taken apart.
I tried hard to get the terminals out, but I was worried I might bend them, so I gave up on removing them.
Instead, I applied contact restorer to the fuse terminals…
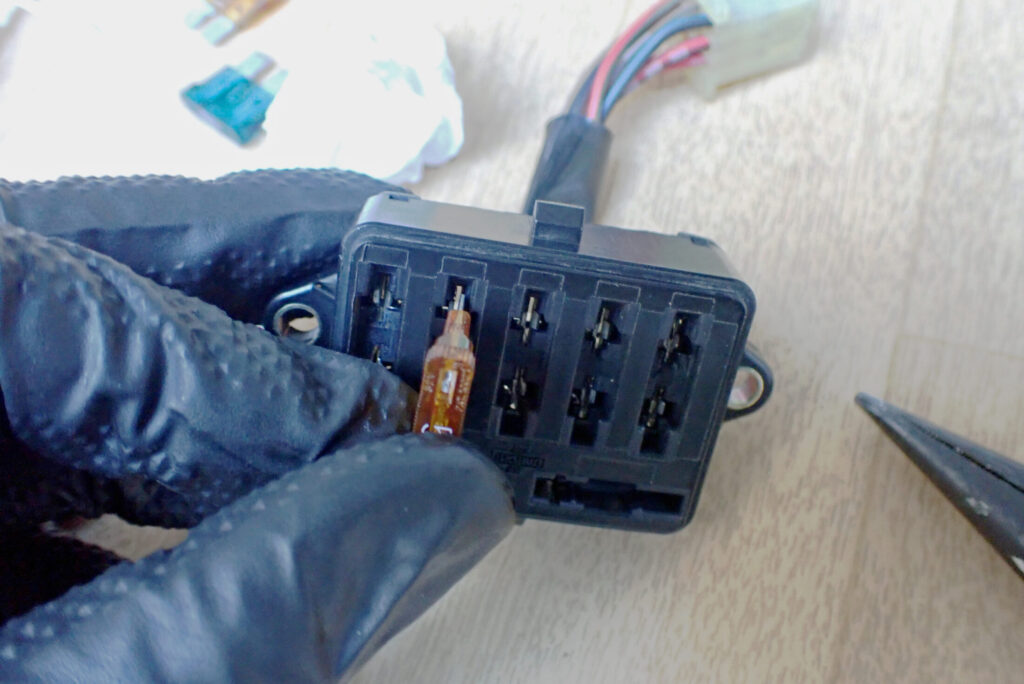
…and pushed the fuses in and out so that the contact restorer also got onto the terminals in the box.
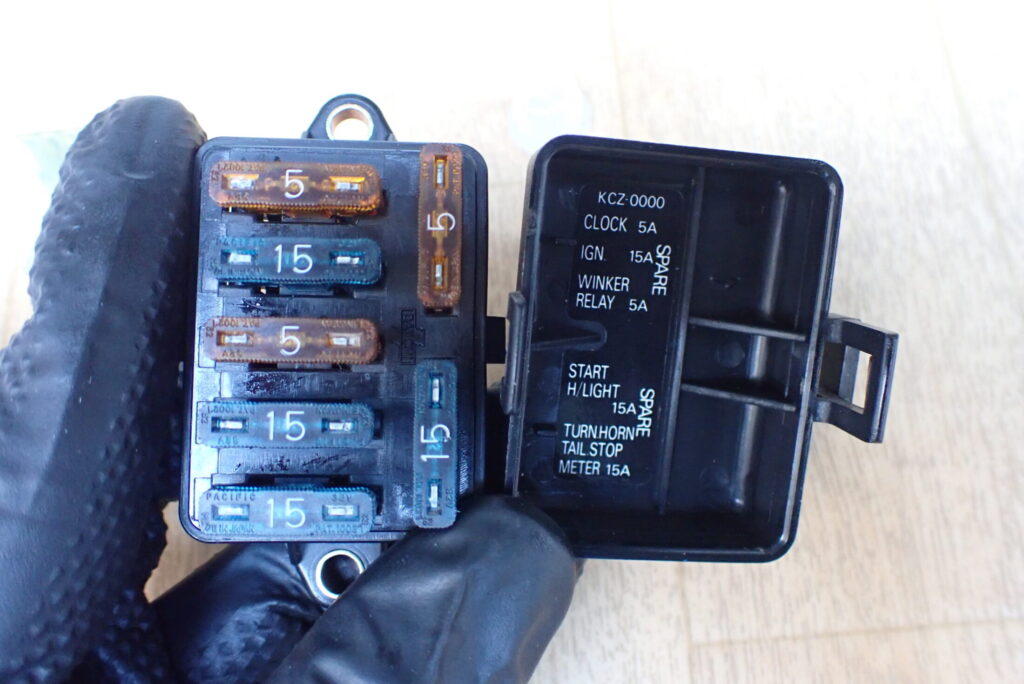
With contact restorer applied to all the terminals, I put the fuses back in their correct positions, and the job was done.
I don't expect any extra torque or sharper acceleration from this, but I think it makes it less likely that a fuse problem will stop me riding, so I can ride with more peace of mind.