Hello everyone, Boo here.
This time I'm showing how I removed the silencers on my BMW G650GS, as preparation for replacing the rear shock with an Öhlins.
Honestly, it's a job I never want to do again! But I'll share some tips, so if you read this you shouldn't struggle as much as I did.
The G650GS has twin silencers, left and right (actually the two are connected, so perhaps it's better described as one oddly shaped silencer?), and the right-hand one gave me a lot of trouble.
In the end I levered it off by brute force with a screwdriver, and even though I'd protected things with rags, I left scratches in various places.
It may not be useful to many people, but I'll go through it along with what I think might have made it easier.
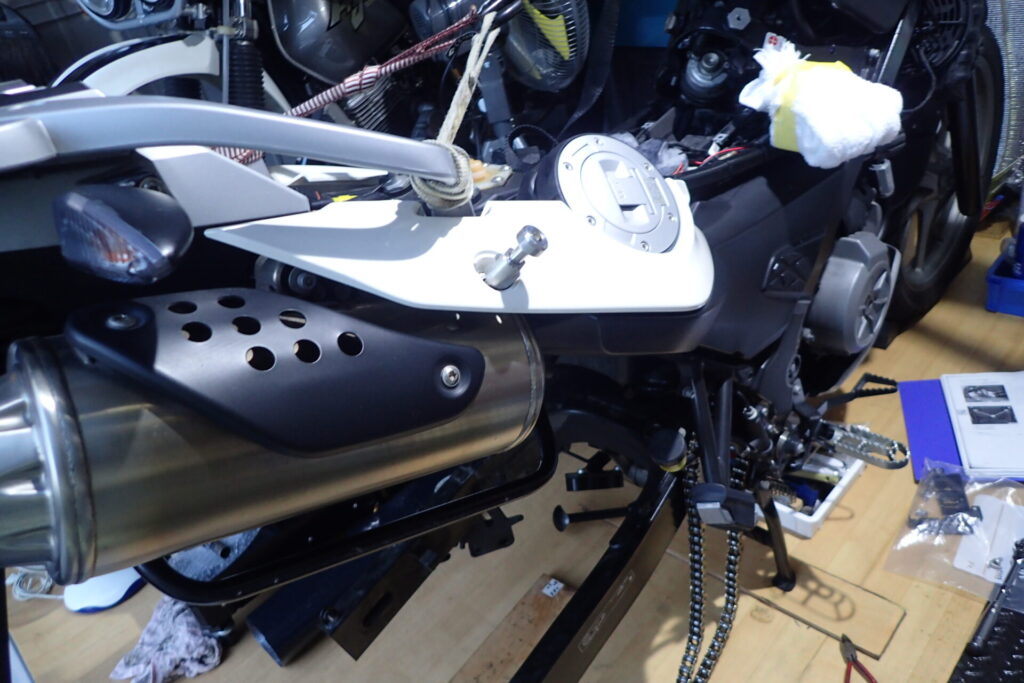
First, the right-hand silencer.
Only two fixings need to come out to remove the silencer.
On that alone, it looks very easy to work on.
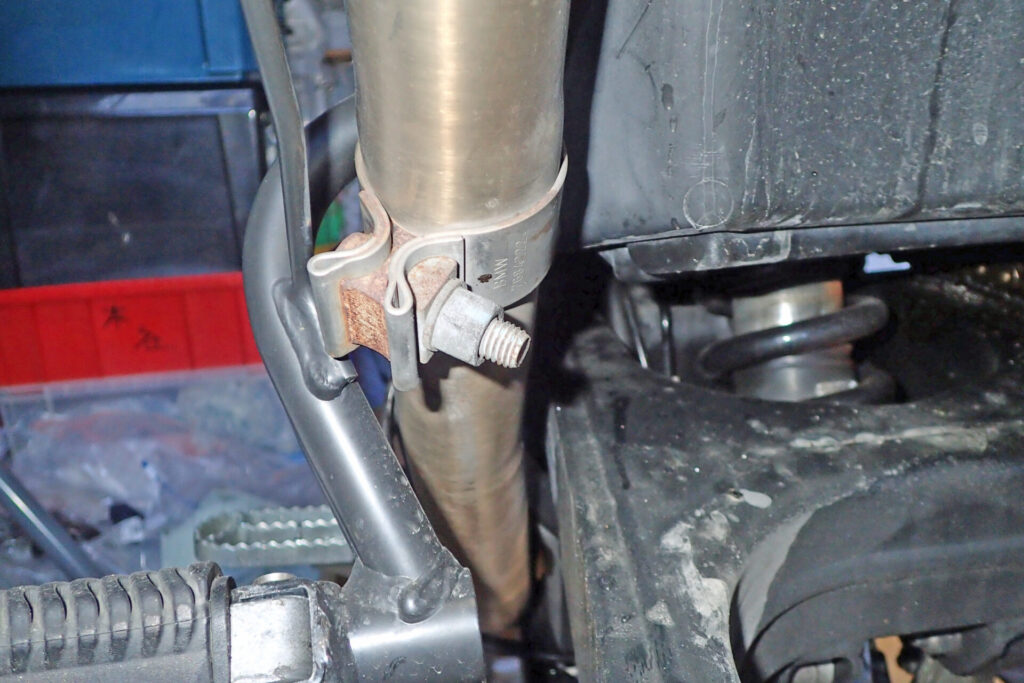
First, fixing number one.
The joint between the header pipe and the silencer.
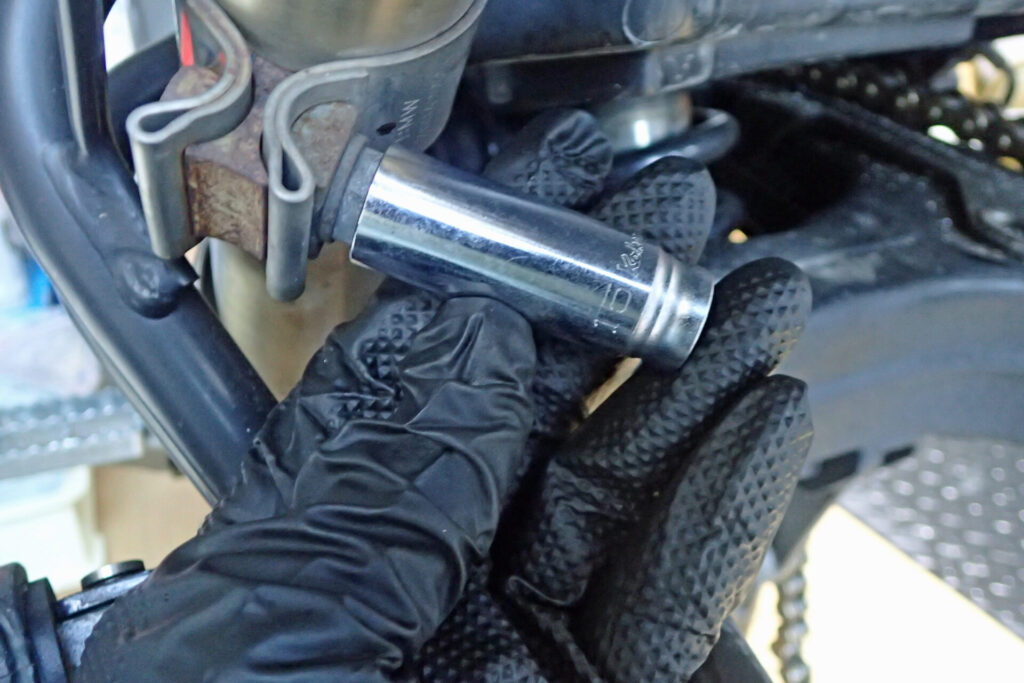
A 15 mm socket fits.
The G650GS uses socket sizes such as 13 mm, 15 mm and 21 mm that I never needed on my Hondas or Yamahas.
And I couldn't remember what I'd originally bought this 15 mm deep socket for.
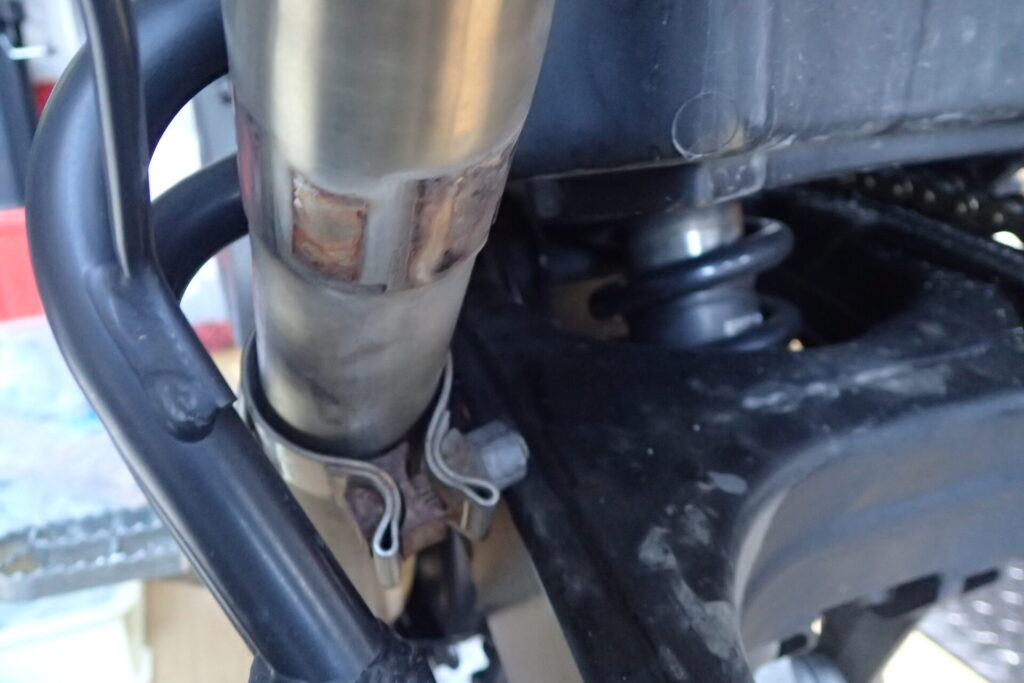
Once it's loose, slide the clamp along onto the header pipe.
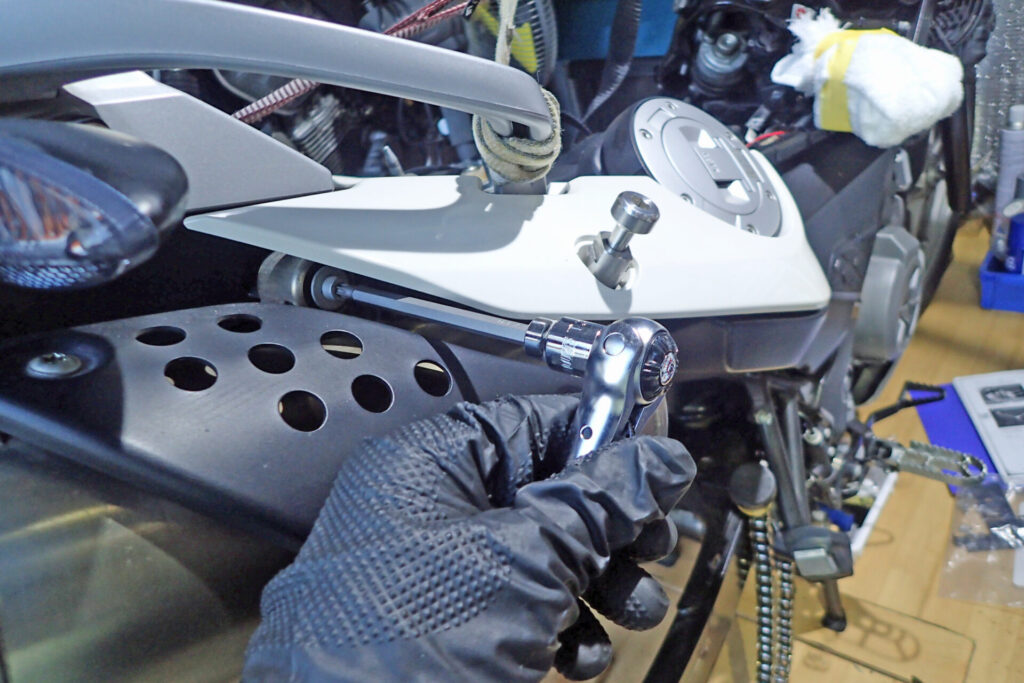
Now for the right-hand silencer that gave me such a fight.
Once this screw is out, there are no more bolts or screws to remove...
In the photo above I'm removing the screw with the side cover still on, but it's easier to take the side cover off before removing the screw.
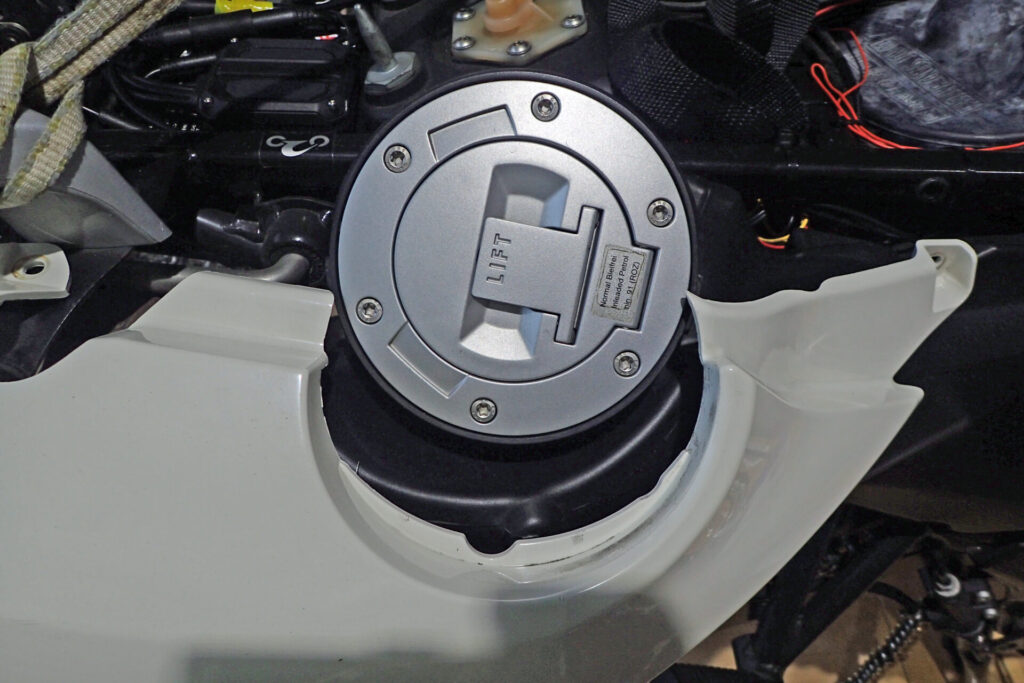
So, off comes the side cover.
When removing the right-hand side cover, the area around the fuel filler is awkward.
I didn't know the knack and ended up forcing it off.
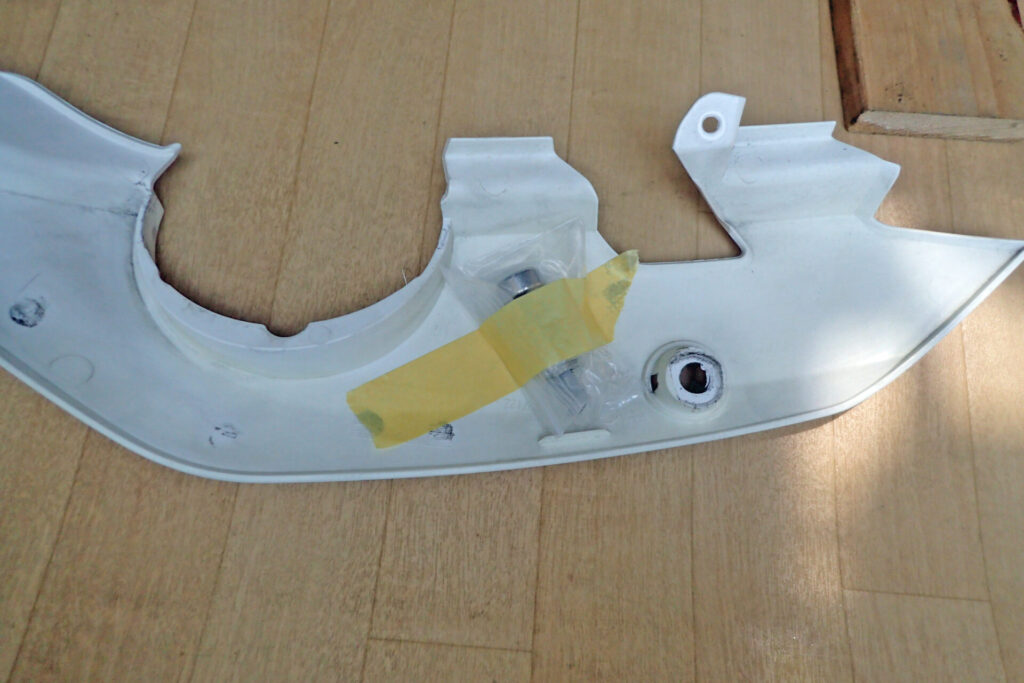
I've removed quite a lot of parts by this stage, so the number of nuts, bolts and washers is piling up.
So that I don't lose track, I put them in small bags and tape each bag to the part it belongs to with masking tape.
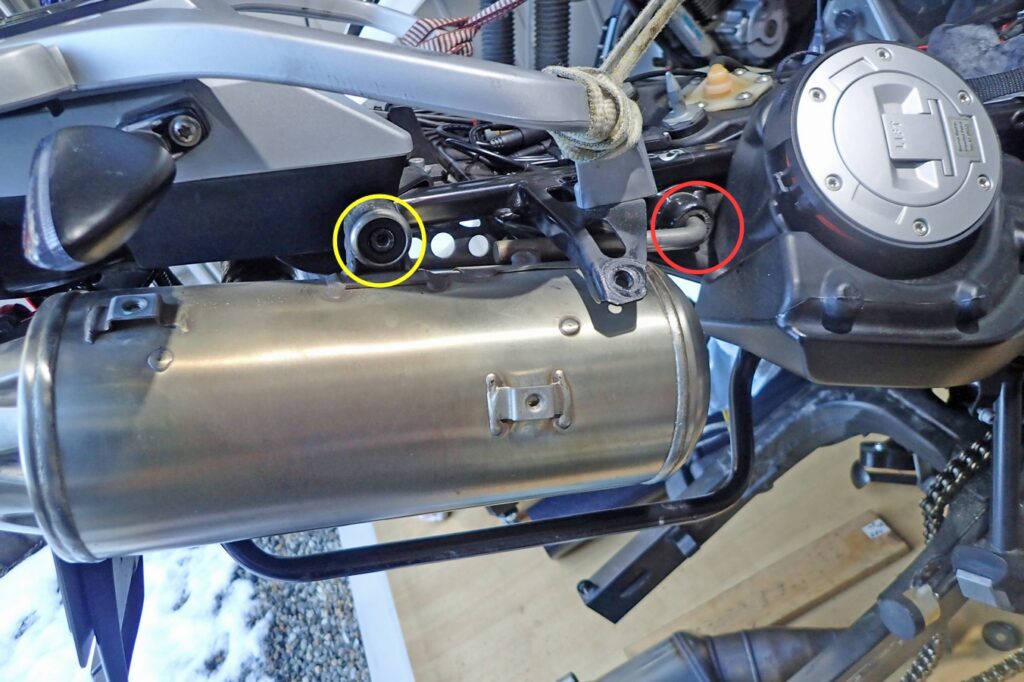
The right-hand silencer is held at the points marked with the red and yellow circles in the photo above.
That said, only the yellow-circled point was held by a screw; at the red circle, a rod-shaped part simply sits in a rubber bush.
I tried to pull it off by force here, which took a great deal of time and effort.
So here's something I realised afterwards.
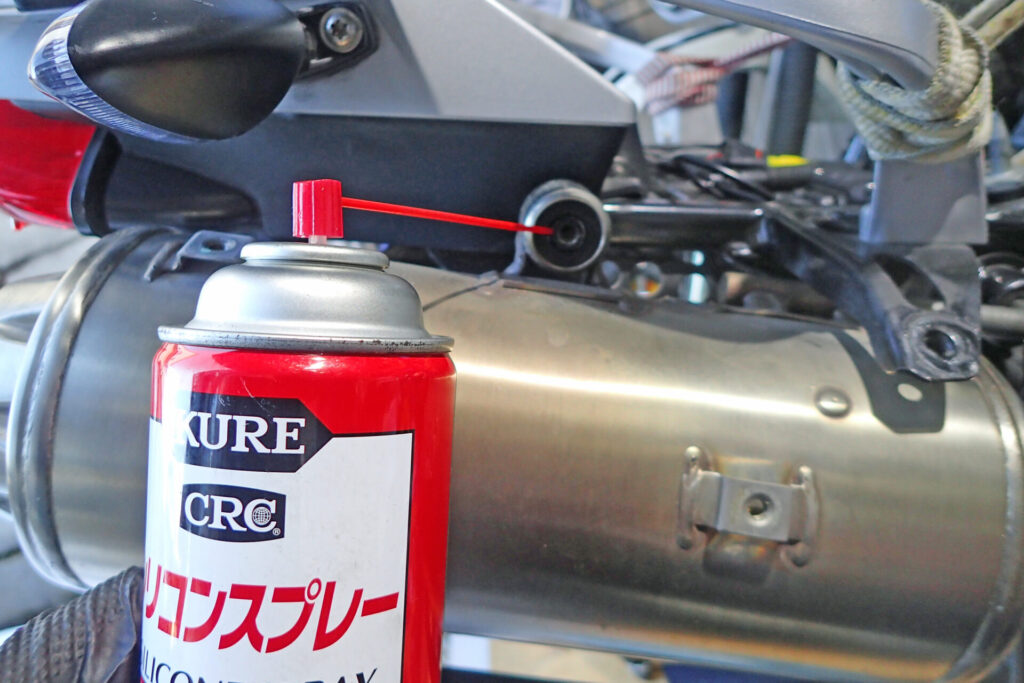
The joints between the silencer and the frame just sit in rubber, so if you spray silicone spray on them before removal and move the silencer about a little, the silicone should work its way in and make it easier to remove.
By the way, this is the yellow-circled point in the earlier photo.
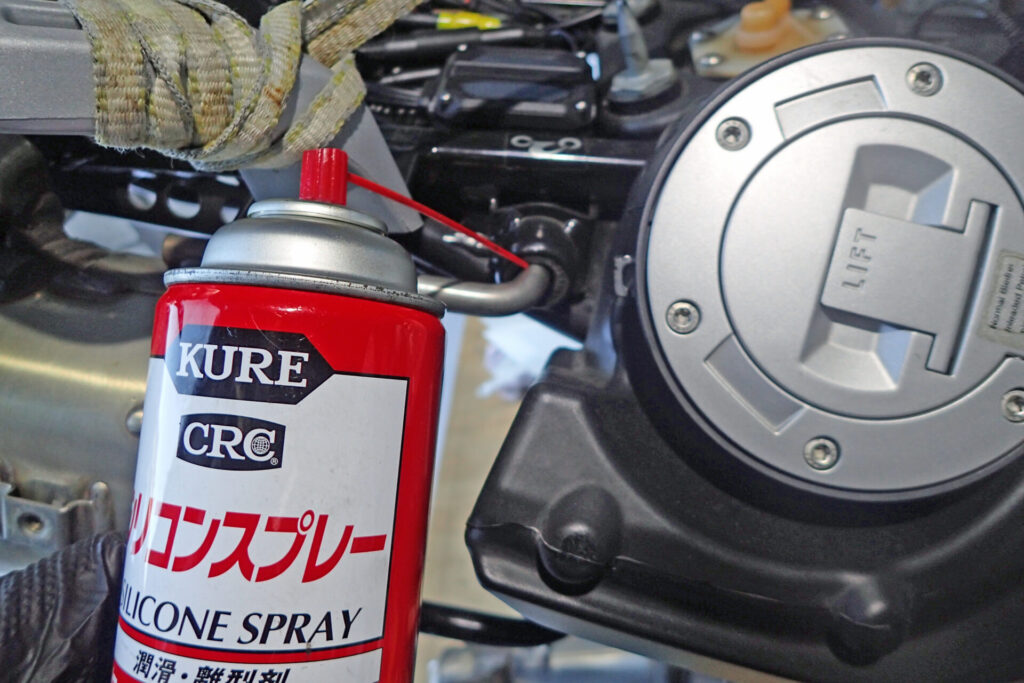
And this is the red-circled point.
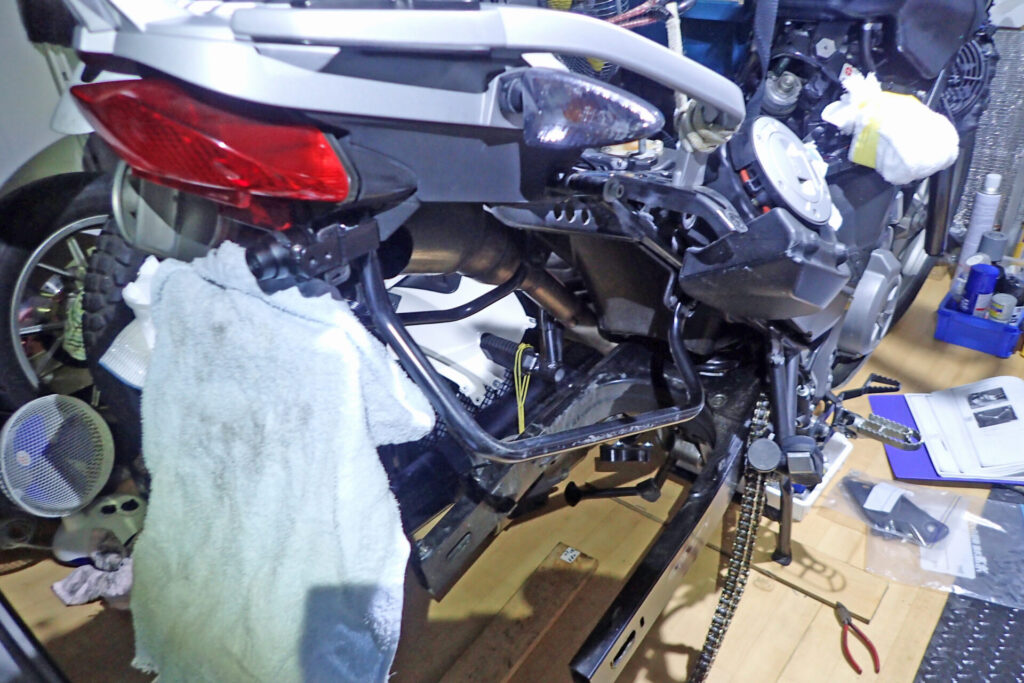
Finally, it came off...
I only thought of using silicone spray after I'd got the silencer off. If you try to force it off without silicone spray, be prepared to wrestle with it for over 30 minutes (>_<).
That's why I wrote at the start that I never want to do it again!
The next day my arms and back were aching...
Next, the left-hand silencer.
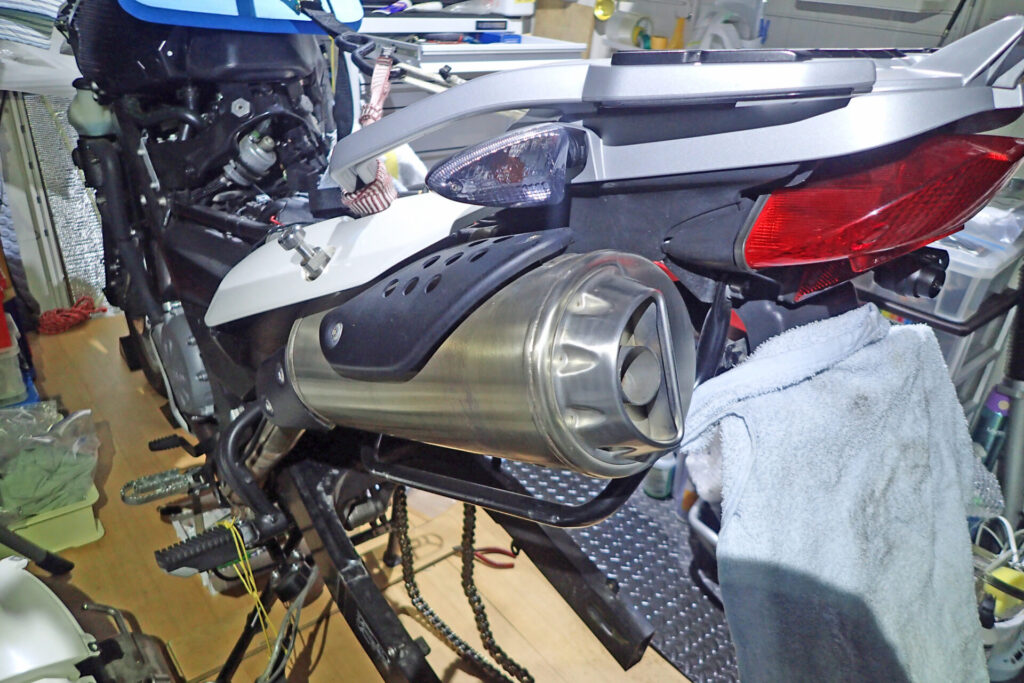
The left-hand silencer is also held by cylindrical rubber bushes and rod-shaped parts.
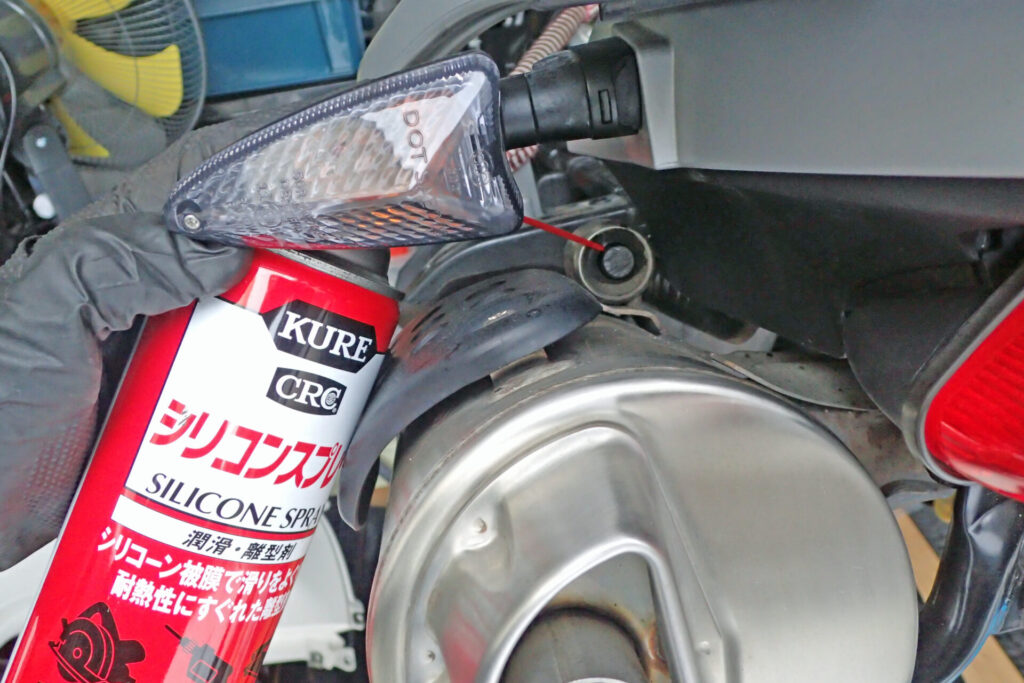
I let the silicone spray soak in before removing this one, so it pulled out without much trouble.
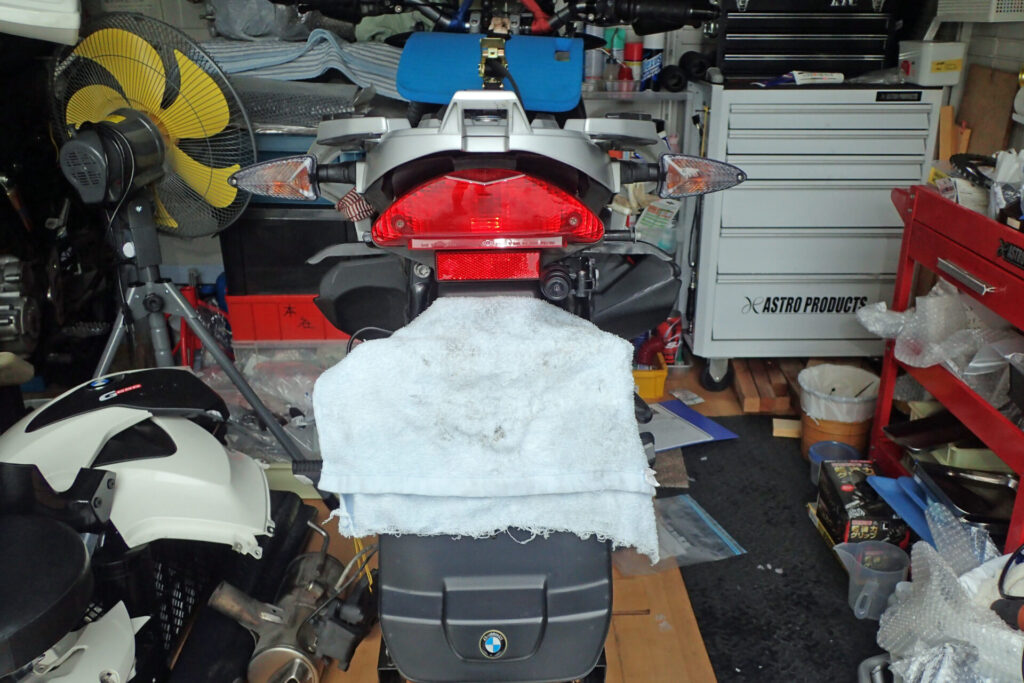
After two days, I finally got the silencers off.
That's all for this time.
Next, I'll remove the swingarm.
Getting the swingarm pivot shaft out turned out to be another two-day job. Here's how it went:
-

-
How I Removed a Seized Swingarm Pivot Shaft on a BMW G650GS
Hi everyone, it’s Boo. This time, I removed the swingarm pivot shaft from my BMW G650GS. This job gave me a lot of trouble. I couldn’t finish it in one day, and it took me two days in total. First, I checked the socket sizes needed to remove the pivot shaft. On the front sprocket side, there is a 21 mm nut. On the rear brake side, there is a 22 mm bolt head. I thought it would be better to take all the load off the swingarm before removing the pivot shaft, so I also decided to remove the ...