Hello everyone.
Today is part 2 of rebuilding the front forks on my Honda XR250 BAJA (the Japan-market XR250 / MD30).
Last time, I got everything ready for assembly, only for rain to force me to stop...
I find myself wishing for a big workshop with a roof, knowing full well I won't get one...
First, a check of the parts before assembly.
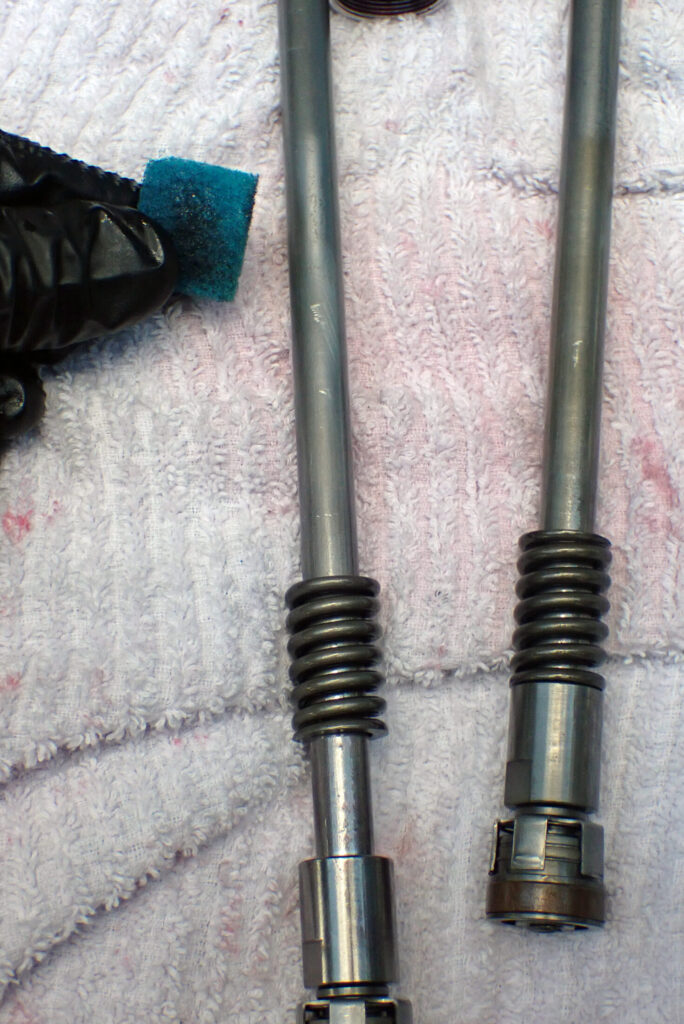
The piston rods had a little rust on them, so I removed it with emery cloth.
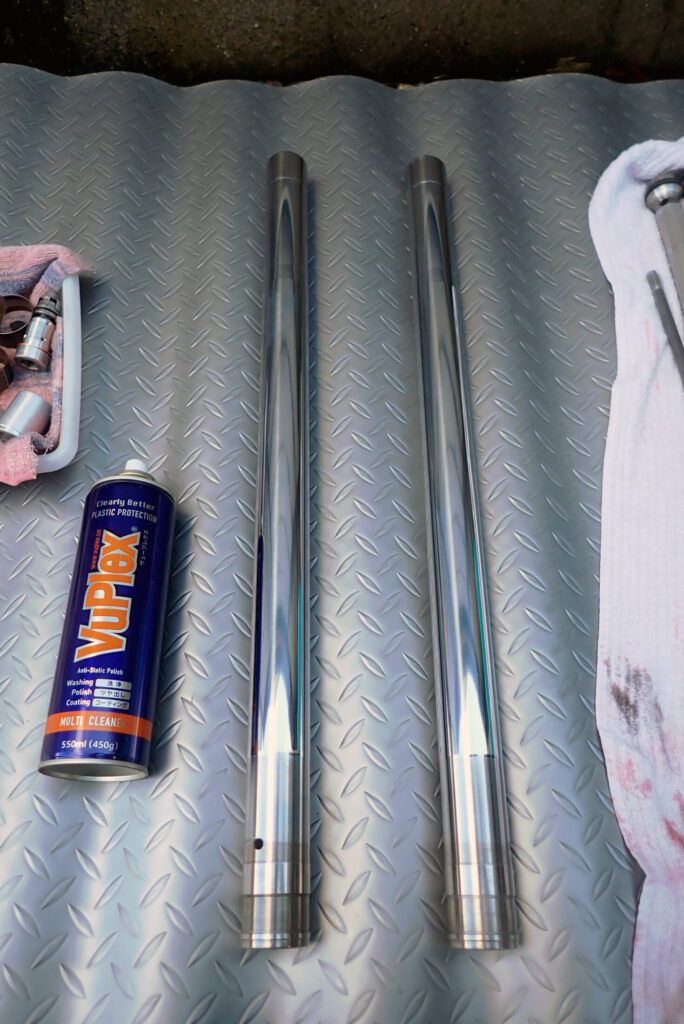
It's been quite a while, but these are the inner tubes that Toyo Koka, a plating company in Japan, replated for me. After collecting them I cleaned them and stored them wrapped in anti-rust paper (I wrote about the replating in a separate post, in Japanese).
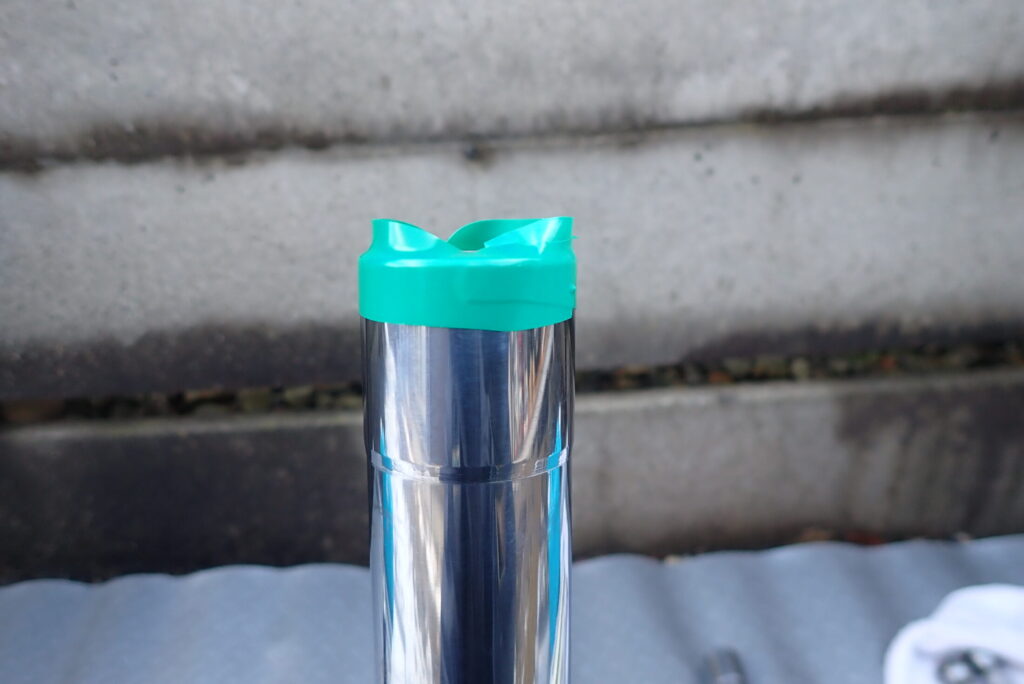
Wrap the top end of each inner tube in vinyl tape before fitting the fork seals. Without it, you can cut the seal lip as the seal goes on.
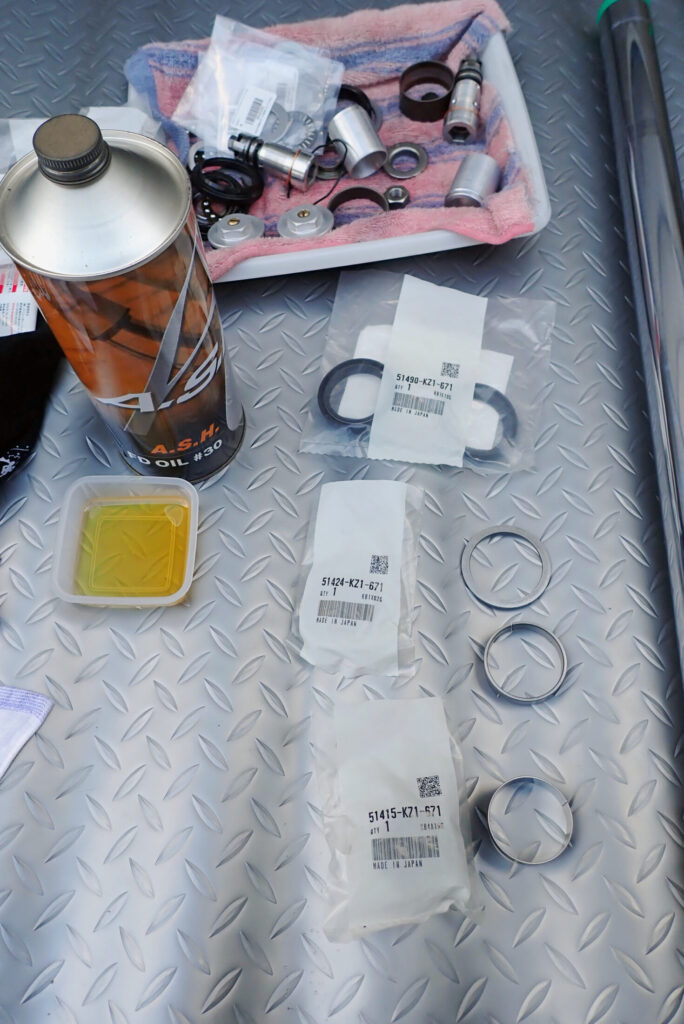
One more check of the parts.
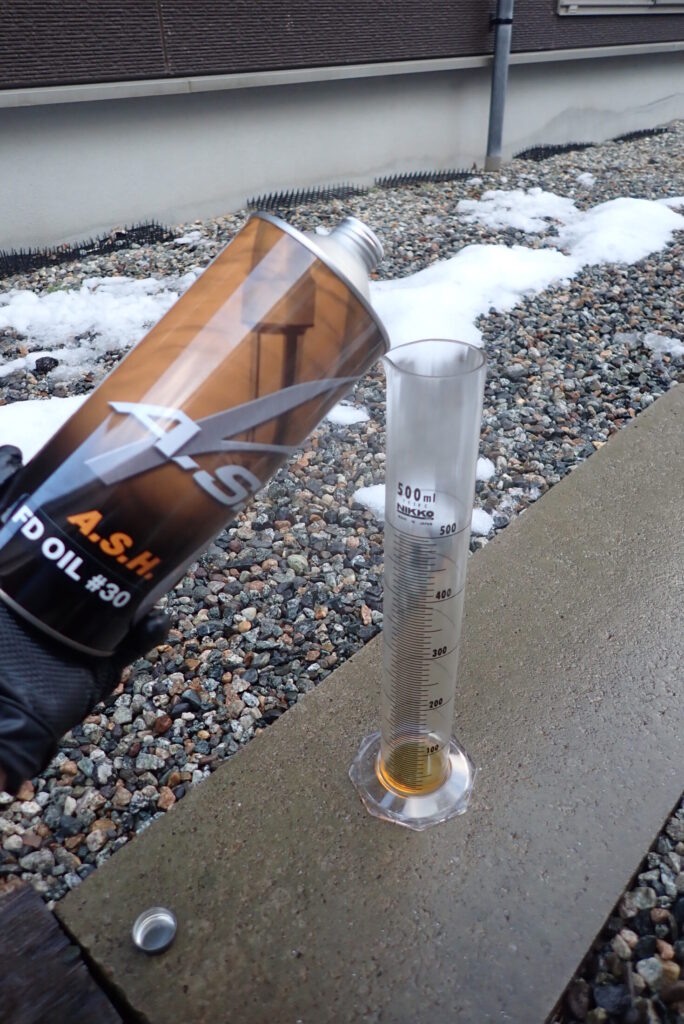
This time I've splashed out on A.S.H. fork oil!
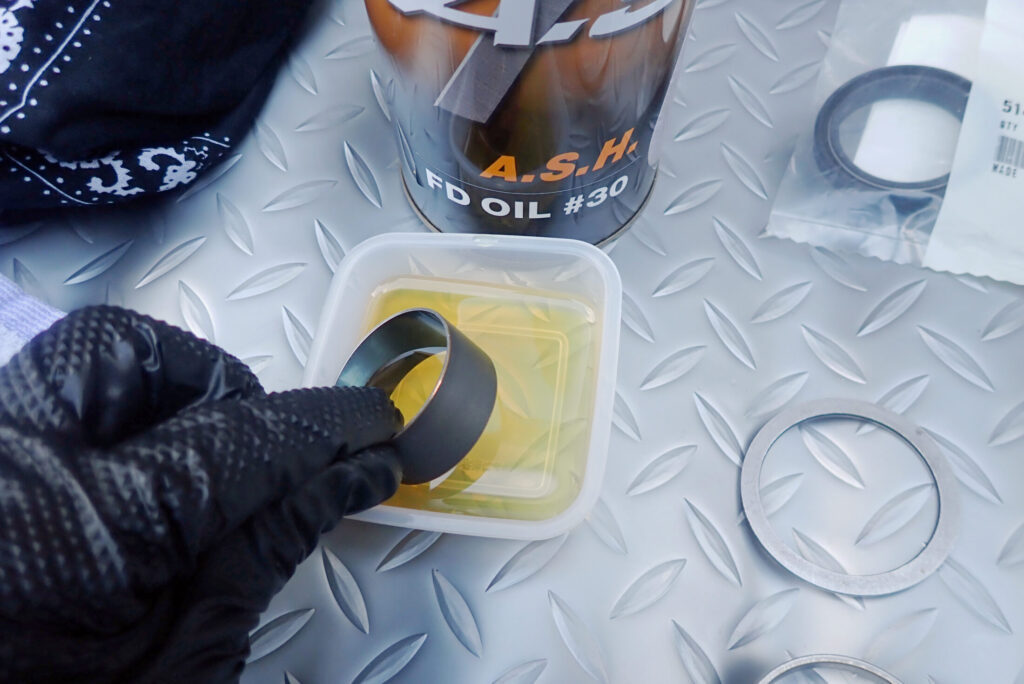
Before fitting, coat the slide bushes and so on evenly with fork oil.
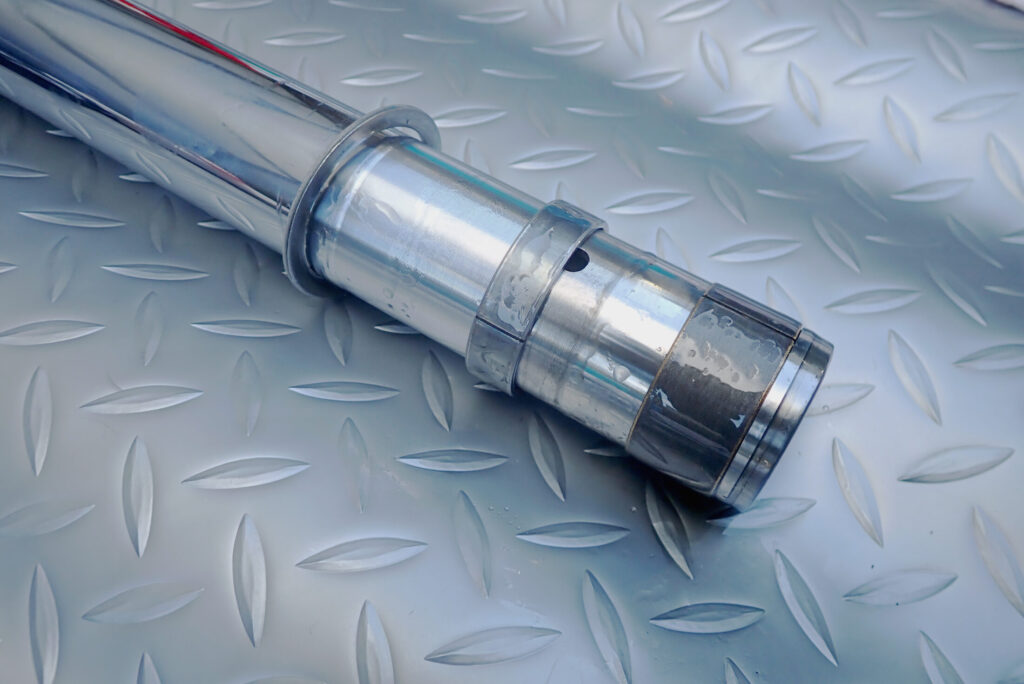
The parts in the photo above go on from the bottom of the inner tube.
From the left: a washer, the fork pipe bush and the fork pipe sleeve. The last two are sometimes called slide metals or slide bushes.
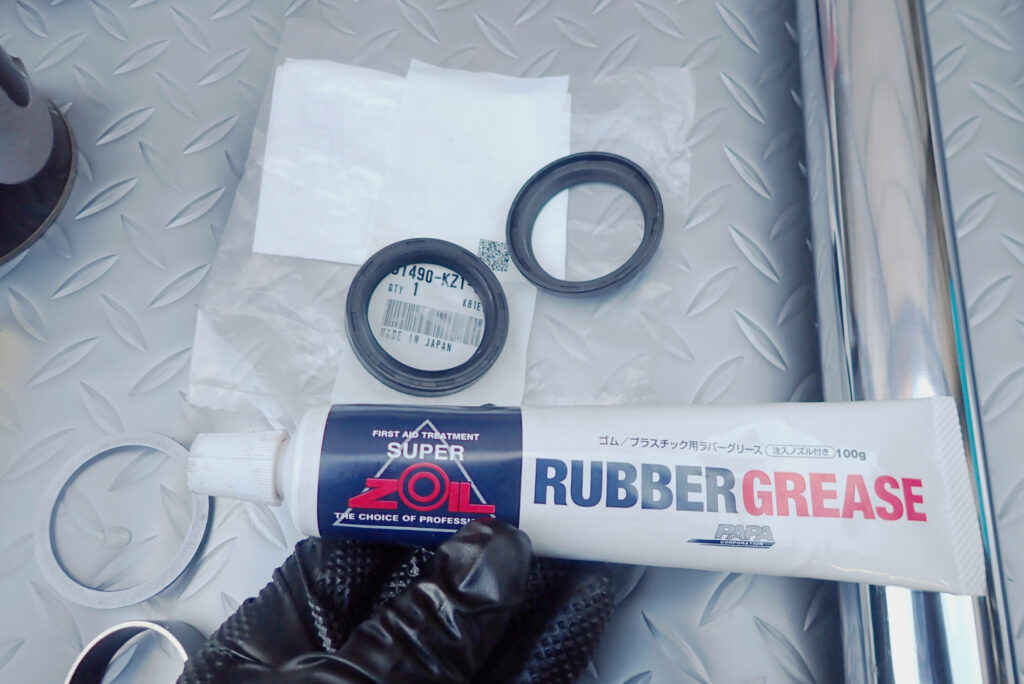
The parts in this photo are the dust seal and the fork seal. Both get grease on their lips.
Here I'm using ZOIL rubber grease.
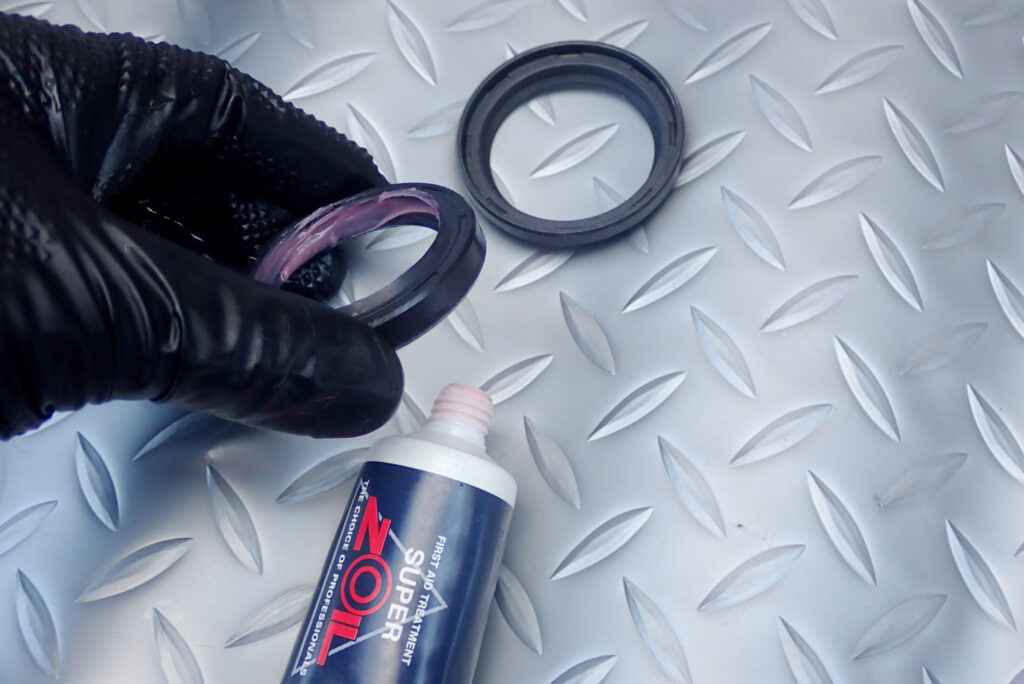
Apply grease to the seal lips (the part that rubs on the inner tube). This grease plays an important role in keeping oil in and dust out.
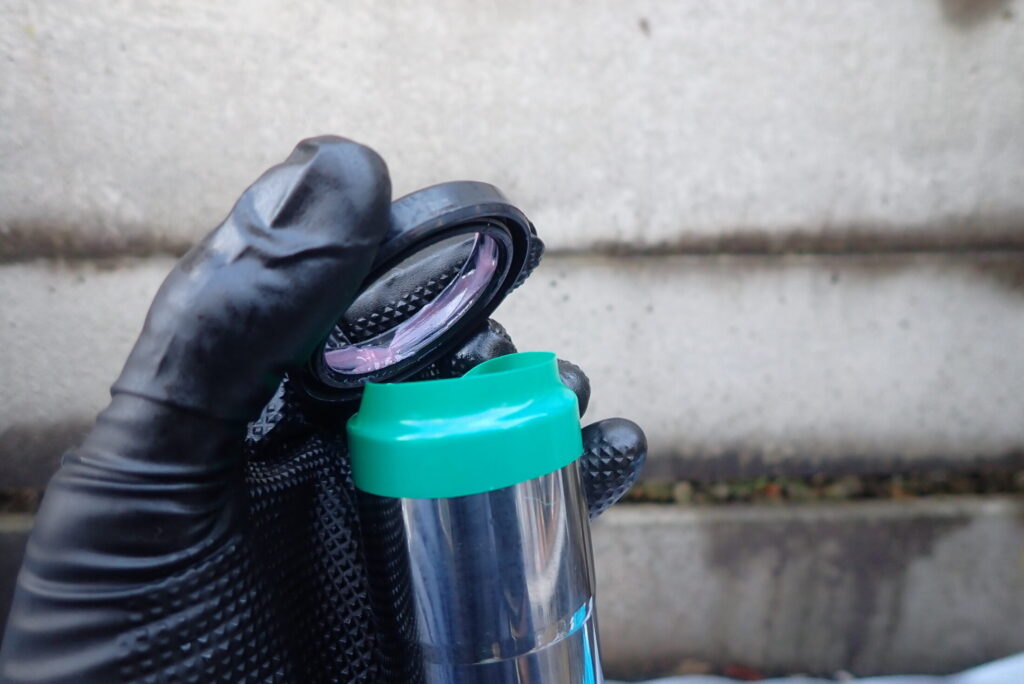
Slide the seals, lips greased, onto the inner tube.
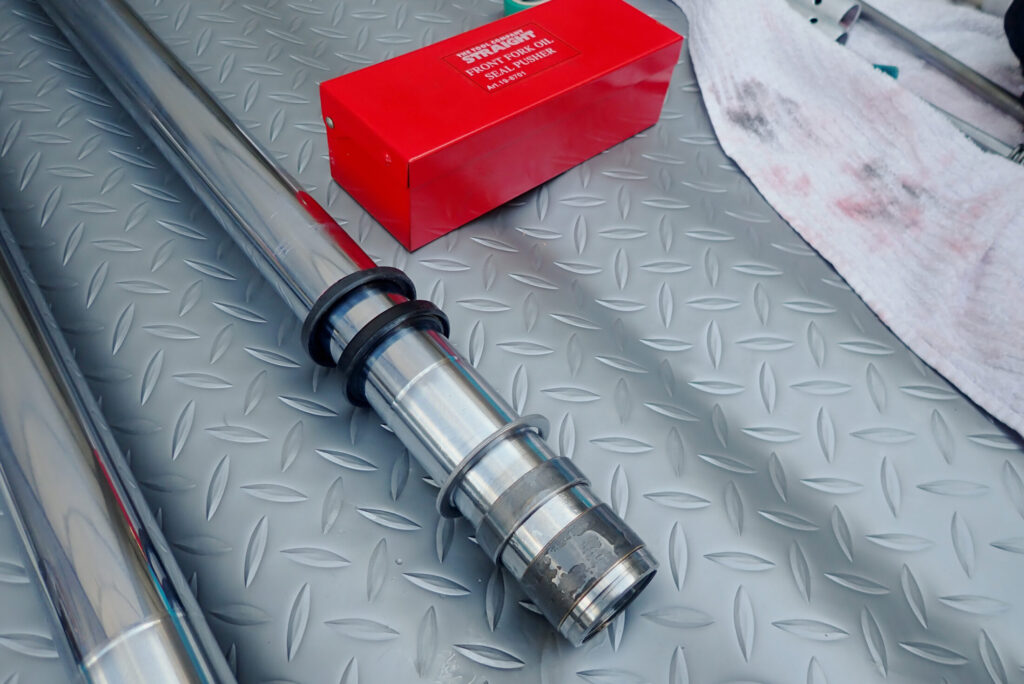
Both seals are on the inner tube.
The red box at the back of the photo is a fork seal driver, a special tool for driving in fork seals. Some people use a length of PVC pipe instead, but a purpose-made one makes the job easier.
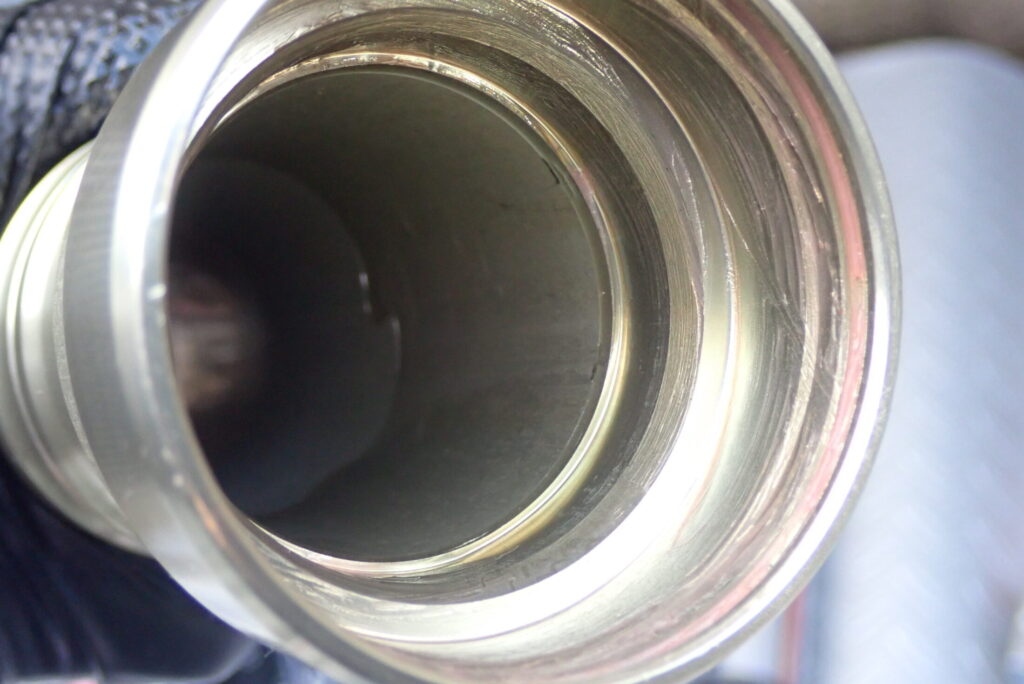
In the outer tube, apply the same ZOIL grease where the seal sits, and fork oil where the inner tube's slide bush runs.
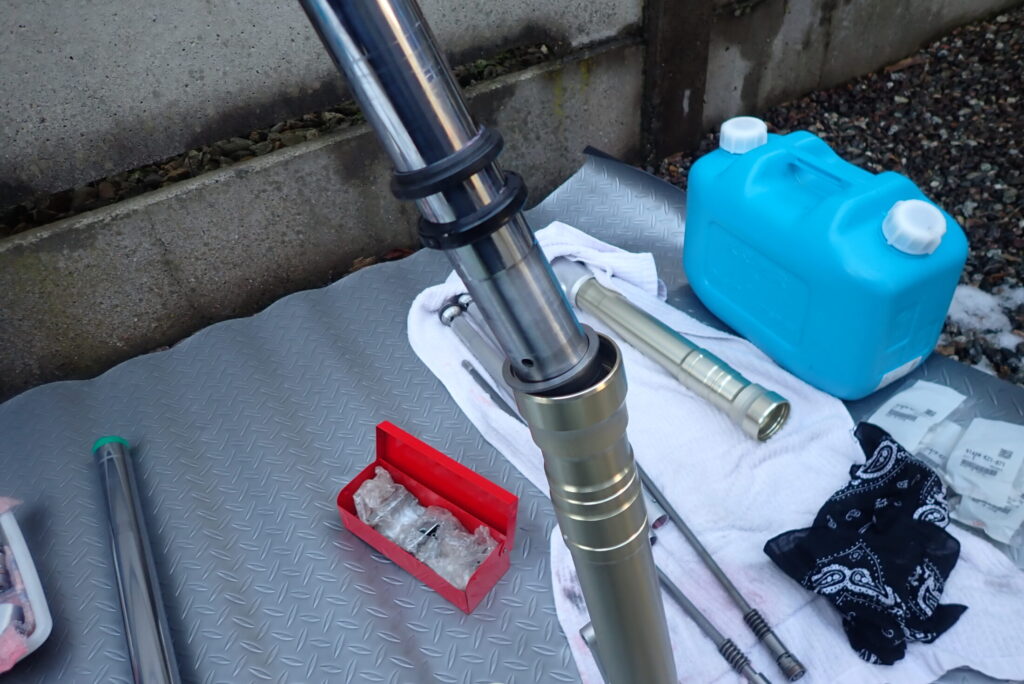
When everything is ready, slide the inner tube into the outer tube.
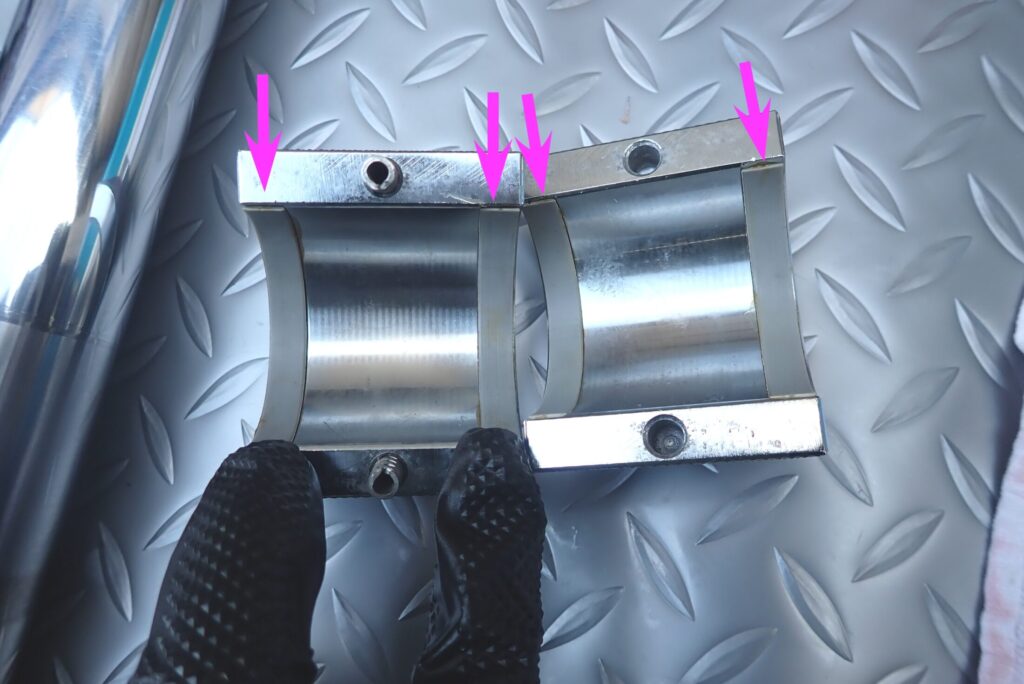
Now to prepare the fork seal driver.
The four grey areas marked with purple arrows must be wiped clean with a rag so there is no sand or grit on them.
This is to avoid scratching the inner tube.
The fork seal driver works by hammering a weight down to drive the seal in, and as in the photo below, the weight slides along the inner tube as you strike.
So if there's sand or grit on the side of the weight that touches the inner tube, it will scratch the tube.
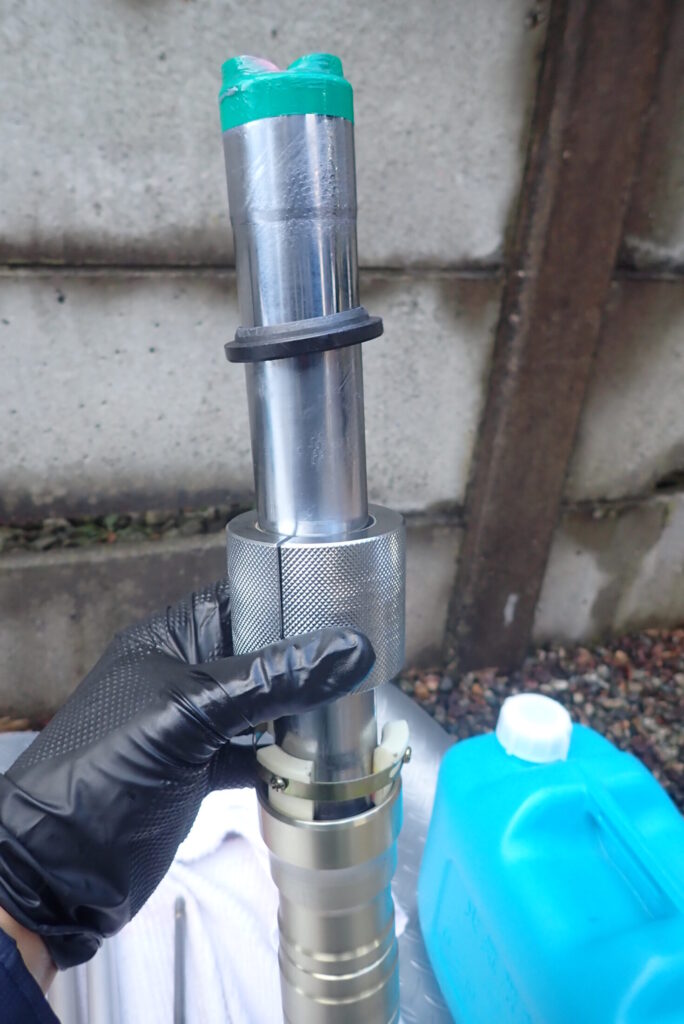
Drive the fork seal in. At this point, make sure the whole circumference of the seal is driven fully home.
If the fork seal goes in crooked, the inner tube won't move smoothly, and it leaves a gap for sand and mud to get into the fork.
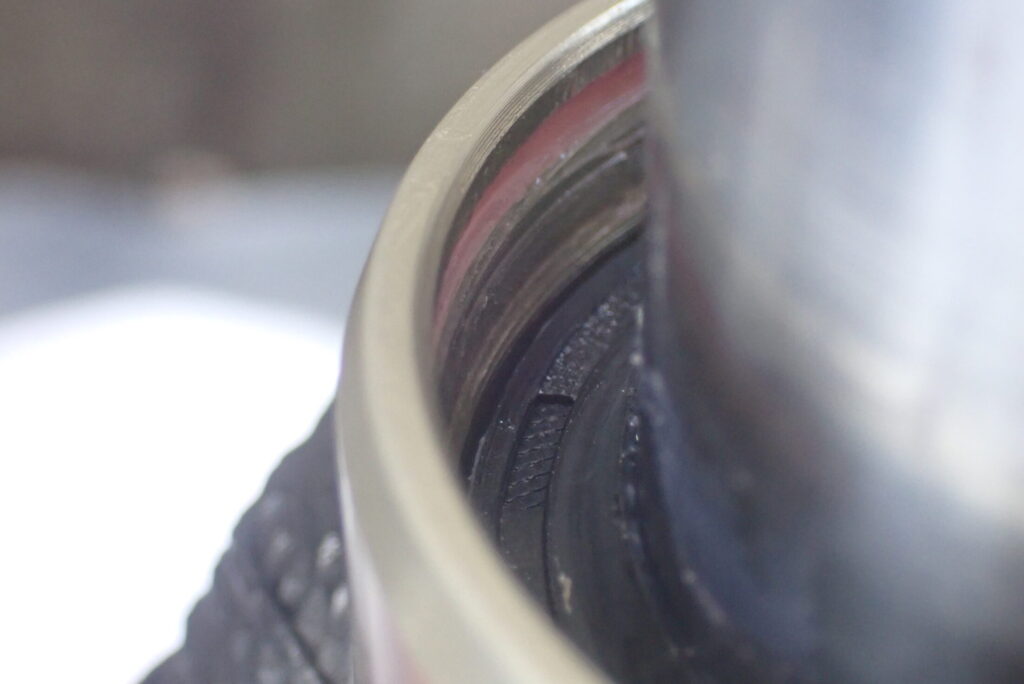
Check that the whole circumference of the fork seal is pushed in to the same depth.
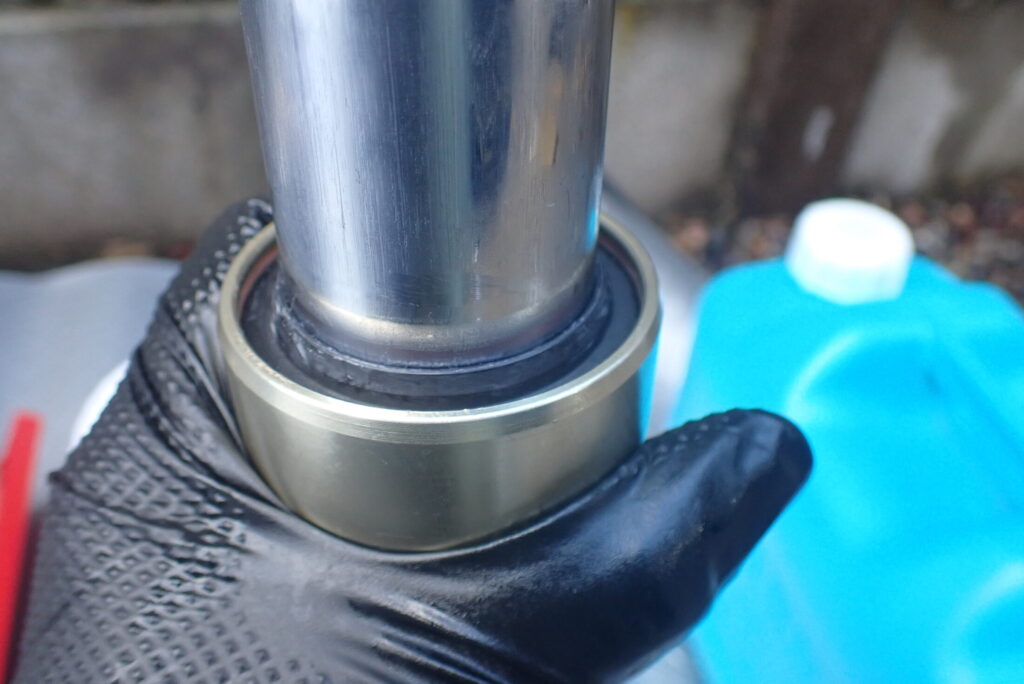
With the fork seal in, next is the dust seal, which went in with just finger pressure.
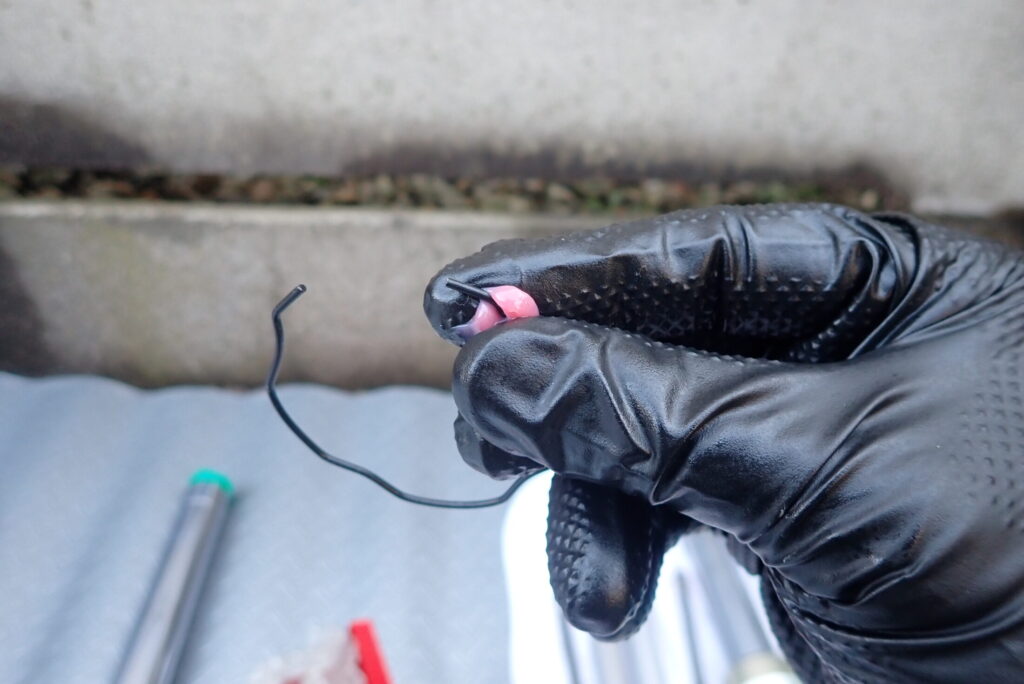
With the dust seal in, fit the snap ring that holds it. The snap ring sits right at the top of the outer tube, so it often rusts even with fork gaiters fitted.
So I grease it generously before fitting it.
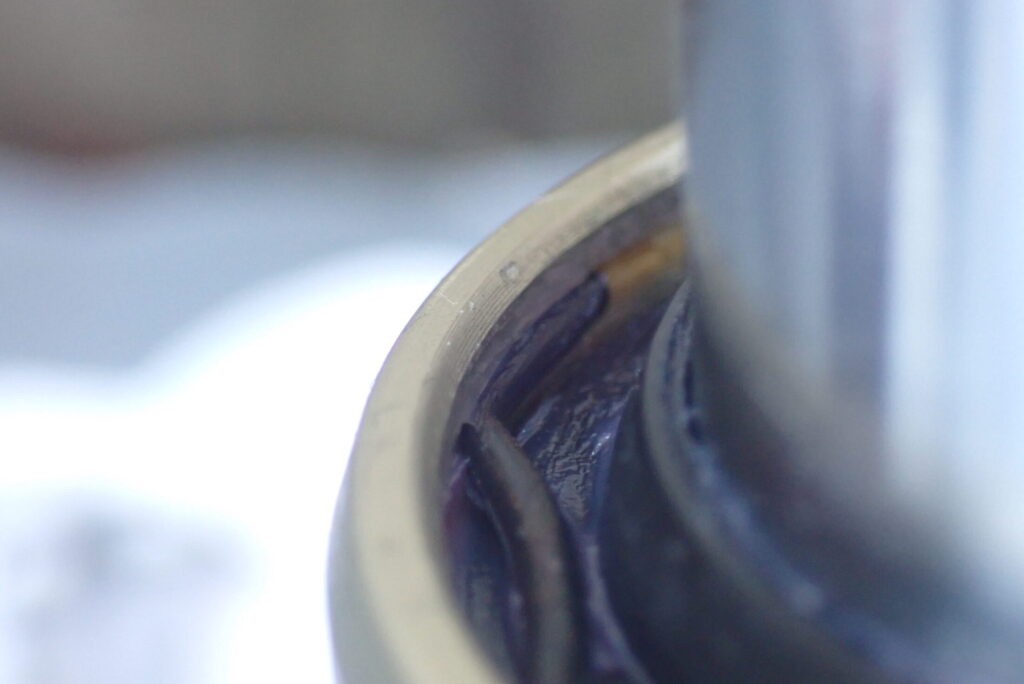
Make sure the snap ring is properly seated in the groove of the outer tube.
With the outer and inner tubes together, next comes the heart of the front fork: assembling the piston parts.
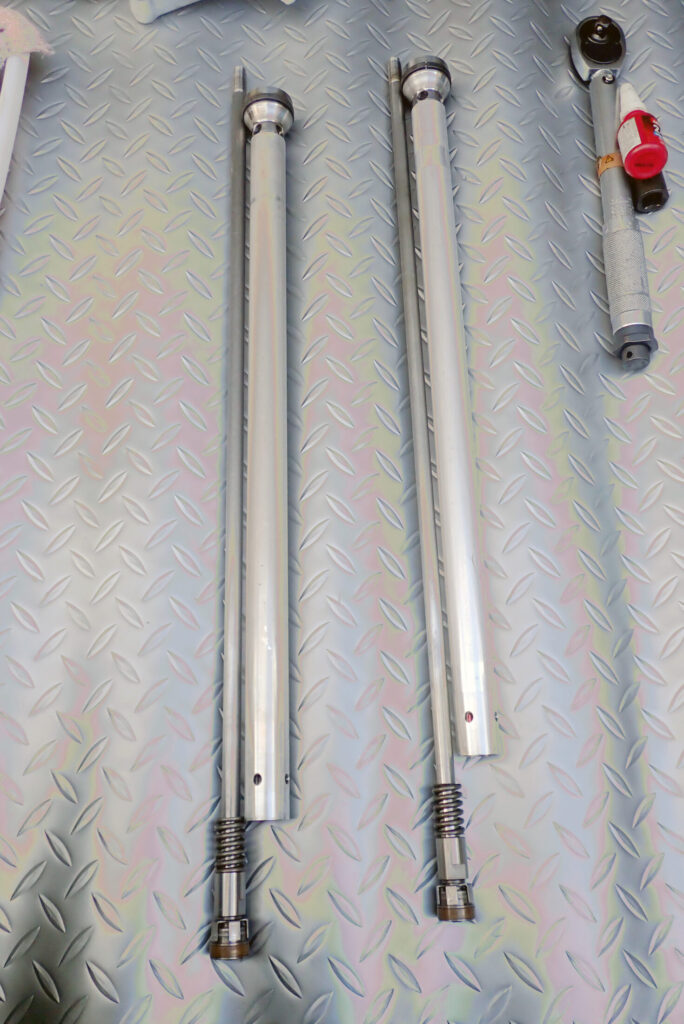
In the photo above, the piston rod is on the left and the cylinder on the right. According to the parts list, the XR's forks appear to be made by KYB (Kayaba). It might be worth trying KYB fork oil.
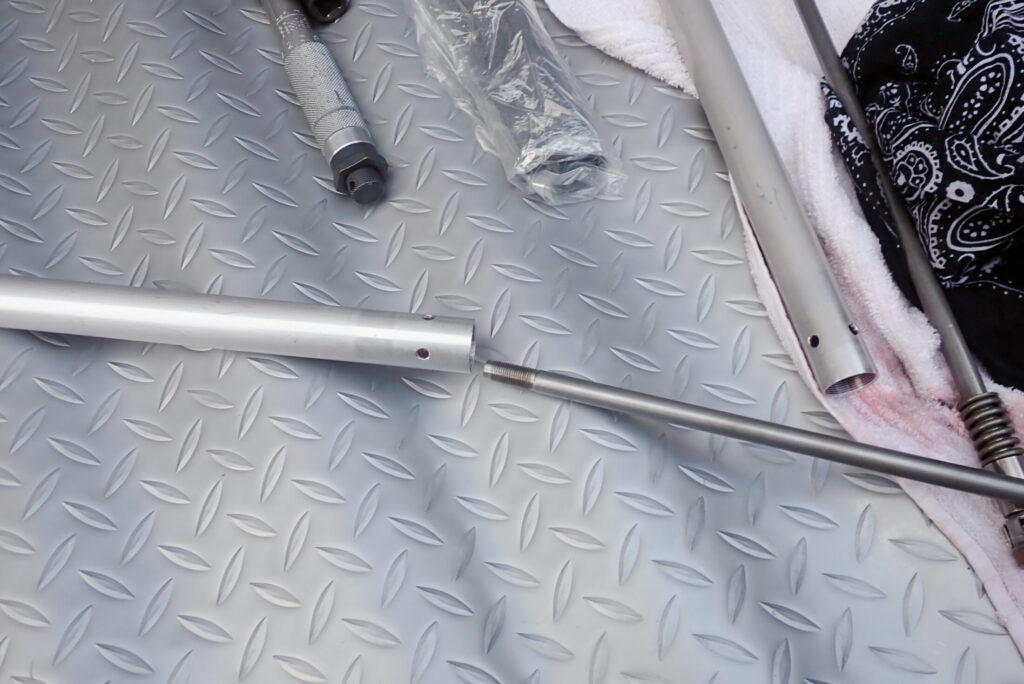
Insert the piston rod into the cylinder from the bottom.
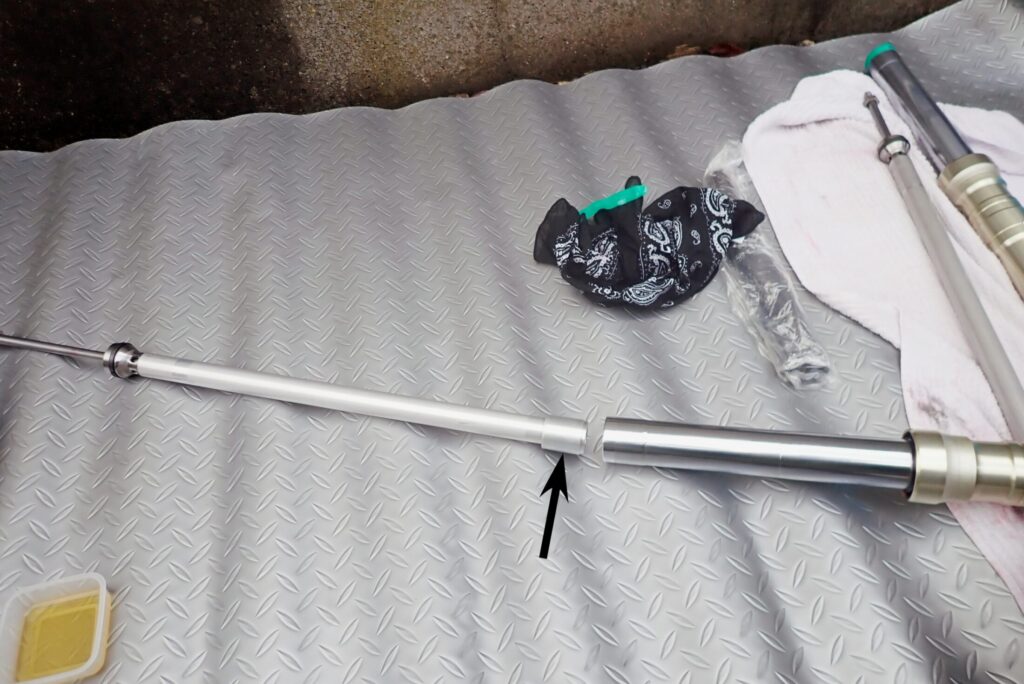
With the piston rod in, fit the oil lock piece (black arrow in the photo above) to the bottom of the cylinder and insert it into the inner tube.
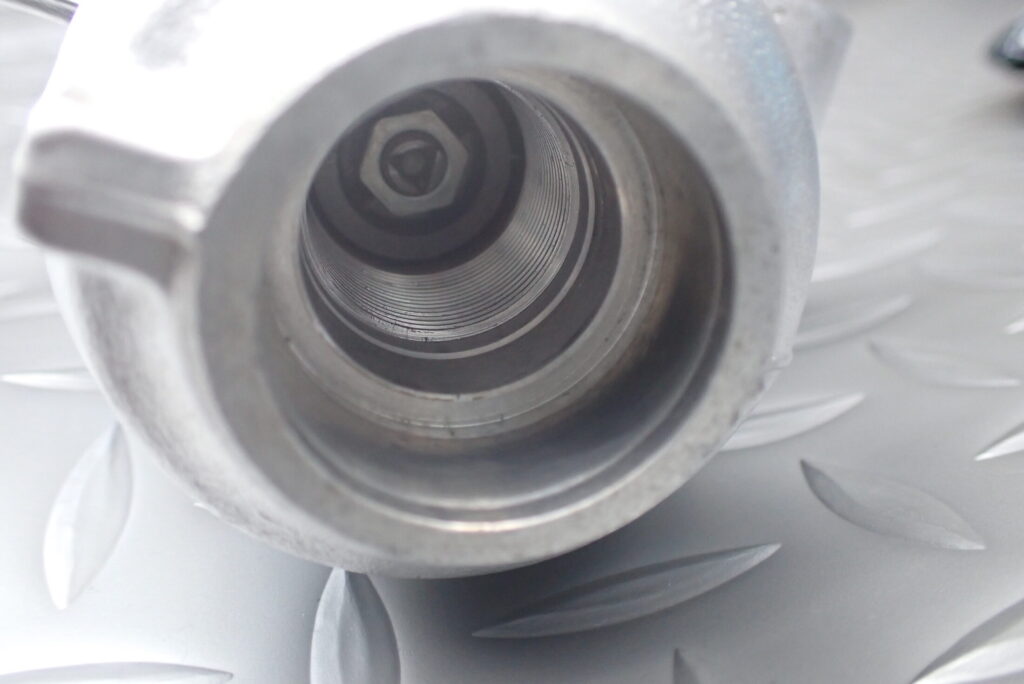
Check that the bottom end of the cylinder has gone properly into the bottom case.
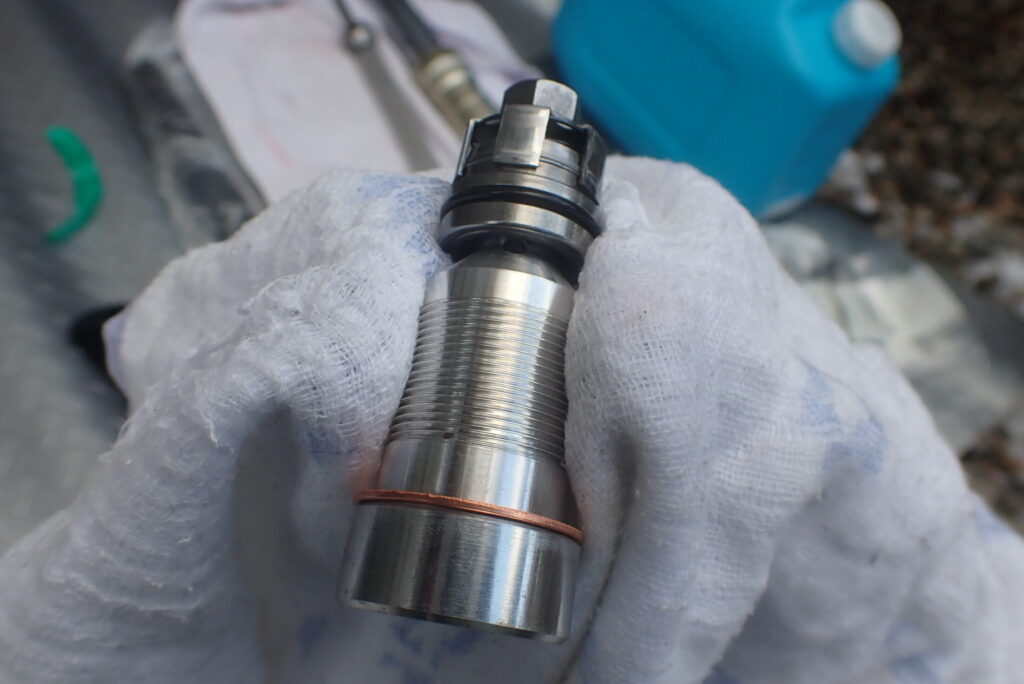
The centre bolt goes in from the bottom of the fork to hold the cylinder. It gets threadlocker, so clean the threads thoroughly.
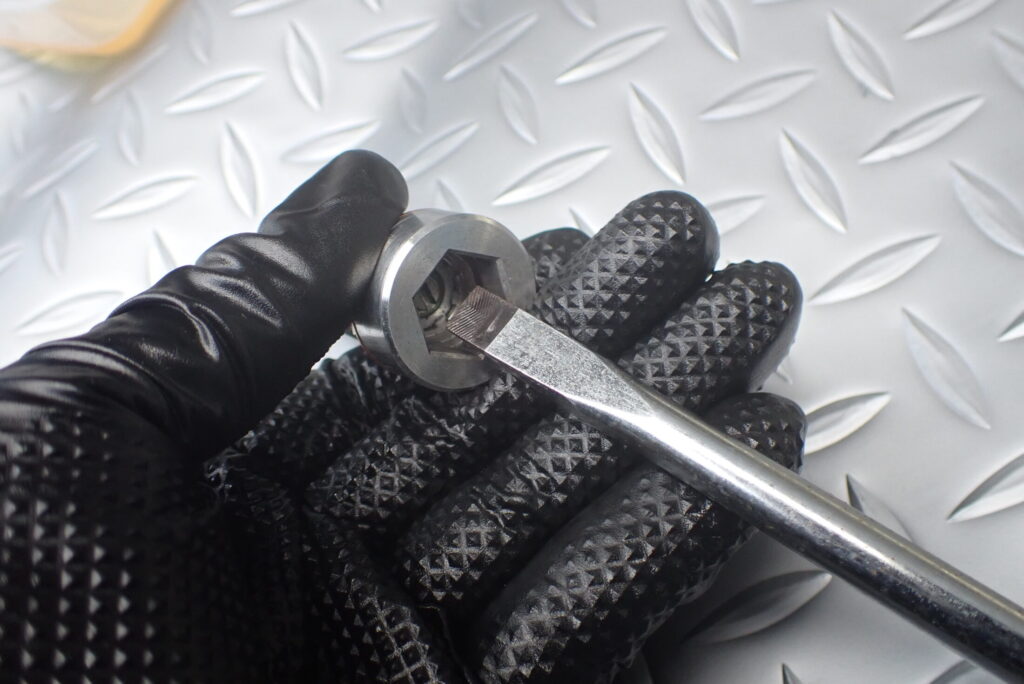
I'm using ME08 centre bolts, so they have a compression adjuster. Set both sides the same at this stage.
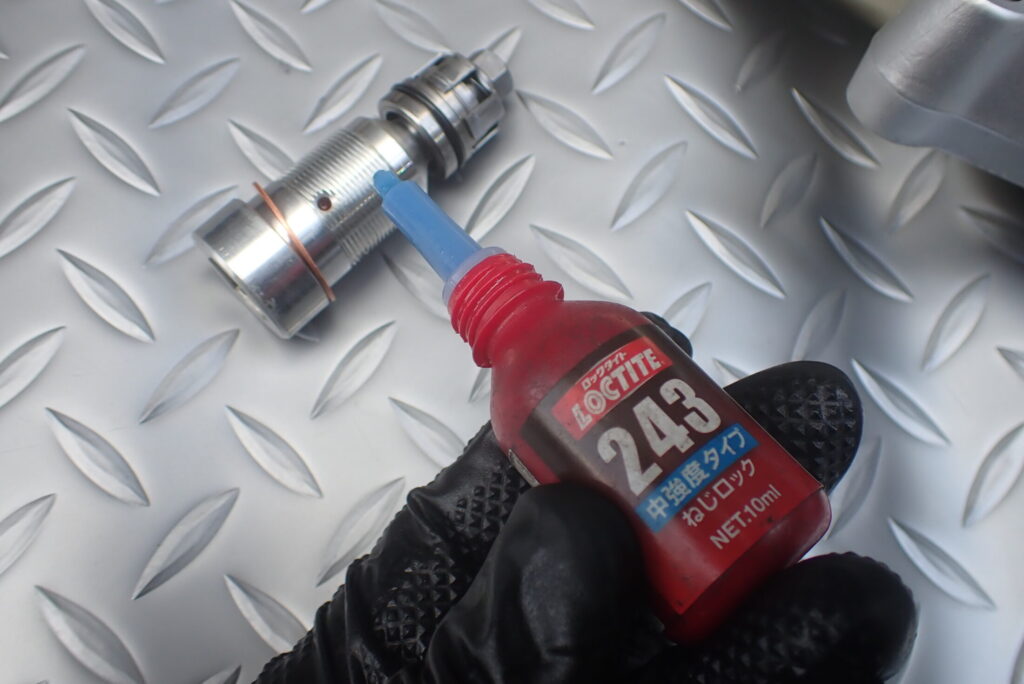
Apply threadlocker to the centre bolt.
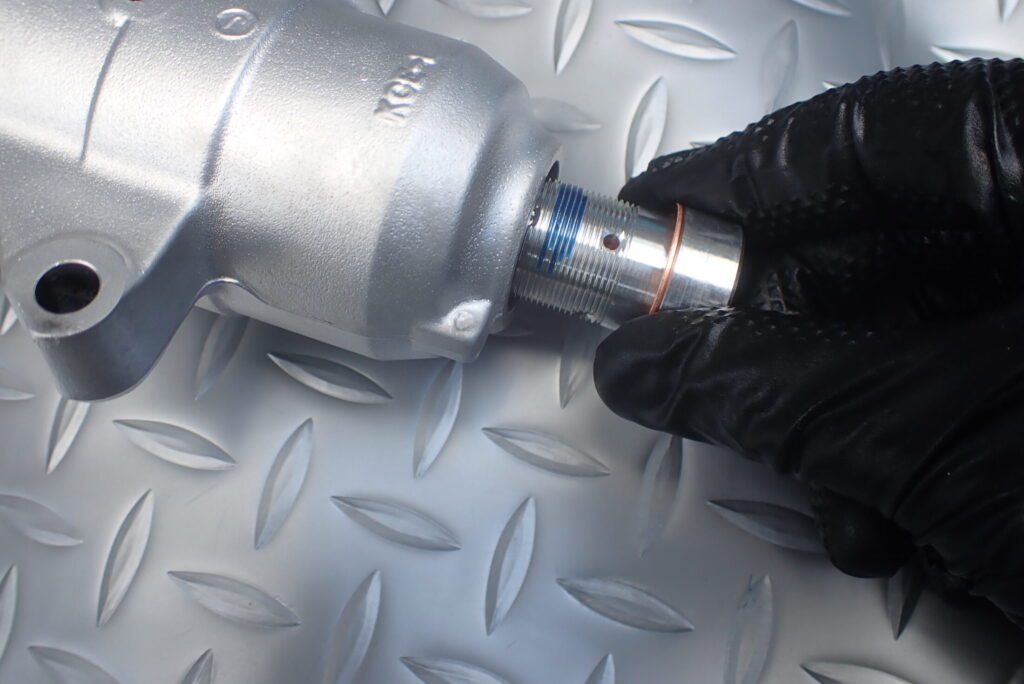
Screw the centre bolt in.
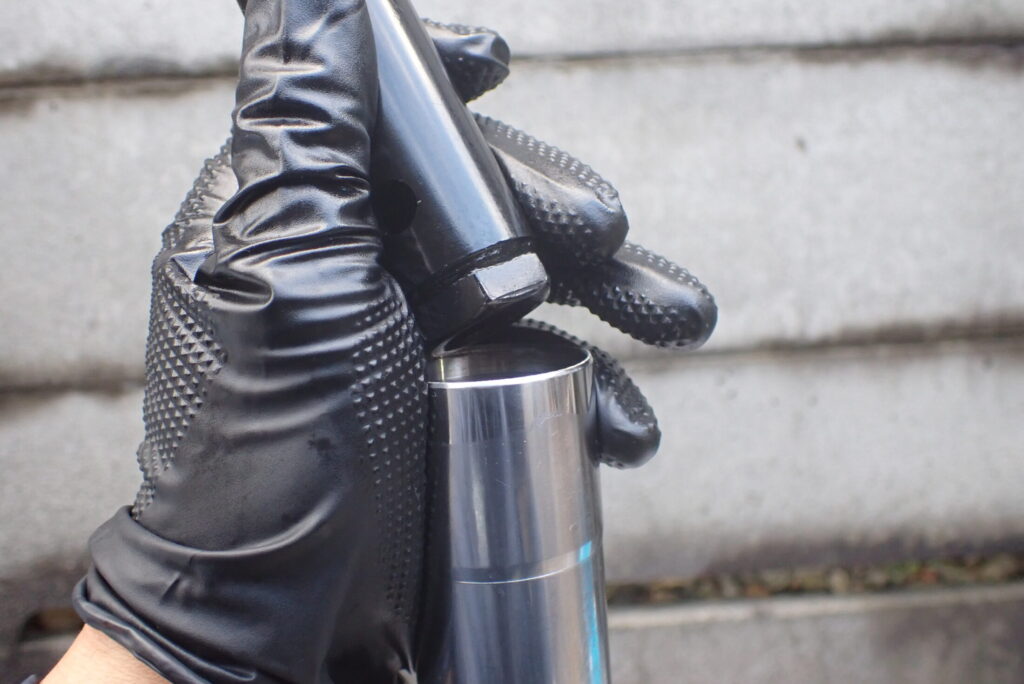
If you just screw the centre bolt in, the cylinder spins with it, so hold the cylinder with a special tool.
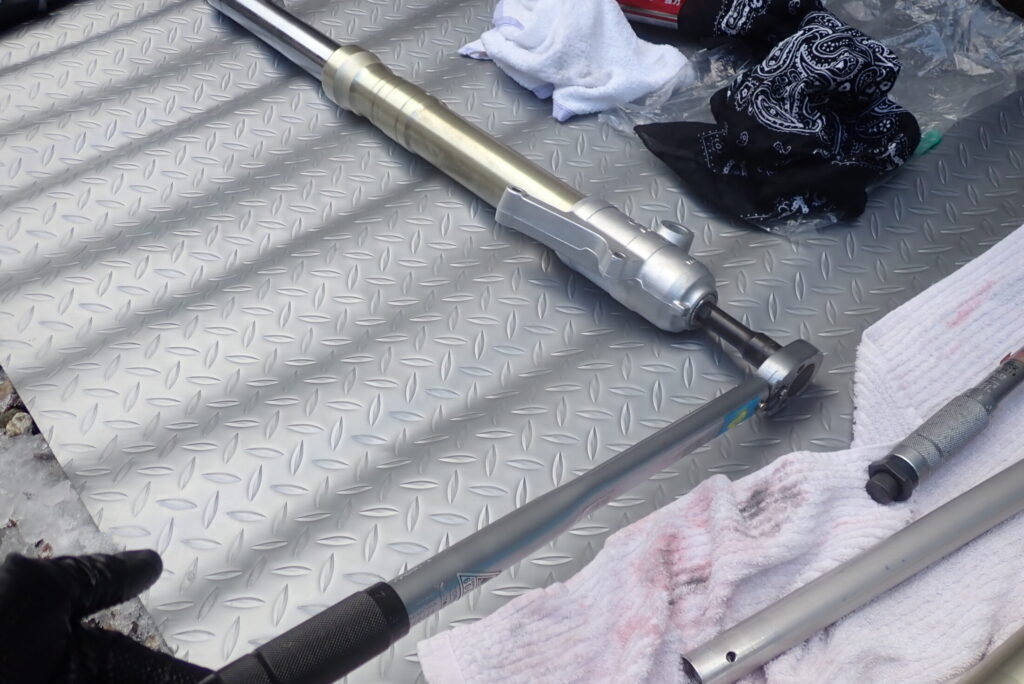
Tightening the centre bolt looks like the photo above. Tighten the centre bolt with a 14 mm hex socket while holding the top of the cylinder with the special tool so it can't turn.
Once the centre bolt is tightened to the specified torque, all that's left is to add fork oil and springs and bleed out the air.
Pour the fork oil in slowly, a little at a time. If the air hasn't bled out, the fork oil will overflow.
If you try to pour the fork oil in all at once, it will overflow!!
I measure the fork oil in a measuring cylinder. The one I use is the NIKKO chemical measuring cylinder 500 mL / 30-0103-55.
I've used it for over 15 years and like it for these reasons:
- It can be used with fork oil and engine oil
- It can be washed with parts cleaner
- The graduations are on the outside, so they don't fade or wear off
By the way, I'm using A.S.H. oil, blended to bring the viscosity close to the stock fork oil (my post on the blend is in Japanese; this chart compares fork oil viscosities):
Part 3 is only in Japanese for now. The final part, where I set the oil level, is here:
I've also written up the teardown of these forks in English, starting with part 1: