Hello everyone.
The front fork assembly on my Honda XR250 BAJA (the Japan-market XR250 / MD30) is finally nearing the end.
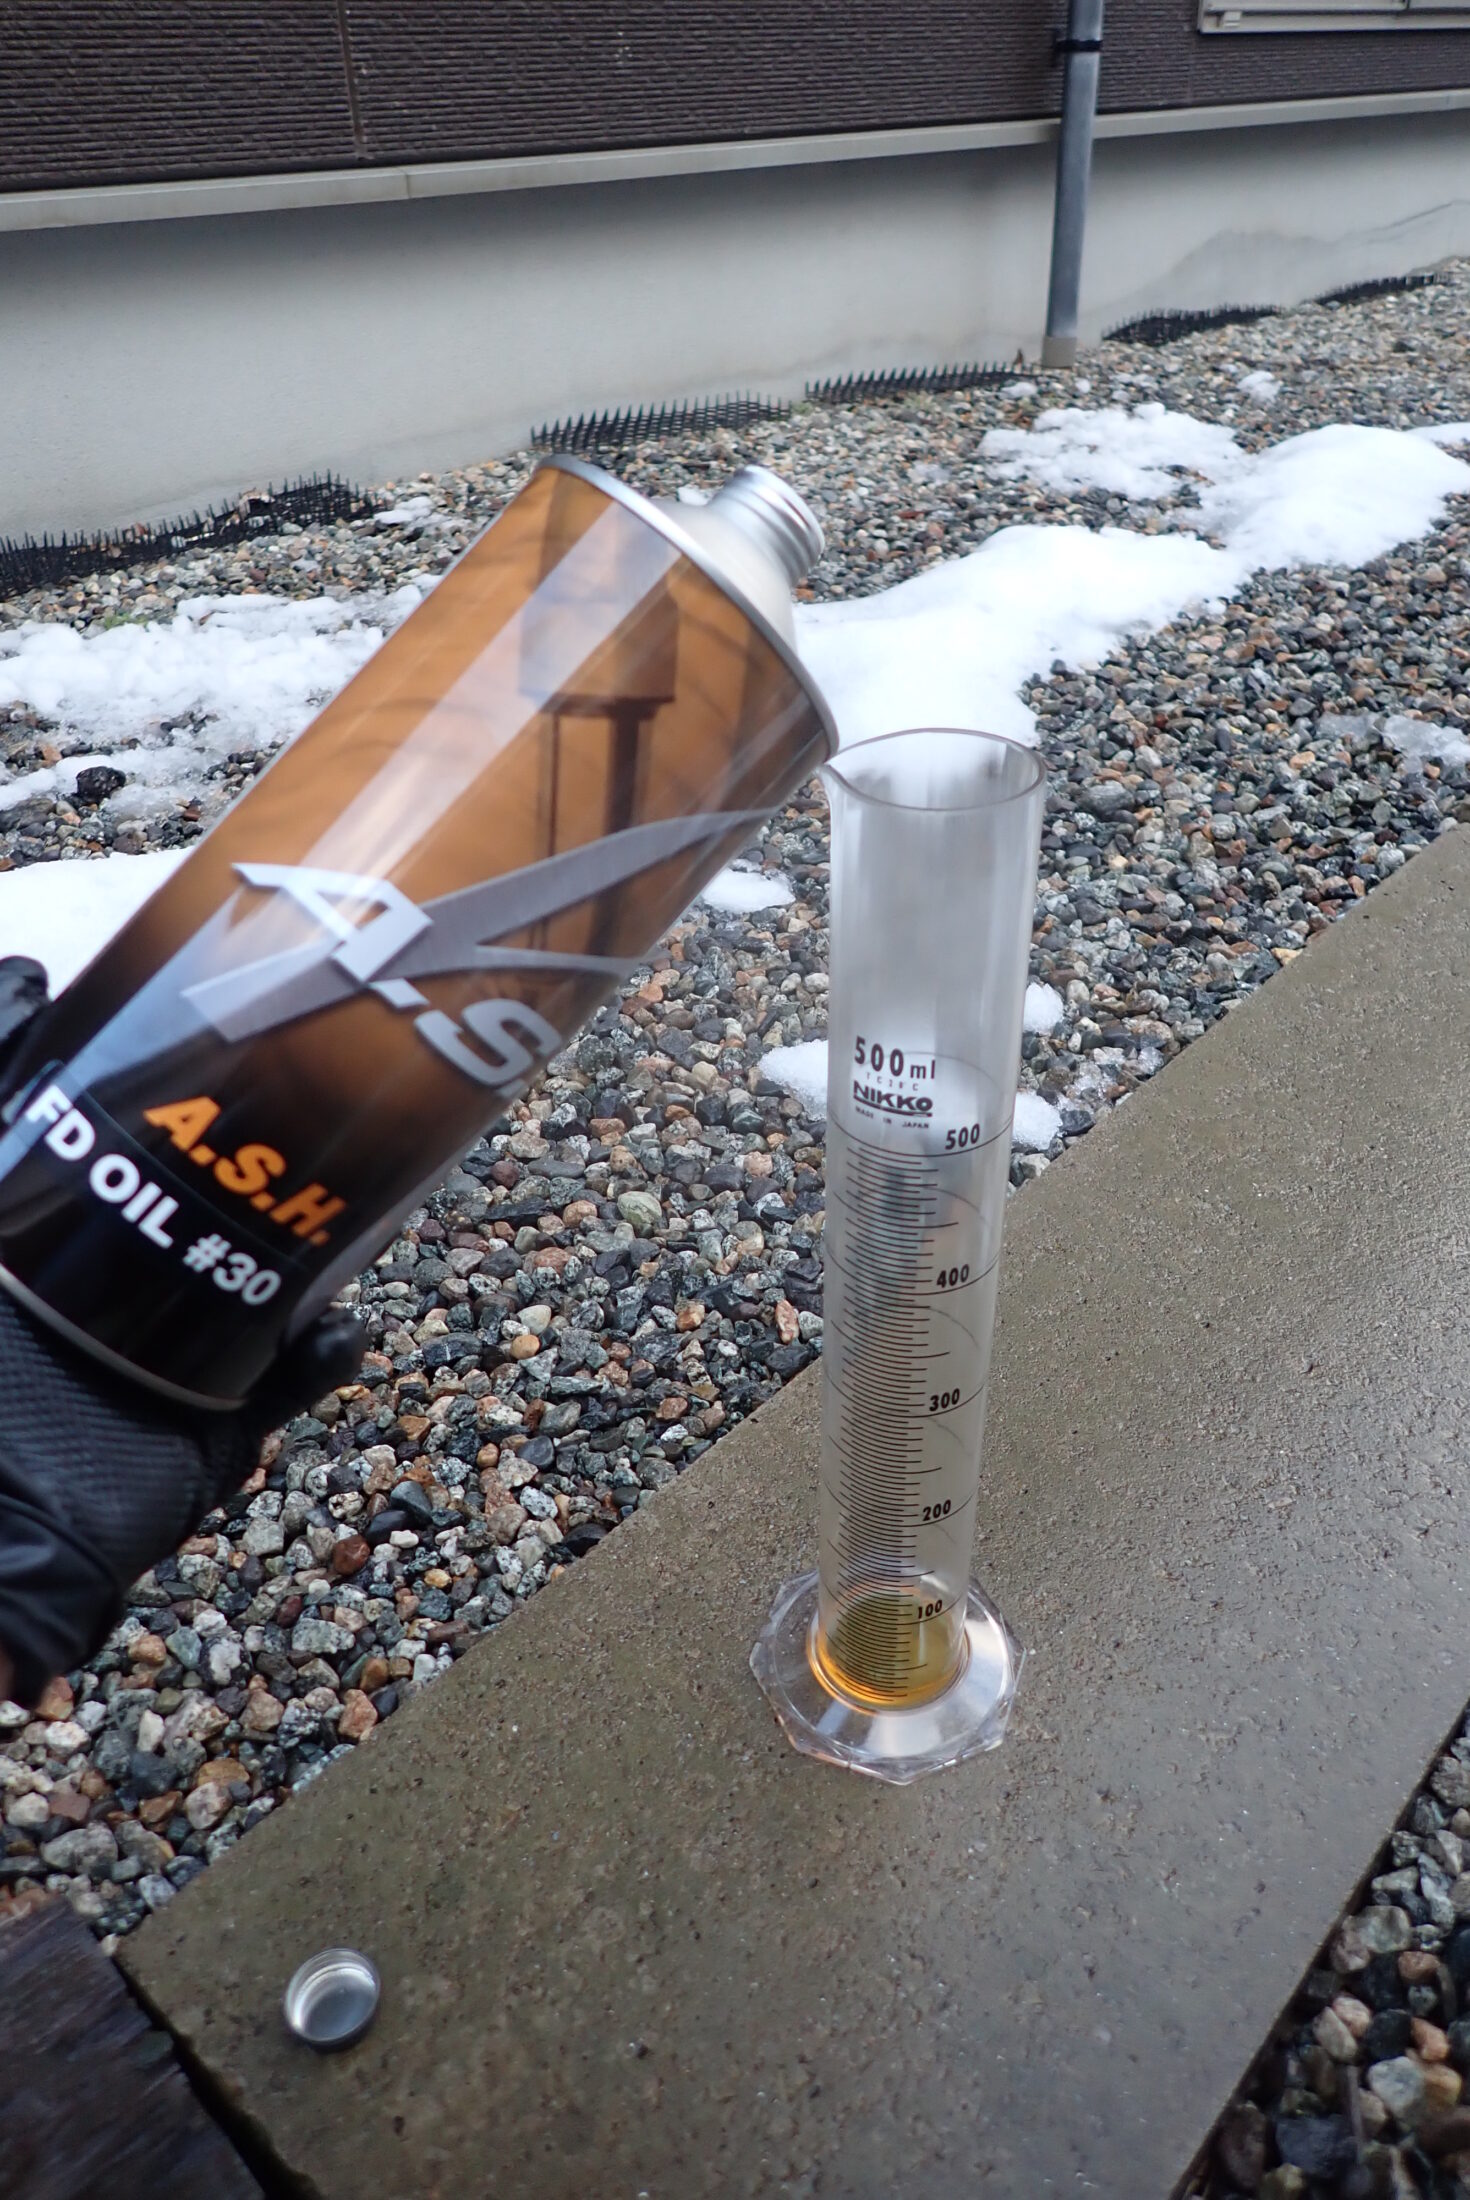
The fork oil has arrived, so this time I'm mixing two oils to adjust the viscosity.
-
-
Mixing Fork Oils to Match a Viscosity: A.S.H. #11 and #30 for the Honda XR250 BAJA (Simple Average vs Refutas)
To match Honda's 16.2 fork oil on my XR250 BAJA, I mixed A.S.H. #11 and #30 at 7.2:2.8 by a simple average. Recalculated with the Refutas equation (ASTM D7152), that blend is about 14.5; roughly 6:4 gets closer to 16.2.
-

-
Honda XR250 BAJA Front Fork Rebuild (Part 2): Seals, Slide Bushes, Seal Driver and Centre Bolt
Part 2 of rebuilding my XR250 BAJA forks: taping the inner tube, greasing seal lips, using a fork seal driver without scratching the tube, fitting the snap ring, and tightening the ME08 centre bolt while holding the cylinder.

I need 332 cc of #11.

Spot on.
A.S.H. oil seems to lose its air bubbles more easily than other oils.

Now I pour the oil into the fork. At this stage, don't pour it all in at once; add it slowly, a little at a time.
That way the air glugs its way out.
If you pour it in all at once, it overflows!

You can't see it in the photo, but the oil level is right there.

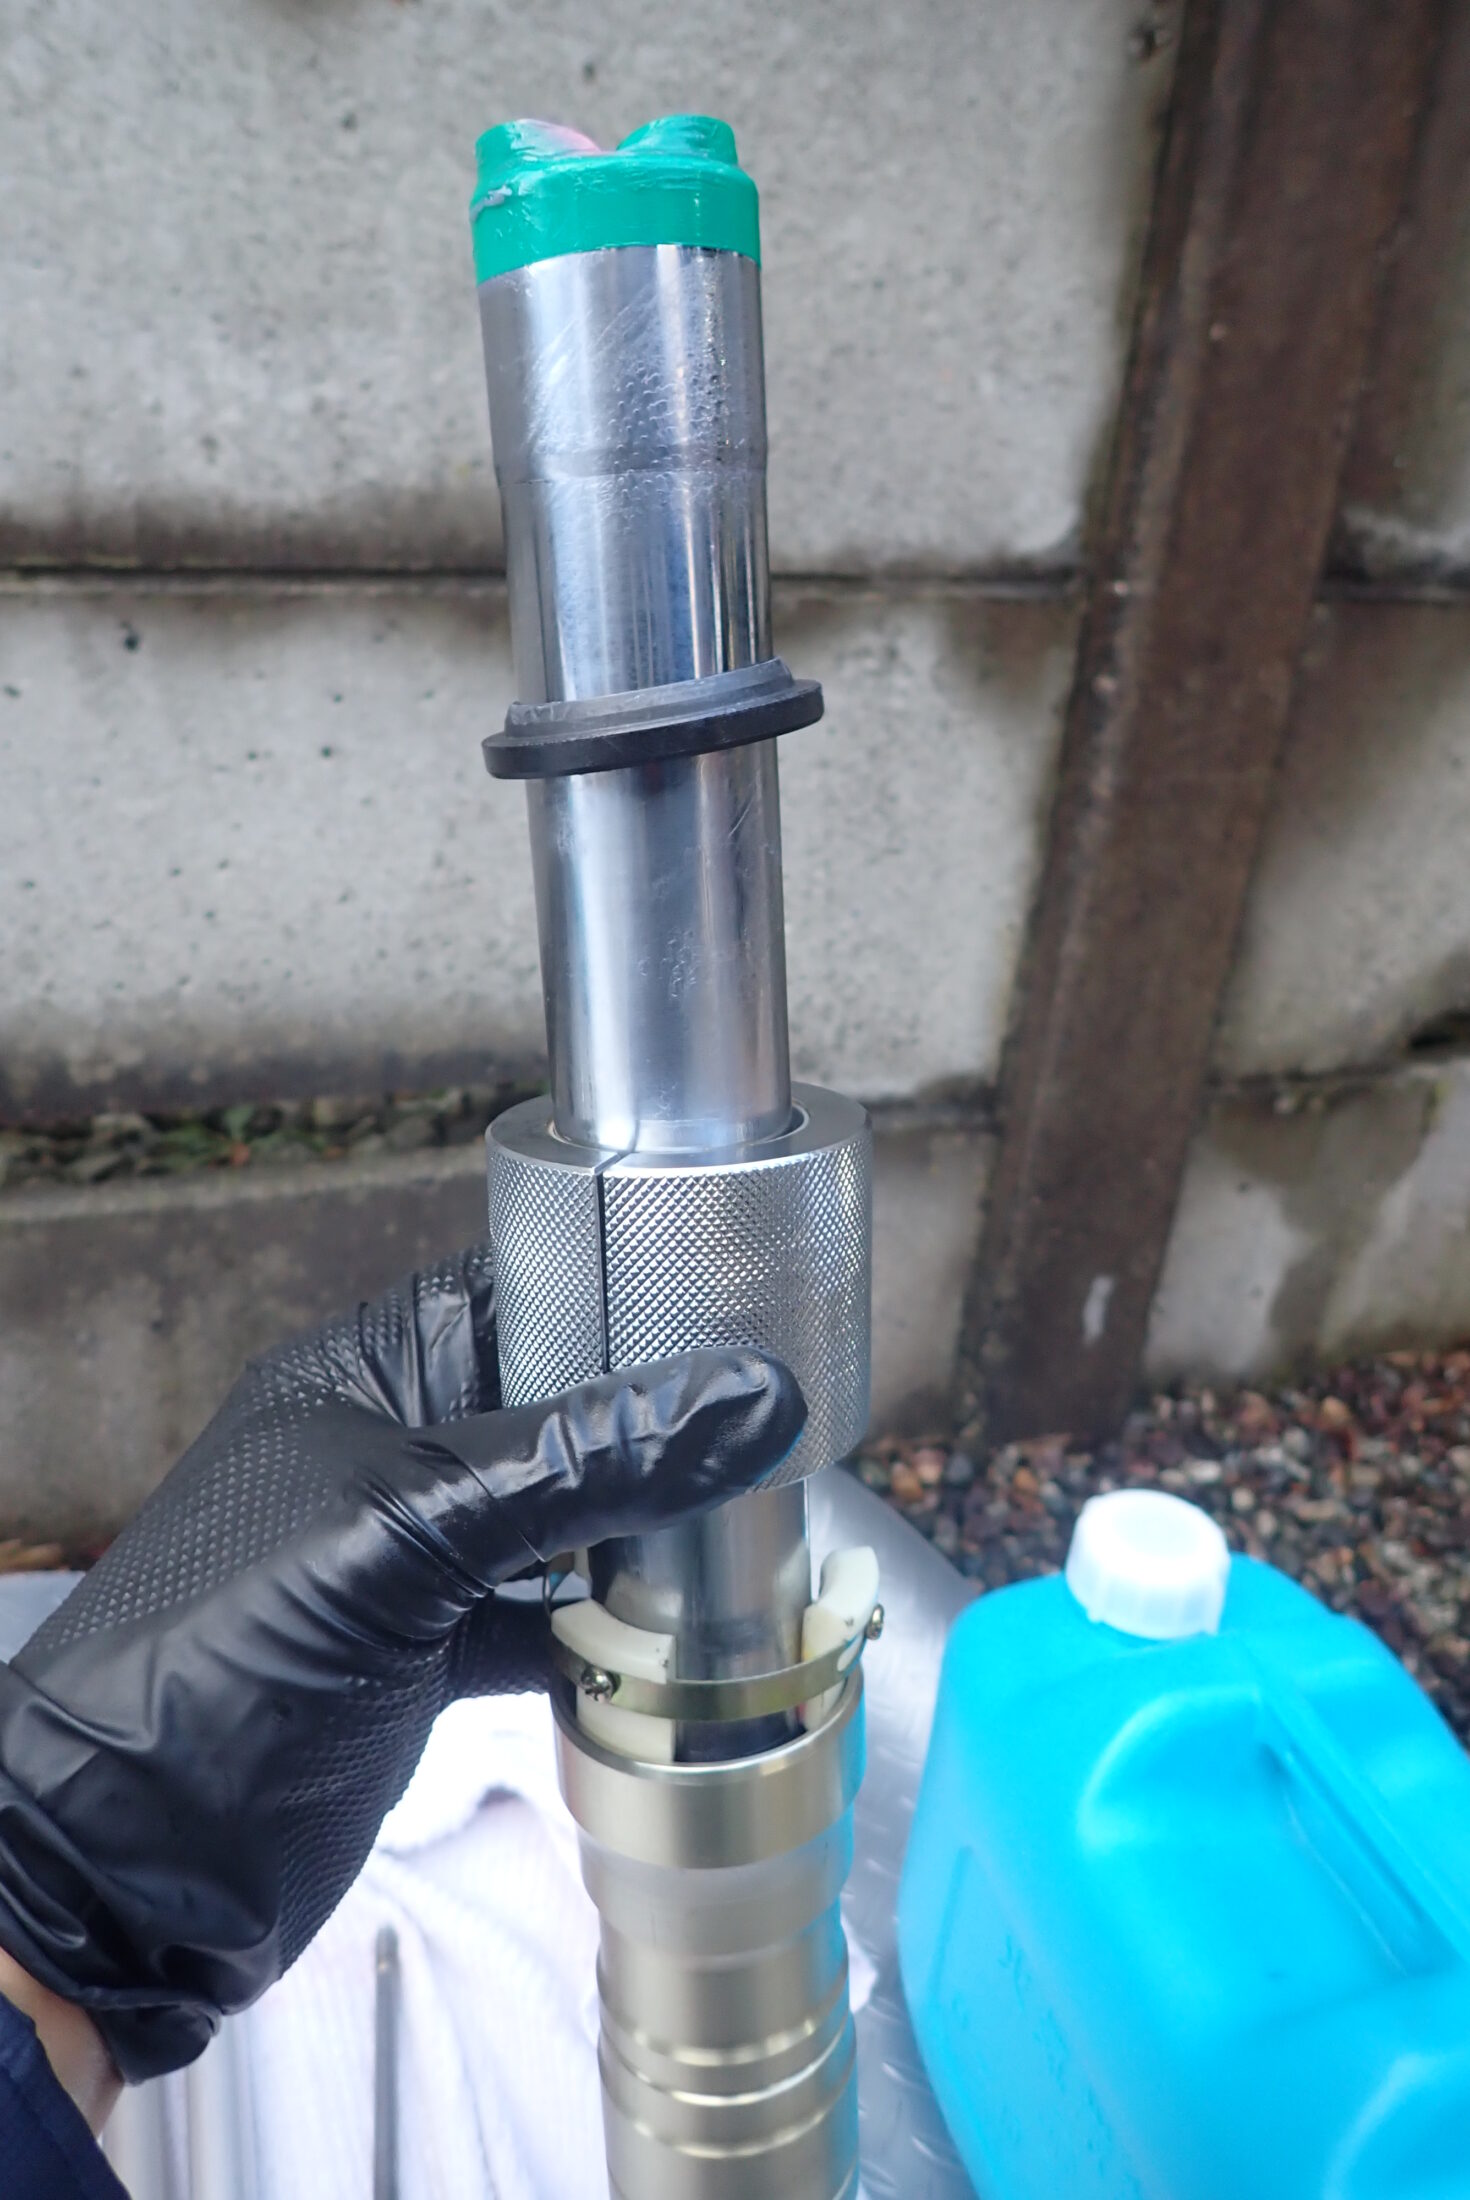
To get the air bubbles out, you stroke the piston rod, and a special tool like the one in the photo is handy for this.
This is the TGR Factory Tool bleeding rod from Technix (a Japanese company). One shaft covers four thread sizes: M10×P1.0, M10×P1.25, M12×P1.0 and M12×P1.25.

Stroke the piston rod to bleed out the air.
Now all that's left is to put the springs in. I've sent the springs off for WPC treatment (a Japanese surface treatment), so they'll go in when they come back.
I'm looking forward to it.
I've also written a guide to overhauling the XR250 / BAJA front forks, from disassembly to oil, springs and re-plating, with the steps and costs.
-
-
Honda XR250 / BAJA Front Fork Overhaul Guide: Steps, Costs and Model-Year Differences
A summary of my XR250 BAJA (MD30) front fork overhaul: the order of the work, re-plating costs, spring differences between the XR250, BAJA and XR250R, mixing fork oil to match Honda's viscosity, and axle thread sizes by year.

The next part (part 4) is in this article.
-
-
Honda XR250 BAJA Front Fork Rebuild (Part 4): Setting the Oil Level and Fitting a Thrust Bearing Between the Springs
Final assembly of my XR250 BAJA front forks: a home-made oil level gauge set to 107 mm, cleaning WPC-treated springs before fitting, and swapping the 1.56 mm washer between the springs for a 4.00 mm thrust bearing.