Hello everyone.
Today's story is about removing a mudguard from my G650GS.
There are three places I like to customise on a motorcycle.
The screen, the seat and the mudguard.
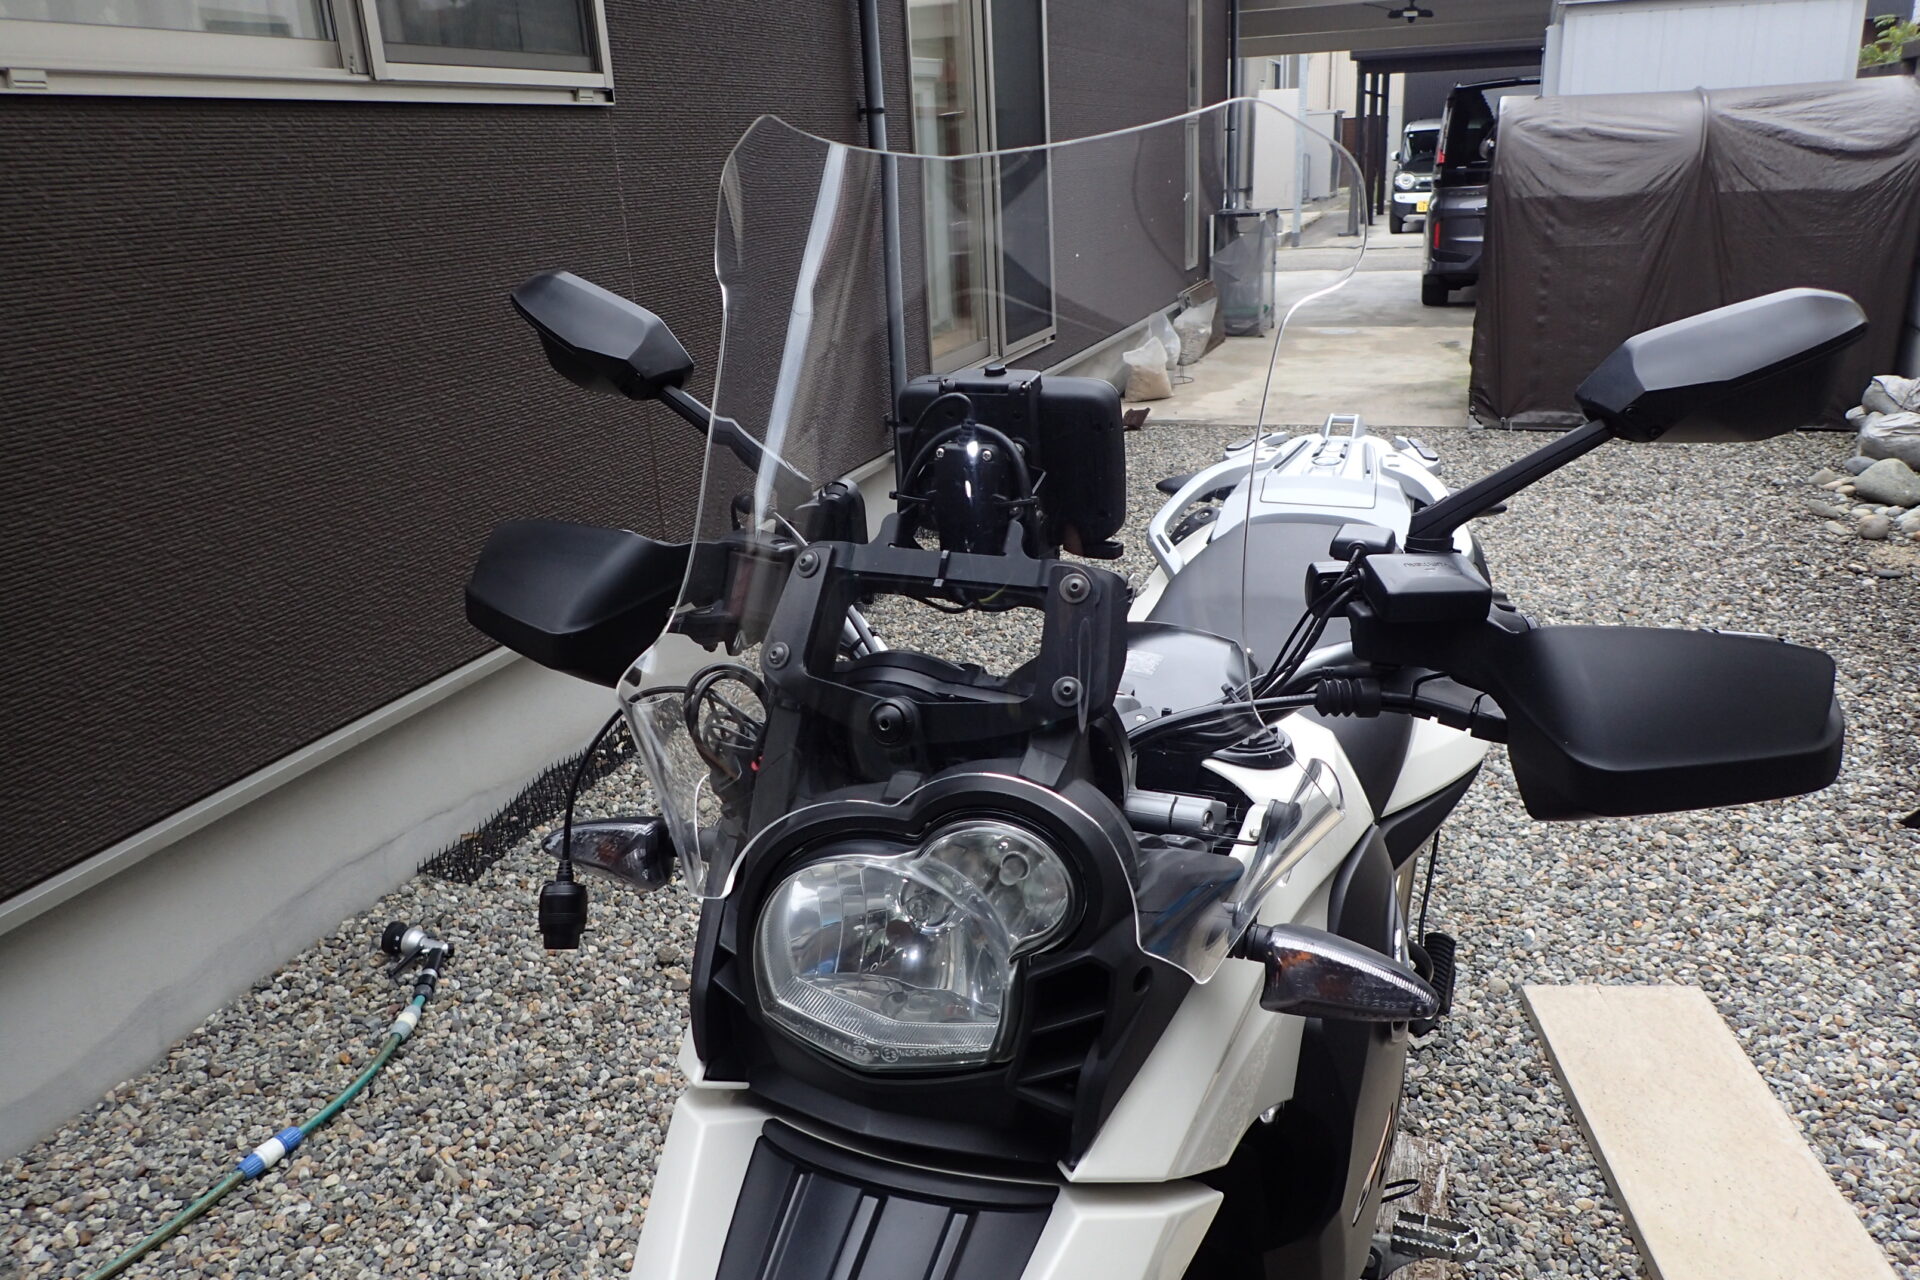
The point of customising the screen is to reduce fatigue. How much wind hits your body makes a big difference to how tired you feel on a tour.
For more on customising the screen, see this article too.
-
-
BMW G650GS Screen Swap: Fitting a Wunderlich Screen for Winter
Each autumn I swap the G650GS Sertão screen for a larger Wunderlich screen. Tools used, how I worked around my sat-nav stay with washers, and before-and-after photos.
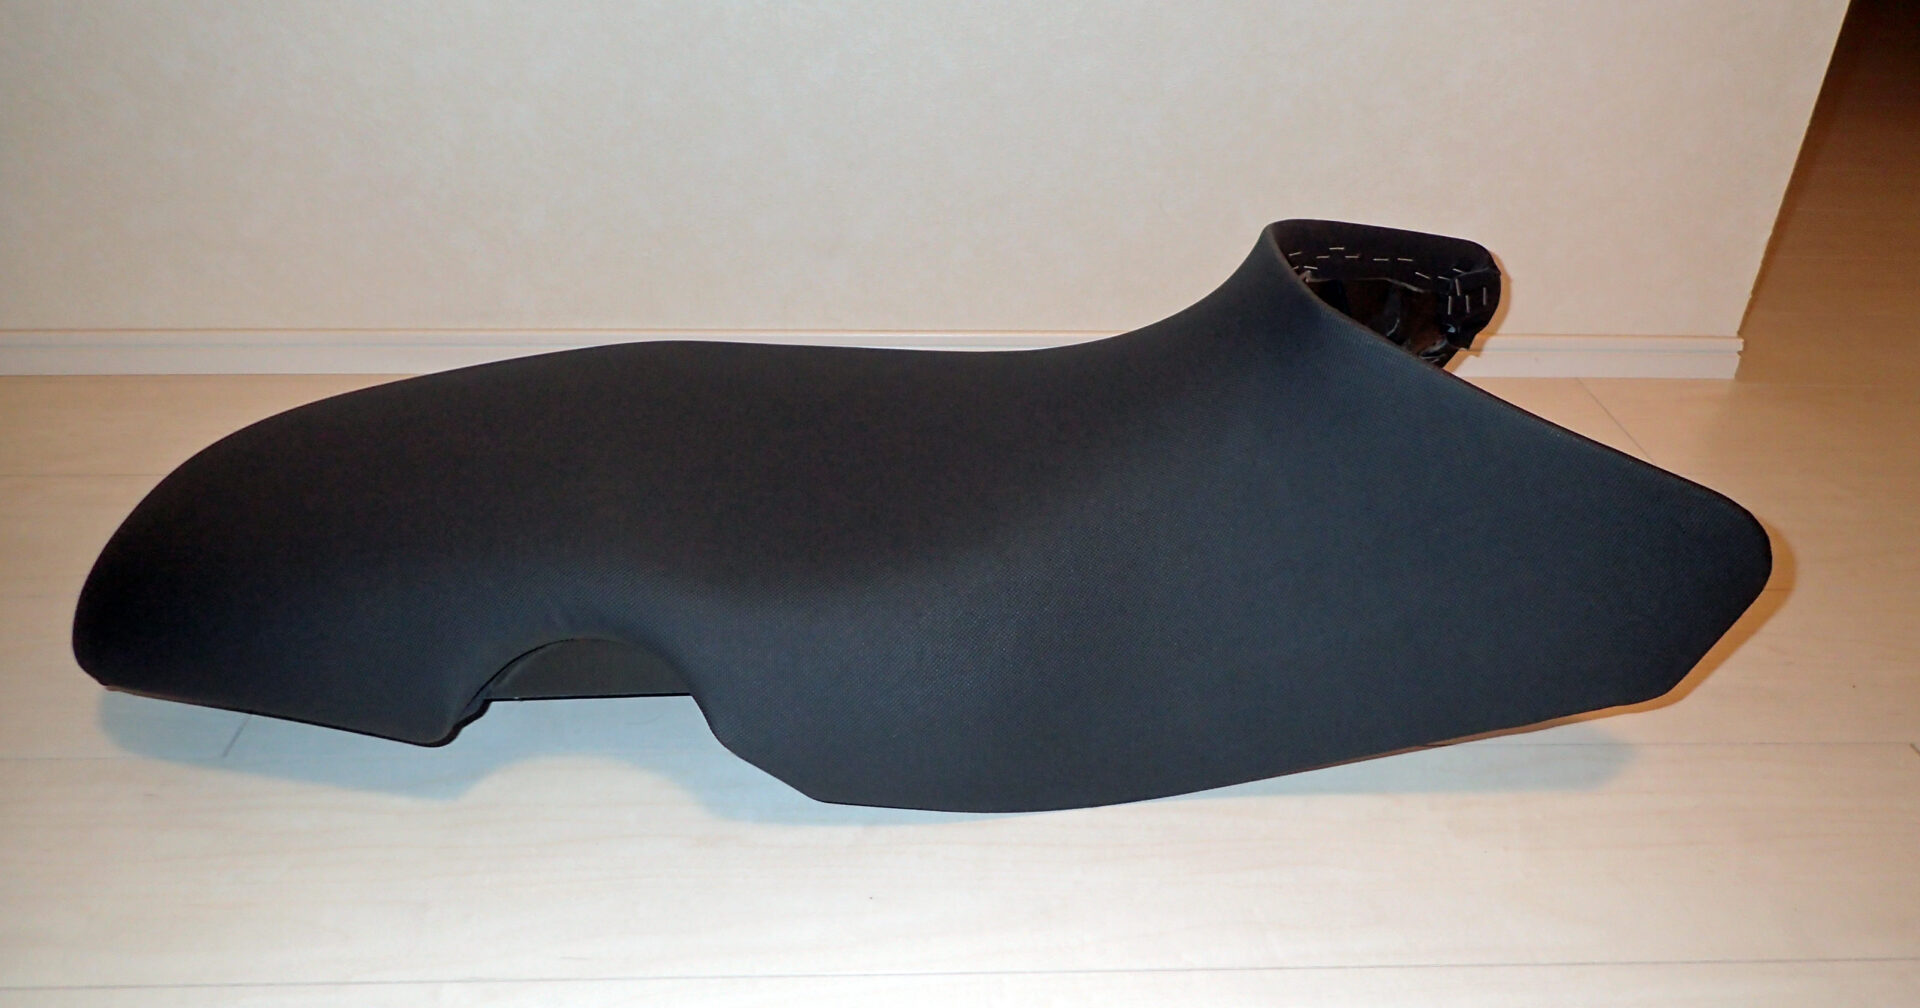
The seat, like the screen, makes a big difference to fatigue. I don't want a sore backside or back on long rides, so I try to fit a seat that suits me as far as possible.
For the seat, I use an F650GS Dakar seat on the G650GS and a Noguchi seat on the XR BAJA.
For more on the G650GS seat, see this article too.
-

-
BMW G650GS High Seat vs Low Seat: Reaching the Ground at 167 cm with Short Legs
I bought a used genuine high seat for my BMW G650GS (F650GS) and compared it with the standard low seat: photos of both feet and one foot down at 167 cm, plus less soreness, less knee bend and less radiator heat.
Today's story is about the third one, the mudguard.
I care about mudguards for two reasons: I don't want mud on the rear suspension, which is a moving part, and I want to wash the bike less often because of mud spray.
My current mudguard is mentioned briefly at the very end of another article (in Japanese).
That mudguard, though, is meant to keep mud off the rear suspension, the moving part.
The mudguard I'm removing this time was fitted to cut down on washing from mud spray.
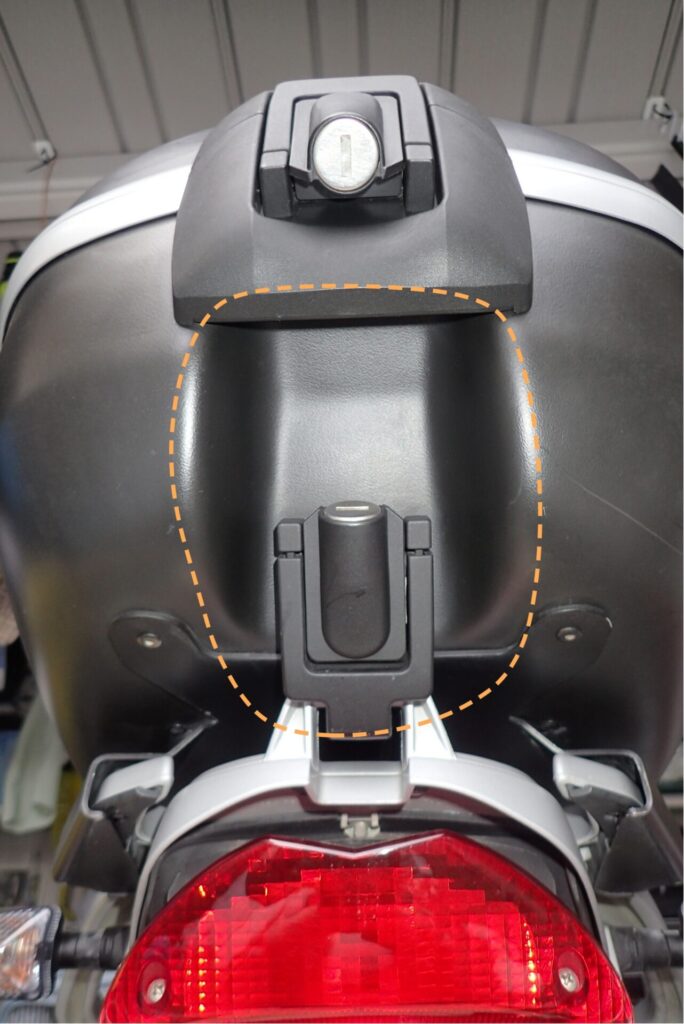
By "mud spray" here, I mean mud that splashes onto the area circled with the orange dotted line in the photo above.
Until I fitted the mudguard I'm removing today, mud sprayed onto this area, and I was worried it would get into the moving parts that lock the top case to the bike.
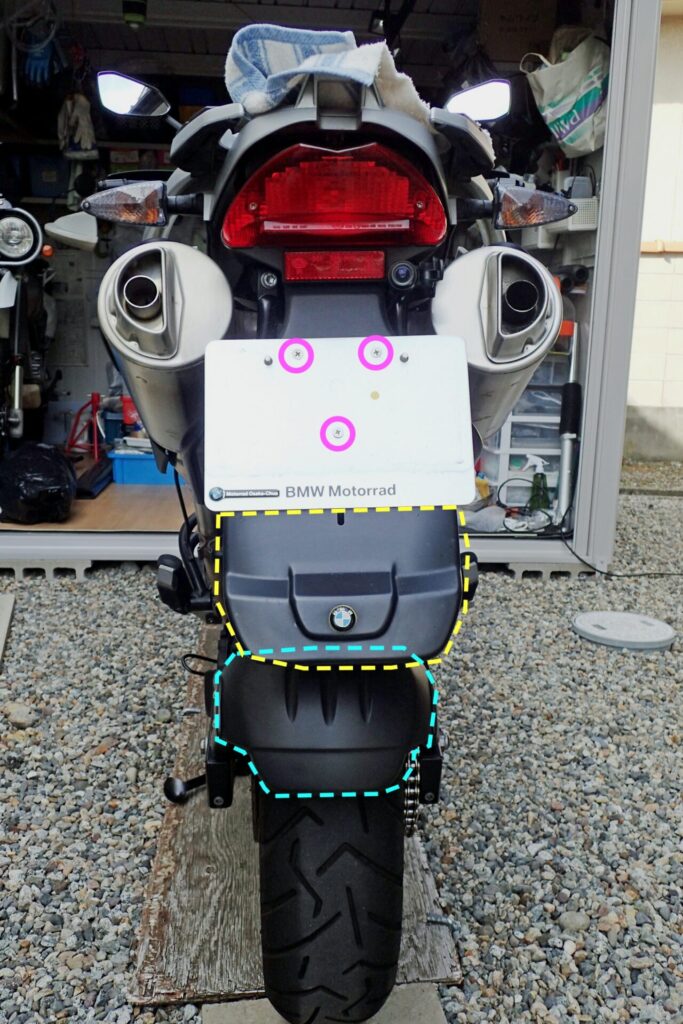
But since I've now fitted the mudguard circled in light blue in the photo above, I decided to try removing the one circled in yellow. That's how this started.
To remove the mudguard circled in yellow, just undo the three screws marked in purple in the photo above.
By the way, the light blue mudguard is a genuine BMW part.
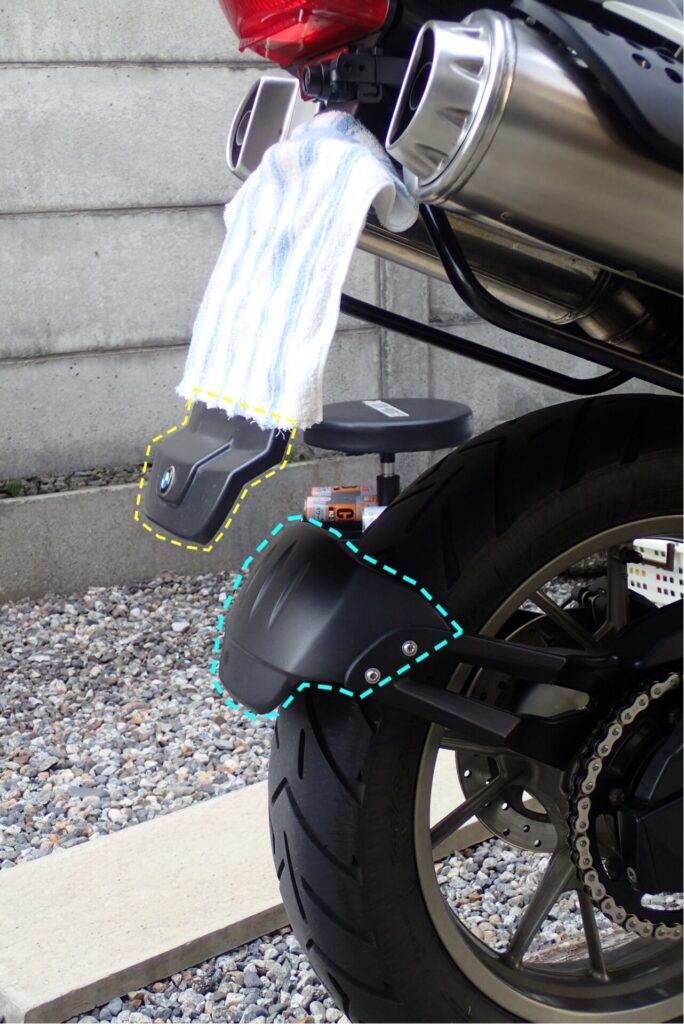
This is how they look from the side.
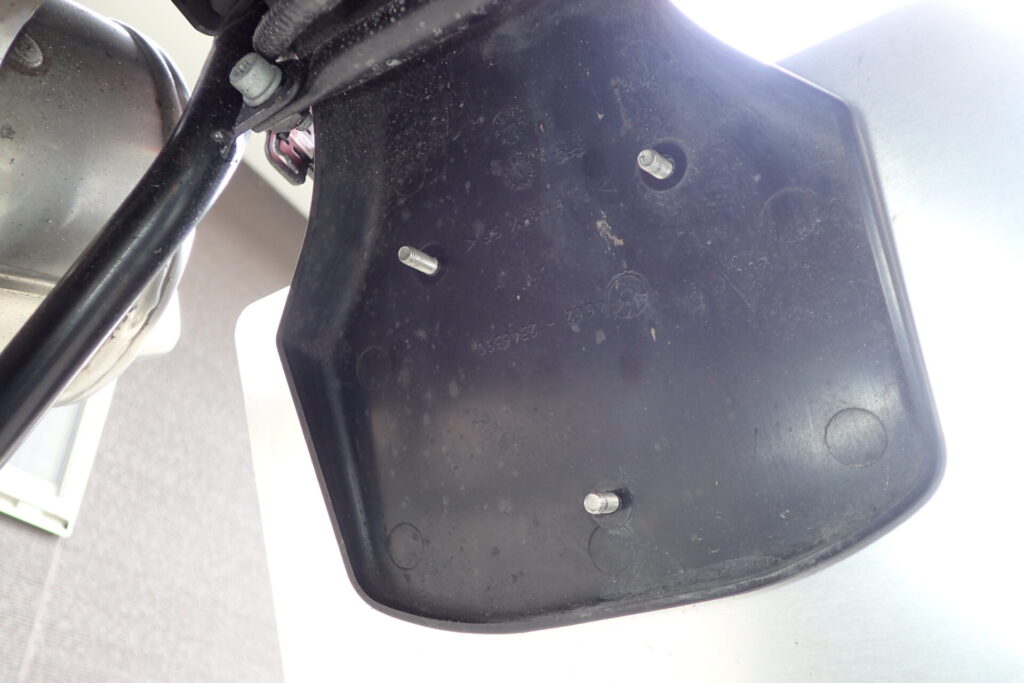
Let's take it off.
As I said at the start, you only need to undo three screws to remove the mudguard.
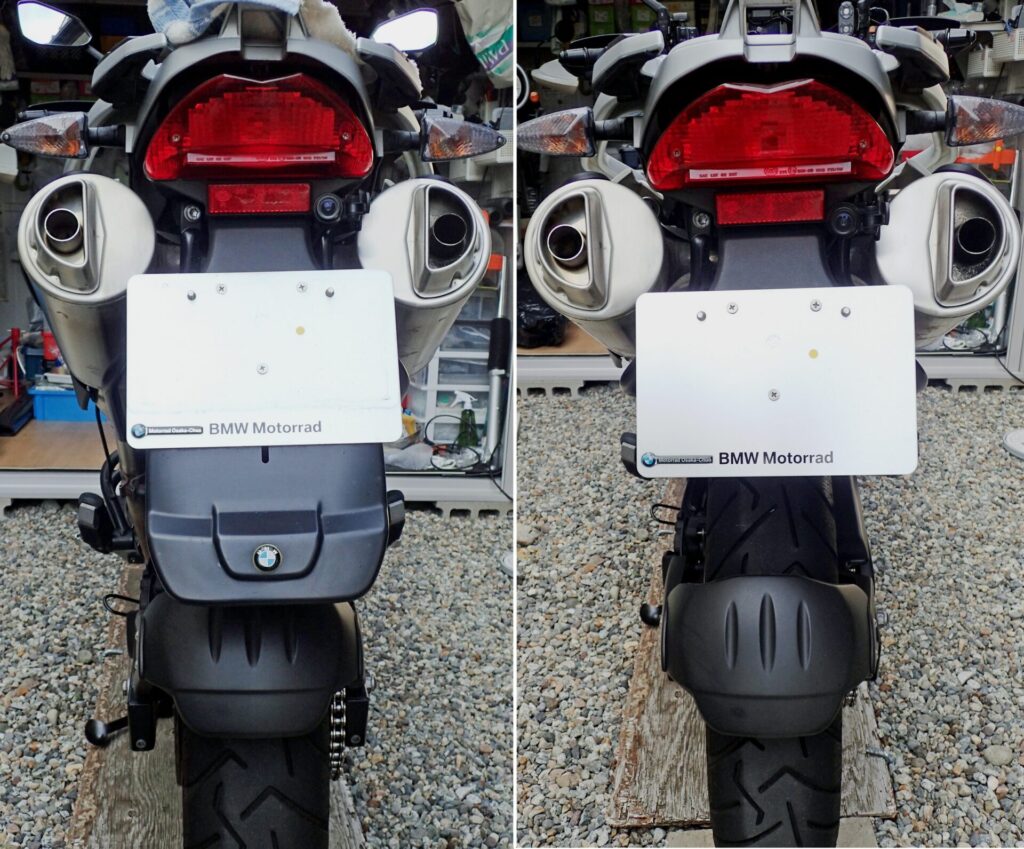
Here are before and after photos (taken from directly behind the bike).
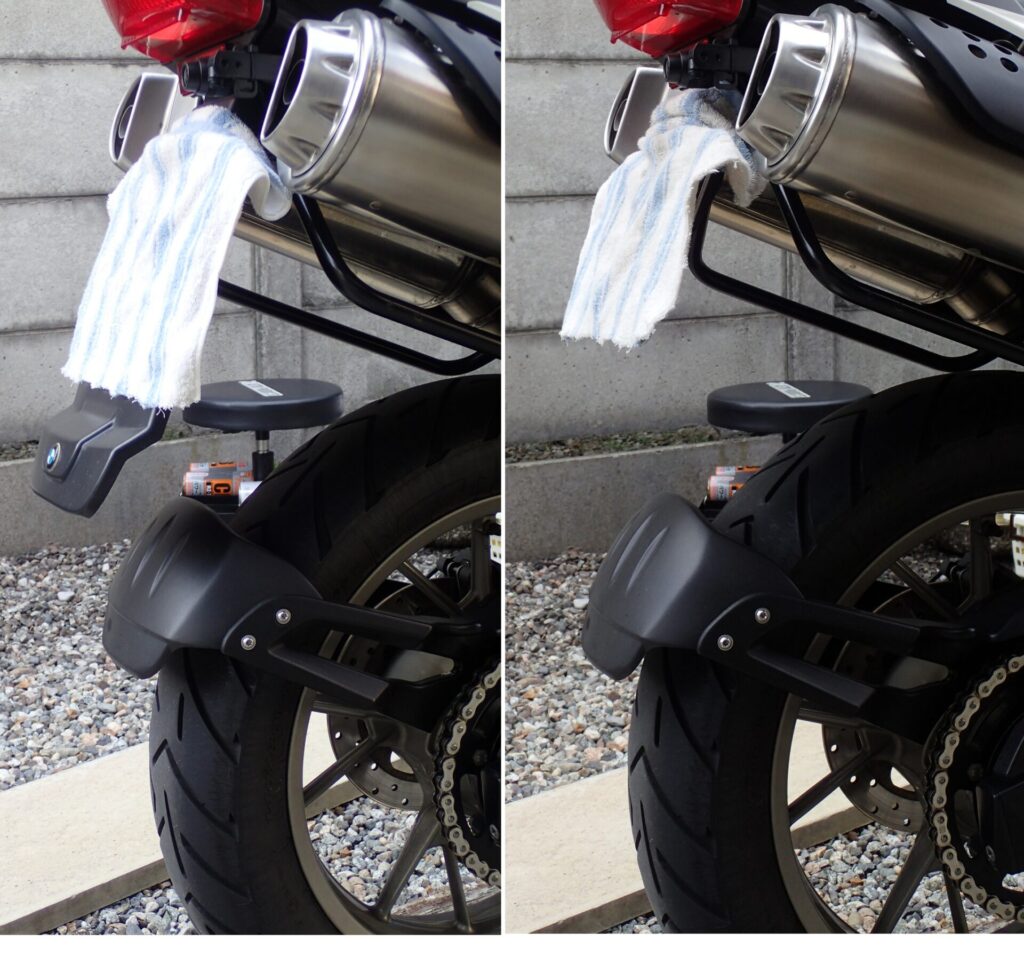
And this is from the side. This one makes it easier to see.
I'm not keen to try it, but I'd like to find out on a rainy tour whether this choice (removing the mudguard) was the right one.