Hello everyone.
Some of you will be using a lowering (ride height adjustment) kit on an XR series bike.
Among these kits, the one from antlion (a Japanese brand) lets you adjust the ride height, so I think it has plenty of users.

However, the spherical bearing is exposed, so water spray and mud get in easily.
In a previous post, I showed how to replace just the spherical bearing.
This time, I found a part that's well suited to protecting the spherical bearing, so I'll introduce it.

It's the IKO (Nippon Thompson) PRC dust cover for rod ends.

I measured the size before ordering, and side by side it looks like the right size.

But because it's made for rod ends, it only has a hole on one side.
I ordered it thinking I could just make a hole myself.
There were also covers with holes on both sides on Mercari (a Japanese marketplace app) and similar sites, but I didn't know their quality, so I didn't order those.
Incidentally, it looks like it would work on a bike's gear linkage too.

Right, let's fit it.
The rubber is flexible and stretches well.

It went on nicely!!

The length of the boot part is just right, and it should keep some water out of the threaded part too.

For the grease nipple, I think making a hole will do the trick.

Naturally, if I make a hole on the other side as well, it should work fine!
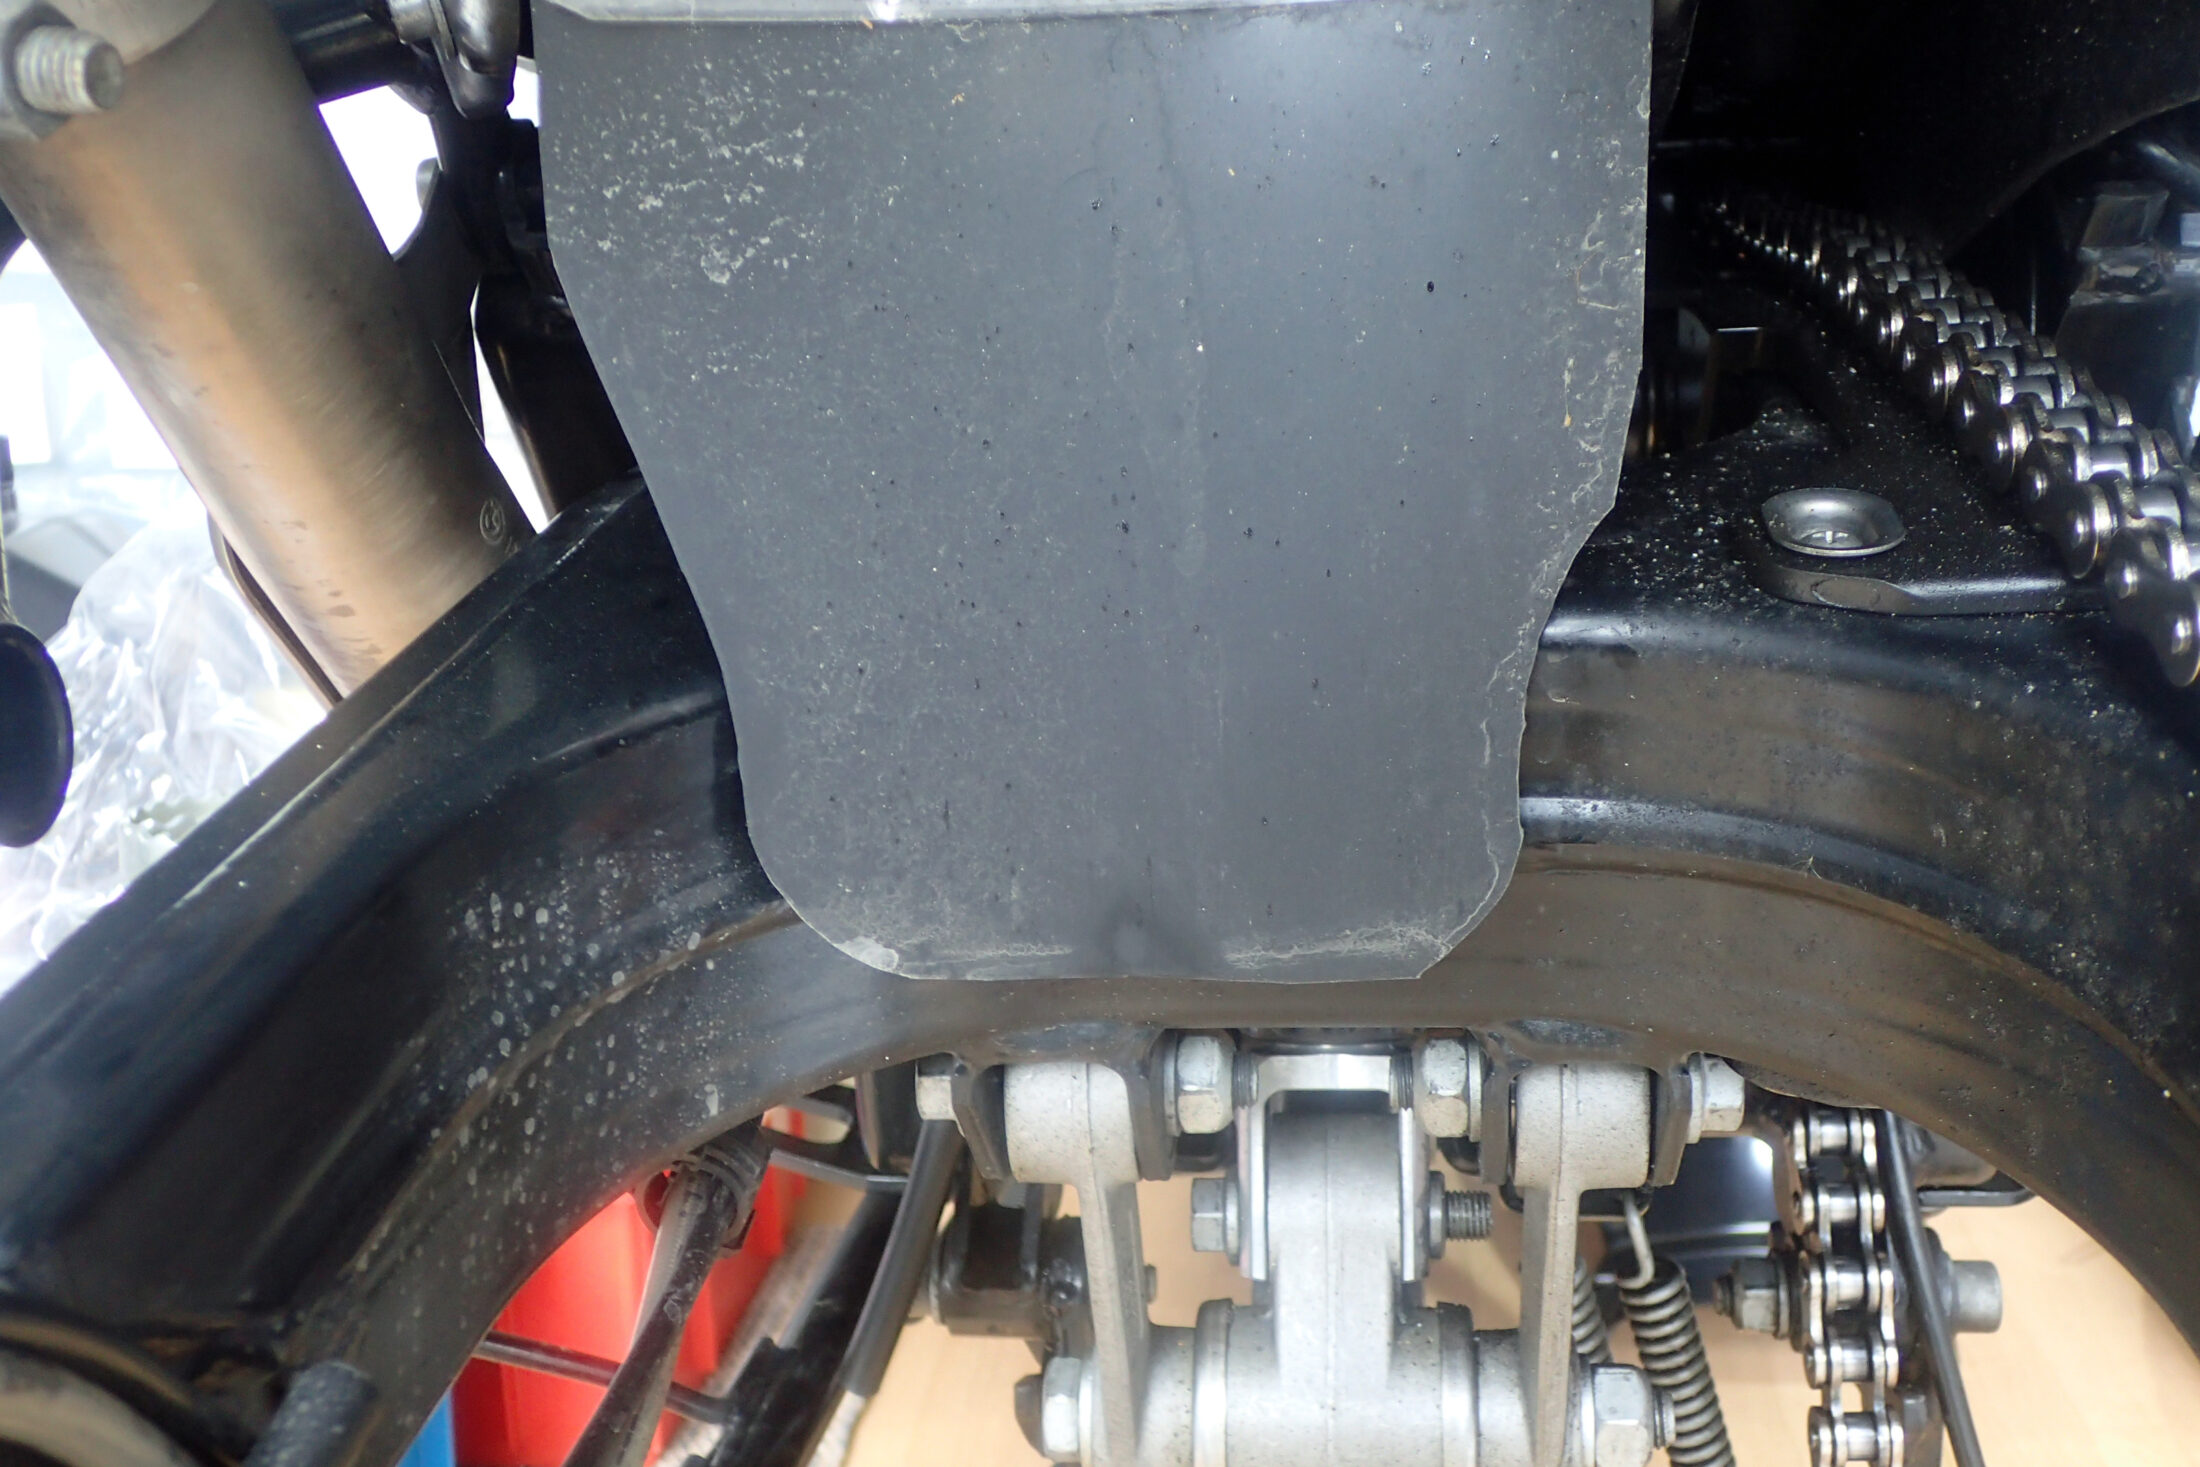
I explain how I look after a home-made mudguard in this article.
-

-
Maintaining a Home-Made Rear Mudguard on My BMW G650GS: Washing, Inspection and Fixes
How I wash and inspect the home-made rubber rear mudguard on my BMW G650GS: trimming where it nears the swingarm, tyre rub marks, and sand trapped between clear plastic mounting plates.