Hello everyone.
Prompted by rust on the inner tubes, I serviced the front forks on my Honda XR250 BAJA (the Japan-market XR250 / MD30) myself, from removal and stripping to re-plating, spring treatment and reassembly. The work ended up spread over nearly 20 articles, so in this article I've summarised the order of the work, what it cost and the differences between model years.
Please note that I'm not a mechanic. The figures and steps here are what applied to my own bike. When you do the work, check them against the service manual for your model.

In short: what to watch for with XR front forks
- Check what's inside a used fork first. The MD30 forks I bought turned out to have the internals of the XR250R (ME08) racer. The cylinder length and parts differ, so the oil volume and oil level in the MD30 manual may not apply as they are
- Springs differ by model and year. Even the XR250 and the BAJA have a different combination of spring A and B lengths. The service manual also gives different figures in the basic edition and the supplement
- I don't recommend fitting ME08 springs to a BAJA (the bikes weigh differently; this is just my own impression)
- The axle thread size also differs by year (14 mm and 12 mm). Check this before fitting used forks
- Stripping and reassembly need a special tool (a 27 mm hex damper holder)
The work in order, with links
I've listed the jobs in the order I did them. Read from the top and you'll see the whole overhaul.
| Step | Job | Article |
|---|---|---|
| 1 | Remove the forks from the bike | Removing the XR250 BAJA front forks (Japanese only) |
| 2 | Strip the forks | XR250 BAJA front fork disassembly: tools and removing the centre bolt |
| 3 | Send the inner tubes for re-plating | Front fork re-plating: cost and lead time at Toyo Koka (Japanese only) |
| 4 | Check the springs and send them for WPC treatment | Preparing the fork springs for WPC treatment (Japanese only) The fork springs back from WPC treatment (Japanese only) |
| 5 | Match the fork oil viscosity | Mixing fork oils to adjust viscosity: A.S.H. #11 and #30 to match Honda's oil (Japanese only) Fork oil viscosity chart: grades and 40°C viscosity by brand |
| 6 | Reassembly (seals and cylinder) | XR250 BAJA front fork reassembly, part 1 (Japanese only) XR250 BAJA front fork reassembly, part 2 |
| 7 | Fill with oil and bleed the air | XR250 BAJA front fork reassembly, part 3 (Japanese only) |
| 8 | Set the oil level and fit the springs | XR250 BAJA front fork reassembly, part 4 |
1. Removing and stripping the forks
So that the bike wouldn't fall over with the front wheel out, I used a frame stand and a lift stand and hung the bike from a strap. Before removing the forks, measure how far the fork tubes stick up through the top yoke, so you can put them back the same way.
The hardest part of stripping is loosening the bottom centre bolt. If you just turn it, the cylinder inside turns with it, so hold the cylinder from the top with the special tool and loosen the centre bolt from the bottom with a 14 mm hex socket.

- Special tool: a hollow tool with a 27 mm hex tip. I used the MotionPro damper tool (YM08-0223). The UNIT fork cartridge holder (D7008) also works
- Other tools: 22 mm socket, 17 mm spanner, 14 mm hex socket, thin flat-blade screwdriver, impact wrench, rags
- The top cap is easier to crack loose while the fork is still on the bike
For the detailed steps, see "Removing the XR250 BAJA front forks (in Japanese)" and "XR250 BAJA front fork disassembly: tools and removing the centre bolt".

2. The used forks had racer internals
A previous owner had fitted ME08 (XR250R) forks to my BAJA. When I stripped them and compared them with MD30 parts, I found these differences.
- The bottom has a compression adjuster marked "COMPRESSION ADJUSTABLE"
- The ME08 cylinder is aluminium and about 5 mm longer than the MD30 (steel) one
- The end of the piston rod has a part that the MD30 doesn't have (I assume it's for rebound damping)
- The ME08 has one spring; the MD30 has two (A and B)
If you buy used forks or a used bike, it's worth checking once whether they're still standard. For details, see the three-part series "Part 1", "Part 2", "Part 3".
3. Spring differences by model year
These are the free lengths I measured on the three sets of springs I had.
| Model (type) | Spring A (short) | Spring B (long) | Total |
|---|---|---|---|
| XR BAJA (MD30) | 45.0mm | 391.0mm | 436.0mm |
| XR250 (MD30) | 75.0mm | 366.5mm | 441.5mm |
| XR250R (ME08) | None | None (single spring) | 445.5mm |
The basic service manual and the BAJA supplement (T type) give different standard values for the springs.Check the page for your own bike's model. I've summarised the differences by year in "Real-world measurements: the model-year trap in XR250, BAJA and XR250R fork springs" and "Thoughts on XR series front fork springs (in Japanese)".
I wrote about how the BAJA felt with ME08 springs in "Why I don't recommend ME08 springs on an XR250 / BAJA". In the end I went back to the BAJA springs.
4. Re-plating the inner tubes (cost and lead time)
The narrow section near the top of XR inner tubes rusts easily, and mine had rust pits and scratches. New genuine tubes are hard to get, so I had them re-plated by Toyo Koka in Fukuoka Prefecture.
| Item | Cost (November 2022) |
|---|---|
| Inner tube re-plating | 26,000 yen × 2 tubes |
| Restoring the narrow section | 5,000 yen × 2 |
| Total | 62,000 yen (including return shipping; I paid the shipping to them) |
They don't publish a price list, so you need to ask for a quote. Treat these figures as a guide only.
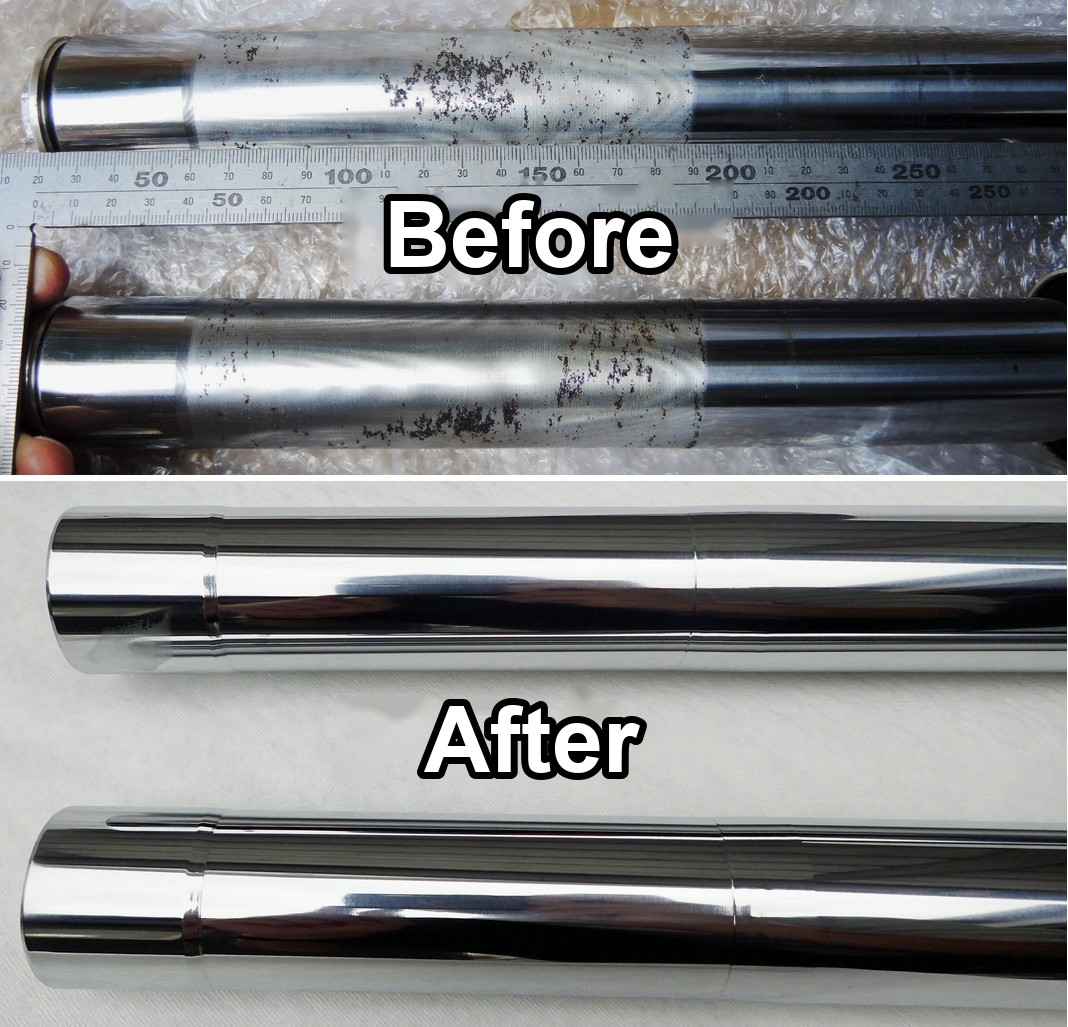
After re-plating, I think regular cleaning to prevent rust works out cheapest in the end. For day-to-day care, such as which way to wipe, see "Inner tube care: which way to wipe and how to spot rust pits".
5. Checking the springs and WPC treatment
When I measured the springs I had kept, the short spring A was 44.31 mm and 44.40 mm, below the service limit (45.1 mm). The genuine part is discontinued and a one-off would be expensive, so I had them given WPC treatment (by JAMS). WPC treatment is said to help prevent breakage and sagging.
The springs came back with a note to clean them with parts cleaner before fitting. When I did, the rag did pick up dirt.
6. Matching the fork oil viscosity
The specified oil for the BAJA (HONDA ULTRA CO) has a 40°C viscosity of 16.2. I couldn't get the A.S.H. #20 I wanted, so I mixed #11 (11.6) and #30 (28) in a ratio of 7.2:2.8 to get almost the same viscosity. Each leg takes 461 cc, so that's 332 cc of #11 and 129 cc of #30.
Even oils labelled "#10" vary in thickness from brand to brand. There's a table of viscosity by brand in "Fork oil viscosity chart: grades and 40°C viscosity by brand".
7. Reassembly, bleeding and setting the oil level
- Cover the top of the inner tube with vinyl tape so you don't cut the seal lip
- Apply rubber grease to the seal lip
- Check that the fork seal has gone in to the same depth all the way round (wipe off any grit on the face of the seal driver that touches the tube)
- Apply threadlocker to the centre bolt and tighten it while holding the cylinder with the special tool
- Add the oil a little at a time and pump the piston rod to bleed the air
- I set the oil level to 107 mm, the figure in the service manual for my bike (XR BAJA (Y))

I replaced the genuine washer between springs A and B (1.56 mm) with a 4.00 mm thrust bearing. That adds about 2.5 mm of preload. For the thrust bearing size, see also "The thrust bearings I fitted to the XR250 BAJA front forks".
For the detailed steps, see "Reassembly part 1 (in Japanese)", "Part 2", "Part 3 (in Japanese)", "Part 4".
One more model-year difference: the front axle
During the overhaul I tried to fit a pair of used forks, but the axle wouldn't go in. The thread size is 14 mm or 12 mm depending on the year, and the shafts also differed in length by about 2.5 mm. For details, see "Honda XR front axle differences by model year".
Summary
It's been a long time since the XR250 and BAJA went out of production, and more and more genuine parts are unavailable. That means when you use second-hand parts, you need to watch for differences between years and models.
I hope this helps if you're planning to service your front forks.
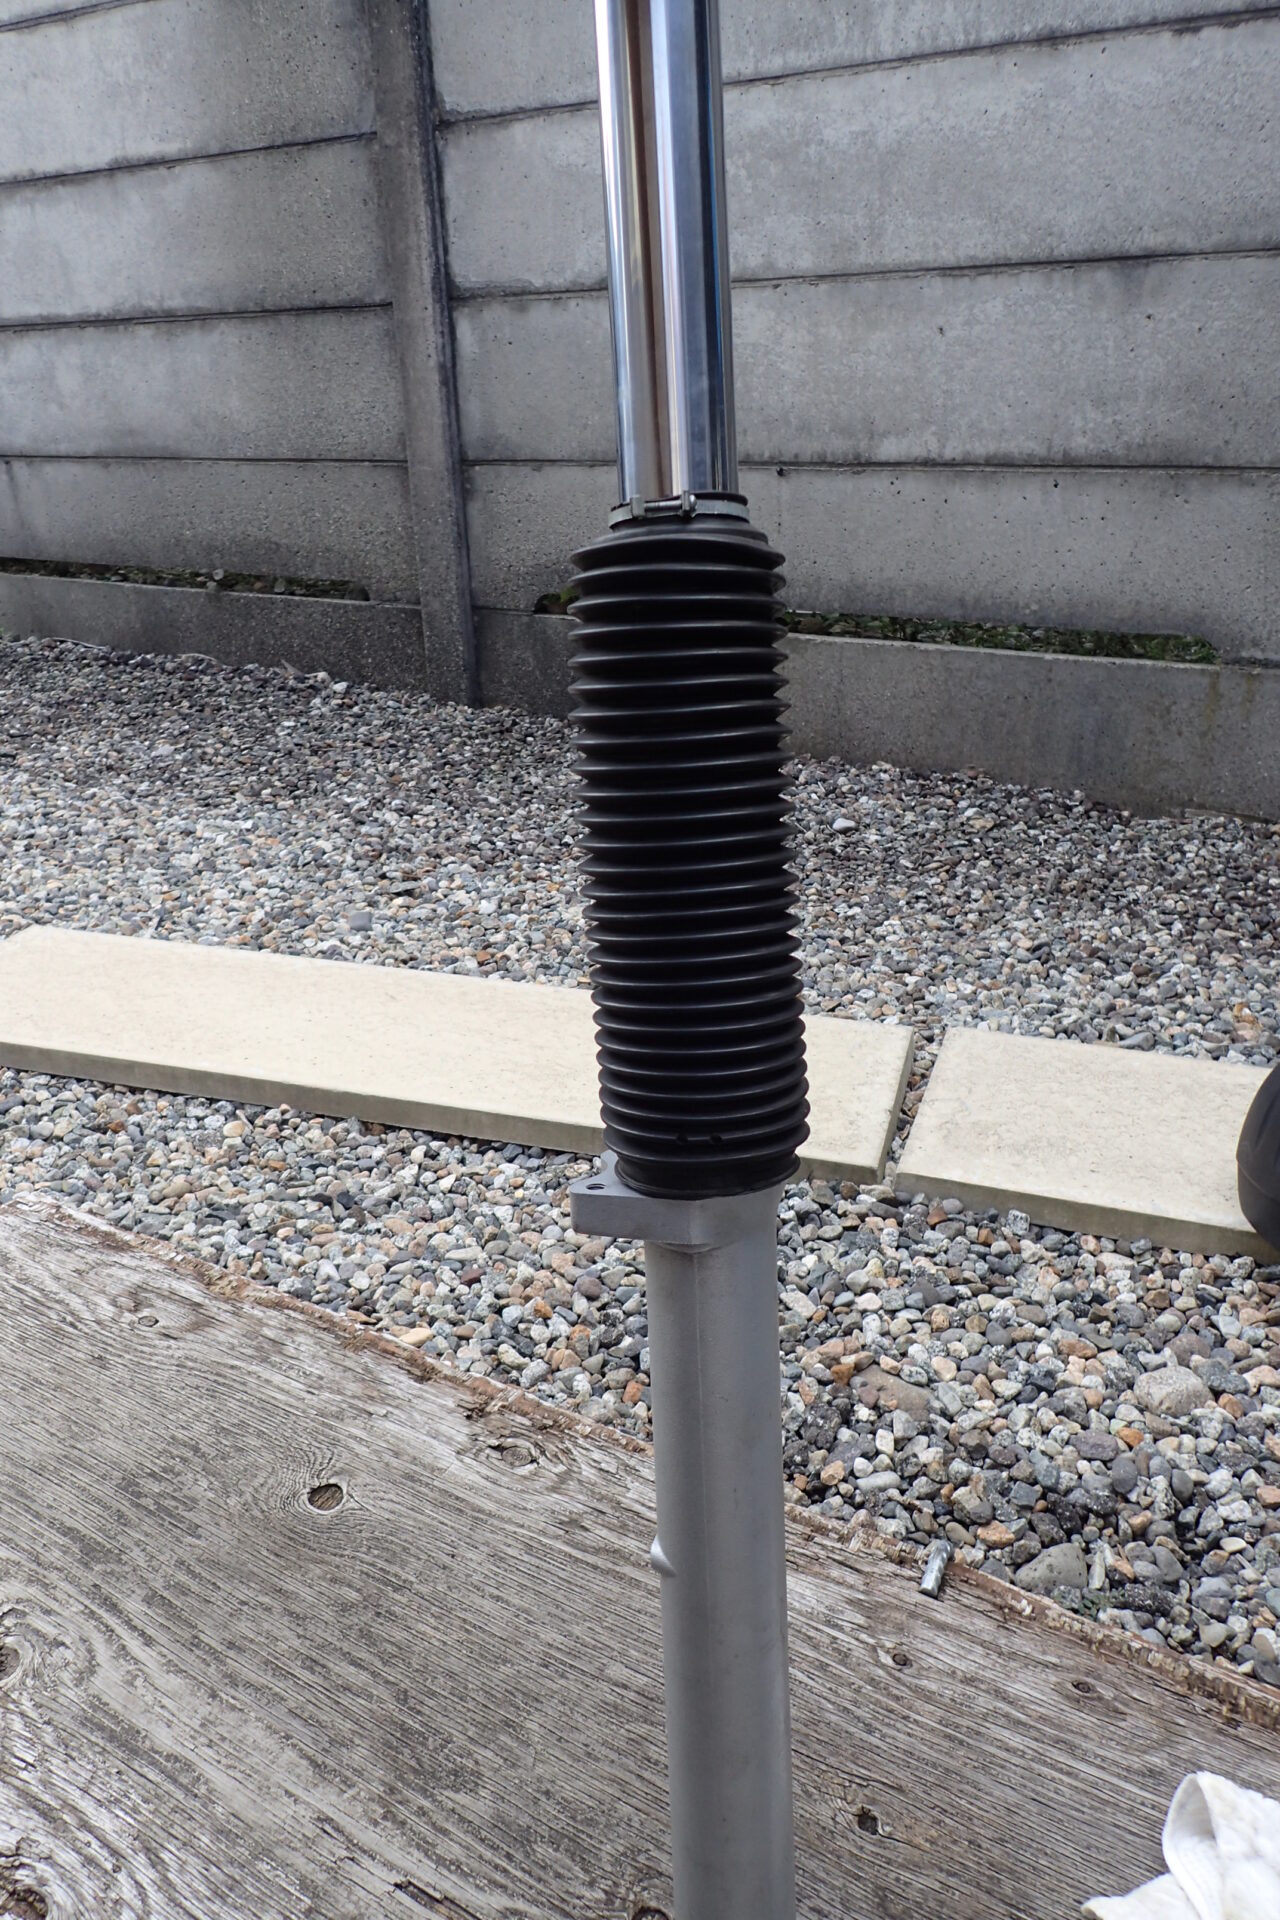
I explain how to fit fork boots to the front forks in this article.
-

-
Fitting Fork Boots to BMW F650GS Front Forks (41 mm Inner Tubes) for My G650GS
Fitting Dakar fork boots to F650GS (single) front forks I plan to put on my G650GS: inner tube 41 mm, outer tube 60 mm, which way the vent hole faces, and XR BAJA bands.