Hello everyone!
In my previous post, I shared a frustrating discovery on my BMW G650GS: a misaligned front fender extender installed by the previous owner had created a gap that became packed tight with a massive build-up of sand and mud. As we discussed, allowing road grime to accumulate in these hidden seams silently increases your unsprung weight and robs your suspension of its supple responsiveness.
In this practical installment, I am reporting on the reassembly phase—how I completely deep-cleaned the components and re-bonded them using a strategic layout designed to make it physically impossible for water or mud to ever penetrate the seam again.
To give you the bottom line right away: my new double-sided tape layout worked flawlessly to block out dirt.
However, I ran into a major DIY accident during assembly. The premium adhesive tape I selected gripped with such terrifying, aggressive strength that the absolute instant the two plastic faces touched, they locked up. I couldn't correct a microscopic alignment error, leaving the part permanently fixed slightly askew.
Today, I’ll break down the proper surface prep and tape layout required to execute a permanent grime barrier, alongside critical warnings you need to know before tackling this high-stakes, one-shot bonding job. Learn from my mistake so you can achieve a flawless install on your first try!
[Surface Prep] Achieving a Flawless Clean and Degrease with Silicone Off
The single most critical factor determining the long-term durability of any adhesive bond is flawless surface preparation and degreasing. If even a microscopic trace of old double-sided tape residue, road film, or oil remains on the plastics, even the strongest industrial tape on the planet will eventually peel off.
First, grab the components that have been thoroughly scraped free of old crusty mud and leftover adhesive from the previous step.
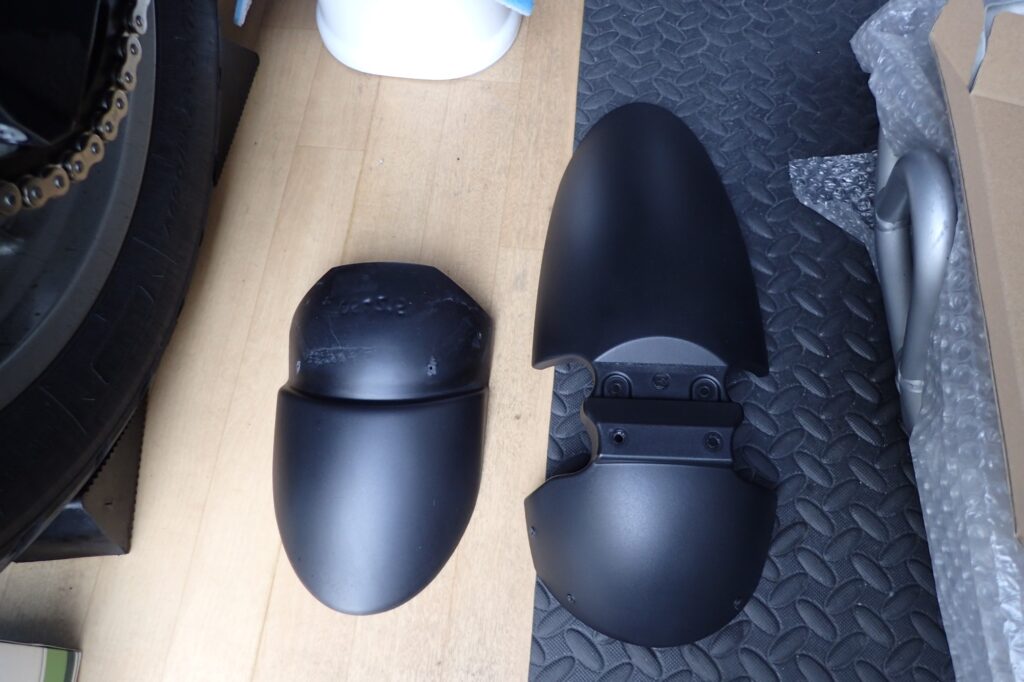
[Image 1: The front fender and extender completely washed clean of mud and old adhesive residue, restored to their original clean condition]
Now, initiate the critical degreasing workflow to prep the surfaces for the new tape:
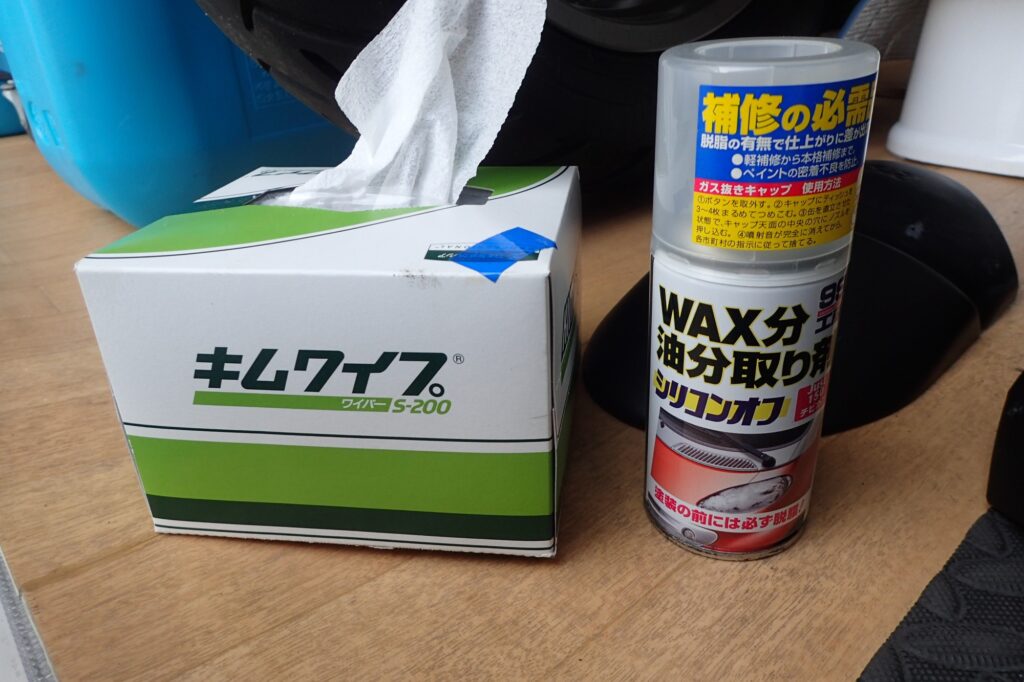
[Image 2: The essential degreasing supplies for the job: Crecia Kimwipes S-200 lint-free industrial wipes and a spray can of Soft99 Silicone Off]
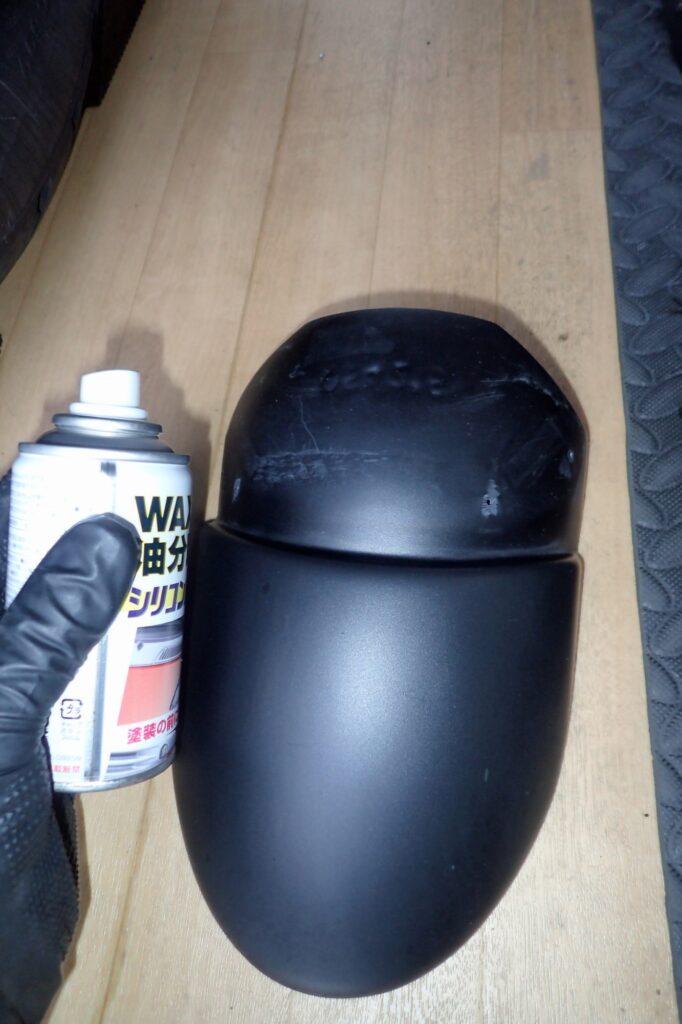
[Image 3: Spraying Silicone Off directly onto the bonding face of the fender extender to lift embedded oils]
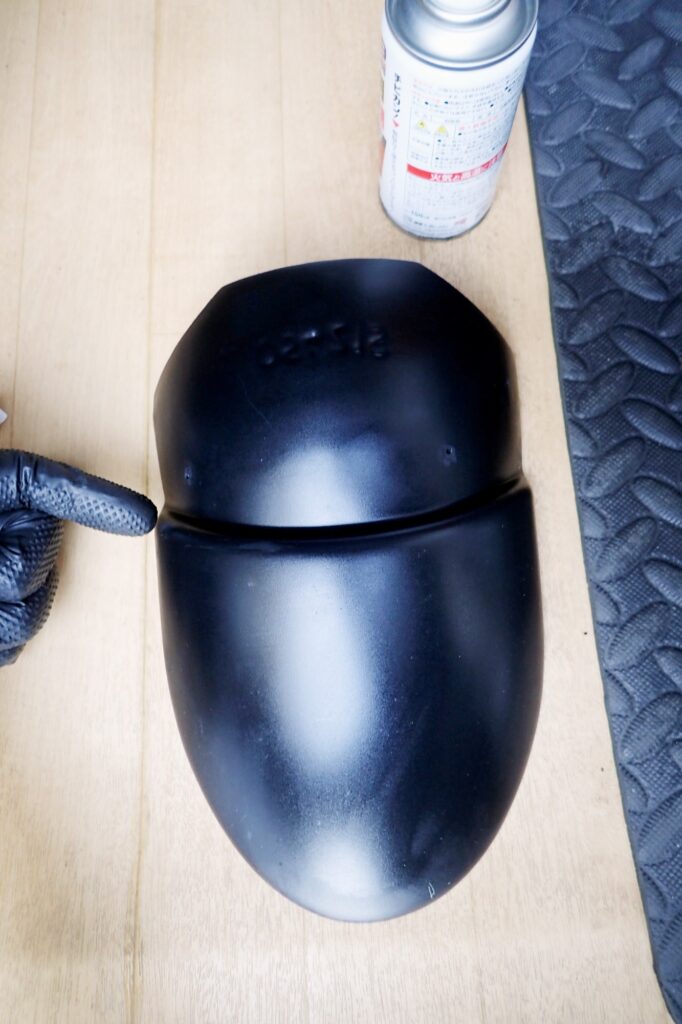
[Image 4: Wiping the bonding surface completely clean using a lint-free Kimwipe while checking the texture with fingertips]
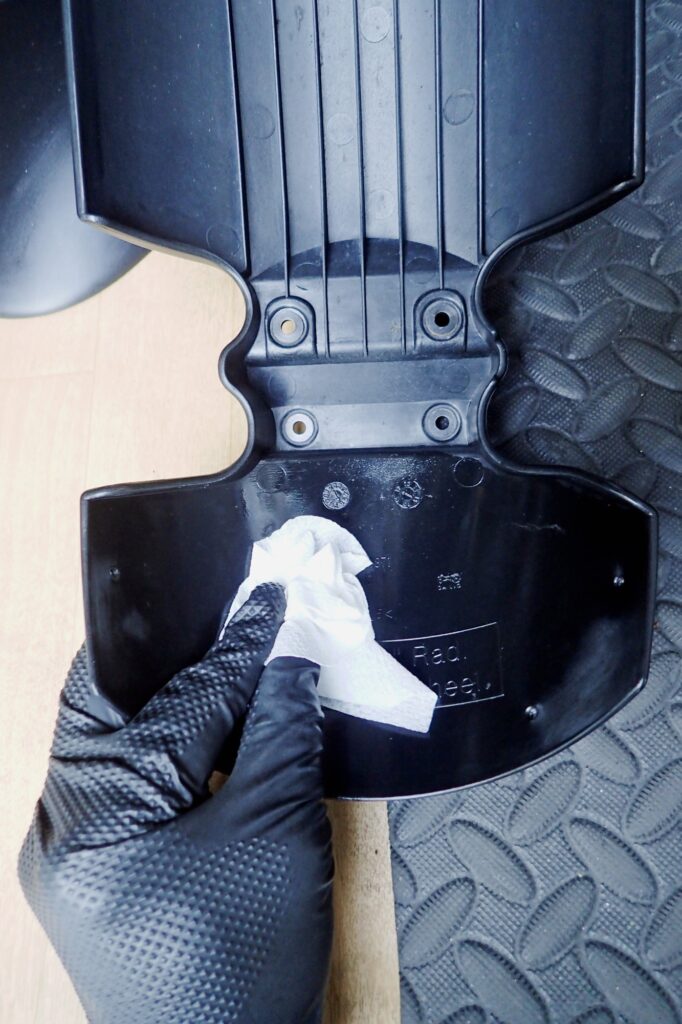
[Image 5: Meticulously degreasing the overlapping inner mating section of the OEM BMW front fender using Silicone Off and a Kimwipe]
- Spray the degreaser: Spray a generous coat of Soft99 Silicone Off across the plastic. This specialized chemical aggressively cuts through oil and wax variants without damaging or degrading plastic resins.
- Execute the wipe-down: Wipe the surface firmly using industrial paper wipes (Kimwipes S-200). Avoid standard workshop rags or facial tissues, as they shed tiny fibers and lint that compromise adhesive performance.
Once dry, you have achieved a pristine, high-adhesion substrate that allows your tape to perform at 100% efficiency.
[Grime Defense] The Multi-Line 3M Tape Layout to Eliminate Void Gaps
To fundamentally eradicate the pocket where gravel settles, we must reinvent the double-sided tape layout. To create an airtight seal against high-pressure water and sand, I deployed this heavy-duty upgrade:
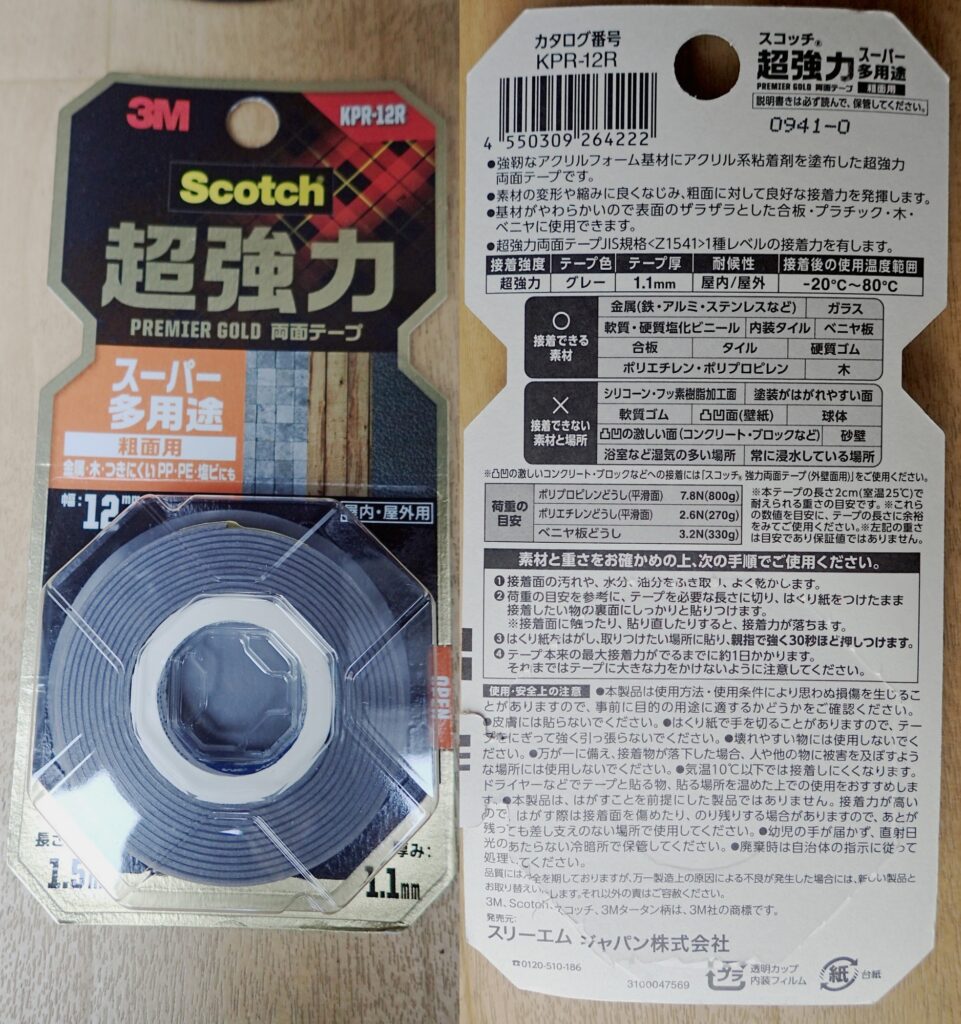
[Image 6: Front and back packaging views of the highly dependable 3M Scotch Premium Gold Super Multipurpose Heavy-Duty Tape for Rough Surfaces (KPR-12R)]
This premium 3M tape utilizes an advanced acrylic foam core. It features phenomenal shear strength and weather resistance, rated to endure intense chassis vibrations, relentless rain, and severe temperature fluctuations ranging from -20°C to 80°C.
Blocking the Intrusion Path with Seamless Horizontal Lines
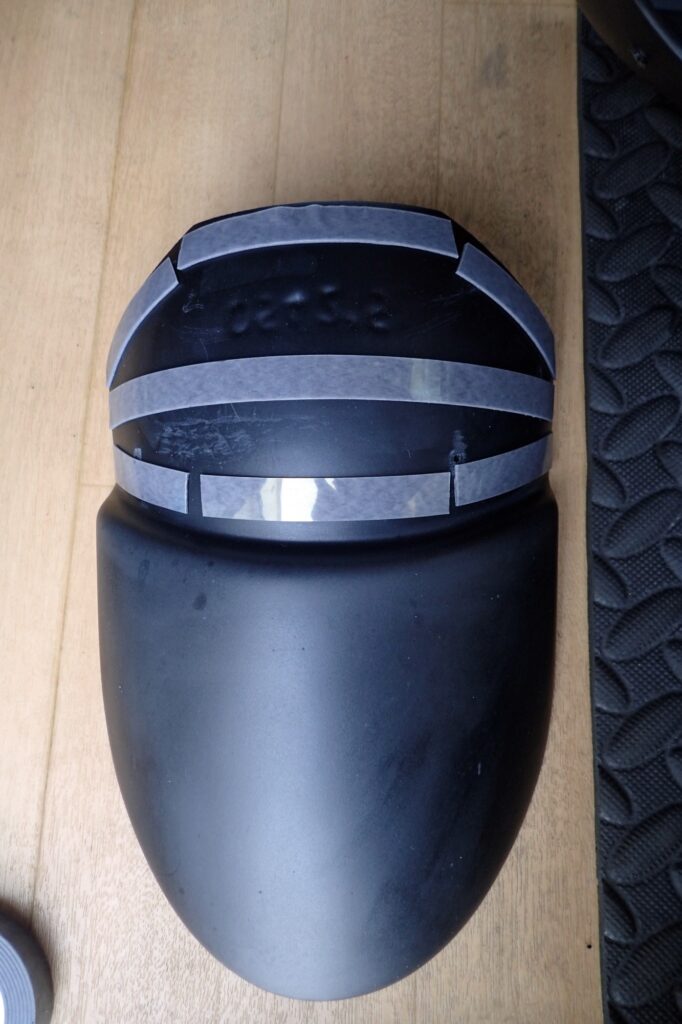
[Image 7: The new double-sided tape layout on the extender face, showing multiple horizontal lines applied tightly with zero open spaces]
While the previous owner ran a single thin strip around the outer perimeter—creating a large hollow trap inside—I applied multiple horizontal rows of tape layered tightly together with zero gaps, as shown in the photo.
By blanking out the entire overlap zone, any water or grit dropping down from the top is completely blocked. The risk of debris compacting between the plastics drops to absolute zero.
[The One-Shot Trap] Aggressive Instant Locking and a Misaligned Disaster
With the prep complete and the tape laid down, it was time for final assembly: combining the extension flap with the main fender. This is where I walked right into an unexpected DIY trap.
I peeled back the protective red liner film from the 3M tape and carefully brought the two components together.
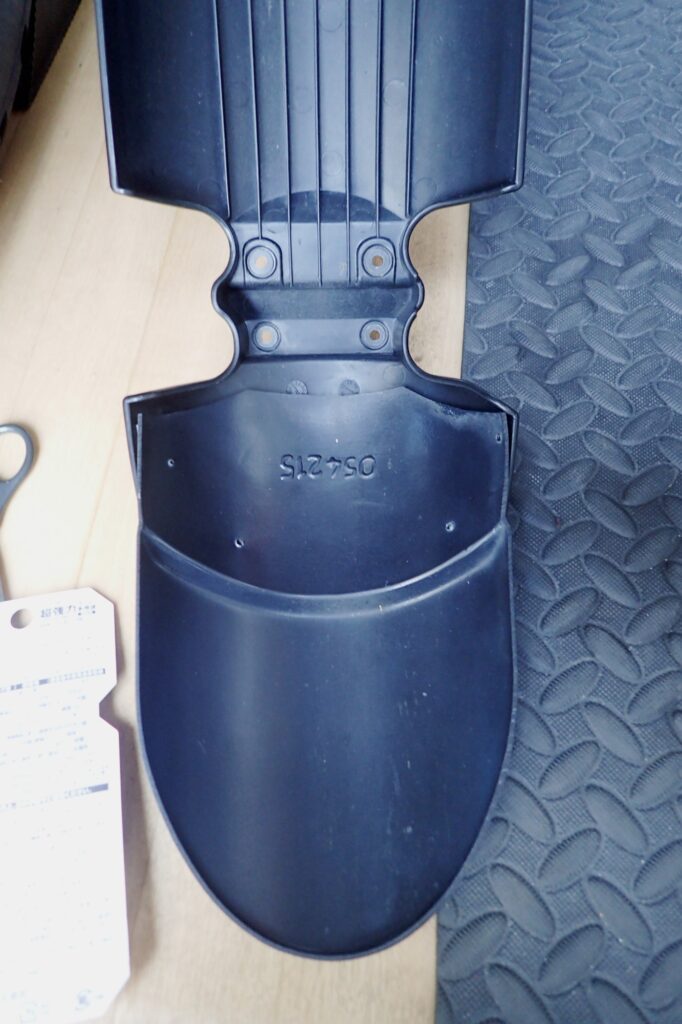
[Image 8: Pressing the fender extender onto the inner surface of the front fender assembly]
At first glance, the bond looked solid. However, upon closer inspection of the edges, my stomach dropped as I spotted a definite installation error.
The Massive Initial Grip: Locked Misalignment and Section Close-Ups
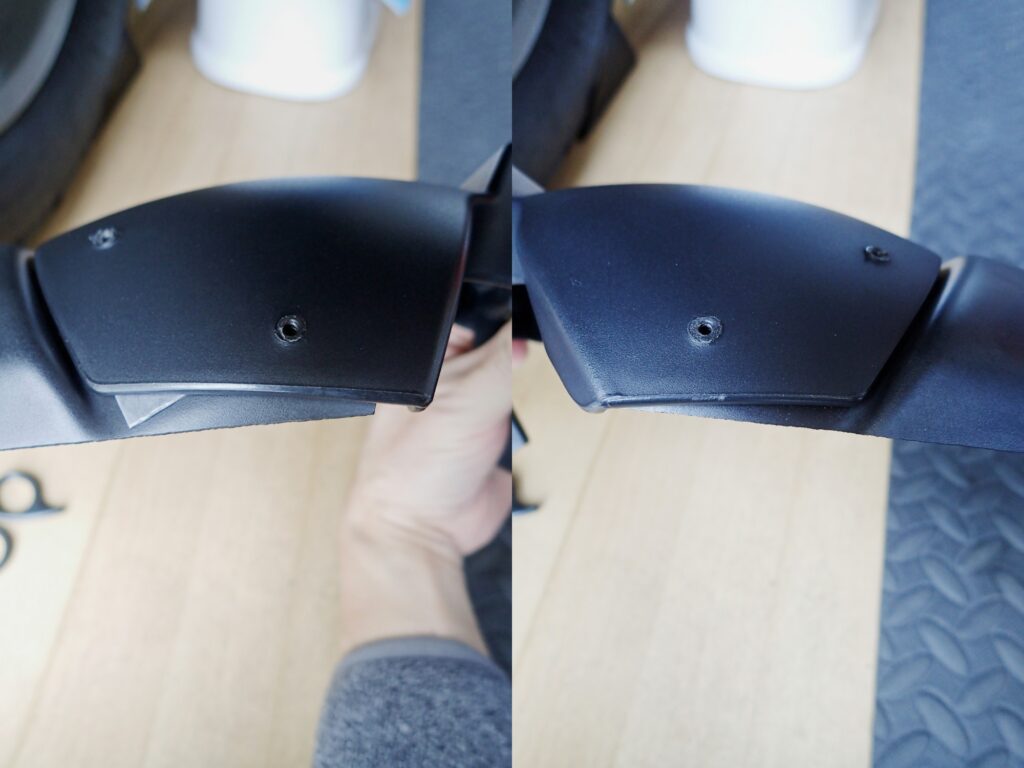
[Image 9: Side-by-side comparison of the left and right alignment seams, revealing that the left edge stepped outward slightly, creating an uneven lip]
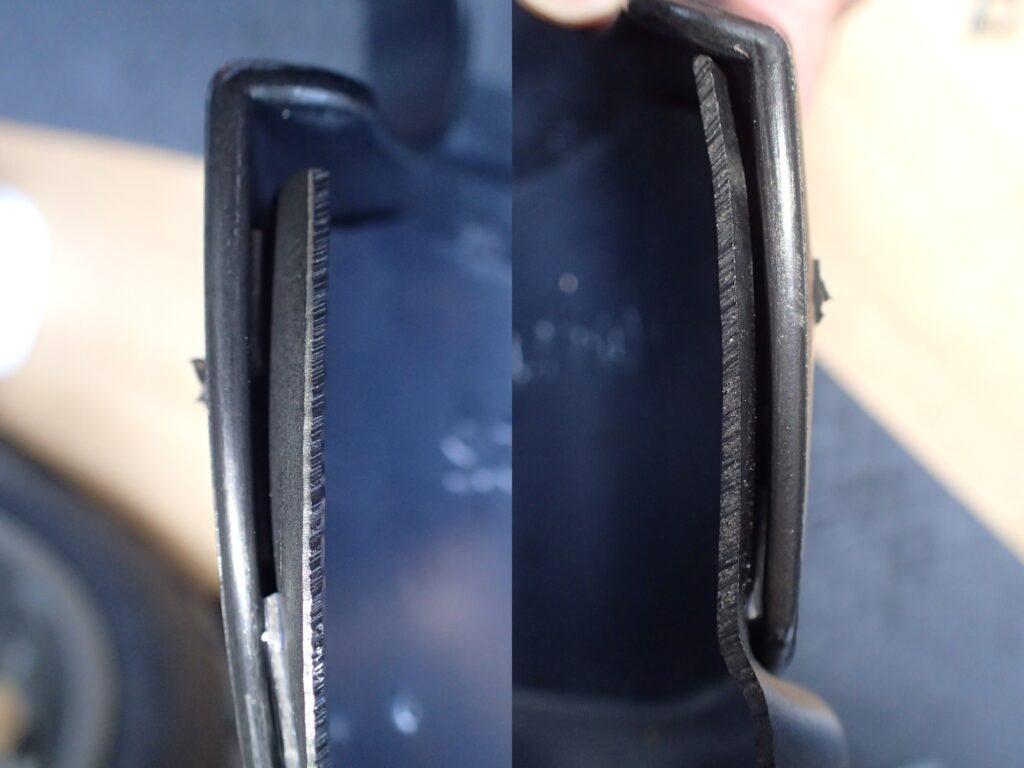
[Image 10: Close-up comparison of the overlapping cross-section, showing a few millimeters of lift on one side that left a tiny structural gap]
The 3M Premium Gold tape proved too good. The exact microsecond the plastic surfaces made contact, the tape's insane initial tack locked the pieces together instantly like a weld. There was zero room for sliding or adjustment.
The moment I realized it was slightly crooked, I tried to pull them apart to realign. However, the bond was so absolute that applying any more pulling force risked turning the plastic white or snapping the OEM fender entirely. It was physically impossible to back out.
Fortunately, I managed to line up the pre-drilled screw holes well enough to secure the mechanical hardware, meaning the structural strength is perfectly fine for road use. Still, from a standpoint of achieving a perfectly symmetrical, beautiful alignment, it leaves a lingering sting of regret.
Pro-Tips for Success: How to Avoid My Alignment Mistake
Based on this high-stakes experience, I want to share a vital installation technique for anyone planning to mount a fender extender using ultra-strong tape:
- Never peel off all the backing film at once. This invites disaster.
- Peel back just a few centimeters of the liner film from the center row first. Align the outer edges of the plastics perfectly, press the exposed center section down to lock your position, and then slowly pull the remaining backing film out from the sides while smoothing the part down.
- Apply alignment guide marks. Lay down masking tape along the exterior edges of both parts and draw precise alignment lines (witness marks) before peeling any backing film. This ensures your tracking is spot-on before the adhesive makes contact. Once these premium tapes bite, they do not let go.
Essential Gear to Maximize Your DIY Success Rate
To prevent your exterior bodywork components from flying off on the highway, ensure your garage is stocked with these proven supplies:
- 3M Scotch Premium Gold Heavy-Duty Tape for Rough Surfaces (KPR-12R) The star of today’s project. It bites aggressively into raw plastics and textured surfaces, offering rock-solid durability that easily withstands the harsh environment surrounding your bike's running gear.
- Soft99 Silicone Off The industry standard for stripping automotive waxes, oils, and stubborn road film that standard bike washes leave behind. It evaporates cleanly in seconds, making it essential for prep work before painting or applying adhesive graphics.
- Crecia Kimwipes S-200 Professional-grade paper wipers that leave absolutely zero lint or paper pulp residue behind. They are the ultimate choice for executing a flawless degreasing wipe down to unlock 100% of your tape's bonding potential.
Conclusion: The Grime Shield Works, but Mind the Initial Bite!
That wraps up my guide on cleaning and re-bonding the front fender extender on the BMW G650GS.
While I received a tough DIY baptism by getting a slightly crooked alignment that couldn't be undone, the core objective was a total success: the seamless horizontal tape layout completely seals out road grime. I no longer have to worry about mud compacting inside the seam and silently driving up my front unsprung weight.
When you deploy ultra-strong automotive tapes, remember that a split-second contact decides your final finish. Use my cautionary tale to your advantage, take your time with mock-ups, and execute a flawless, symmetrical installation!
Ride safe, and enjoy the ultimate motorcycle life!