Is your bike covered in mud and sand?
On some bikes, like the G650GS, the rear shock takes the mud and sand thrown up by the rear tyre directly.
This dirt isn't just a cosmetic problem.
I think it can also speed up wear of the shock's seals.
"I'd like to do something about it, but the genuine inner mudguard is expensive and aftermarket ones look like a hassle to fit..."
So in this post, using my G650GS as the example, I show with photos how I made a cheap rear shock mud guard (a home-made mudguard) from DIY-store materials.
I kept the cost as low as I could.
If you want the step-by-step DIY for keeping mud off your rear shock, read on to the end.
Why does the rear shock need protecting on the G650GS?
Why a dirty rear shock is bad news
If grit or mud gets into the shock's oil seal or dust seal, it can stop it moving smoothly.
If the shaft gets scratched, it can also cause an oil leak.
An overhaul costs money, so I think dealing with it early saves money.
The G650GS has nothing to stop the spray
The G650GS has no guard against mud spray between the rear tyre and the rear shock.
So I decided to sort it out myself.
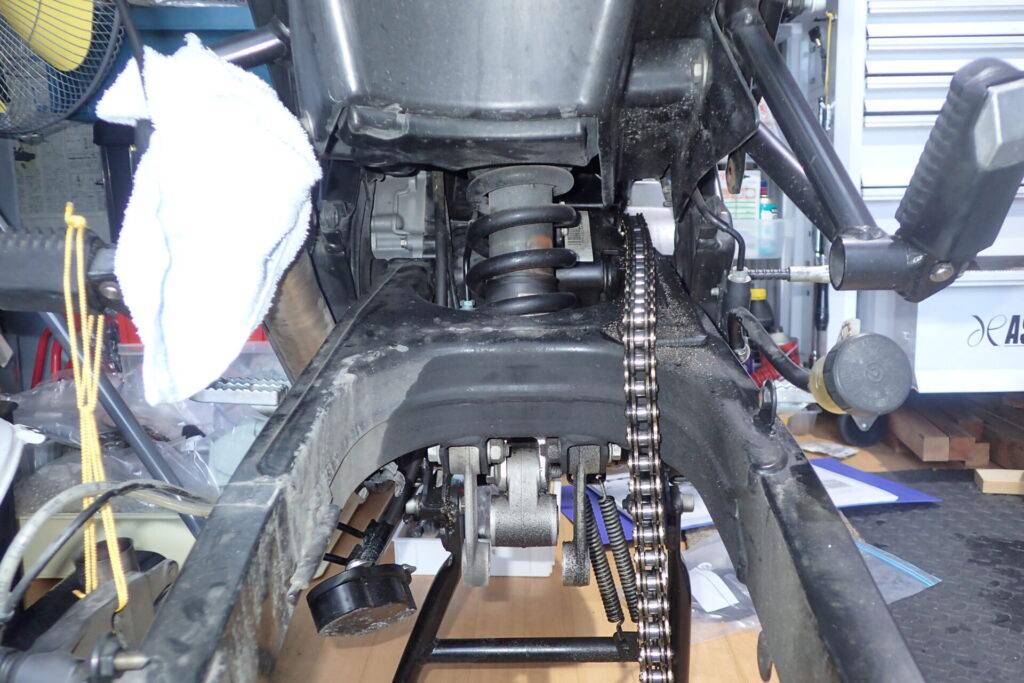
In the photo above, there's nothing between the rear shock and the tyre to protect the shock.
So sand, mud and water thrown up by the rear tyre get all over the rear shock.
How I made and fitted a home-made mudguard on the G650GS
Materials and tools I used
The materials for this mudguard are a 2 to 3 mm thick rubber sheet, bolts and self-locking nuts, washers, and clear plastic (PET) sheet (to clamp it).
You can get the rubber sheet and bolts at a DIY store. The plastic sheet just happened to be lying around.
I also used a drill and threadlocker.
Removing the part and deciding where to mount the mudguard
First, to make room to work, remove the rear mudguard's "Wheel cover, front section".
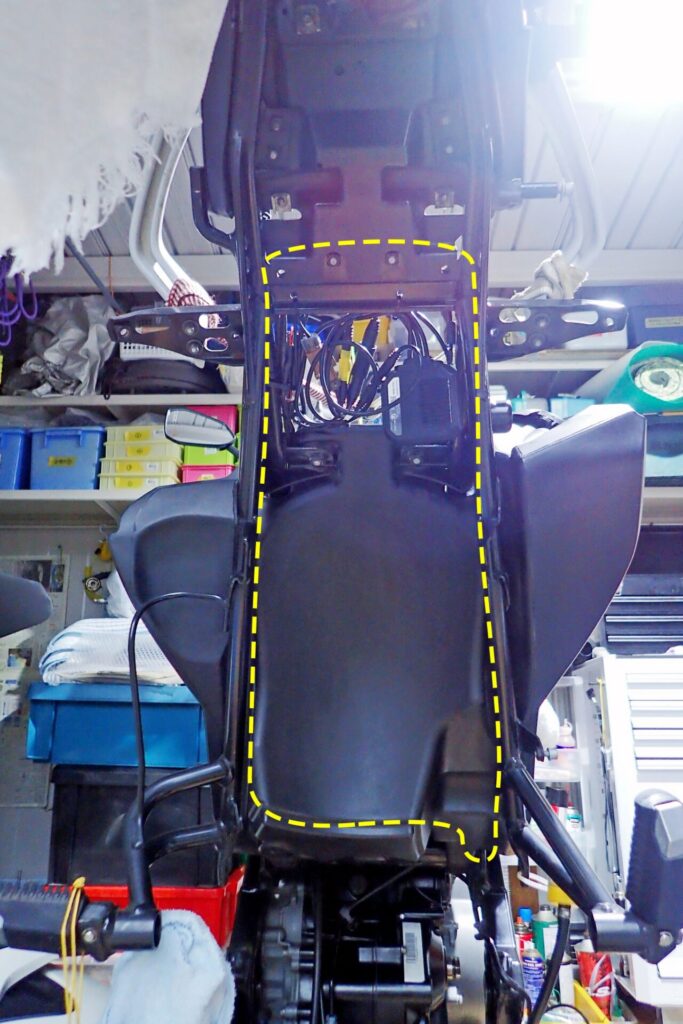
First, remove the part where the rear shock mudguard will be mounted, so you can work on it on its own.
Remove the part inside the yellow dotted line in the photo above.
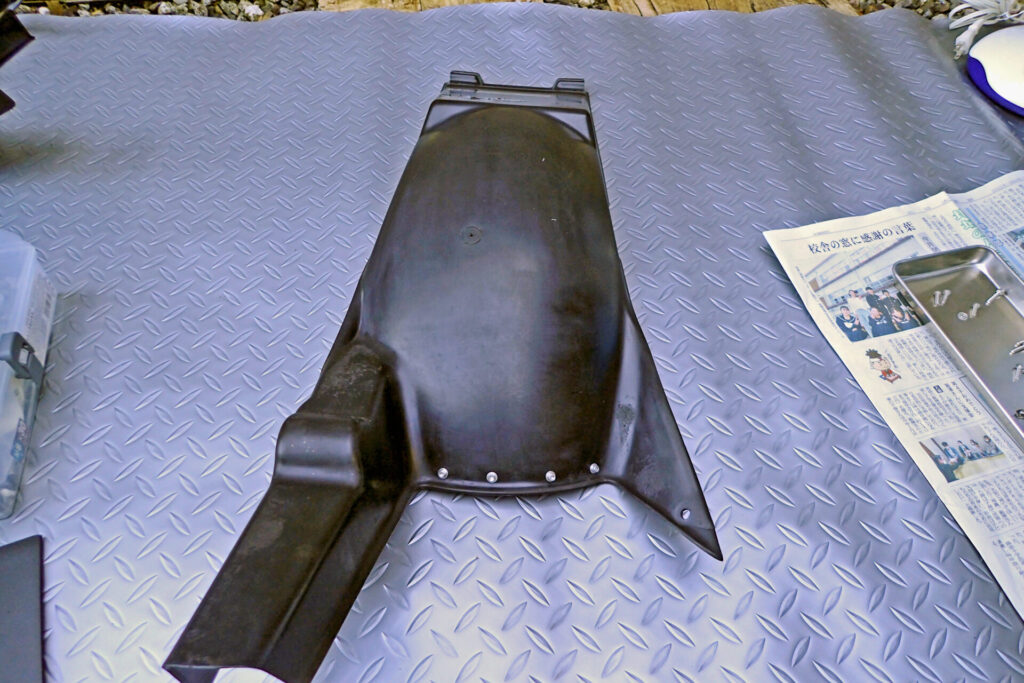
This is the part I removed.
I drill holes where the mudguard will go and fit bolts.
The part is called "Wheel cover, front section, black, rear", part of the rear mudguard.
I mounted the mudguard where it avoids the tyre and blocks as much spray as possible.
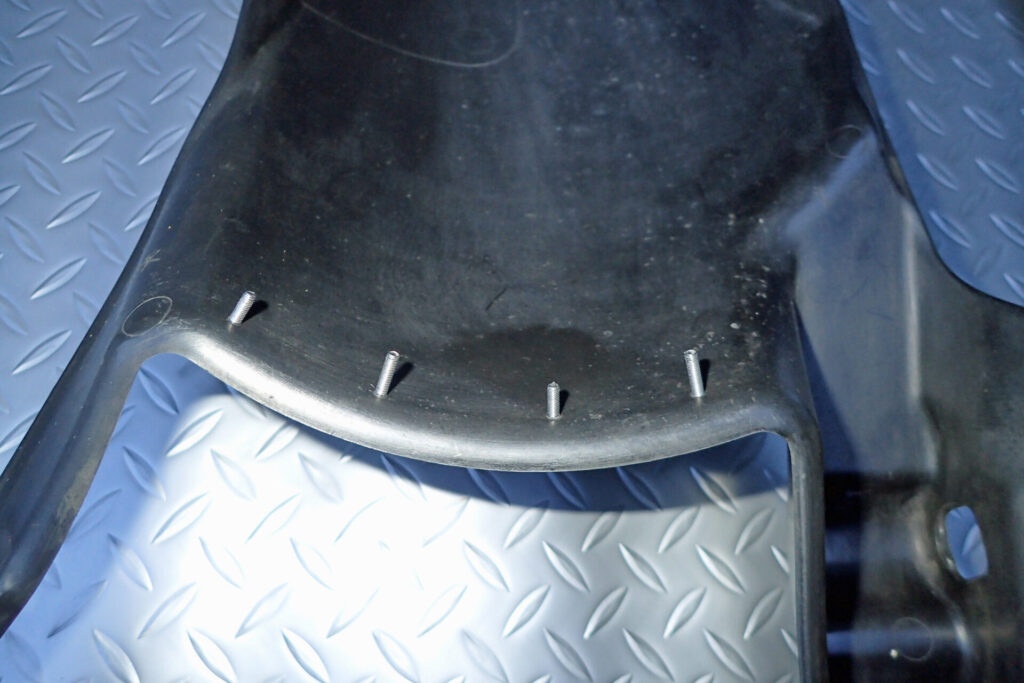
This is the same part photographed from the other side.
Drilling, fixing and cutting: clamping the rubber with plastic sheet
The rubber is soft, so I thought that holding it with bolts alone would let it work loose as it deteriorated.
So I clamped it with clear plastic (PET) sheet.
Once it's fixed, trim the rubber to suit the bike so it doesn't touch the swingarm or chain.
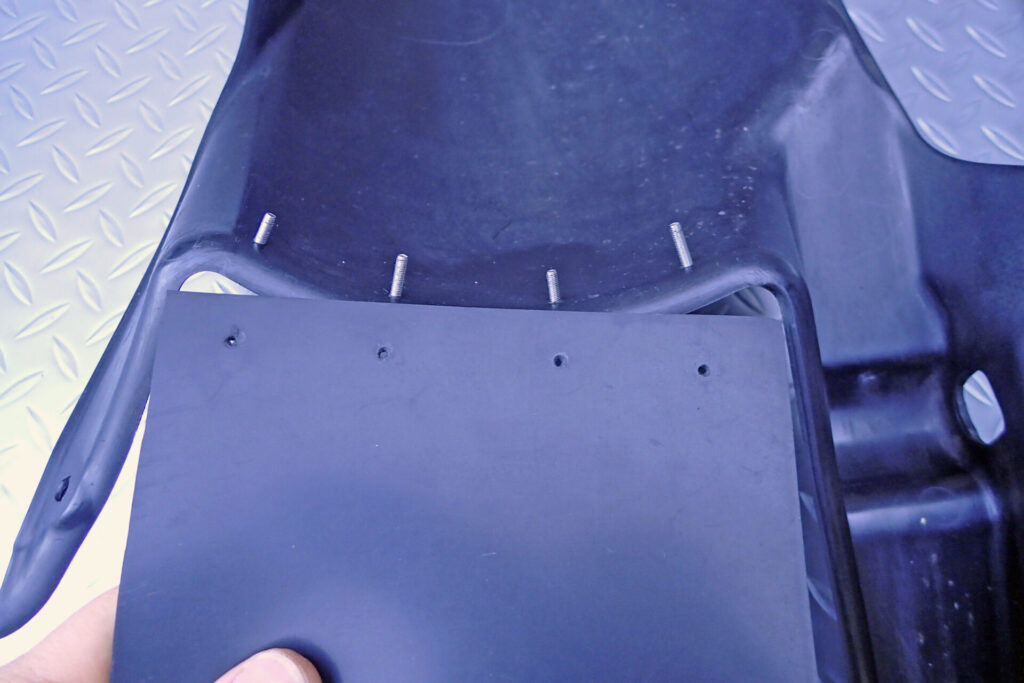
I make holes in the 2 to 3 mm rubber sheet to match the bolt positions.
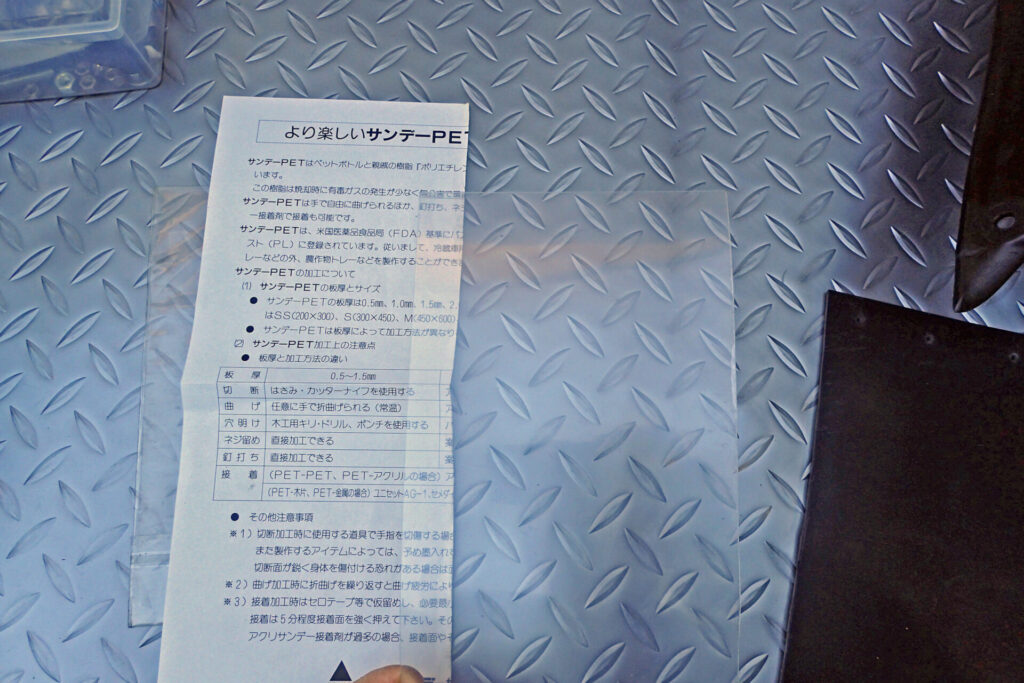
If the rubber were just bolted on, I think it would soon fall off as the rubber deteriorated.
So I decided to clamp it with clear plastic (PET) sheet.
I think any thin sheet would do for clamping. I just used this because I happened to have it.
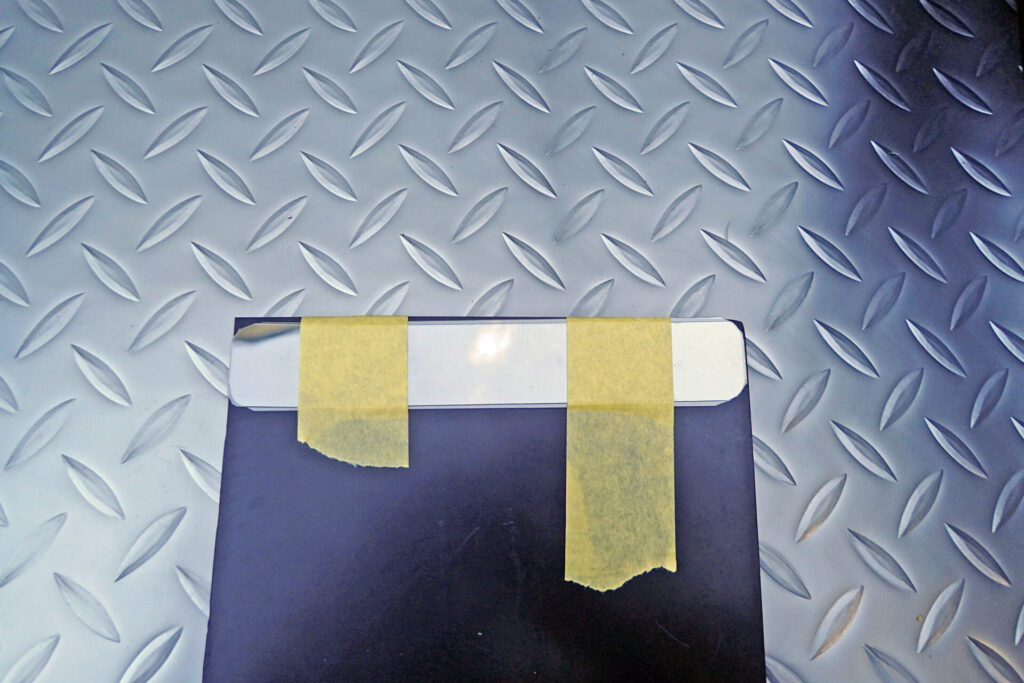
To be safe, I used two layers of plastic sheet.
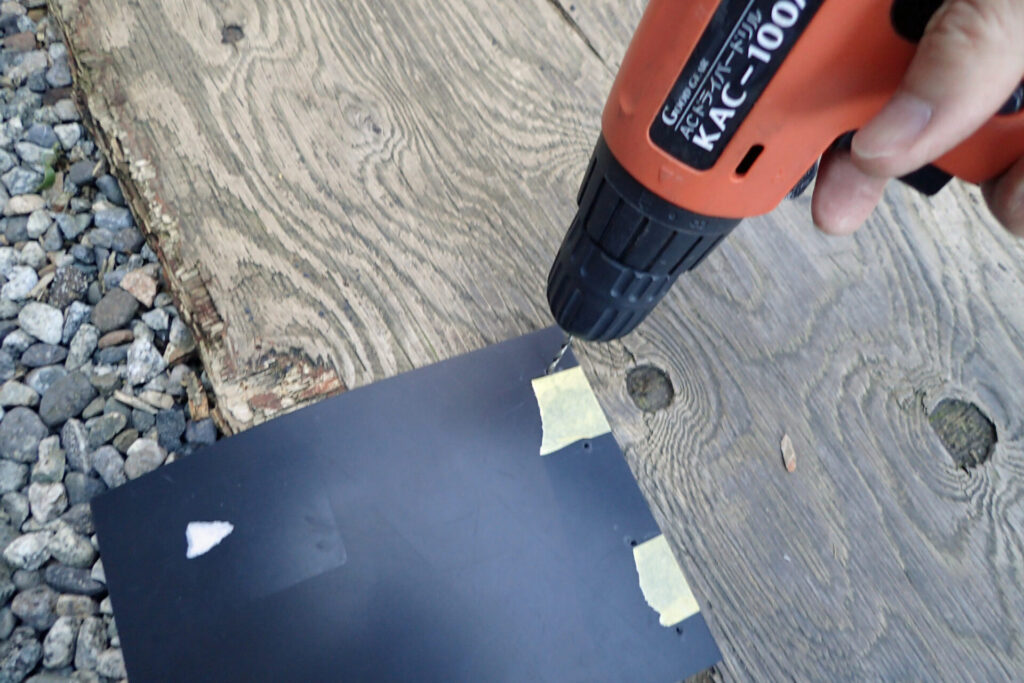
I drill holes in the plastic sheet to match the holes in the rubber.
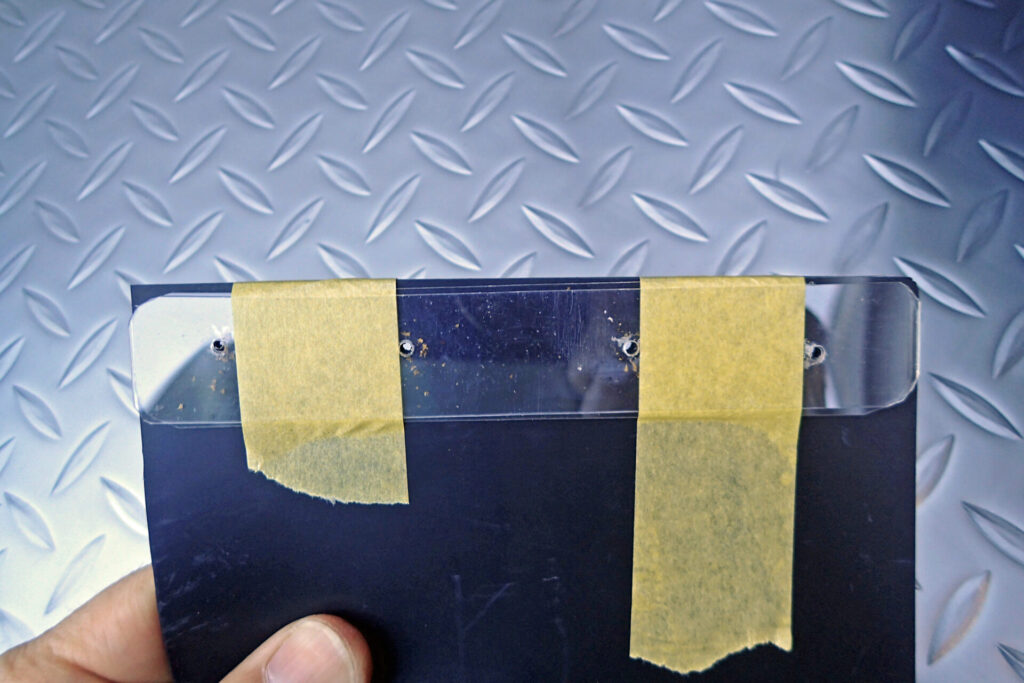
The holes are done.
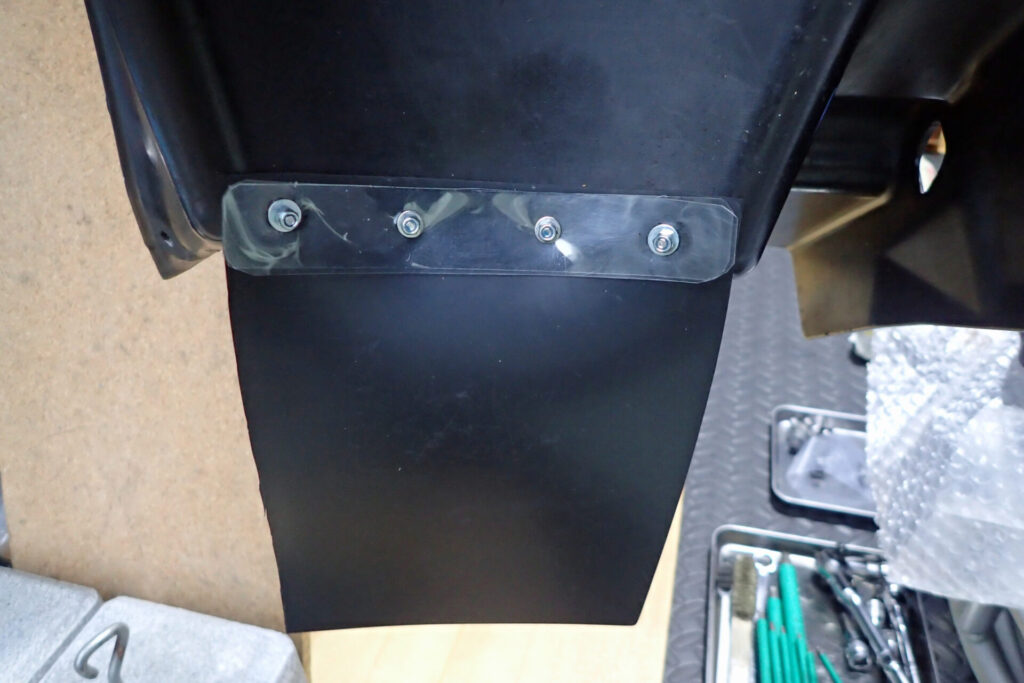
I fix the rubber sheet to the bolts.
Because it's a curved surface, the holes didn't line up perfectly, so the plastic sheet is a bit distorted, but I forced it on.
The nuts are self-locking, and I added threadlocker to be safe.
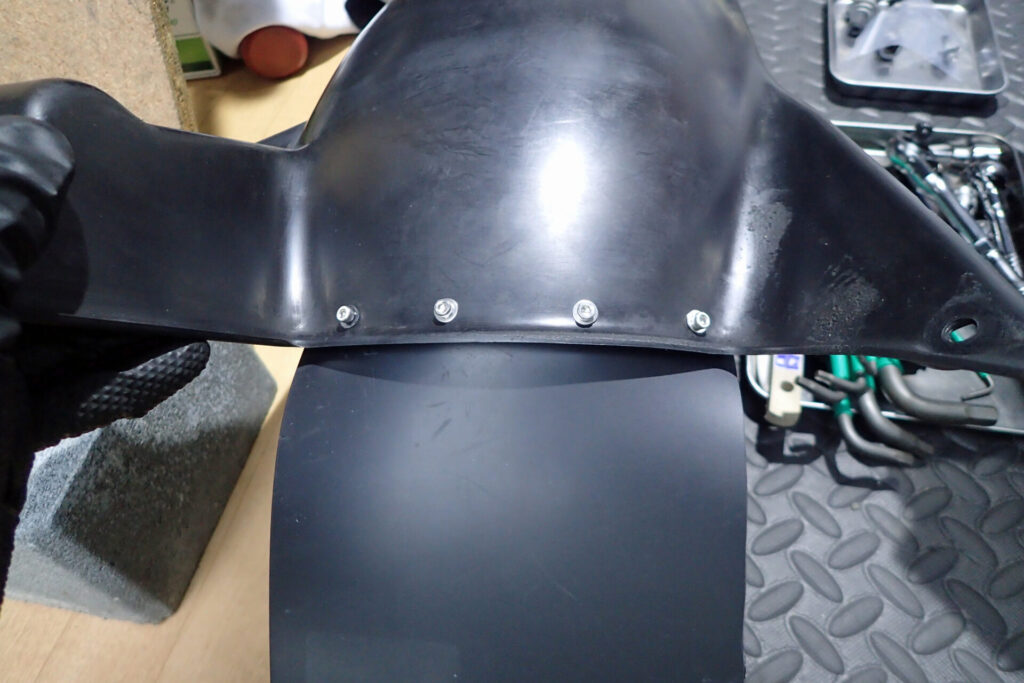
This is how it looks from the other side.
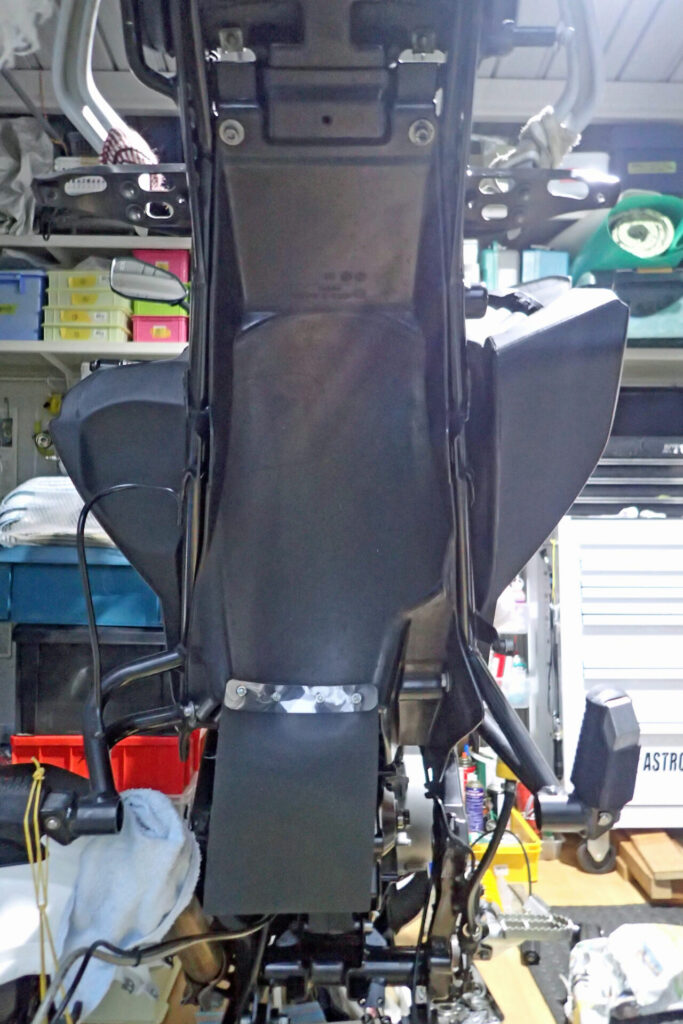
I fit it to the bike.
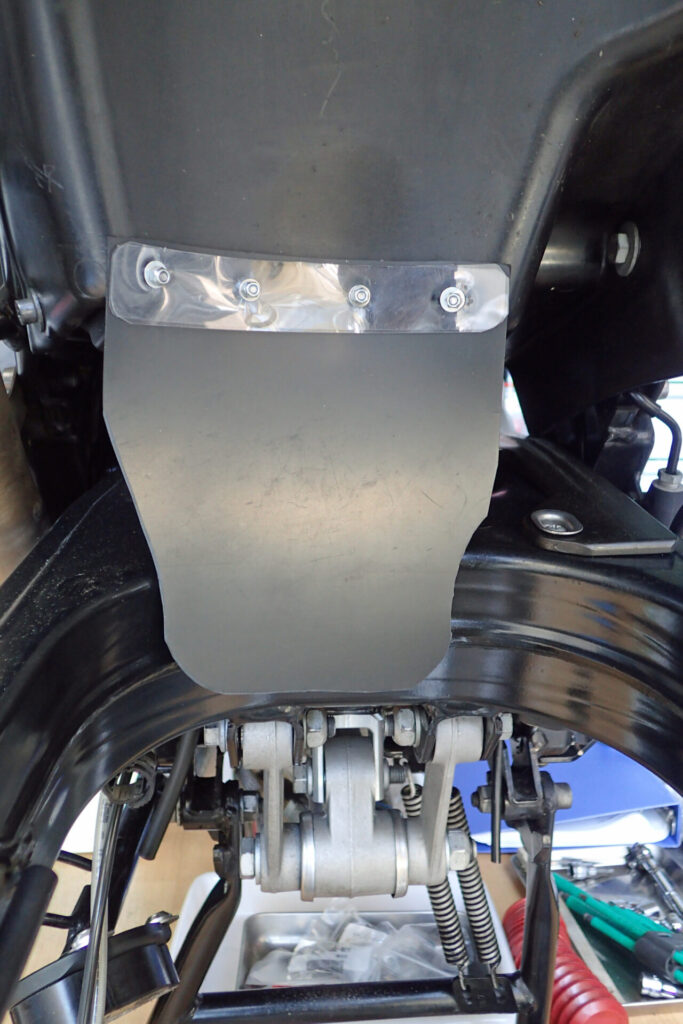
I trim the rubber to suit the swingarm.
If the rubber is too long it could get caught by the tyre, so I cut it as short as possible and so that it doesn't touch the swingarm.
Does the home-made mudguard work?
After a test ride
After fitting it, I went for a test ride.
Compare it with the photo from before fitting.
One thing to watch: if the rubber is too long, it could get caught by the tyre.
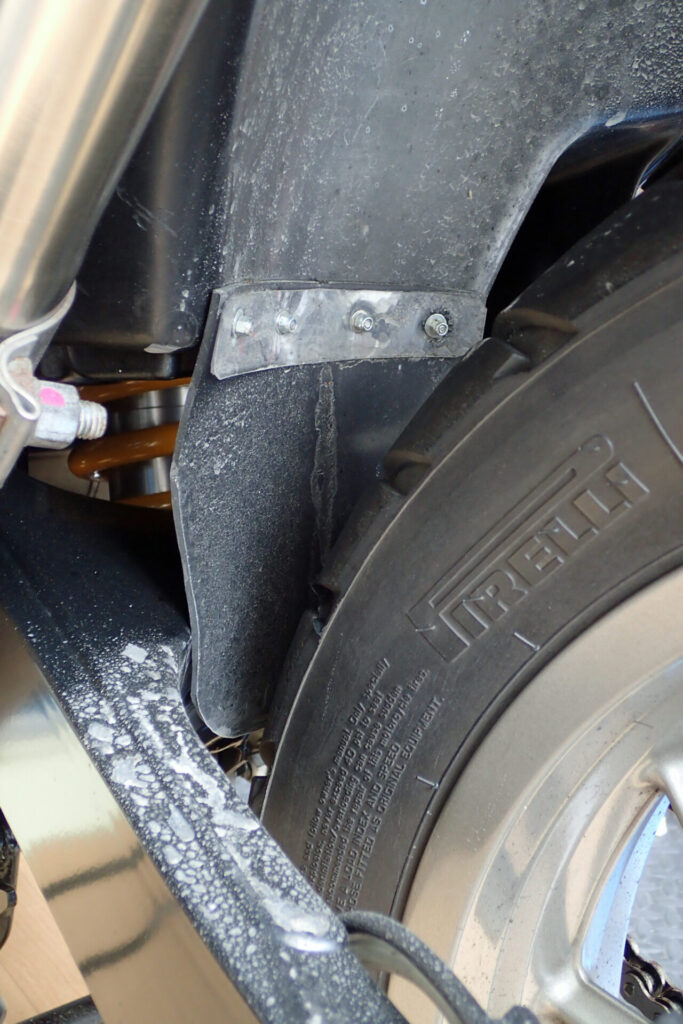
So, I went for a test ride.
The rubber touches the swingarm slightly, but it seems to be just clear of the tyre.
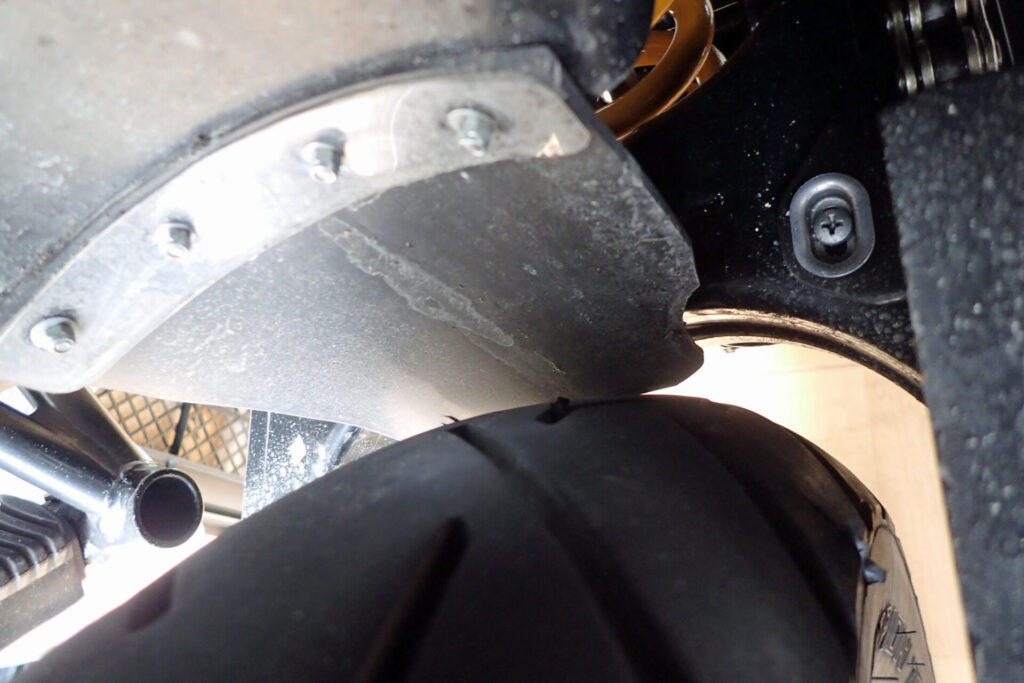
Here it is from a different angle.
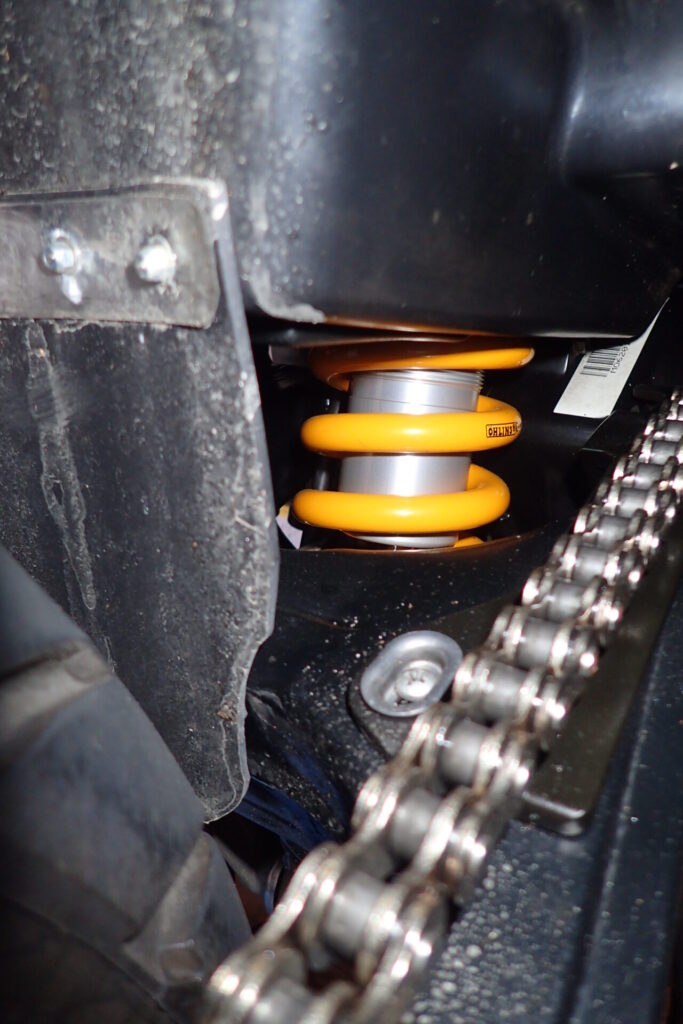
And the all-important rear shock...
It's clean!
So far so good, but I'll keep an eye on the rubber rubbing on the swingarm and whether it gets caught by the tyre.
Later, with the rear wheel off, I washed and inspected this mudguard: