Hello everyone.
I've been servicing the front forks on my Honda XR250 BAJA (the Japan-market XR250 / MD30), and this time I'll show how I took the forks off the bike before the work.
Here are my posts on the front fork work:
WPC treatment for the front fork springs: preparation
XR250 BAJA front fork assembly, part 1
XR250 BAJA front fork assembly, part 2
XR250 BAJA front fork assembly, part 3
XR250 BAJA front fork assembly, part 4
To remove the front forks, the bike has to stay upright on its own with the front wheel out.

I use a frame stand like this. Online, I've seen people build their own from scaffold tube.
Space, cost and how often you'd use it may make you hesitate, but it stops the bike falling over, you can keep using it when you change bikes, and you can use it for steering head bearing work too, so I think it's worth buying.
The frame alone isn't enough to keep the bike from falling, so I also use an ordinary stand.

This is a DRC stand with a damper.
I used to use a cheap stand without a damper, but without one the bike comes down with a crash when you lower it, and if you lose your balance you can drop the bike, so now I use one with a damper.

The bike is hung from the frame with a ratchet strap and an old climbing sling I no longer use.

With the front of the bike off the ground, I started work.
First, remove the brake caliper. The bolts are easier to undo while the front wheel is still on the ground.
Once the caliper is off, make sure it doesn't hang on the brake hose.
Here I hung it up with string.

Loosen the bolts on the axle holder, then loosen the axle.

Next, disconnect the speedometer cable.
First, remove the screw that holds the speedometer cable to the speedometer gear.

Next, remove the band that holds the speedometer cable to the fork.
Now the speedometer cable comes out if you pull it.
As you can see in the next photo, when you disconnect the speedometer cable, the inner wire slides down.
It's a good idea to tape it so the wire can't drop out.

With the speedometer cable off, remove the axle. If it's like the photo above, just keep unscrewing the axle.

Now the front wheel comes out.

This is with the front wheel out.
Now, at last, I can start removing the forks.

Before removing the forks, measure how far the tubes protrude above the top yoke.

The forks are held by four bolts, so loosen them.
Once all the bolts are loose, the fork may slide down
Loosen the bolts while making sure the fork can't drop.

Of the four fork clamp bolts, the one where the speedometer cable connects is hard to get a socket on, as in the photo above.
This may only apply to the BAJA, and may not matter on the model years with an analogue speedometer.

If you want to do a careful job, I think it's better to remove the two bolts I'm pointing to with my index finger and thumb in the photo above first.
That's all it takes to remove the front forks.
I've also written a summary of my XR250 / BAJA front fork work, from stripping to oil, springs and re-plating, with the steps and costs.
-

-
Honda XR250 / BAJA Front Fork Overhaul Guide: Steps, Costs and Model-Year Differences
A summary of my XR250 BAJA (MD30) front fork overhaul: the order of the work, re-plating costs, spring differences between the XR250, BAJA and XR250R, mixing fork oil to match Honda's viscosity, and axle thread sizes by year.

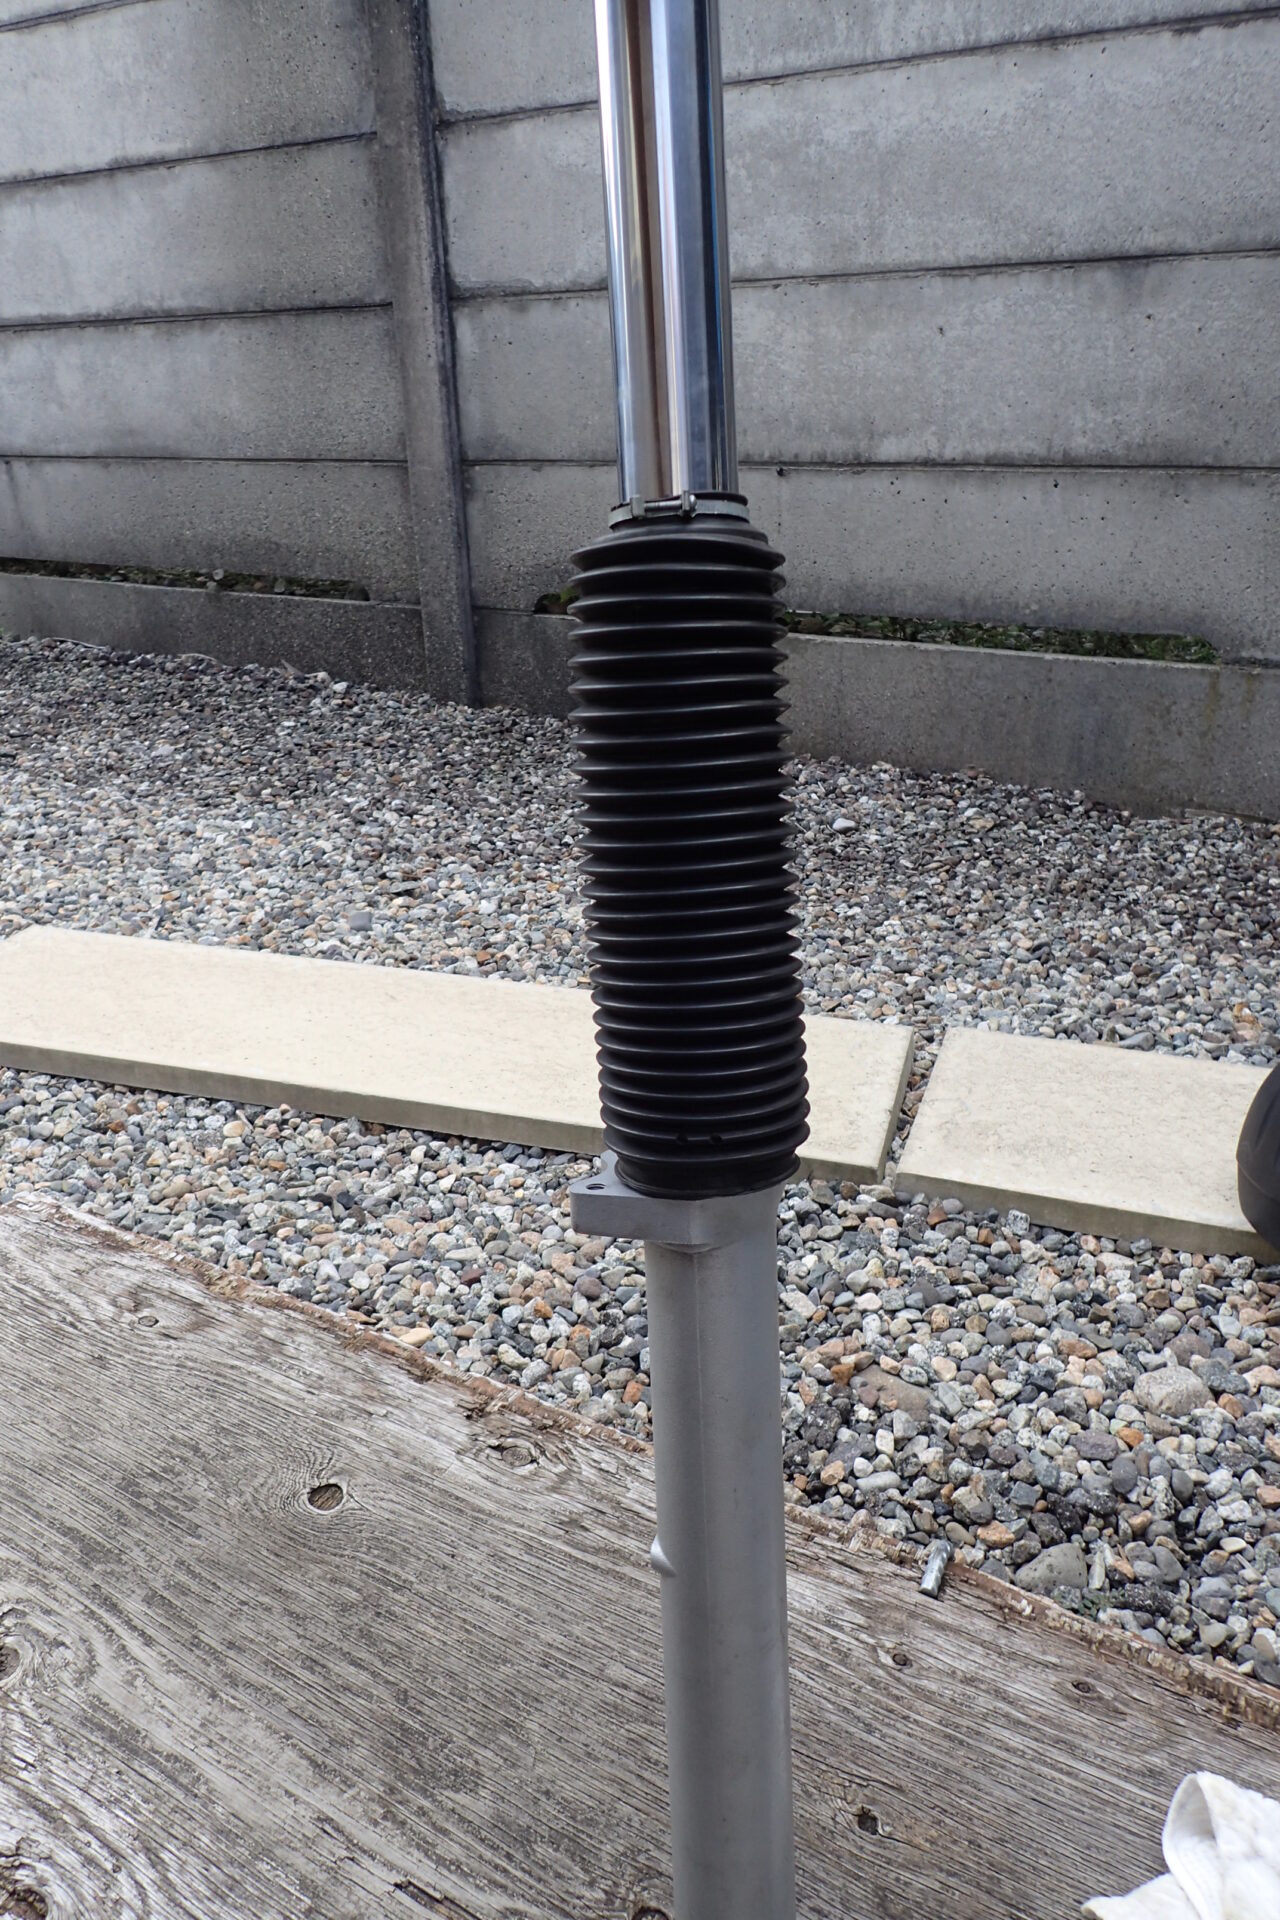
I've written about fitting fork boots to the front forks in this article.
-

-
Fitting Fork Boots to BMW F650GS Front Forks (41 mm Inner Tubes) for My G650GS
Fitting Dakar fork boots to F650GS (single) front forks I plan to put on my G650GS: inner tube 41 mm, outer tube 60 mm, which way the vent hole faces, and XR BAJA bands.