I took the front brake caliper off my BMW G650GS to clean the pistons and work them in and out. I did the same on the rear brake before, and this time it's the front.
-
-
How to Clean and Work a Motorcycle Rear Brake Piston (BMW G650GS)
How I cleaned and worked the rear brake caliper piston on my BMW G650GS: pushing it out with the pedal, wiping it with Kimwipes, turning it with piston pliers, Metal Rubber, and safety checks afterwards.
This post is a record of work I did on my own bike. Brakes are safety-critical parts, so if you're unsure, have a motorcycle shop do it. If you do the work yourself, it is at your own risk.
What I was careful about
- Don't push the pistons out too far: if one comes out, fluid leaks and you'll have to bleed the brakes. Put an old pad or a piece of wood in as a stopper.
- Don't push the pistons back in while they're dirty: clean them first, then apply a thin coat of something that won't harm the rubber seals, such as Metal Rubber, before pushing them back.

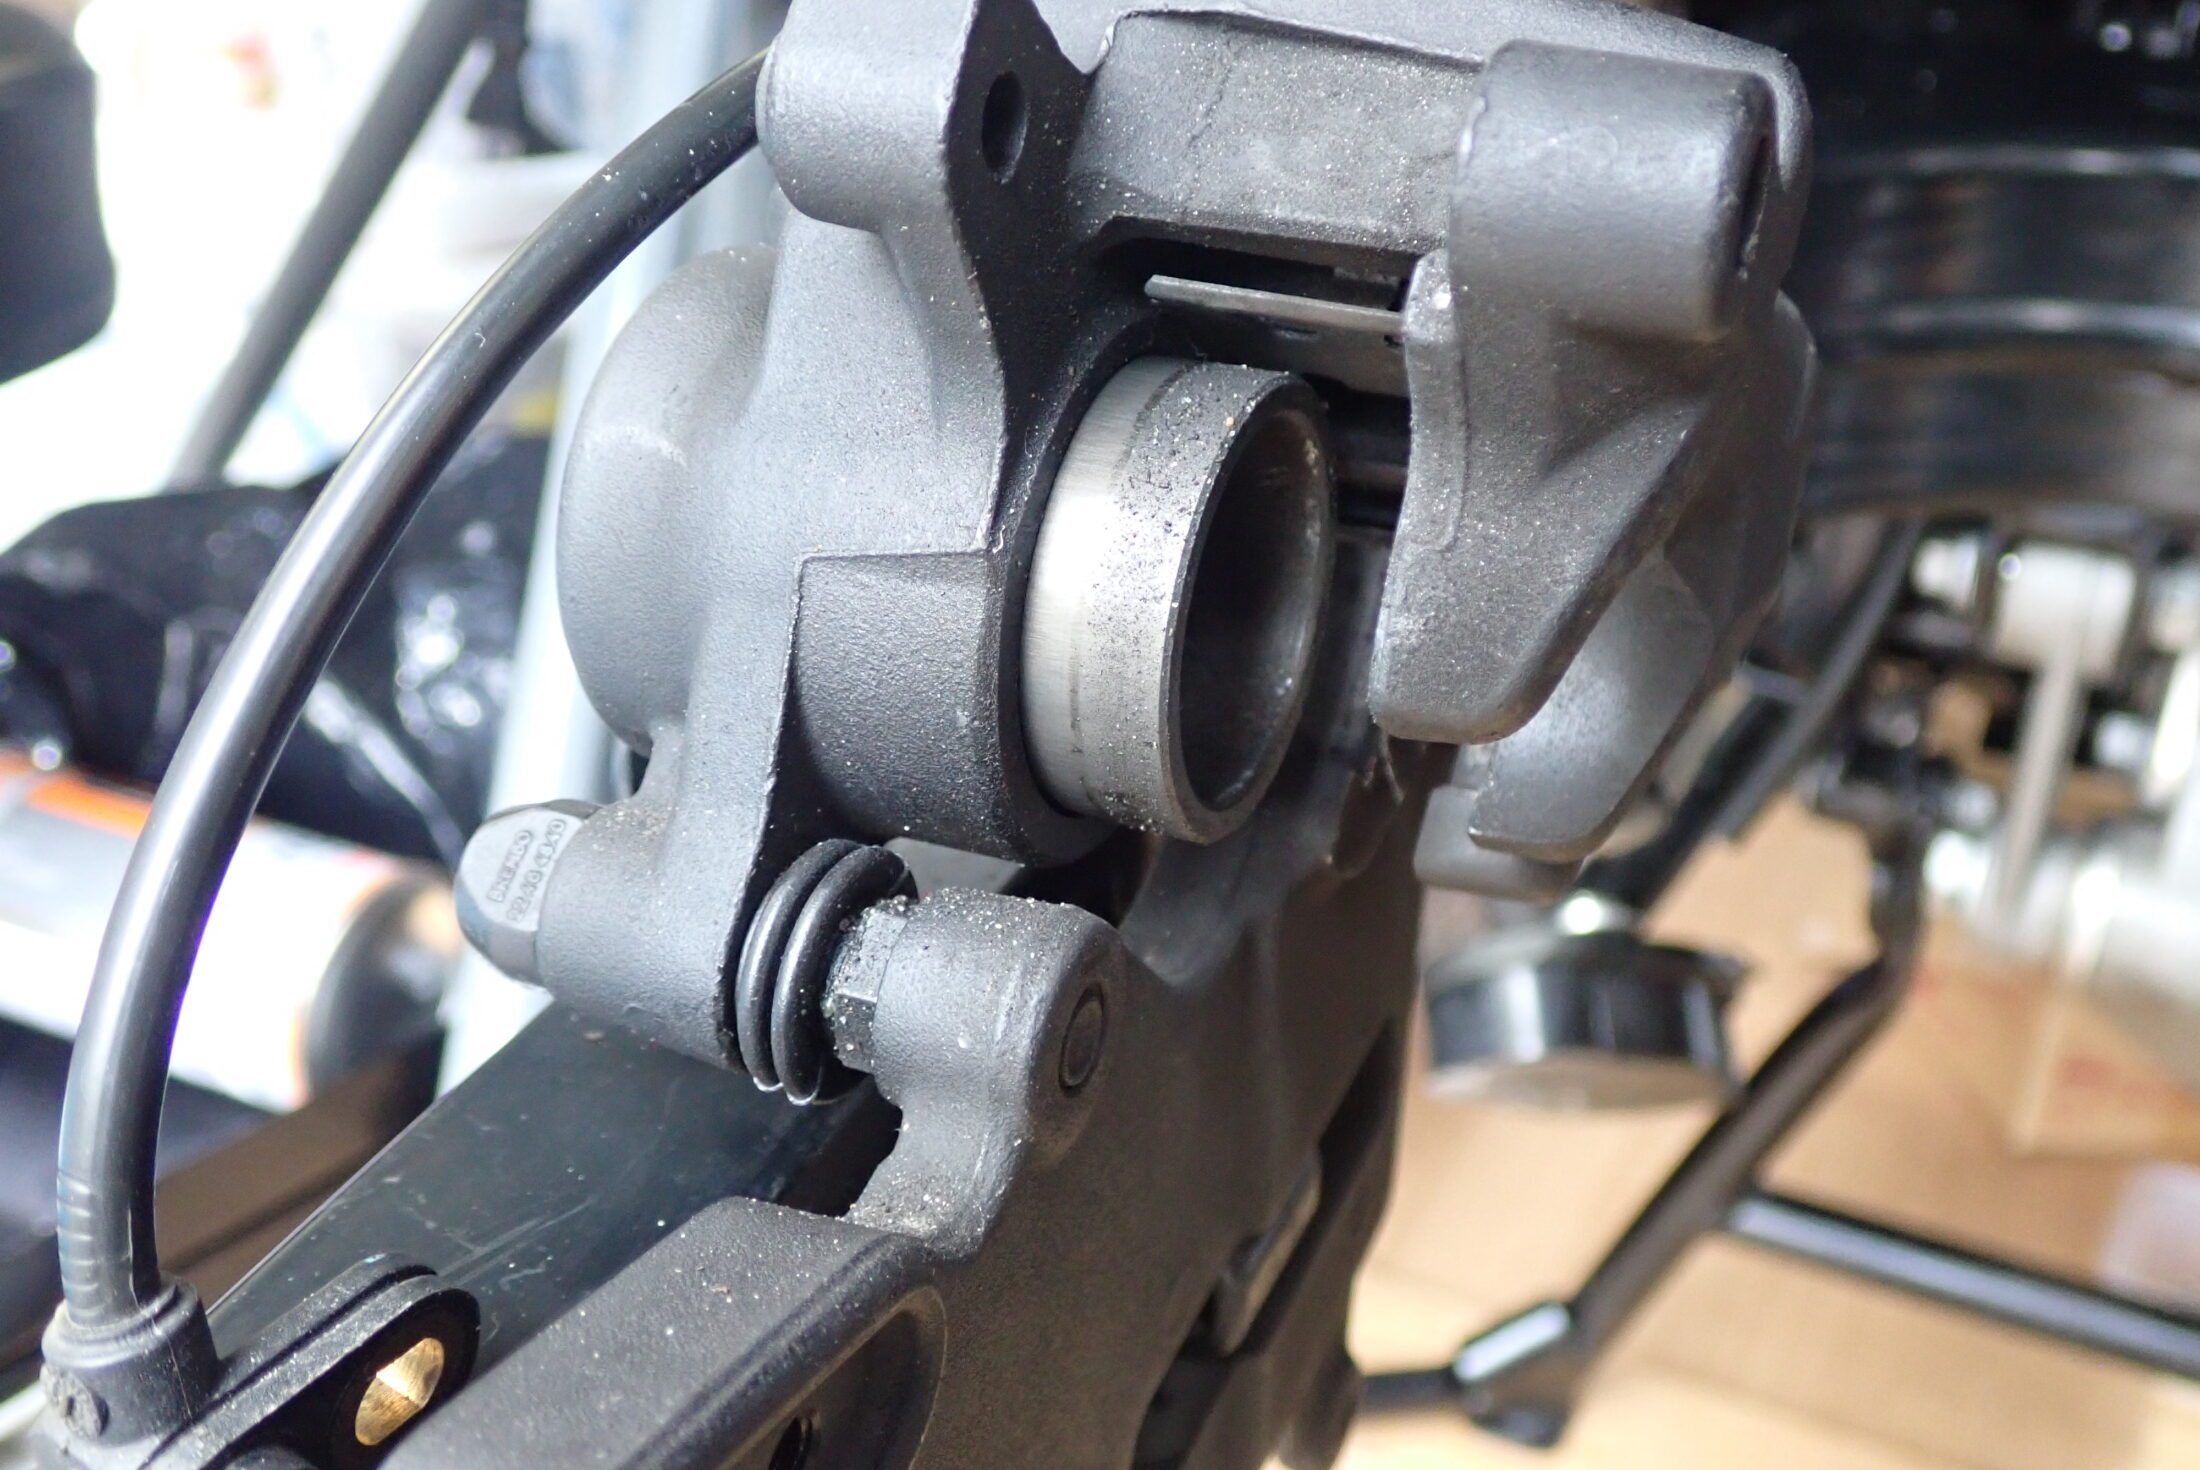
As in the photo, the G650GS pistons are solid inside, so you can't use piston pliers. Don't grip the outside of a piston with ordinary pliers, as it will scratch the piston.
G650GS front caliper: cleaning and working the pistons step by step

This is the G650GS front caliper. It's a single disc with only two pistons, so there isn't much work.
With twin discs the work would double, and with opposed-piston calipers it would double again.

To remove the brake pads, first remove the pad pin. Start by pulling out the beta pin that stops the pad pin coming out.

Remove the bolts that hold the front caliper.

The caliper is off.

Once you pull out the pad pin, the pads come out easily.
There was about 3 mm left, but they're nearly due for replacement, so I've ordered new pads.
As I mentioned above, these pistons can't be turned with piston pliers.

I cleaned what I could reach with lint-free wipes, and used cotton buds for the rest.

Removing the caliper bracket gives you more room to clean.

I took my time cleaning the pistons with cotton buds and a thin brush.
From here, I worked the pistons in and out using Metal Rubber. Note that with more than one piston, the one that moves most freely comes out first when you squeeze the brake lever, so keep an eye on it.

With the pistons done, refit the caliper to the specified torque.

Finally, refit the brake pads and the pad pin, then the beta pin that holds the pad pin, and the job is done.
The result
After working the pistons, the brake feel improved. The pistons now seem to follow the lever directly, which makes it easier to control how hard I brake.
Brakes are parts you trust your life to. If you're unsure, don't push it: have a motorcycle shop check and service them.