Happy New Year, everyone.
I plan to keep this bike blog going this year too.
The first post of the year is a lesson from last year's work.
As the title says, it's about how thoroughly you need to remove the blasting media after blasting.
As in the post below, I wet blasted the front fork bottoms (axle holders) of my Honda XR250 BAJA (the Japan-market XR250 / MD30) with #120 glass beads.
At the time, I wrapped the outer tubes in vinyl tape and bin bags (trash bags) to keep the media out.
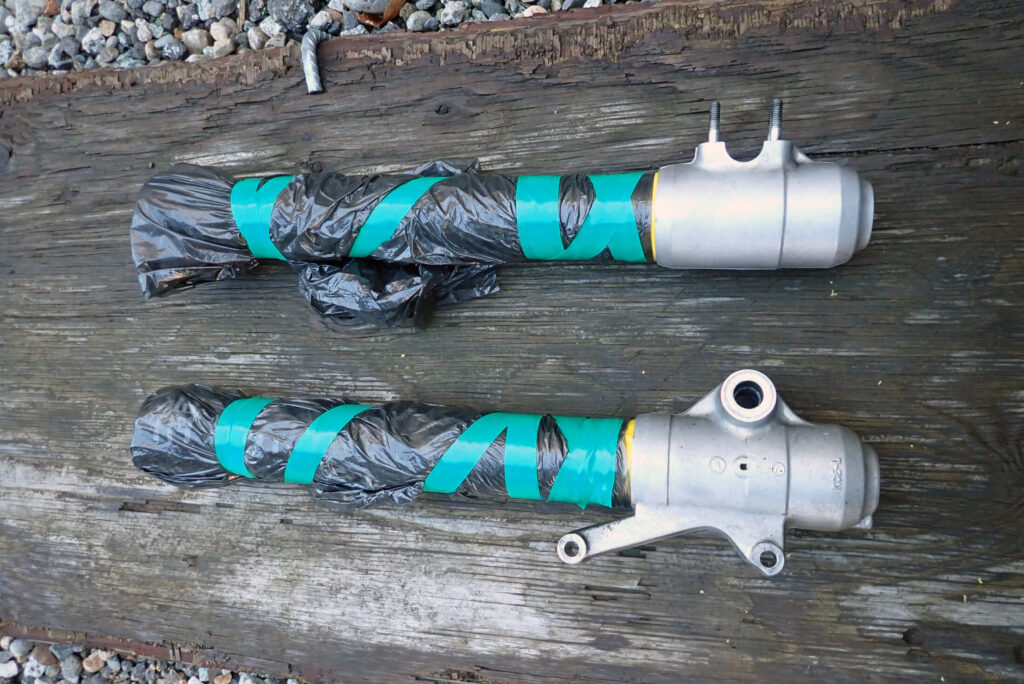
But when I took the bags off, media had got into the outer tubes.
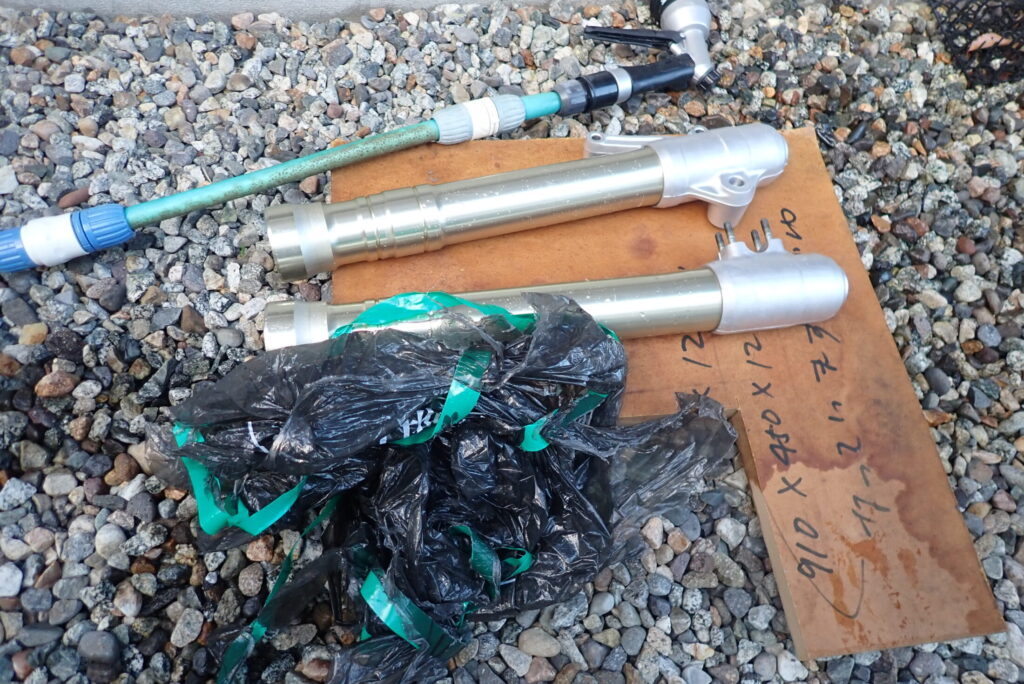
I hadn't sealed them to keep media out; I'd only wrapped them so the media wouldn't hit them directly, so it's not surprising that some got in.
Even so, I didn't expect media to get in after all that wrapping.
It taught me that blasting needs far more splash protection, masking and media removal than I'd imagined.
Until now I'd just been pleased that things came out clean, but I've learnt that it needs proper preparation too.
My Karcher blasting series
These are my notes from building a DIY baking soda (wet) blaster with a Karcher pressure washer. The set-up, tools and cautions that finally worked are summarised in my DIY guide.
- First try: baking soda blasting with a Karcher
- Part 1: a funnel-shaped baking soda container
- Part 2: a splash cabinet, and baking soda that won't feed
- Part 3: feeding the soda from below
- Part 4: clogs and air leaks
- Part 5 (final): what worked
- Baking soda blasting a carburettor
- Wet blasting with glass beads (fork axle holders)
- Wet blasting a rear brake caliper
- Removing blast media thoroughly afterwards (this post)
- Does baking soda blasting strip anodising?
- A traffic cone as the media container
- DIY guide: what finally worked