Hello everyone.
Today's post is about maintaining the starter motor of my Honda XR250 BAJA (the Japan-market XR250 / MD30). Not the one fitted to my own bike, though: this is a used spare I bought.
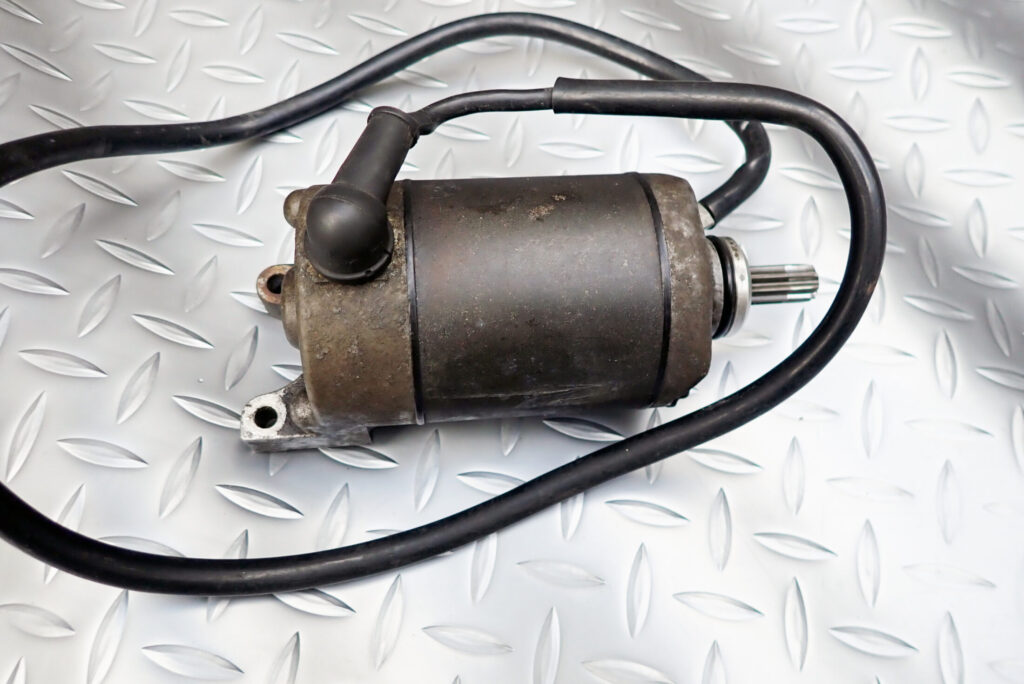
It was a cheap one, so it's pretty filthy.
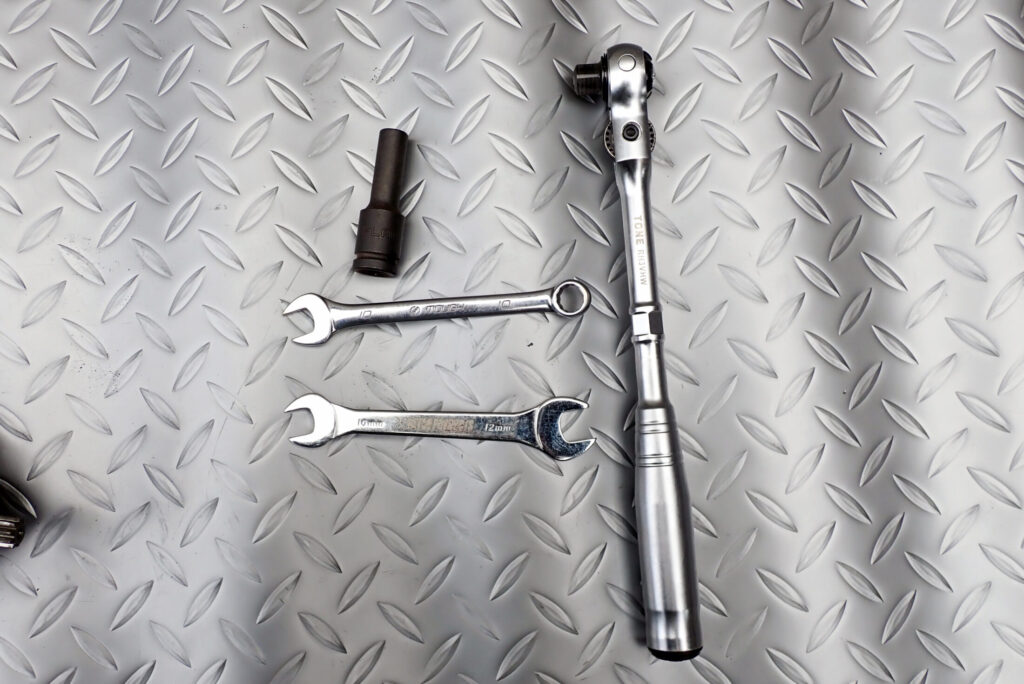
With these tools you can strip the XR's starter motor.
- 7 mm socket
- 10 mm open-ended spanner (thin)
- 10 mm spanner or socket
- Ratchet handle (if you're using a socket)
For the ratchet handle I use TONE's swivel ratchet handle (hold type) (RH3VHW).
The head can be set at any angle through 180° (with a lock), and because it's the hold type, the socket won't drop off unexpectedly, yet it comes off easily even with oily gloves.
It is a little long, though, and sometimes I wonder whether I'm putting too much torque through it, so a shorter version might be better.
I've written a full review of this ratchet here:
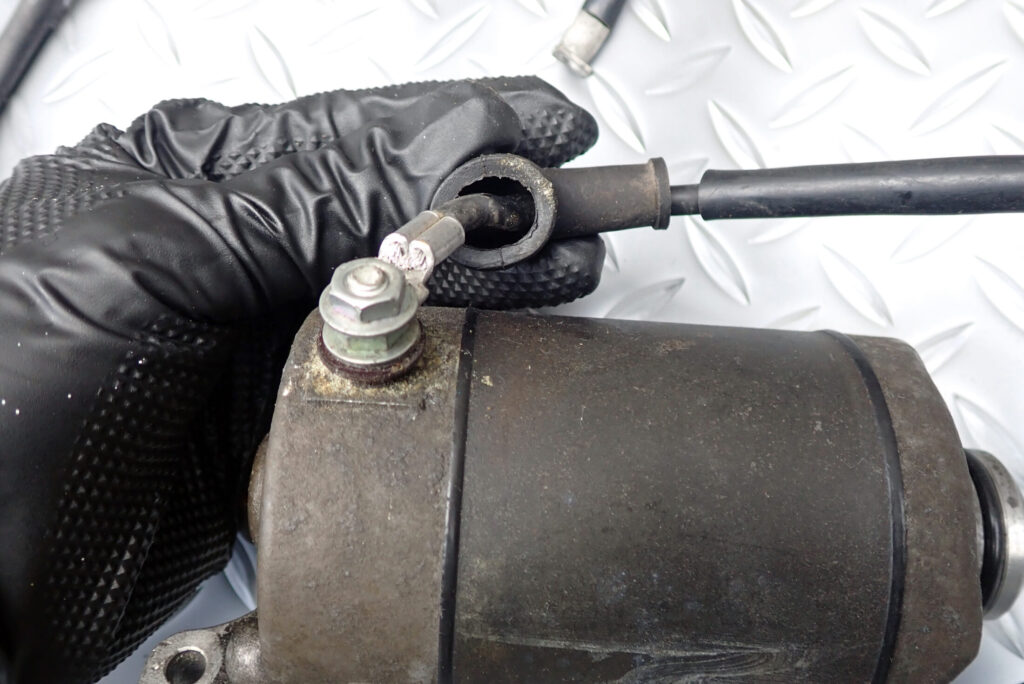
Remove the starter motor terminal cover (a rubber part). It comes off if you pull firmly.
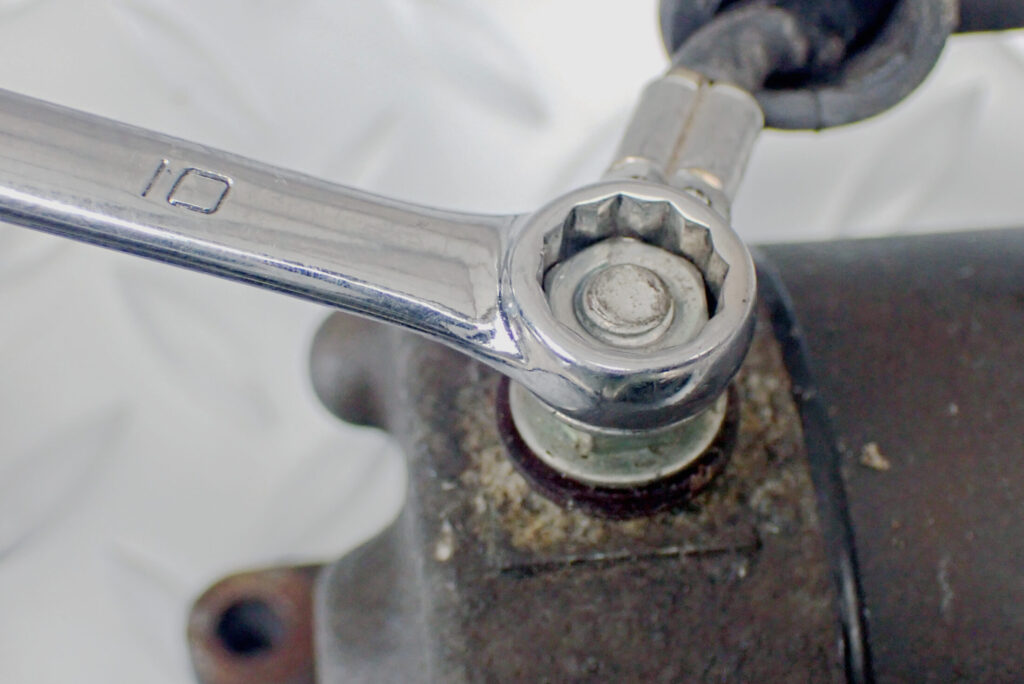
Next, remove the nut (10 mm), but take care here. See the photo below.
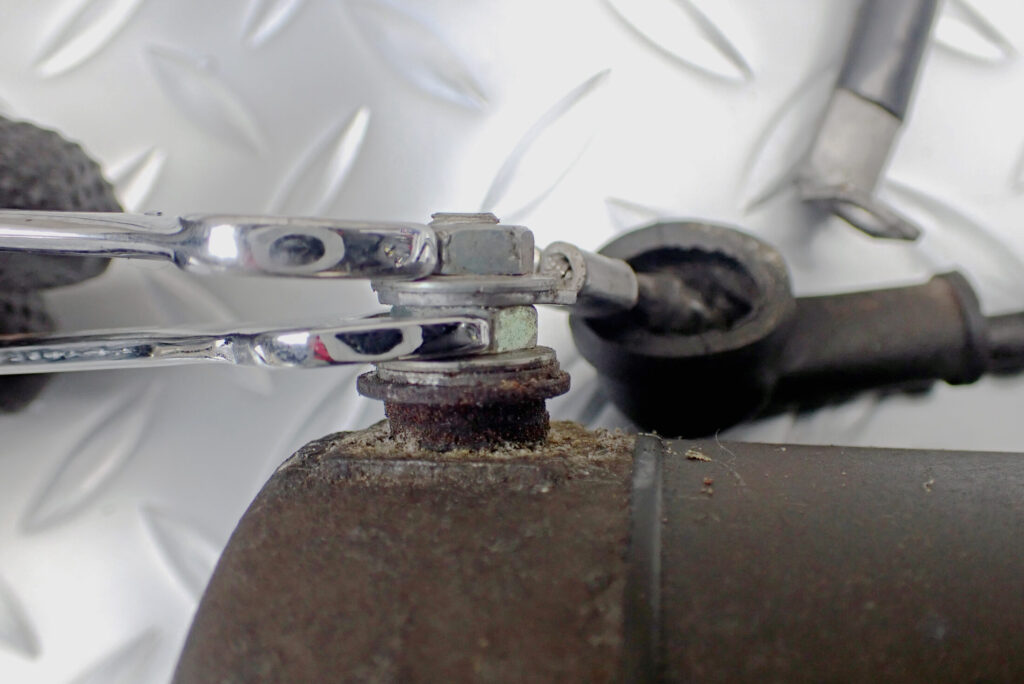
There are two nuts on the terminal, both 10 mm.
Ideally the upper nut simply comes off when you turn it, but if it won't, hold the lower nut with a spanner as well.
A thick spanner won't fit on the lower nut, so you need a thin open-ended one.
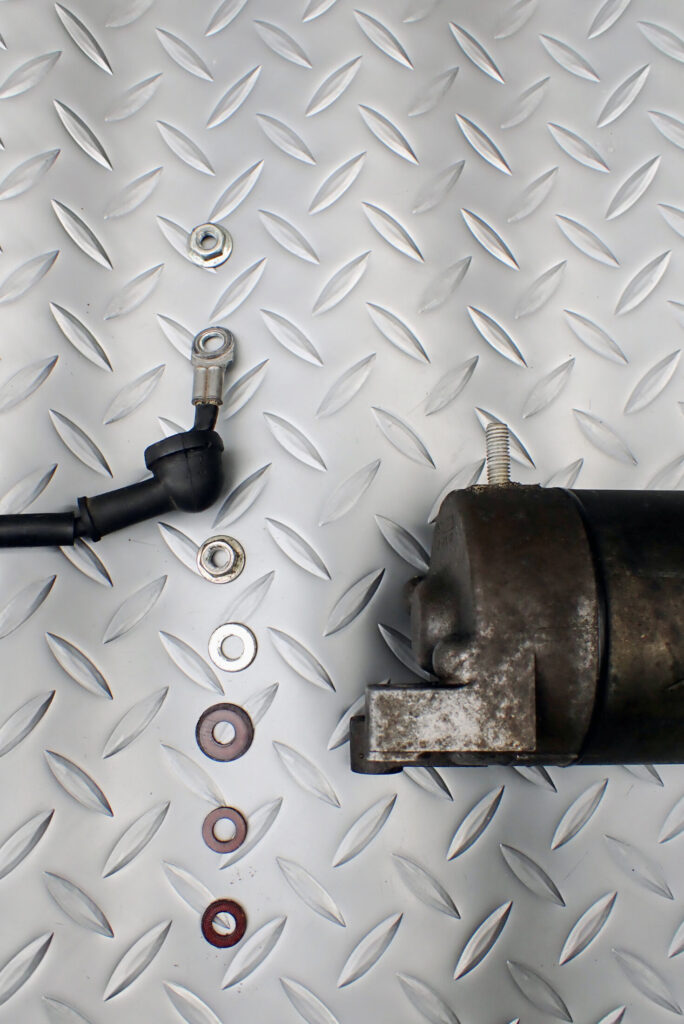
Both nuts are off. As well as the nuts and washers, there are washers that are (probably) there for insulation.
In the photo above they're laid out in the order they were fitted.
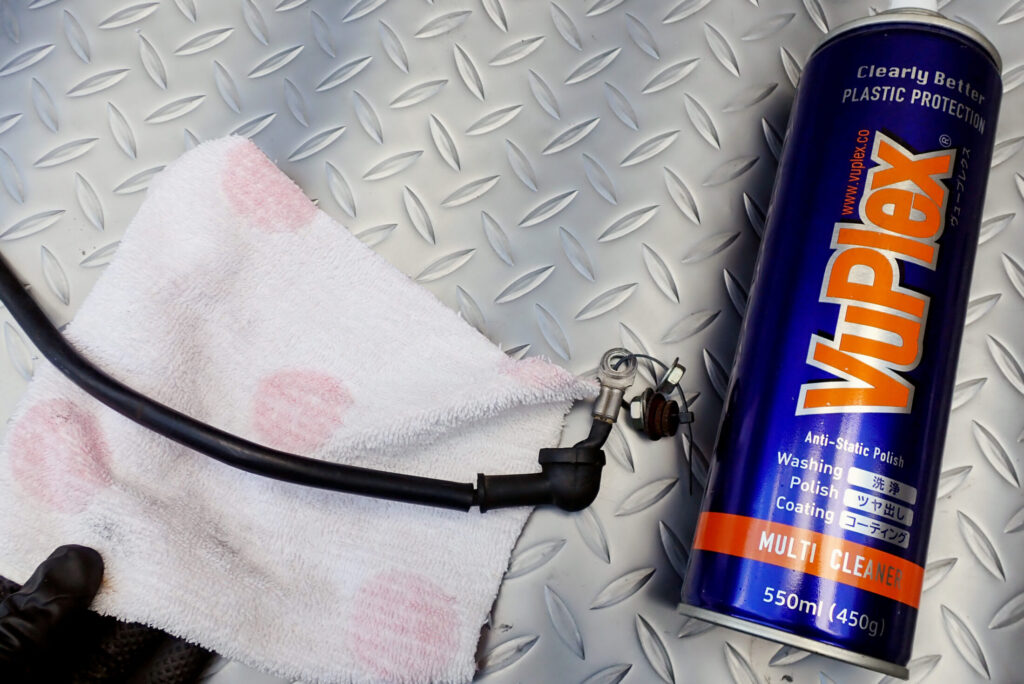
Once the starter motor cable is off, clean it.
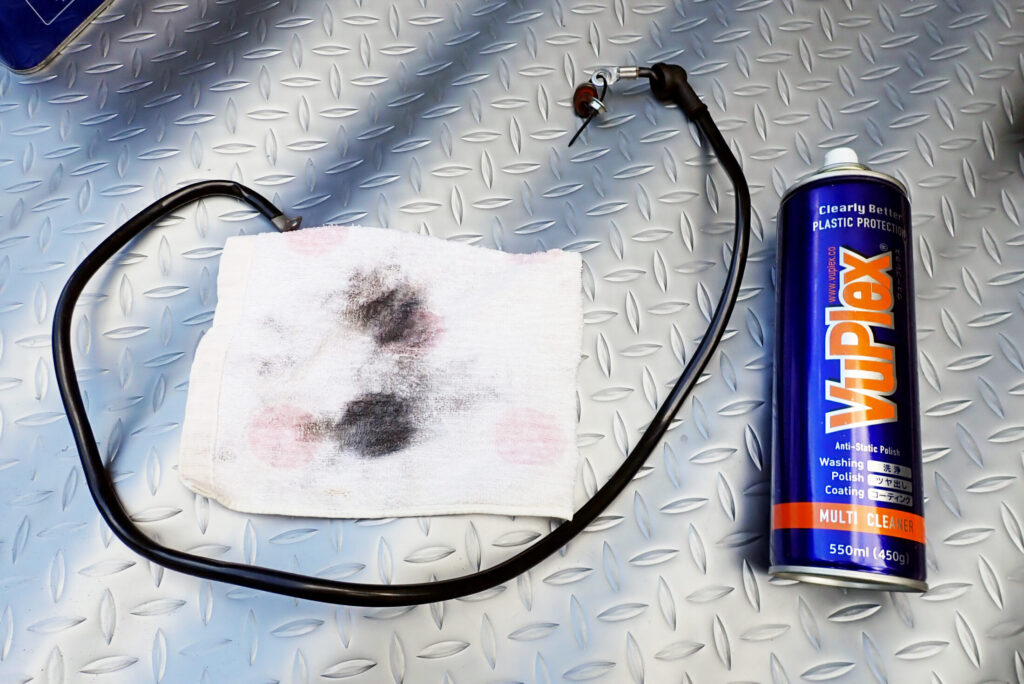
It didn't look very dirty, but VuPlex still lifted the grime off. This cable is discontinued too, so I'll look after it.
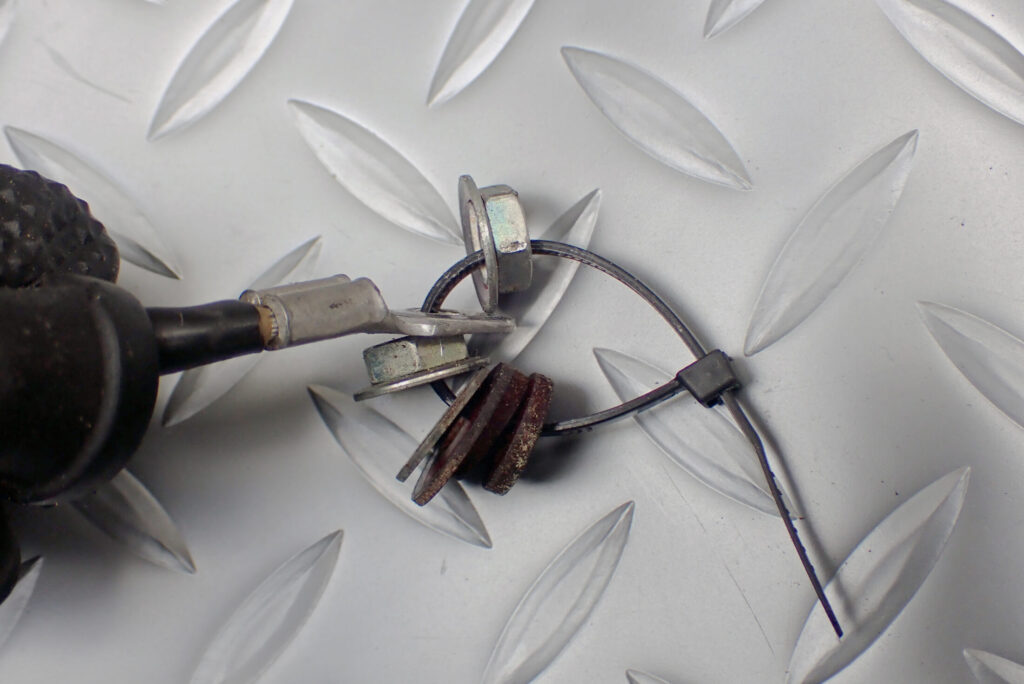
So I don't lose track of the order, I bundle the nuts and washers I just removed in sequence with a cable tie.
With the cable off, it's finally time to strip the starter motor itself.
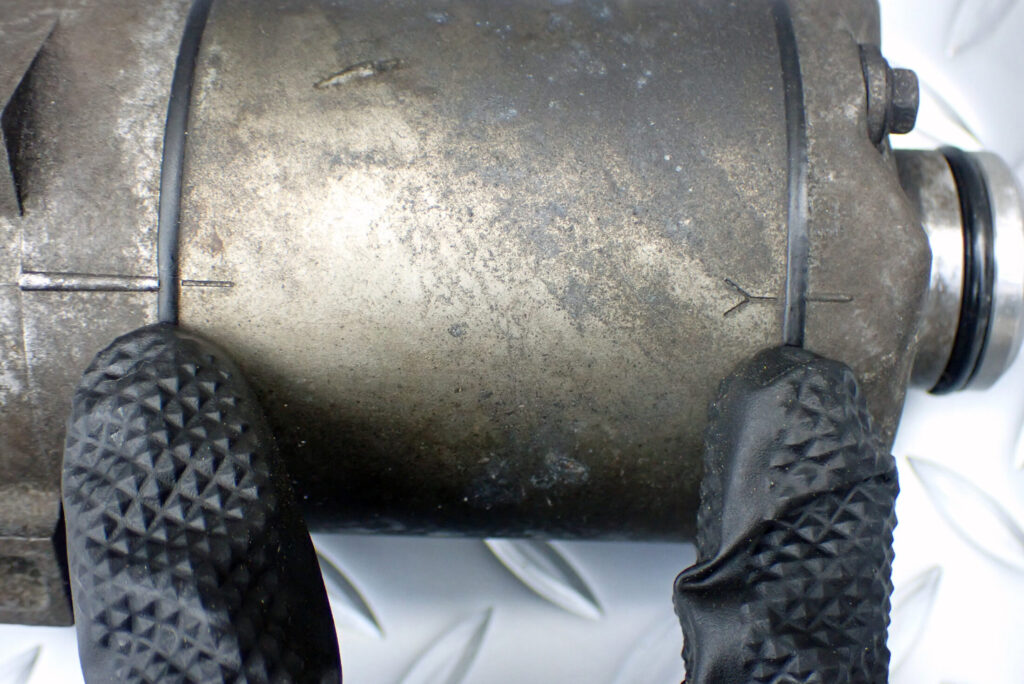
Before taking it apart, look at the engine side (bottom) of the starter motor: there are marks for reassembly, so make a note of them.
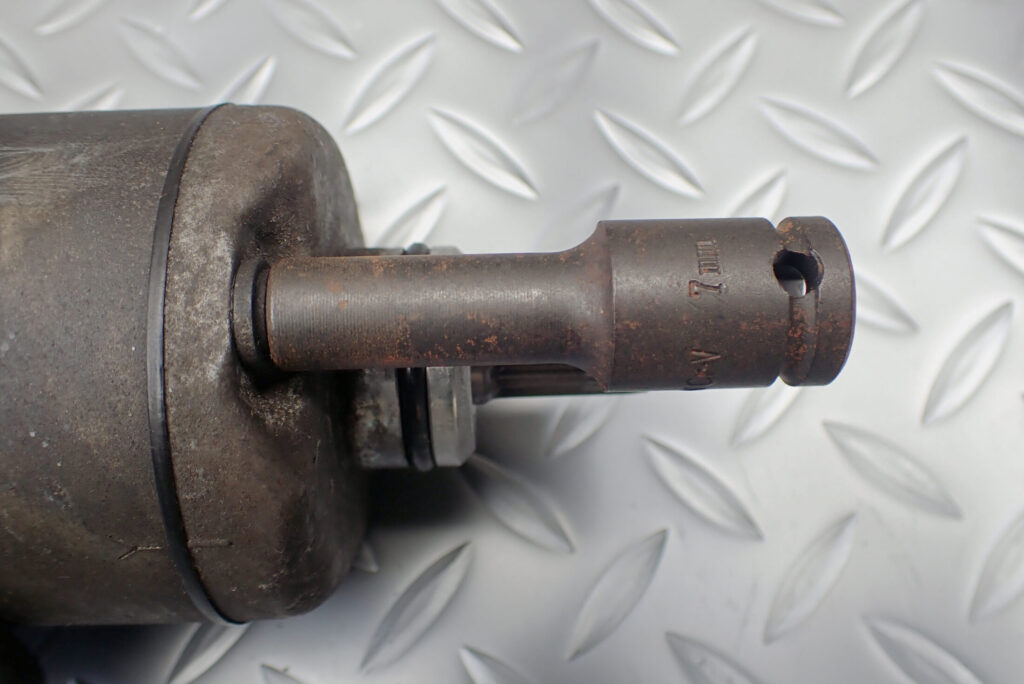
The screws that hold the starter motor together are 7 mm.
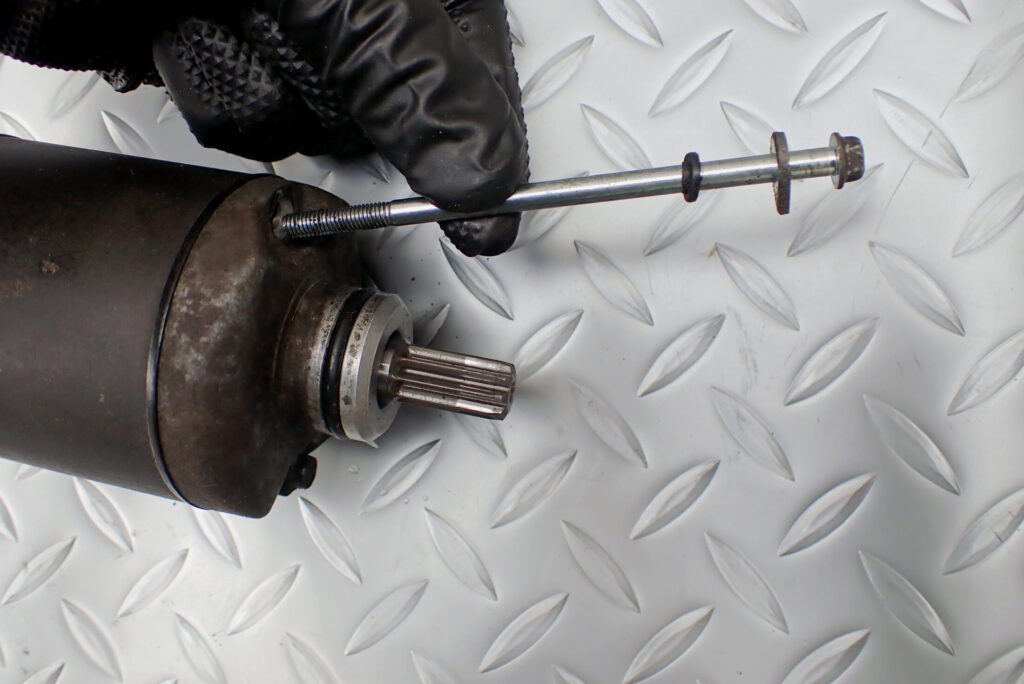
Remove both of them.
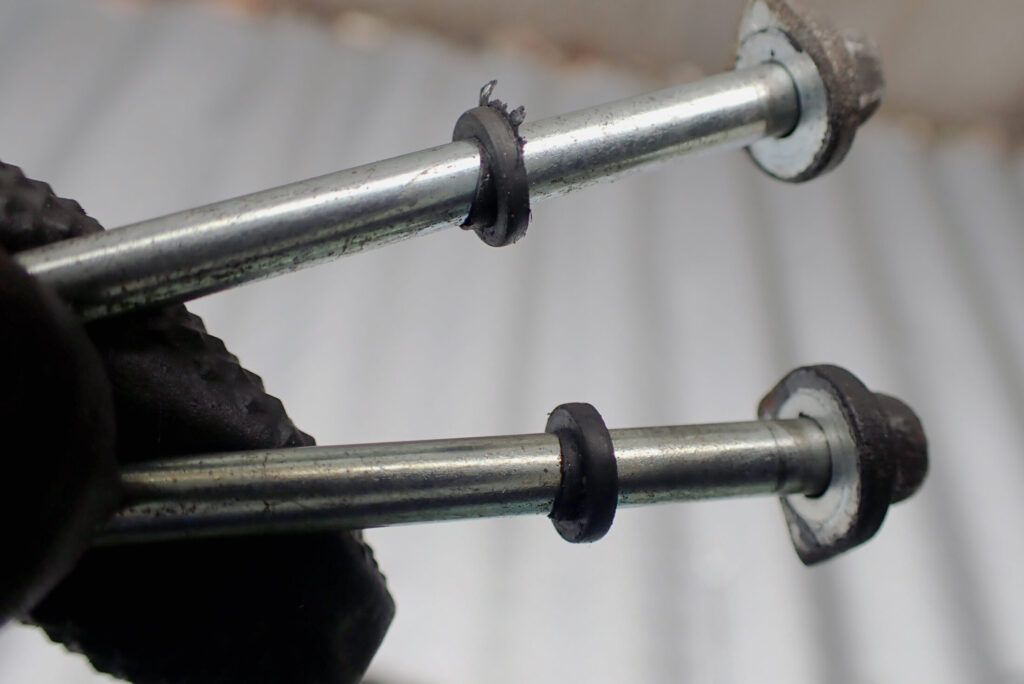
There are O-rings to keep water out, but they've become deformed.
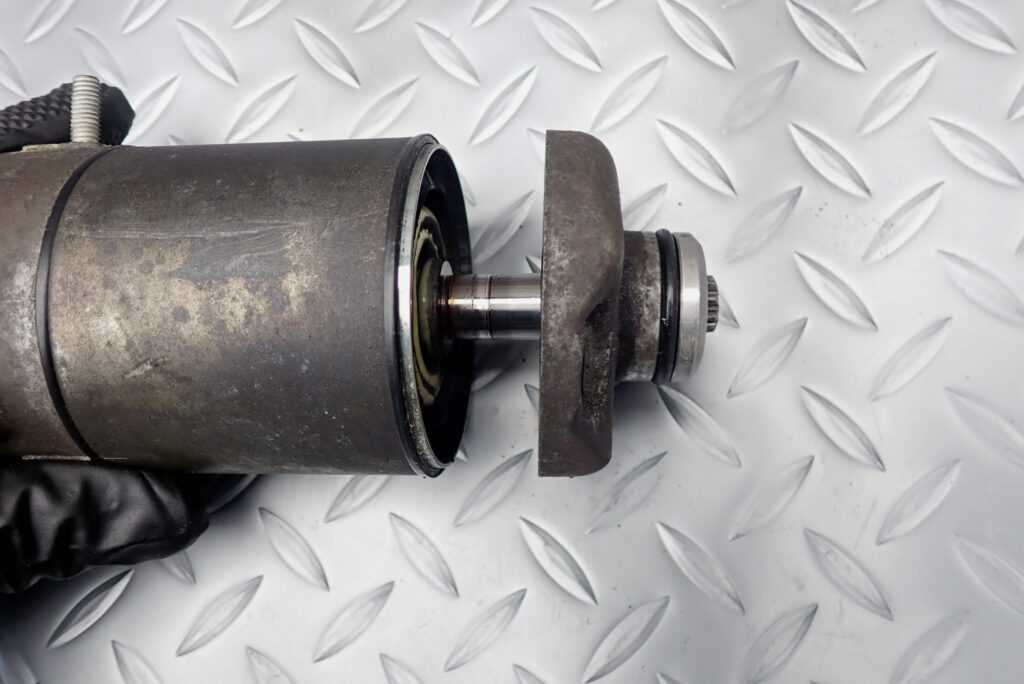
That lets the gear-side cover of the starter motor come off.
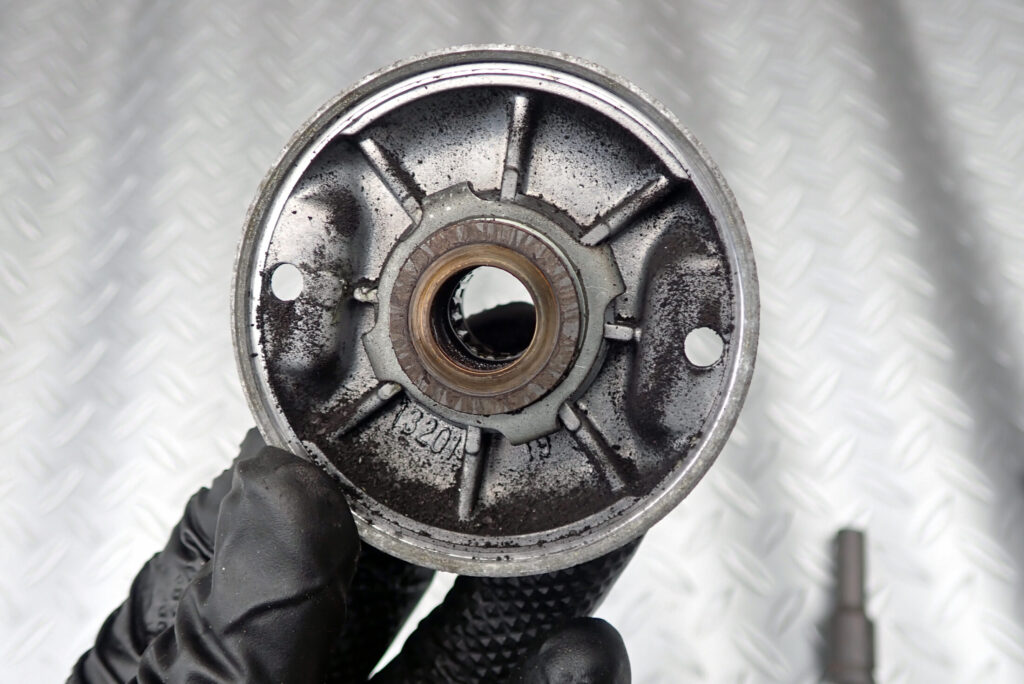
Here's the gear-side cover removed. The inside is thickly coated with carbon dust.
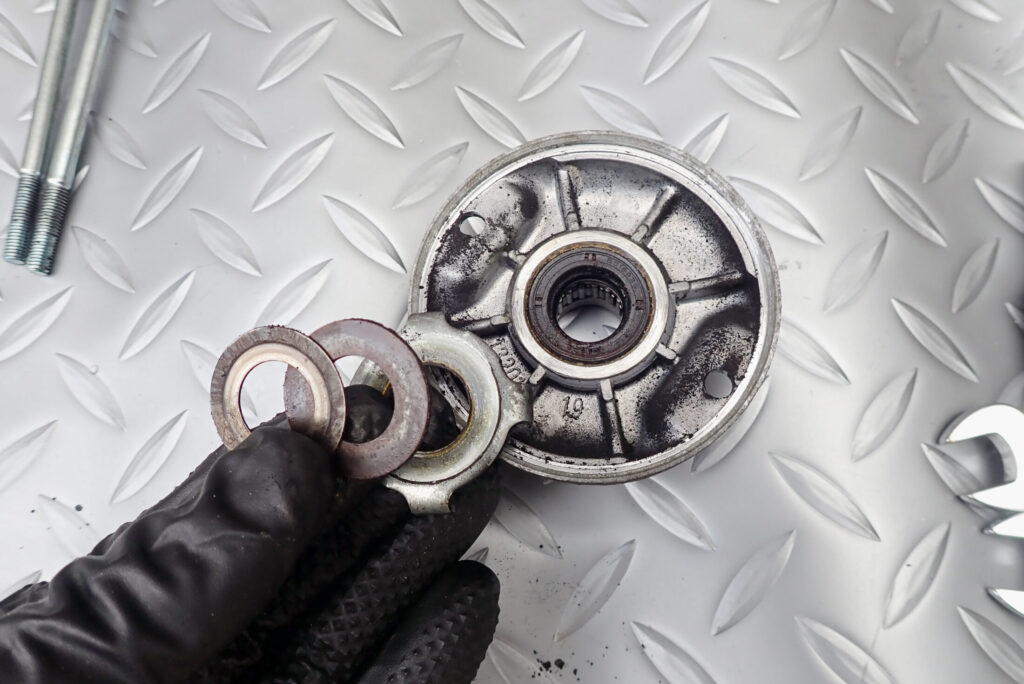
Between the cover and the rotor (the rotating part) there are washers like the ones in the photo above. I don't know whether they belong on the cover or on the rotor, but they can't be bought separately, so I'll be careful not to lose them.
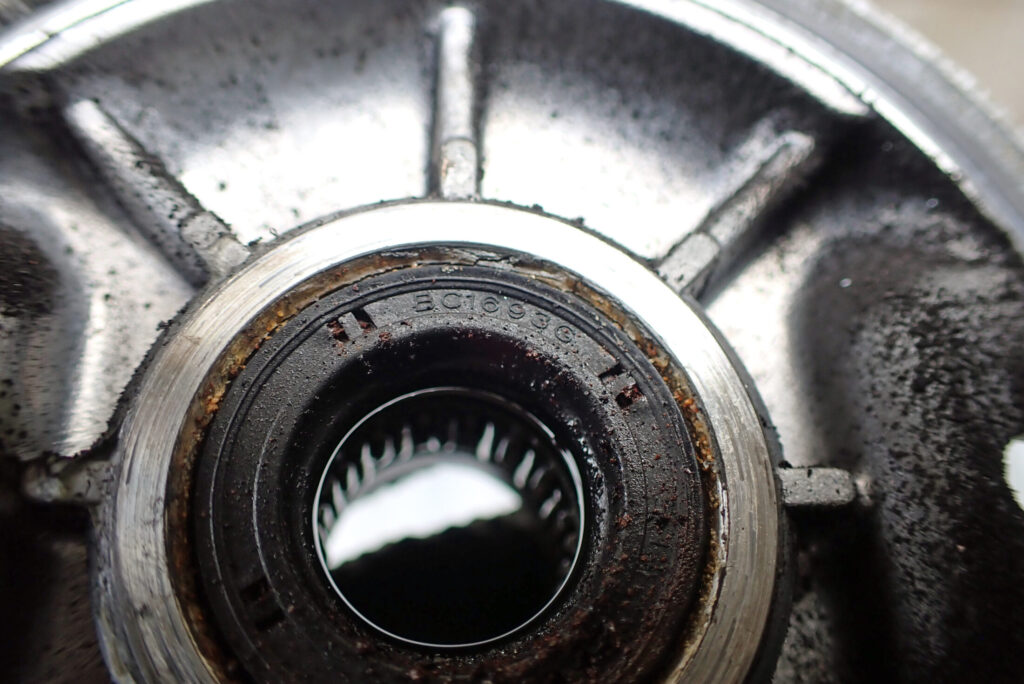
The gear-side cover has an oil seal in it. It's really dirty...
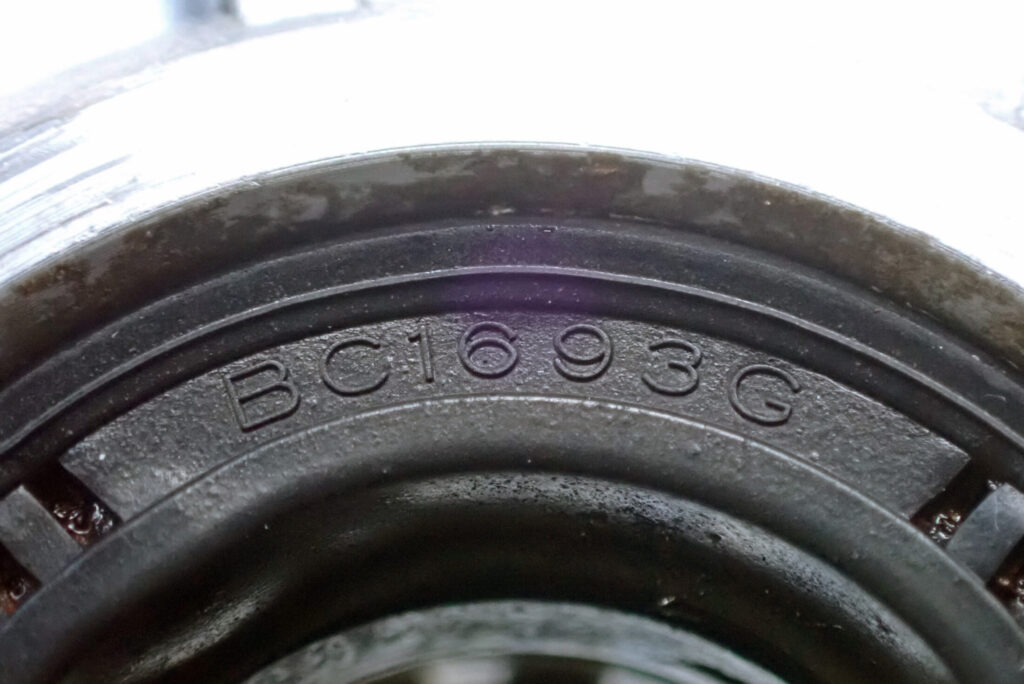
Here's the seal after cleaning. It's stamped BC1693G.
From what I found, it seems to be interchangeable with NOK's AC0514E0.
Type: SC
Inner diameter: 14 mm
Outer diameter: 24 mm
Thickness: 6 mm
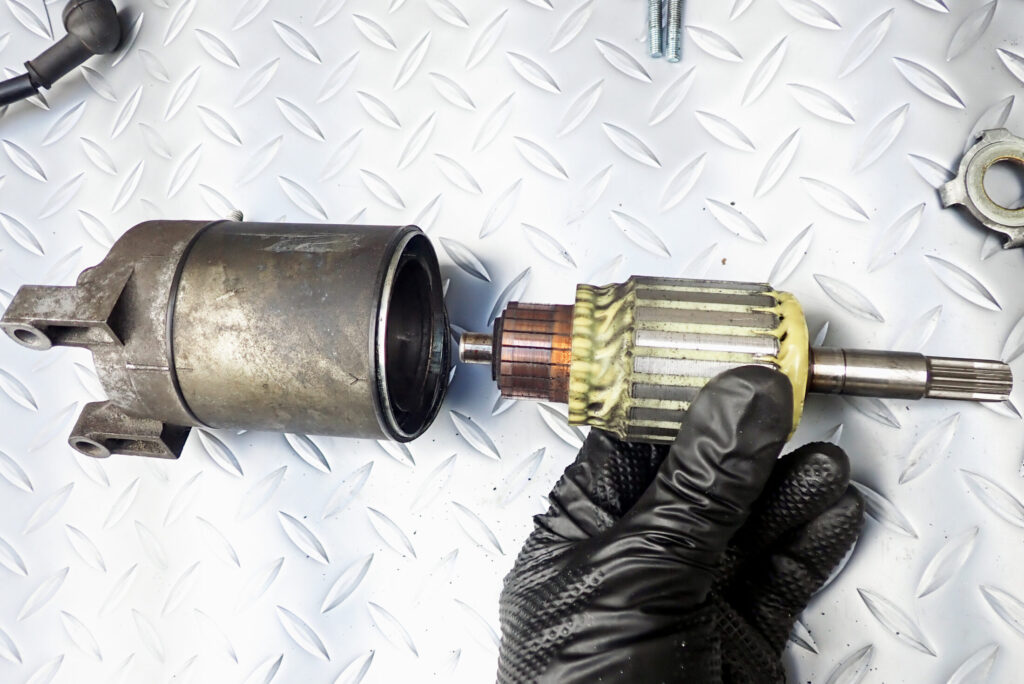
Remove the rotor (the rotating part) from the stator (the part with the permanent magnets). Keep washers, screws and anything else magnetic away while you do this, or they'll stick to the stator.
The stator has permanent magnets, so keep metal parts away while you work
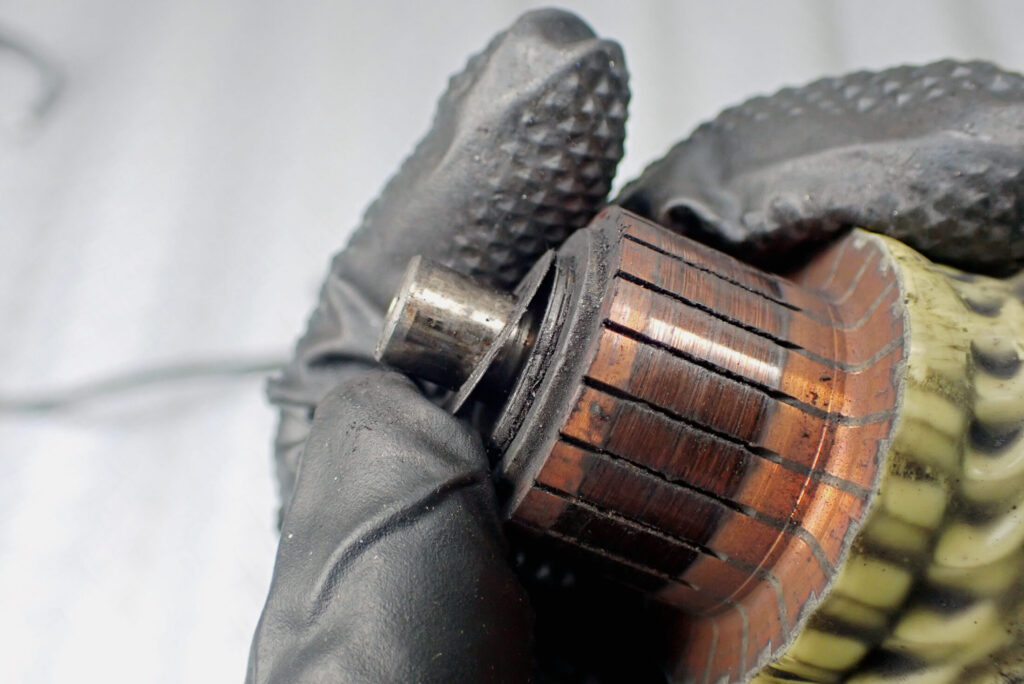
There are thin washers on the brush side of the rotor. These can't be ordered as separate parts either, so I'll make sure not to lose them.
According to the parts list, there are five of them.
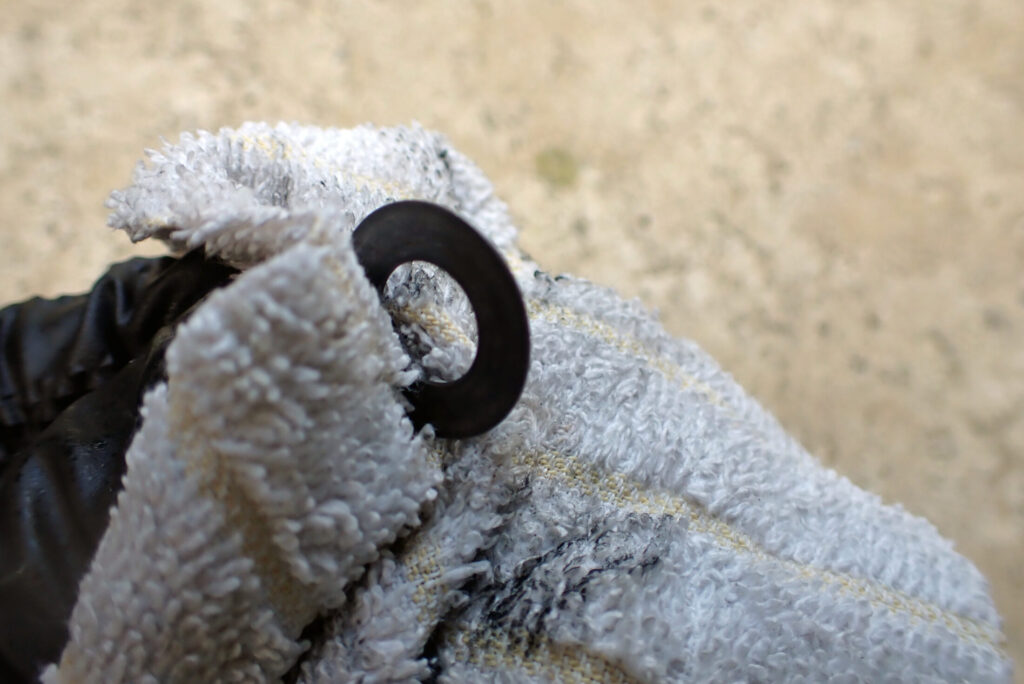
I clean each washer I removed carefully, one at a time.
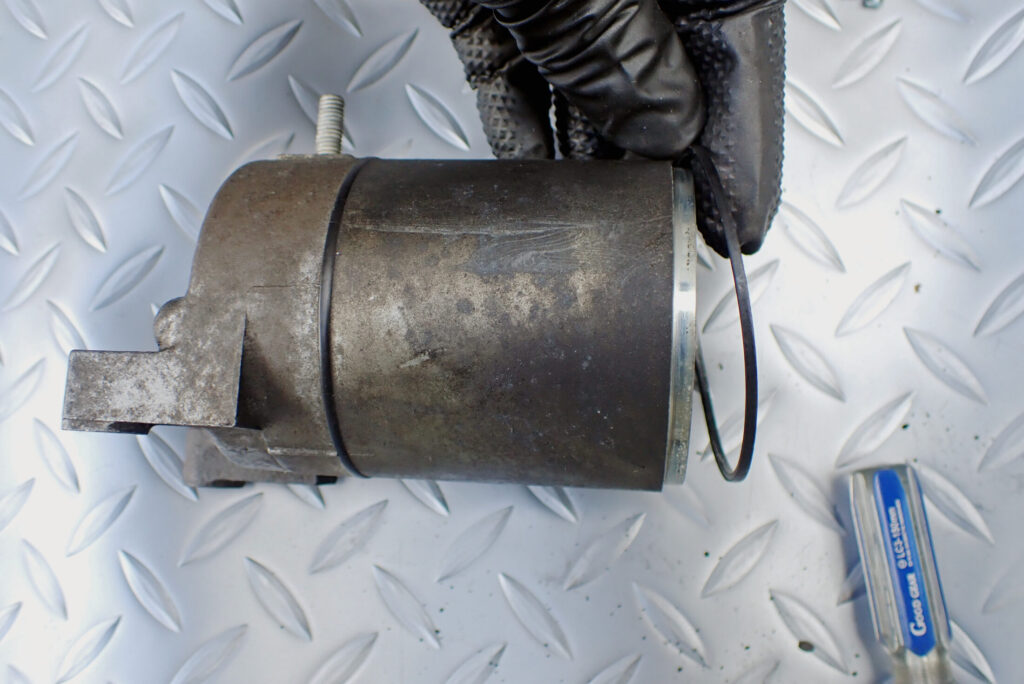
There's a rubber ring between the stator and the cover, so remove it.
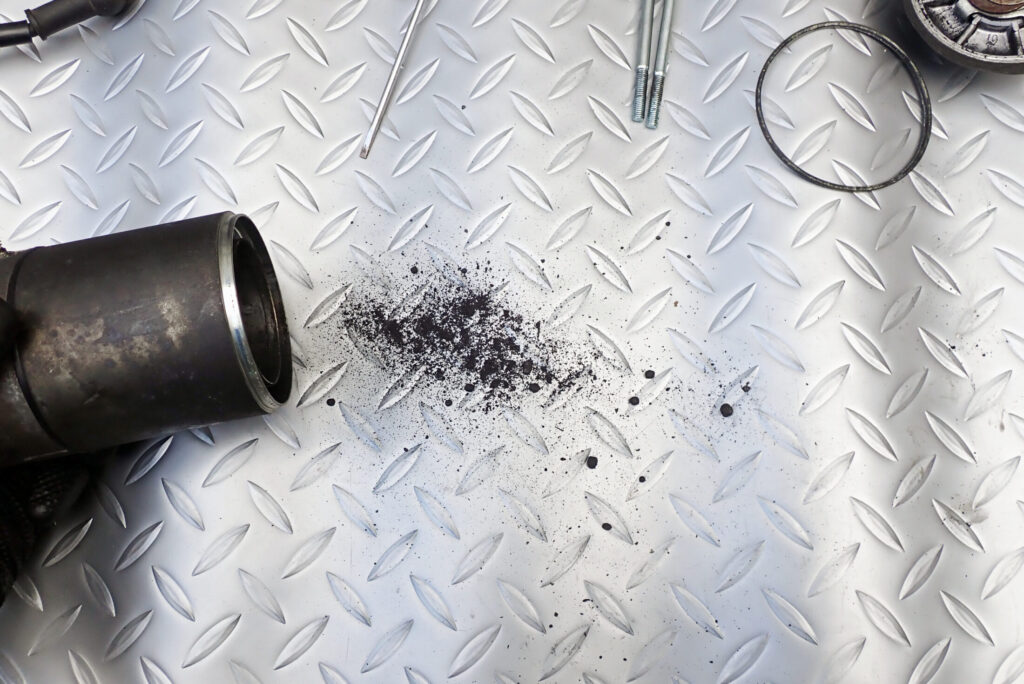
At this point I tapped it to knock the dirt out of the inside. Out came rolled-up bits and powdery carbon.
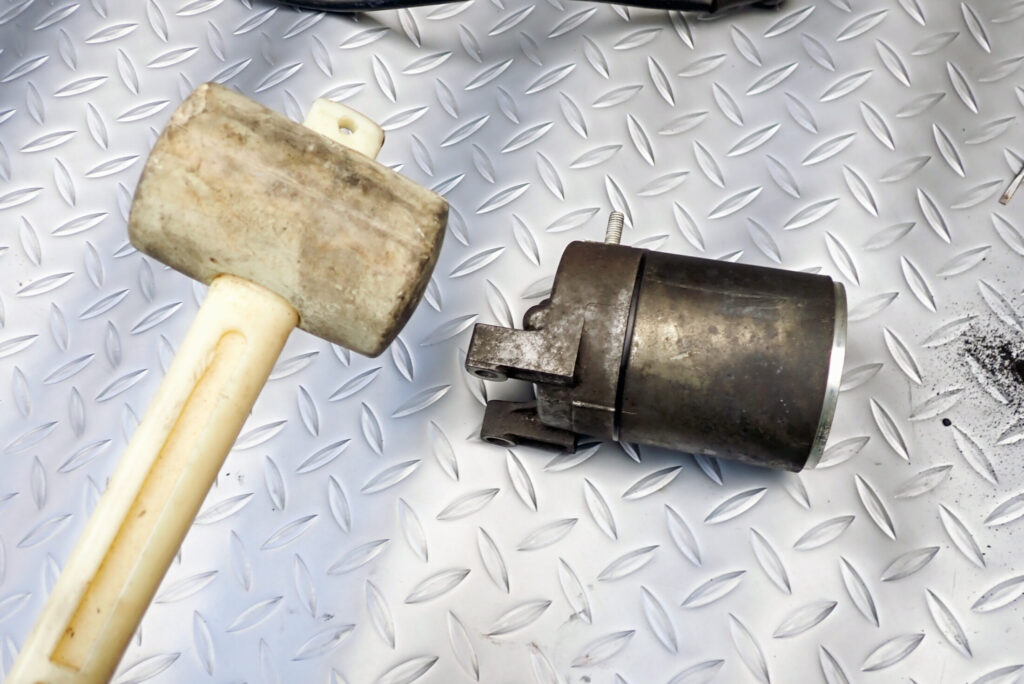
Remove the cover on the crankcase-mounting side of the stator.
It wouldn't come off, so I gave it a light tap with a rubber mallet and it came free.
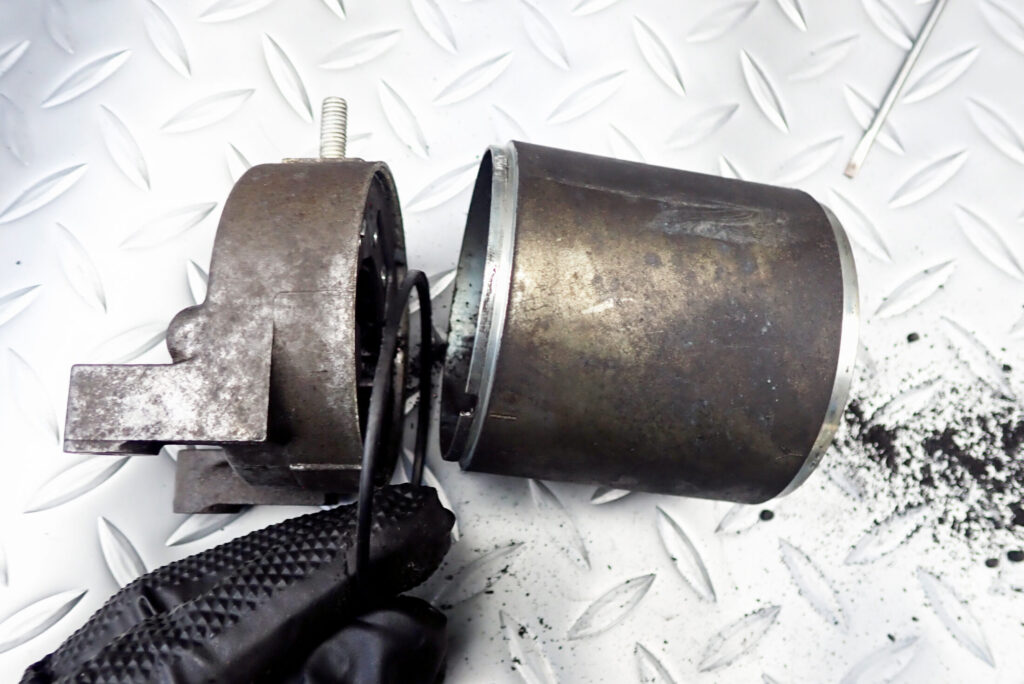
There's a rubber ring on this side too, so remove it.
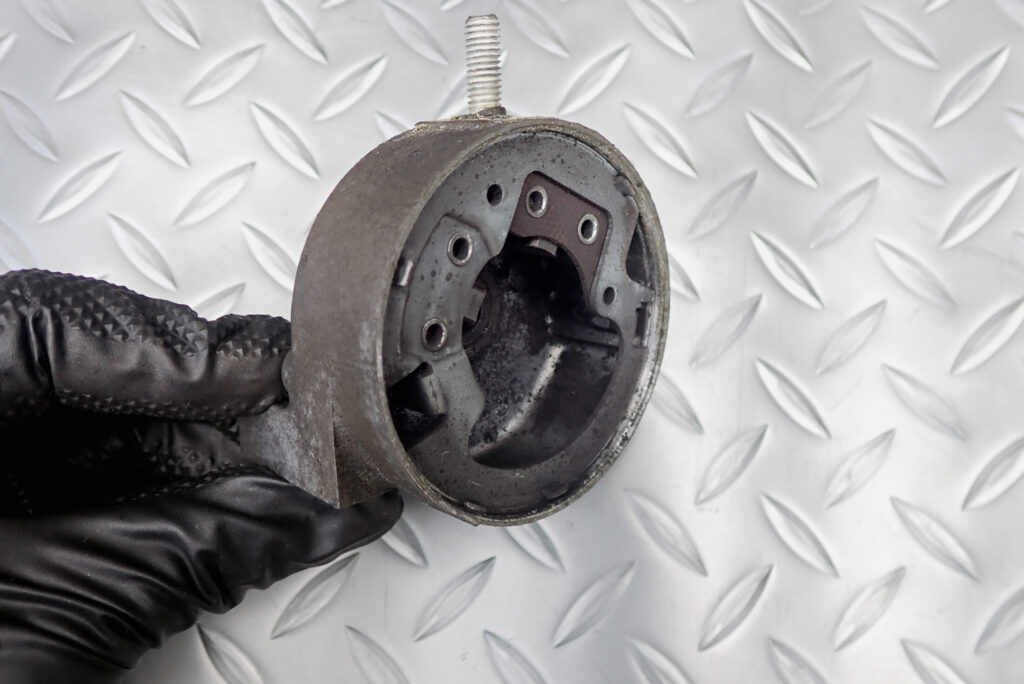
The holder on the crankcase-mounting side is an important part that carries the brushes.
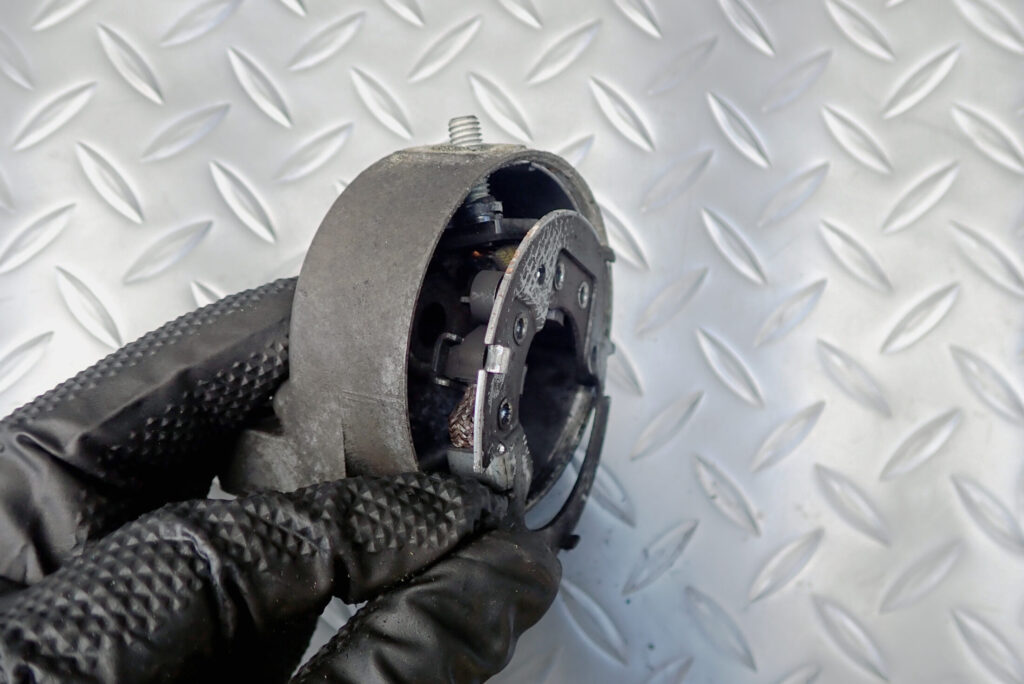
It was hard to get out, so I prised the brush holder out little by little with a thin flat-blade screwdriver.
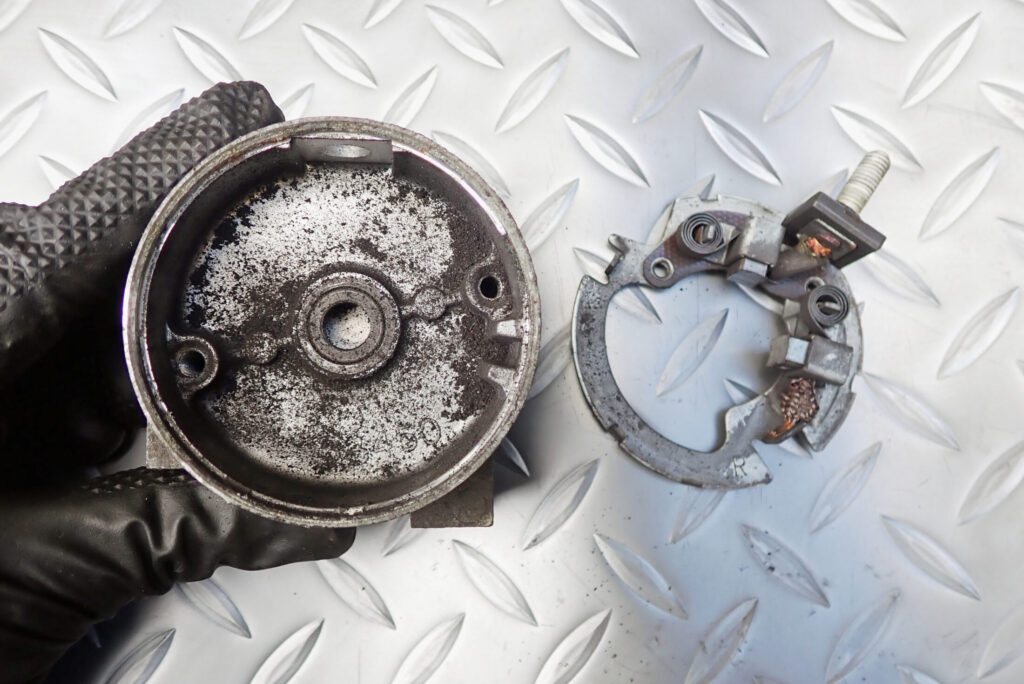
The brush holder is out. It too was full of carbon dust.
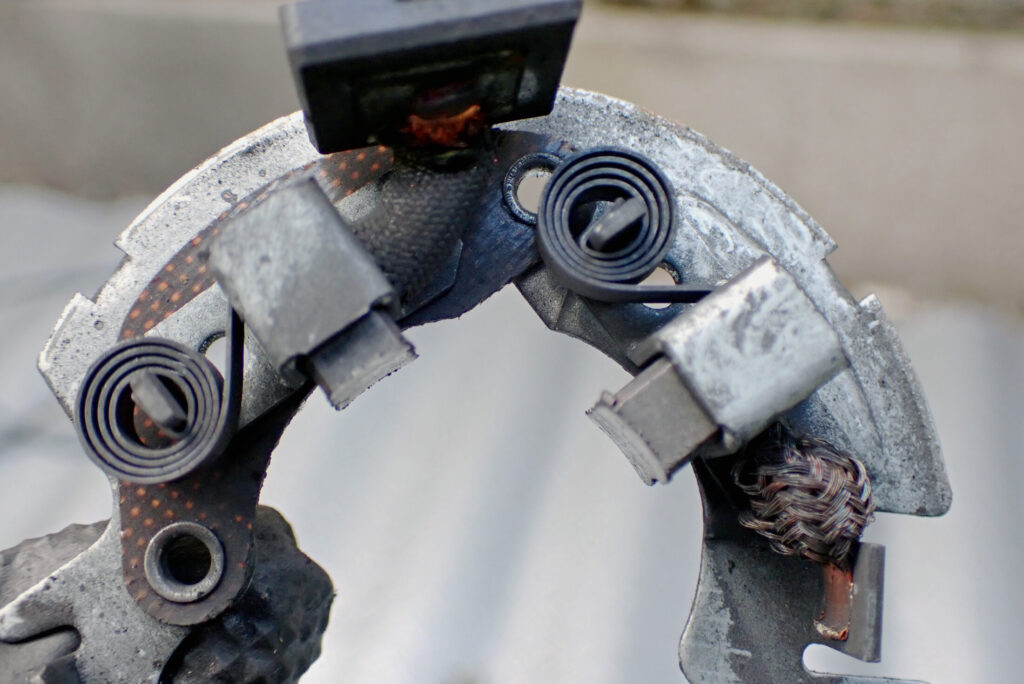
Check how much brush is left. According to the service manual, a brush should be replaced at 8.5 mm or less (measured on the brush alone).
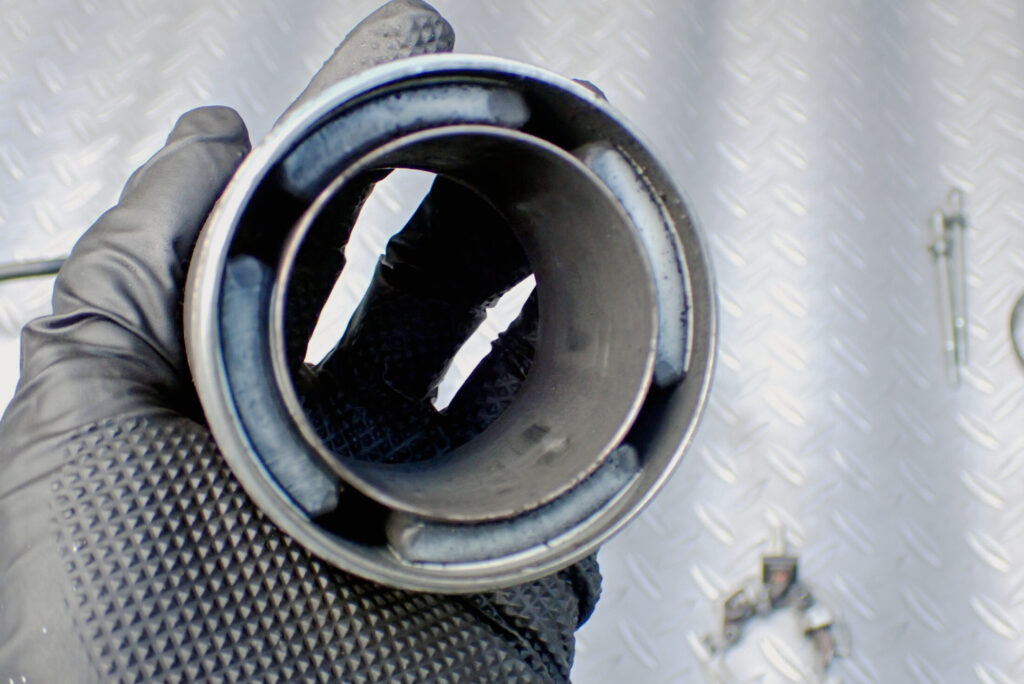
Here's the stator on its own. It has permanent magnets, but even if the adhesive came unstuck, there's a metal sleeve further inside, so it doesn't look as if the starter motor would stop turning. I thought it was very well thought out.
Off-road riding does bring vibration you'd never get on the road, so I think it was designed with starter motor failure in mind.
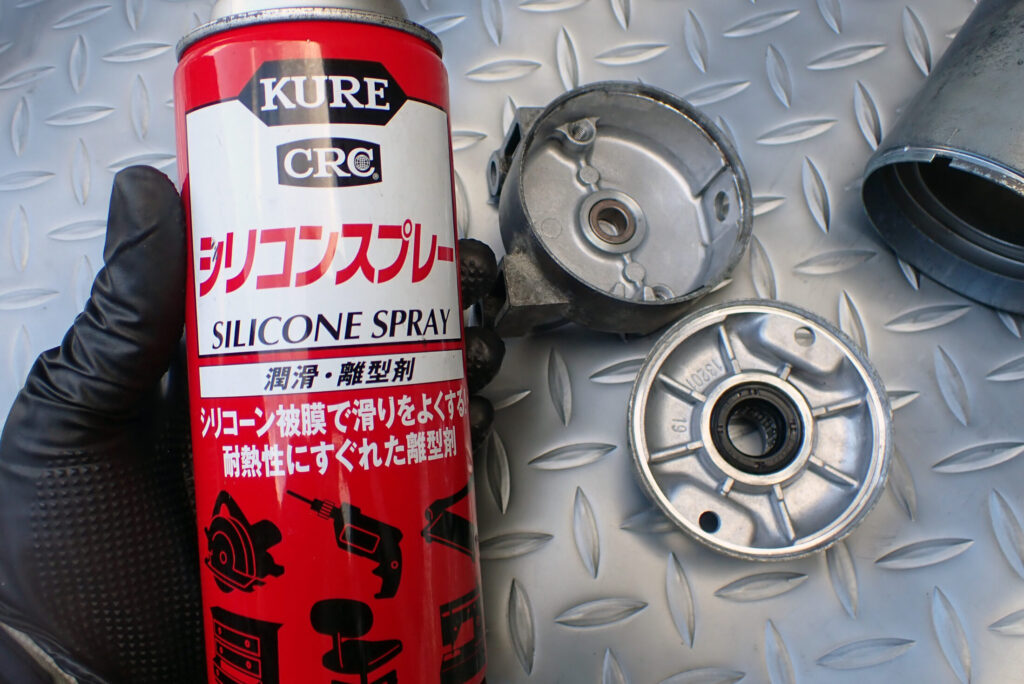
I washed the removed parts in an alkaline cleaner and then in hot water with mild detergent, so I sprayed the metal parts with silicone spray to keep rust away.
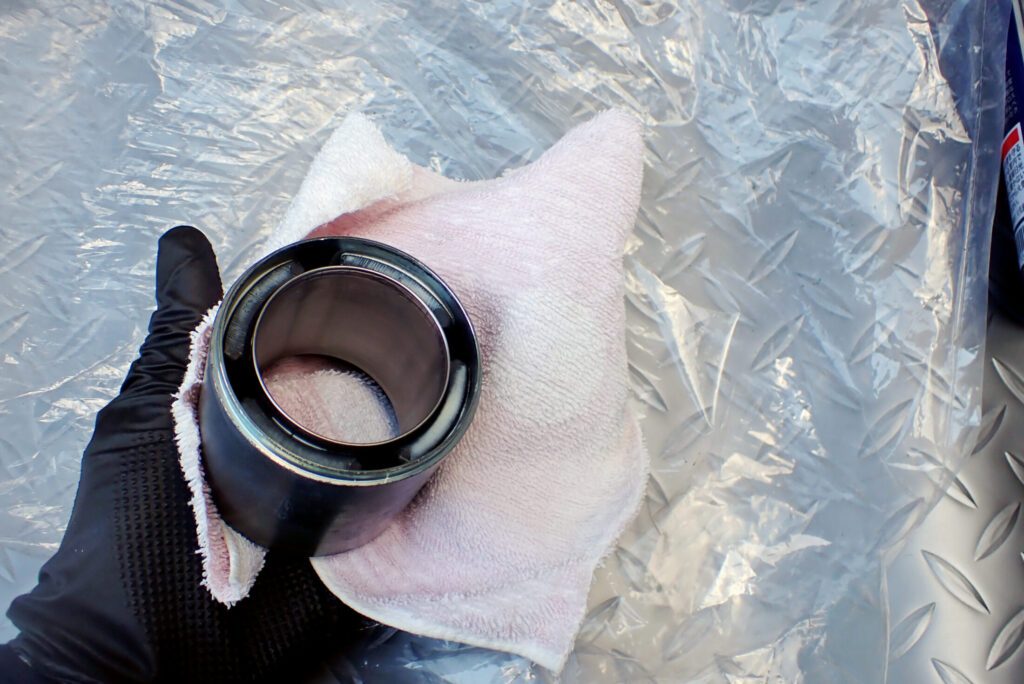
Also, it would be a problem if the stator pulled other metal parts towards it, so I wrap it in a rag and then in a plastic bag for storage.
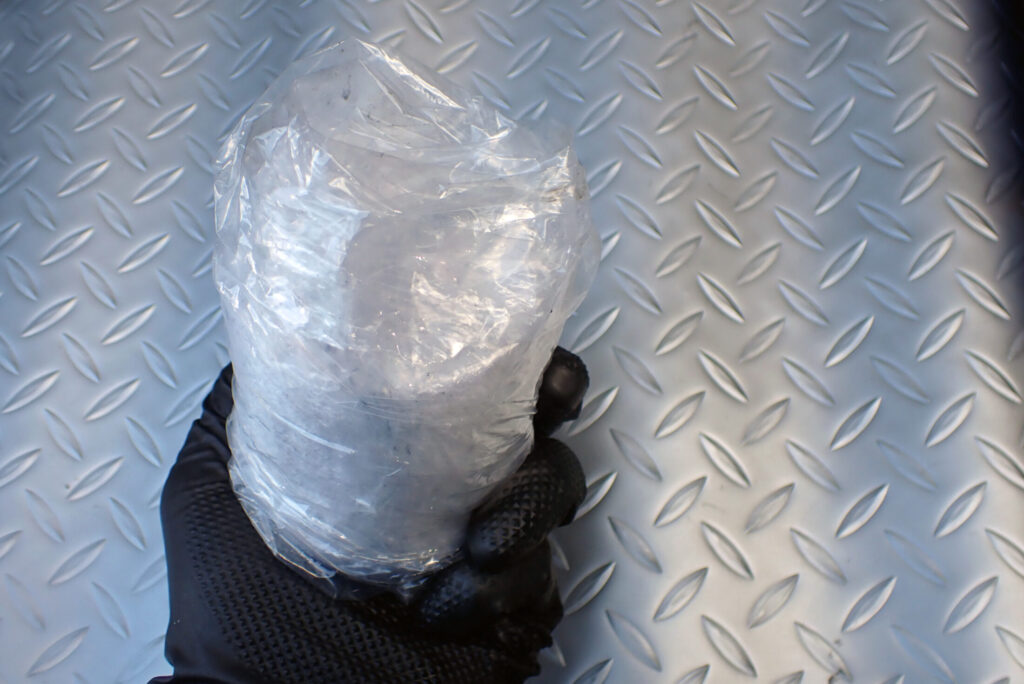
This is how the stator is stored. Without going this far, it would probably pick up iron sand and small bolts and cause trouble later.
That's as far as the starter motor strip-down goes.
Next comes cleaning and reassembly. I plan to replace the brushes with new ones or good used ones.