Hello everyone!
In my previous post, I showed you how I cleanly installed a budget front fender extender sourced from Amazon using heavy-duty double-sided tape and silicone bathroom caulking.
Today, I’m bringing you a follow-up update along with the shocking test results after putting the bike through a real-world 100 km shakedown run.
Because a fender extension is subjected to intense wind pressure, you must absolute prevent any nightmare scenarios where the component flies off mid-ride and endangers trailing traffic. To ensure an ironclad installation, I decided to back up the double-sided tape by drilling into the factory mudguard and executing a "physical lock upgrade using plastic retaining pins." I even applied heavy-duty super glue to prevent the pins from backing out.
With the modifications complete, I took the bike out for a 100 km test ride that included several wet road sections with standing water.
While the mud protection capability was phenomenal and left me highly satisfied, the moment I returned to the garage and performed a close-up inspection, I discovered two bizarre anomalies that are completely impossible to predict while the machine is stationary.
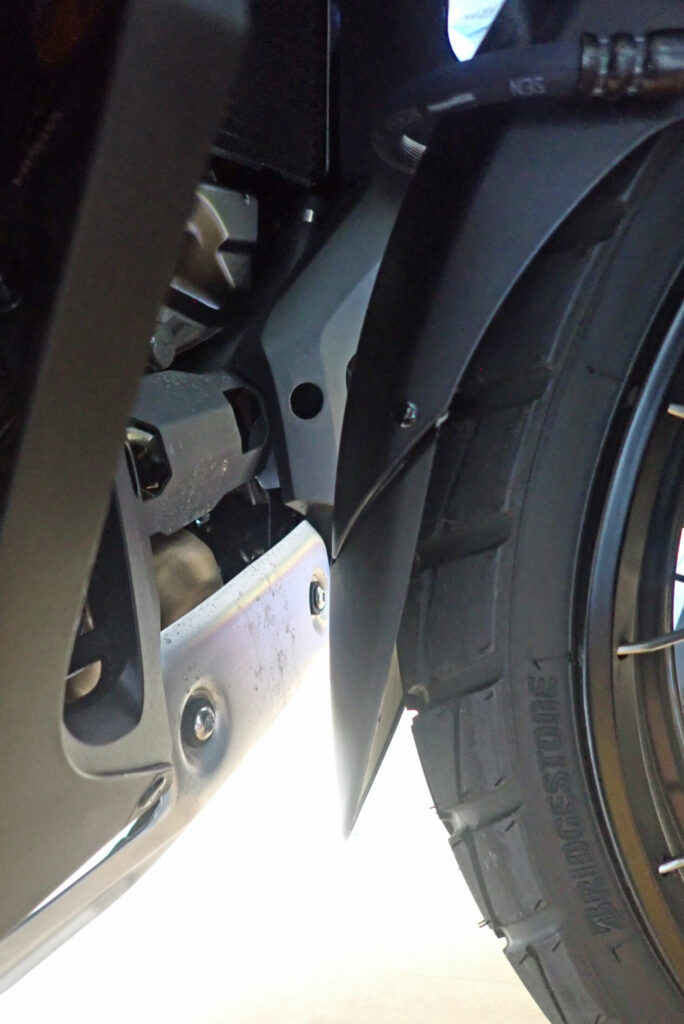
[Image 1: External view of the front fender extender fully reinstalled on the machine after completing the retaining pin lock upgrade]
In this article, I will detail the exact step-by-step workflow for adding these fail-safe retaining pins, share my honest impressions after the 100 km test ride, and offer a technical analysis of the incredible dynamic forces acting on a motorcycle mid-ride.
If you are planning a fender modification of your own, this is crucial information on securing safe clearances. Let’s get into the details!
Reinforcing the Bond: Adding Mechanical Retaining Pins to the Fender Extender
While securing the plastics with double-sided tape and caulking sealant offers plenty of baseline strength for daily commuting, adding physical retaining pins acts as an ironclad insurance policy against long-term material degradation or severe road impacts.
1. Drill Accurate Holes and Insert the Pins
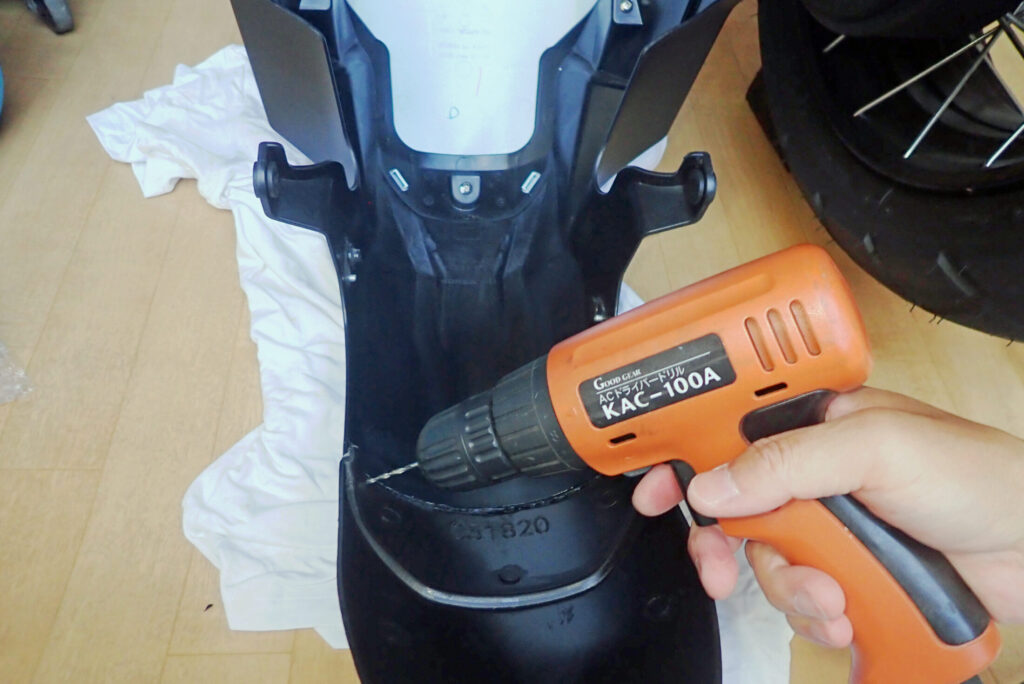
[Image 2: Sourcing an electric drill driver to carefully bore clean pilot holes through the overlapped factory fender and extension flap]
- Bore the pilot holes: Remove the front fender assembly from the machine.
- Drill the plastics: Use an electric drill driver to carefully bore three guide holes matched precisely to the diameter of your plastic retaining pins. Insert the pins firmly through the mated plastics.
2. Apply Cemedine 3000 Gel Super Glue to Prevent Pin Back-Out
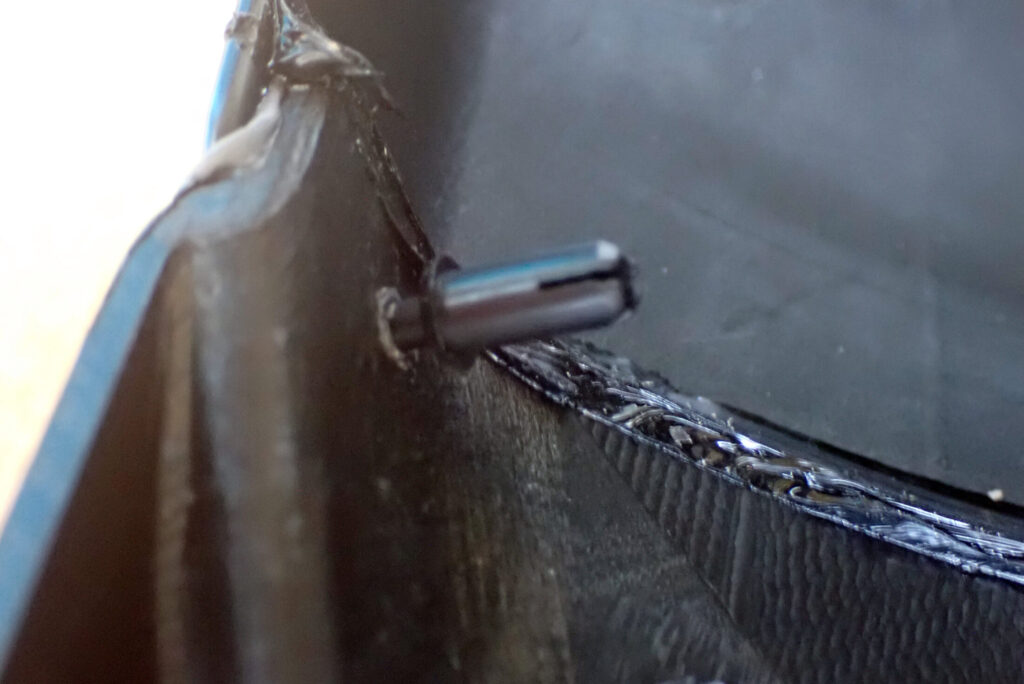
[Image 3: Looking at the underside of the mudguard to verify the exposed tips of the inserted plastic retaining pins]
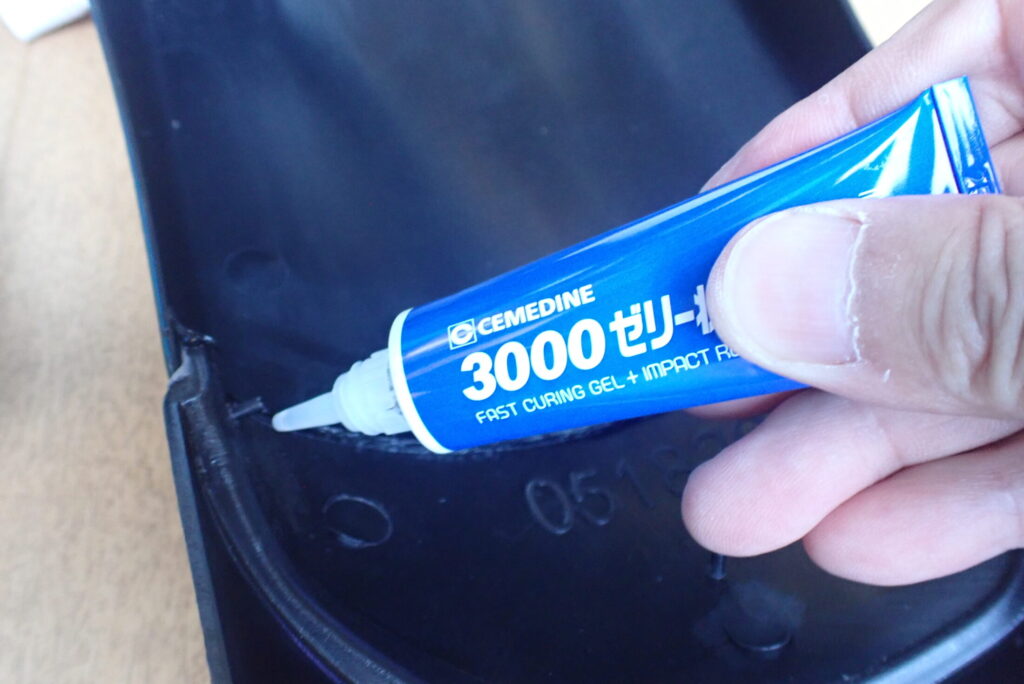
[Image 4: Applying high-strength, impact-resistant super glue to the underside locking tabs of the pins to prevent them from backing out under heavy chassis vibrations]
To guarantee that the plastic pins never wiggle free under relentless road shocks, you must secure them from the back.
- Apply high-strength adhesive: Apply a liberal coat of Cemedine 3000 Gel, an impact-resistant, high-strength super glue, directly onto the exposed locking tabs on the underside of the mudguard. The gel formula is perfect here because it won't slop or run down vertical surfaces, holding the pin locks firmly in place.
3. Verify Stationary Clearances
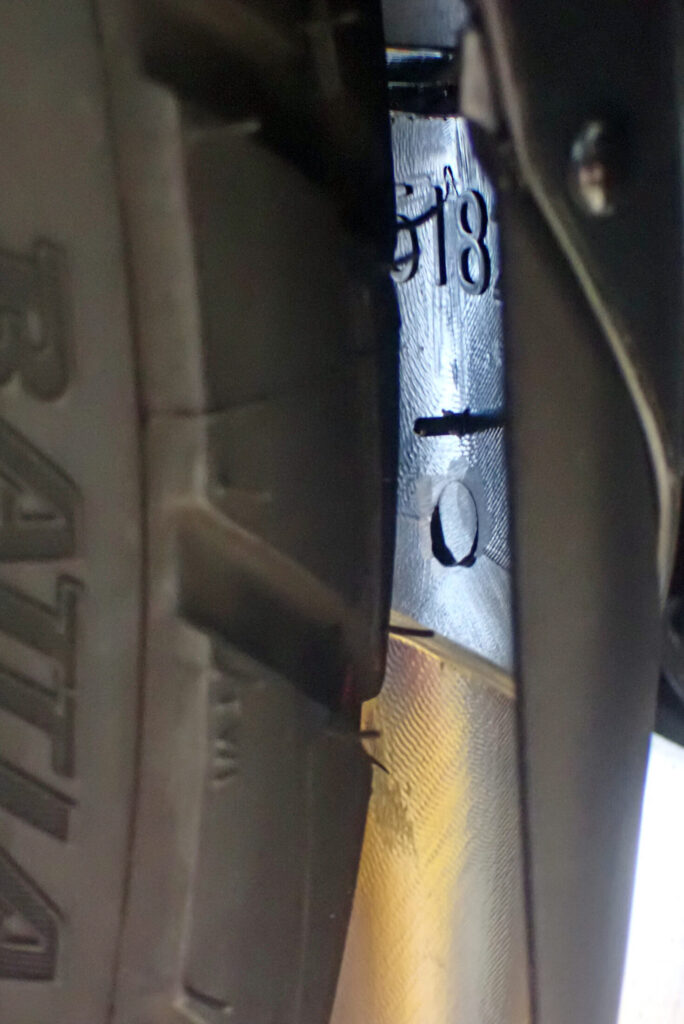
[Image 5: Close-up view looking beneath the mudguard assembly, confirming ample clearance between the pin tips and the tire tread pattern]
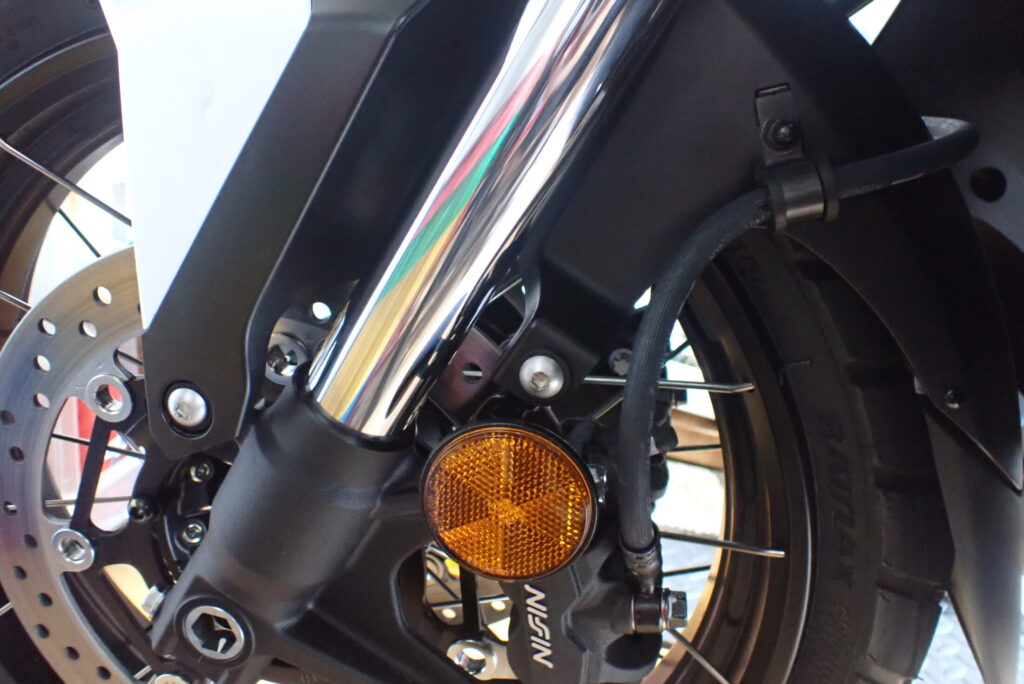
[Image 6: The front mudguard assembly fully bolted back onto the chassis, displaying an apparently perfect distance from the tire and radiator guard]
Perform a thorough visual check. With the bike stationary on the garage floor, there is a completely healthy, safe margin of clearance between the inner tips of the plastic pins and the front tire tread. The overall alignment relative to the surrounding running gear components looks absolutely spot-on.
[100 km Review] Phenomenal Mud Deflection vs. Two Unexpected Anomalies
With the garage work wrapped up, I took the X-ADV out on a 100 km touring loop that featured several wet asphalt sections littered with puddles to test its real-world performance. Back in the garage, I immediately audited the components.
The Good: Mud and Water Spray Around the Radiator is Drastically Reduced!
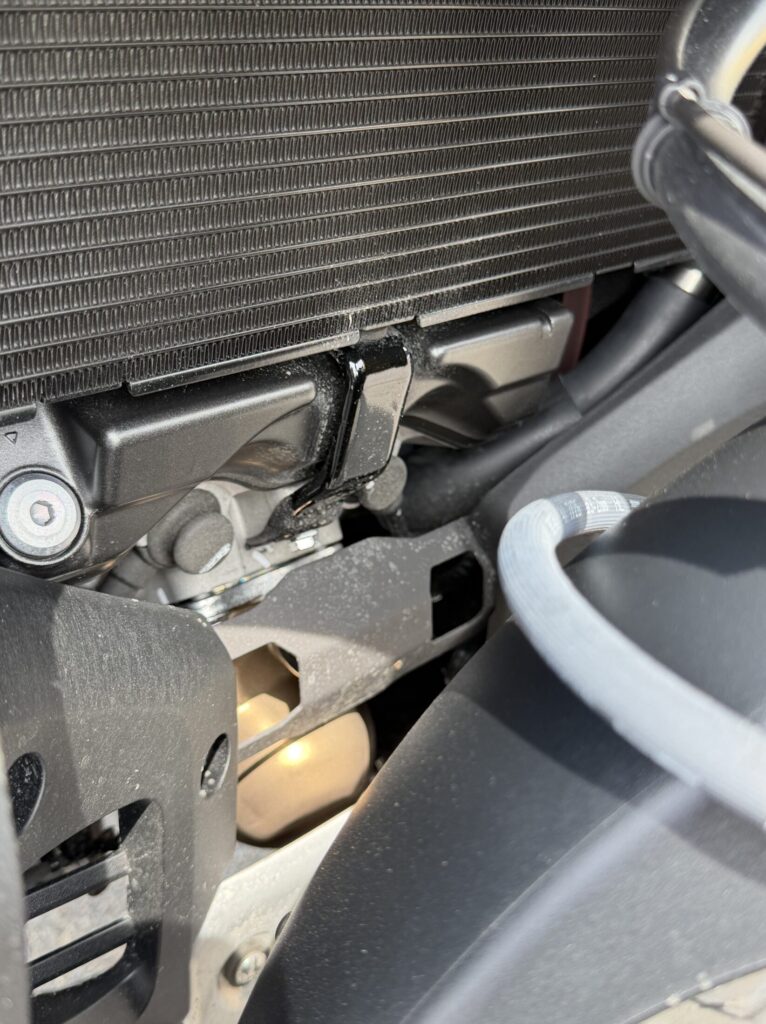
[Image 7: Front view of the machine after the 100 km shakedown run, showcasing a clean radiator guard and inner fairings despite trekking over wet tarmac]
First, when it comes to the core objective of deflecting mud, this budget upgrade delivered spectacular performance that blew past my expectations. As you can see in the photo, compared to running a bare stock setup, the amount of dirty water and road sludge splattering onto the radiator core guard and exhaust headers is night and day. This will drastically cut down my detailing time after long tours.
However, as my eyes scanned closer into the hardware, I spotted two highly alarming anomalies.
Anomaly 1: A Severe Friction Abrasion Mark Sighted at the Base of the Extender
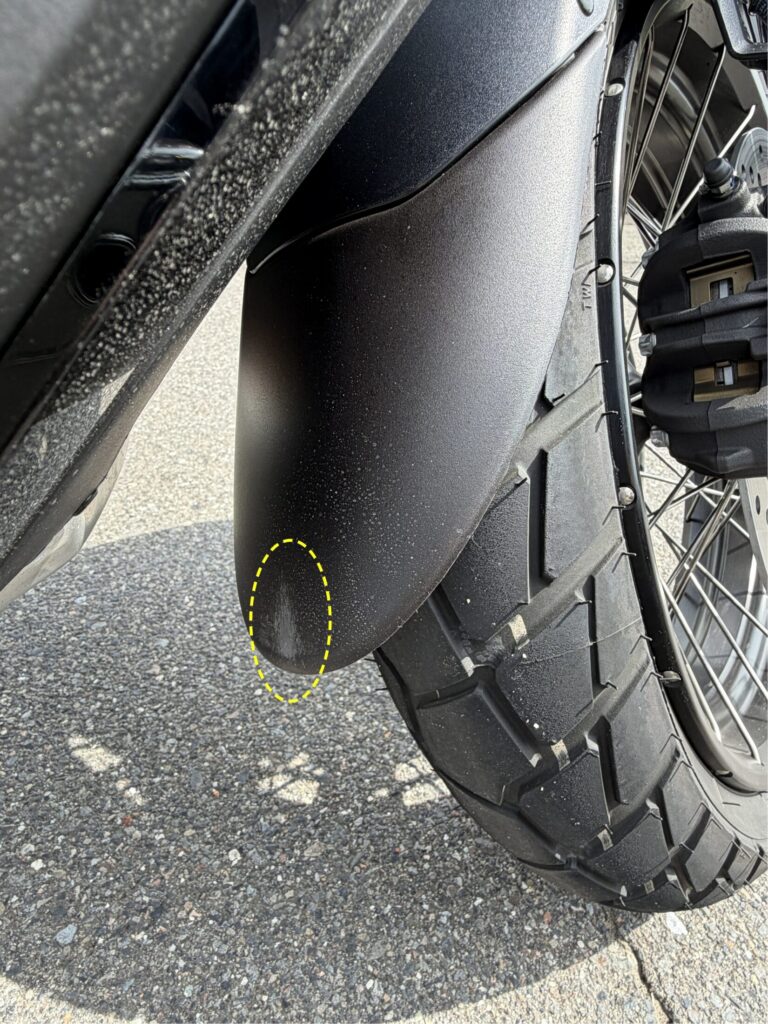
[Image 8: Macro shot of the lowest trailing edge of the extender, highlighting a distinct scuffed area where the plastic rubbed hard against the chassis trim]
Right at the absolute tip of the extension flap, there was a clear, unmistakable white scuff mark where the material had been shaved down by hard friction. This proves that mid-ride, the extended plastic plate was temporarily deflecting backward and slamming into the inner fairings or under-chassis components.
Anomaly 2: One of the Three Retaining Pins Has Completely Vaporized
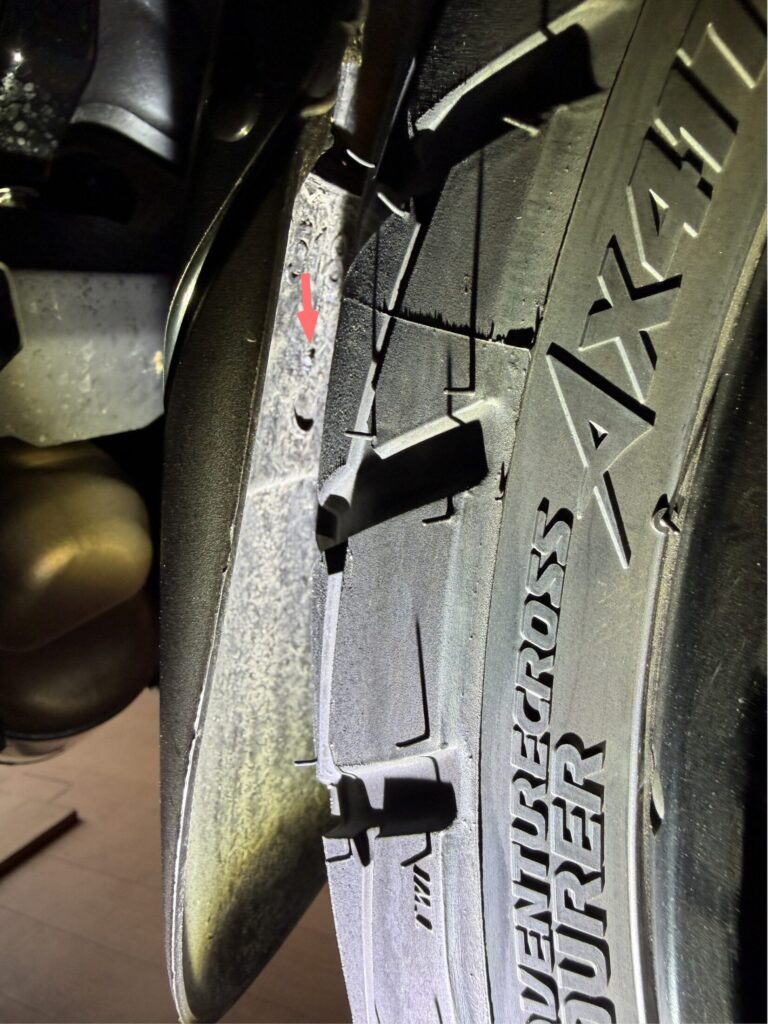
[Image 9: Expanded view of the mudguard edge revealing that the center plastic pin has sheared off entirely, leaving an empty hole]
Even more shocking, out of the three safety pins I meticulously glued into place, the center retaining pin was completely gone—sheared clean off the mudguard. Although there was an abundant amount of room during the garage mock-up, the center pin clearly suffered a violent collision with the spinning front tire tread, snapping the plastic hardware instantly.
Technical Analysis: The Illusion of Static Clearance—Chassis Flex and Tire Distortion Mid-Ride
To get to the bottom of these two anomalies and verify if a mudguard can really warp and travel that violently while riding, I performed a stress test inside the garage.
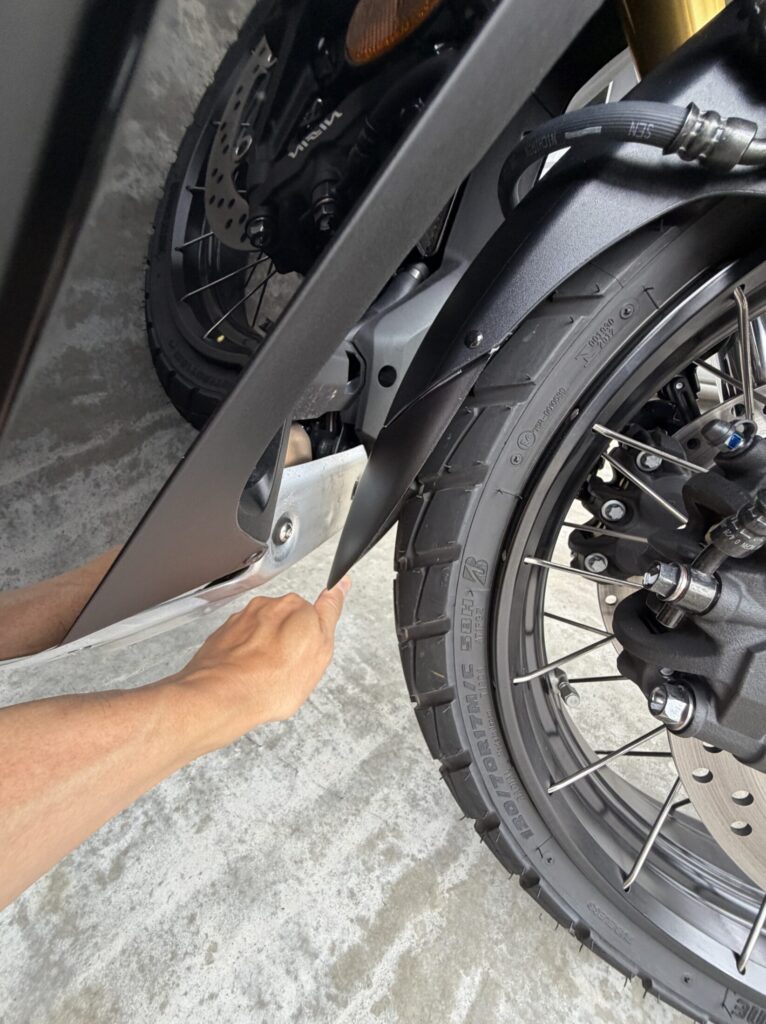
[Image 10: Attempting to force the tip of the fender extender backward with heavy finger pressure while the bike is stationary to replicate the contact]
As shown in the photo, even when I applied a massive amount of manual pressure with my fingers to mock up the deflection, the plastic extender refused to bend far enough to touch the tire tread or the inner fairing plastics.
This stark contrast delivers an invaluable DIY lesson: when a motorcycle is flying down the blacktop, the dynamic forces acting on the running gear are far more violent than anything you can simulate by hand in a stationary garage.
Specifically, we can deduce that two distinct engineering phenomena are occurring simultaneously mid-ride:
- Centrifugal Tire Distortion: Under high-speed rotation and heavy impacts from the road surface, a front tire's tread profile expands outward (centrifugal growth) far more than you think, drastically reducing your static clearance envelope.
- High-Velocity Aerodynamic Flex: Between the relentless high-speed wind pressure pushing the plastics back and the intense inertial forces generated as the front suspension strokes rapidly over road bumps, the factory plastic front fender undergoes severe vibration, whipping and flexing back and forth at a level that manual hand pressure can never replicate.
Even though a front mudguard setup looks completely rigid when parked on its sidestand, it behaves like a highly dynamic, living component on the highway.
If you are planning to install a front fender extender on your machine, I highly recommend securing an excessive, overly generous amount of static clearance. Furthermore, if you plan to use retaining hardware, bypass bulky plastic pins entirely and source ultra-low-profile screws or flat, low-clearance rivets to account for high-speed tire expansion lines.
Essential Supplies Sourced for This Upgrade
To maximize your structural reliability and conquer clearance challenges in your own workshop, keep these popular garage chemicals on hand:
- Cemedine 3000 Gel (High-Strength, Impact-Resistant) A top-tier cyanoacrylate super glue engineered to withstand intense shock loads and engine vibrations. The thick gel consistency prevents messy runs on vertical bodywork, allowing you to cleanly puddle the adhesive around critical locking tabs.
- TAKAGI Electric Drill Driver The quintessential tool for boring clean, splinter-free pilot holes through brittle motorcycle fairings and plastics without risking structural cracks. Sourcing a variable-speed unit allows for the precise control mandatory in delicate bodywork customization.
Conclusion: The Front End Moves More Than You Think! Prioritize Your Clearance Margins
That wraps up my 100 km real-world evaluation and shakedown review of the Honda X-ADV front fender extender upgrade.
While the mud-blocking utility receives a perfect 100-point score, discovering the white friction mark and the sheared center pin provided a fantastic lesson on dynamic chassis movement. It proves that tires and plastics move with immense violence compared to their static garage state.
Stacking up these clever, safety-first engineering adjustments to counter real-world riding conditions is where the true joy of motorcycle DIY customization lies, massively elevating your pride of ownership.
When mock-fitting new accessories to your running gear, always factor in aerodynamic flex and high-speed tire distortion. Build yourself a wide, safe margin of clearance!
Ride safe, and enjoy the ultimate motorcycle life!