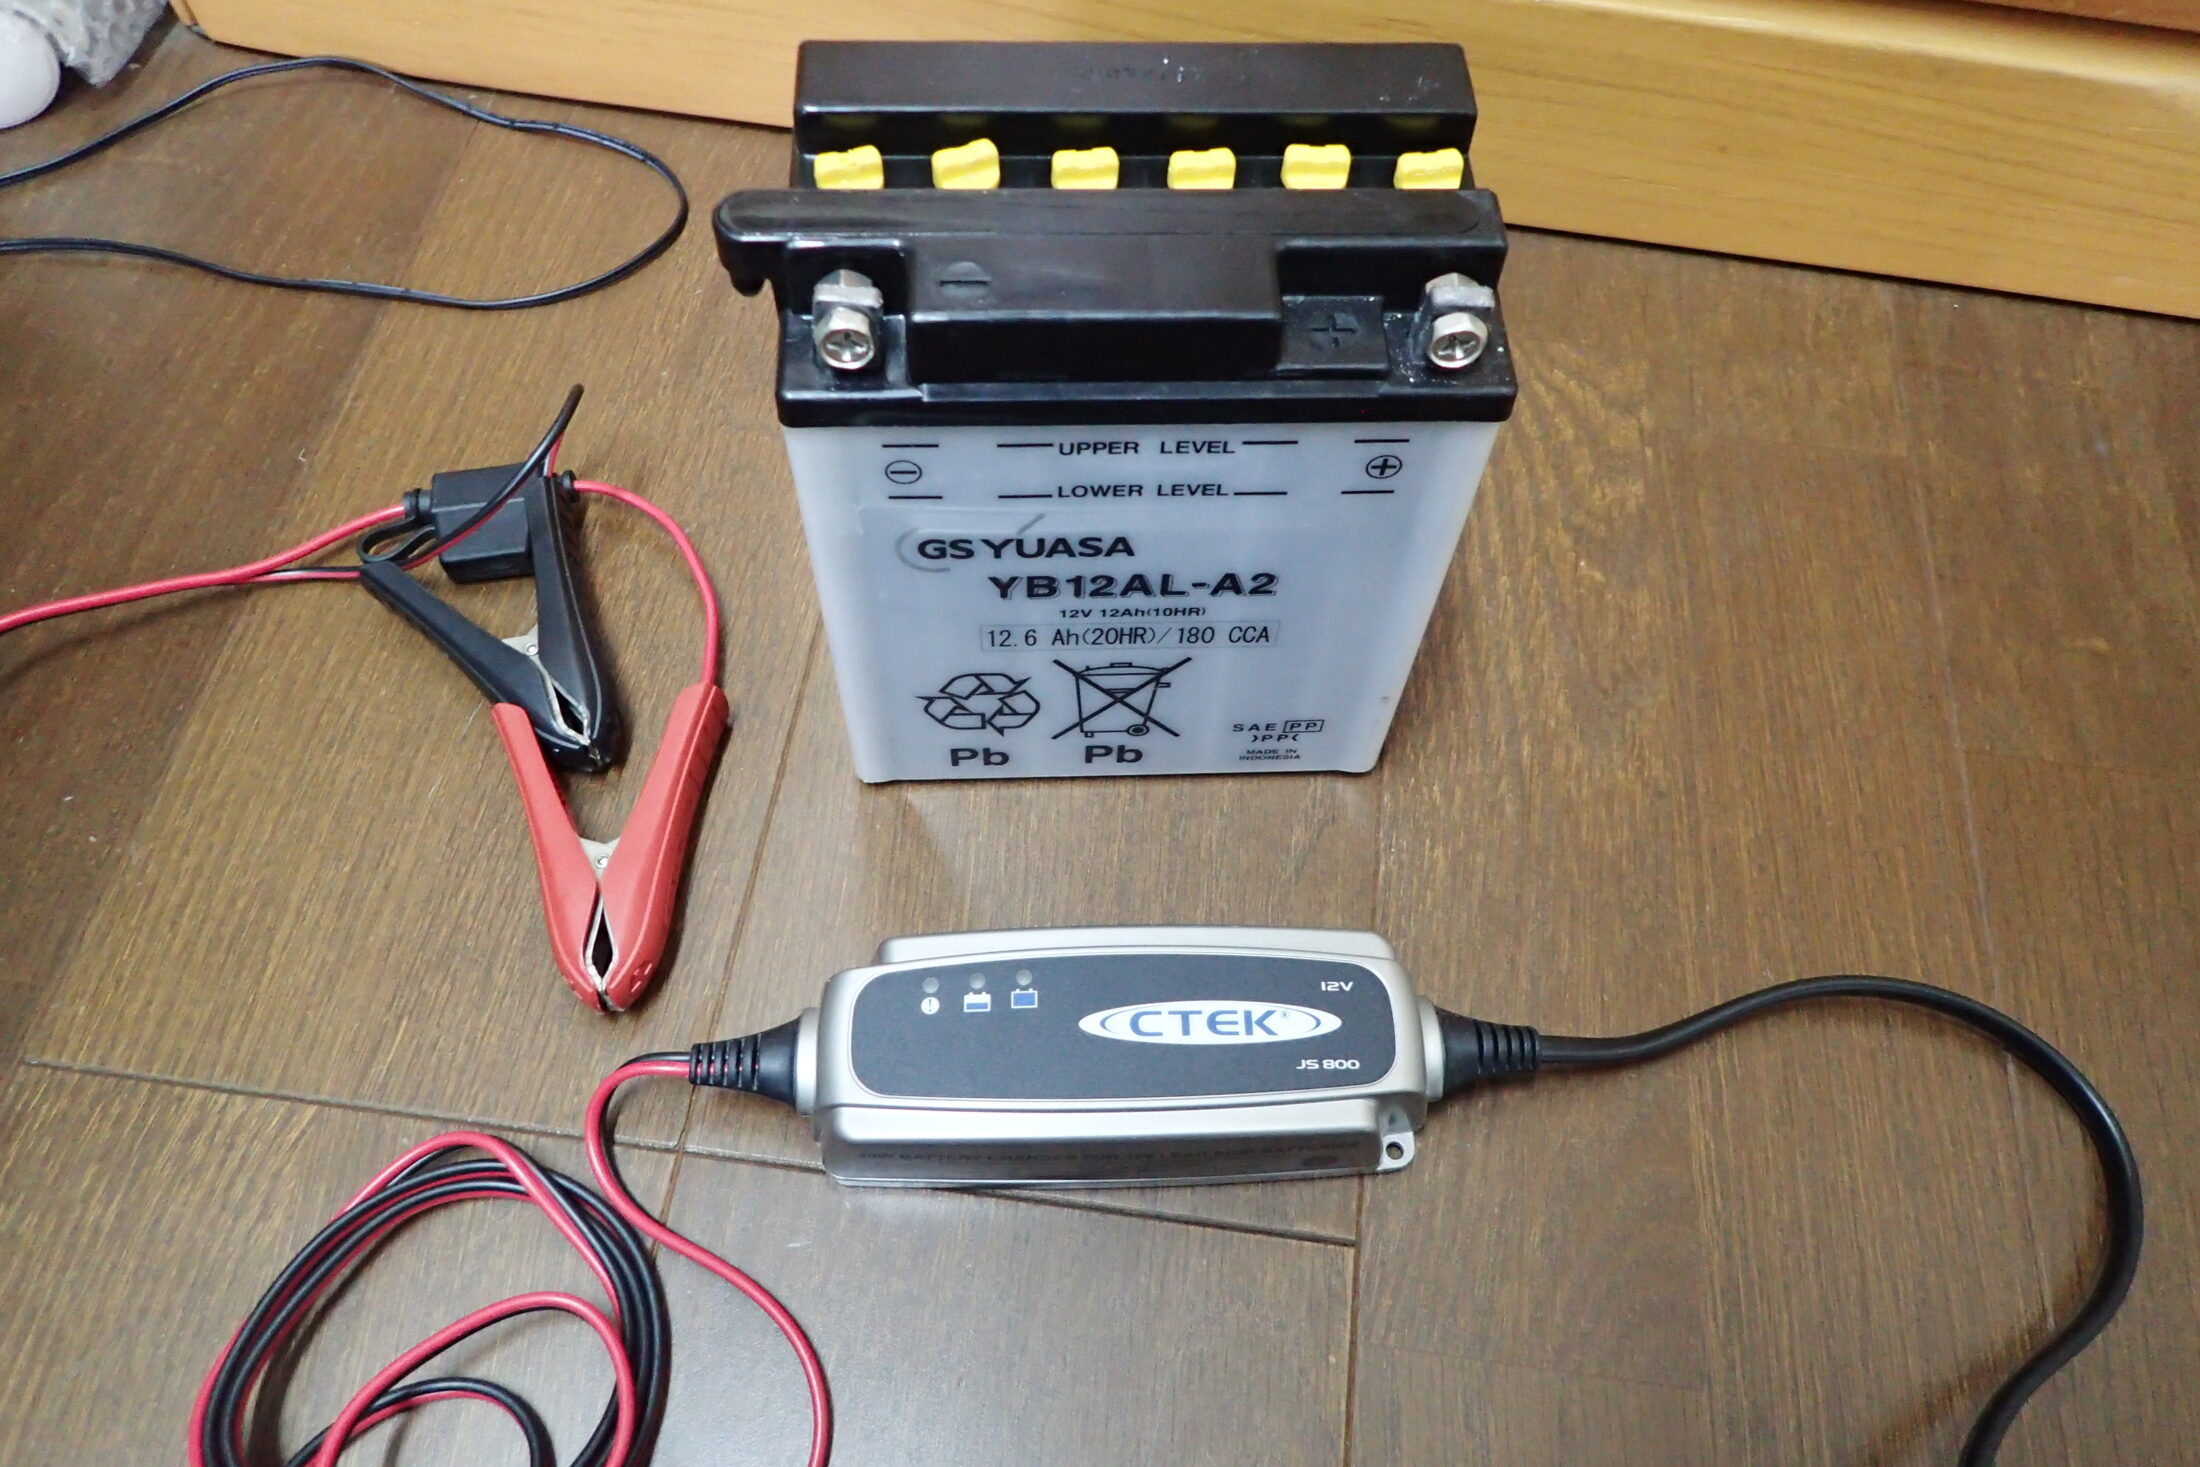
Hello everyone.
I don't ride my 2012 BMW G650GS over the winter, so I took the battery out. I've written about this before, but here it is again.
Key points
- The battery sits under the centre cowl
- To remove the centre cowl, take out 10 Torx screws and the oil filler cap
- Disconnect the negative terminal first and tape up the harness
- It's a conventional (vented) battery, so don't forget the breather hose
- It took about 10 minutes
| Bike | BMW G650GS (2012) |
|---|---|
| Time | About 10 minutes |
| Difficulty | Fine for a first-timer |
| Tools | Torx bit (I use an electric screwdriver), a tool to turn the oil filler cap (the spark plug spanner from the on-board tool kit; I made my own from a 22 mm bolt and nut), masking tape |
| Watch out | Disconnect the breather hose. The battery tends to catch on a bump on the left side of the frame |
Removing the centre cowl

To take out the G650GS battery, you have to remove the centre cowl, which means at least 10 Torx screws and the oil filler cap. If you also remove the right side cowl to make the job easier, that's another 3 bolts.
With that many screws, I use an electric screwdriver.

The oil filler cap is designed to be removed with the spark plug spanner from the on-board tool kit. Getting the tool kit out every time is a hassle, so I made my own tool from a 22 mm bolt and nut.
Disconnect the negative terminal first and tape it up

With the centre cowl off, you can see the battery. First disconnect the negative terminal, then tape over the bike's harness with masking tape so it can't accidentally touch the battery terminal.

I taped it up as shown in the photo.
Don't forget the breather hose

The one thing you mustn't forget when removing the battery is the breather hose. The G650GS uses a conventional vented battery, so it has a breather hose. You can see the disconnected breather hose where I'm pointing in the photo.

Once the breather hose and the bike's harness are disconnected, the battery comes out, though it's a little heavy. Watch out, as the battery can catch on a bump on the left side of the frame.

With the battery out, I put the cowls back on so I don't lose any bolts or scratch the cowls.
Now the battery goes on charge, and the bike has to wait until March.
Summary
- Remove the centre cowl and the battery is right there. About 10 minutes
- Disconnect the negative first and tape up the harness
- It's a vented battery, so don't forget the breather hose
- Put the cowls back afterwards so you don't lose any bolts
The order for removing the battery and how I charge it are in this article.
-

-
How to Remove and Charge a Motorcycle Battery: Negative Terminal First (BMW G650GS Example)
Why you disconnect the negative terminal first, the tools you need, and step-by-step photos of removing and charging the battery on a BMW G650GS.
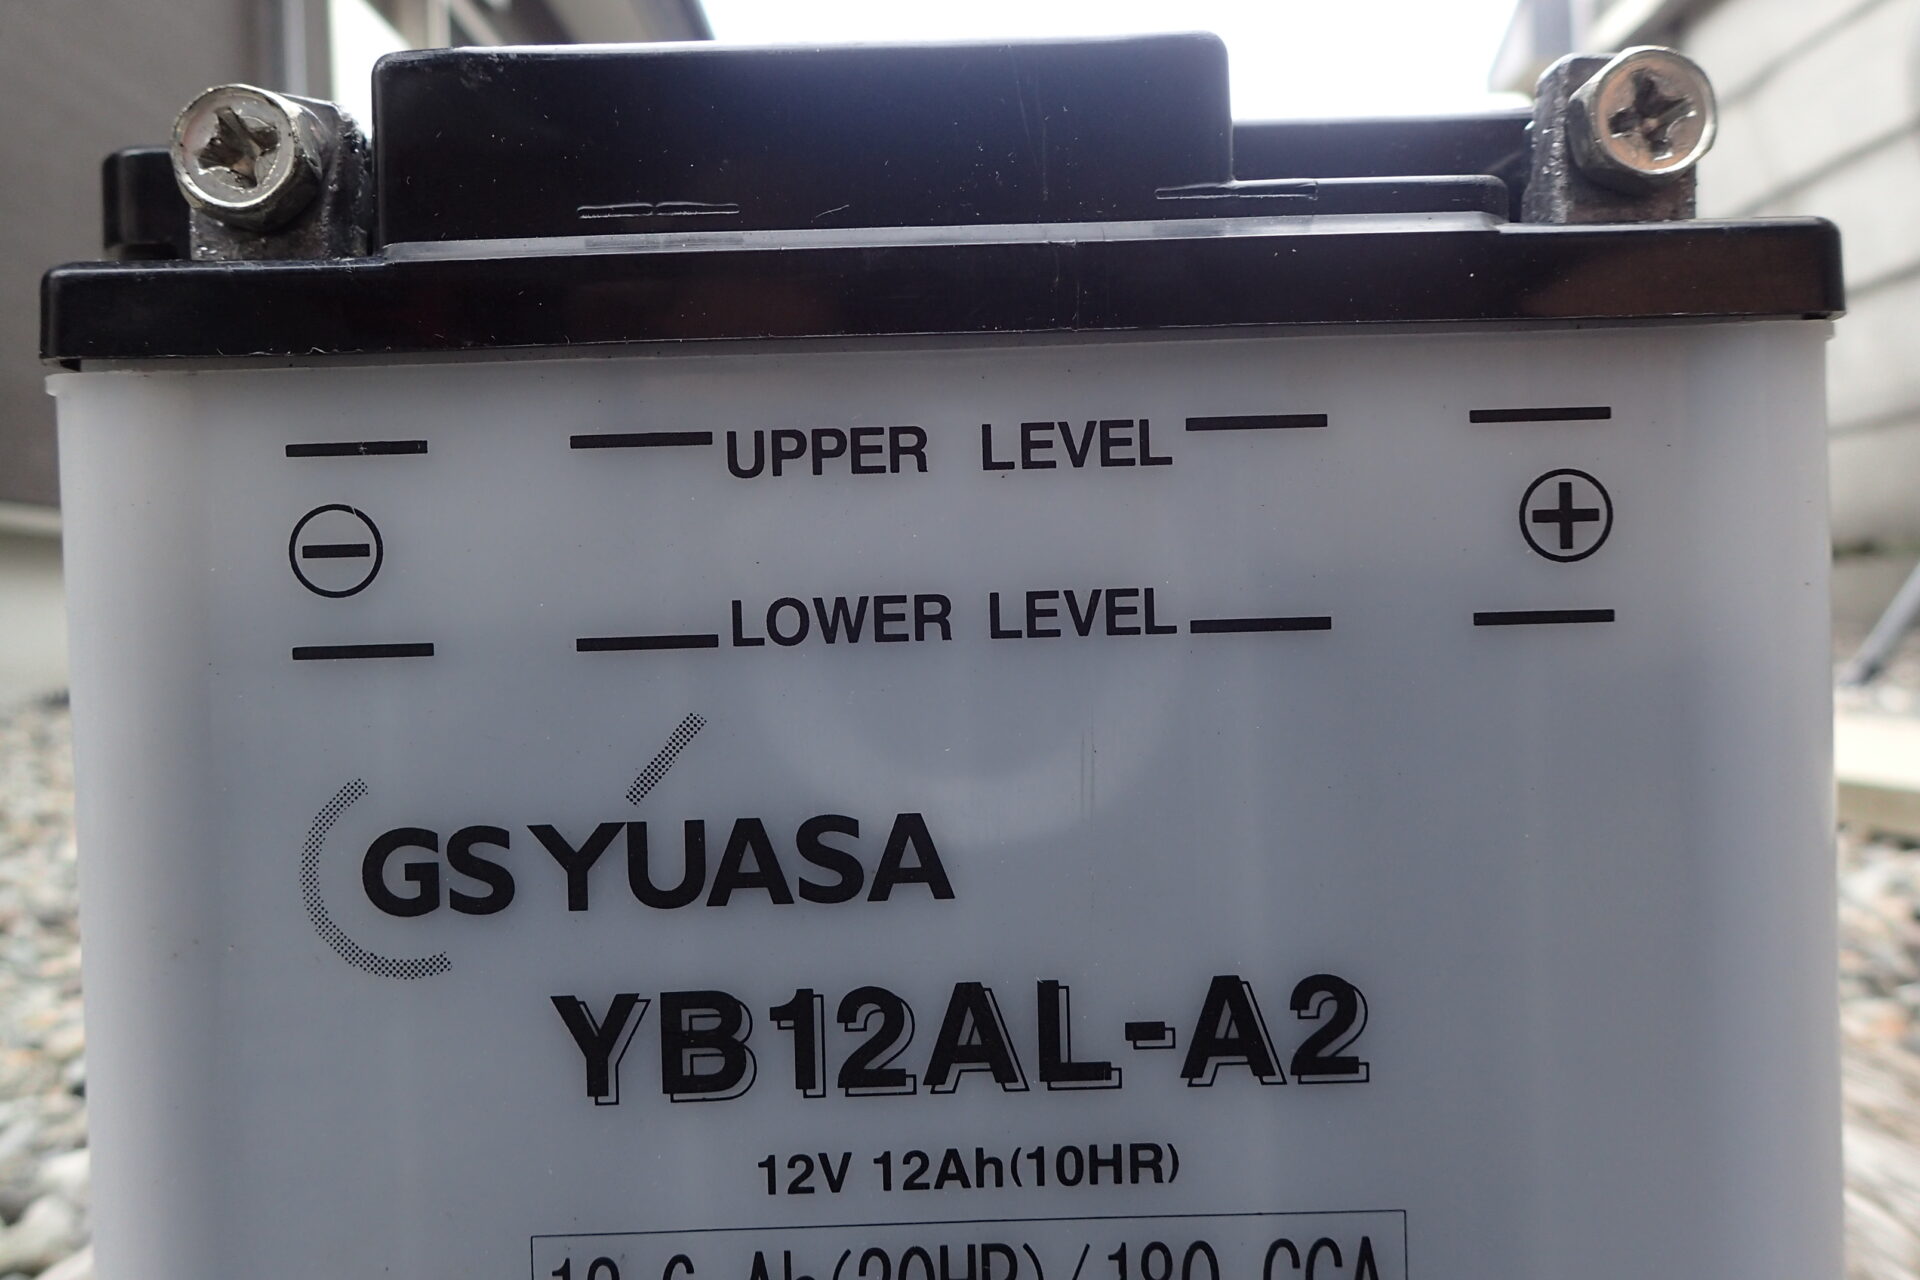
How I remove the battery from my XR250 BAJA is in this article.
-

-
Honda XR250 BAJA Winter Prep: Removing the Battery (Tools and Steps)
Taking the battery out of my Honda XR250 BAJA for winter: the tools you need, the three side cover bolts (watch the collars on the top one), the two battery bolts, then negative terminal first and positive second.

Related post:
-
-
Motorcycle Won't Start in Winter? What to Do About a Flat Battery and 3 Ways to Prevent It
Winter flat battery? First check the kill switch, gear and side stand, then use a jump starter or jump leads. To prevent it, ride properly, use a maintenance charger (I've used CTEK for 15+ years) or disconnect the negative terminal.