Hello everyone.
Today I'm starting to assemble the front forks on my Honda XR250 BAJA (the Japan-market XR250 / MD30). So far I've had the inner tubes re-plated, wet-blasted the bottom brackets (axle holders) and looked into how the springs differ by model year, and at last I can start putting them together.
The springs, though, are still away for WPC treatment (a Japanese surface treatment).
It's cloudy, but the rain radar says no rain clouds for a few hours, so I'm making a start.

I lay out the consumables and the parts needed for assembly.

First, I replace the O-ring on the centre bolt.

I remove the O-ring without scratching the part, and fit a new one.

The centre bolt needs a copper washer when you fit it. I replace this with a new one too, and clean the surfaces the copper washer seats against.
...At this point it started to rain, so I had to stop. I couldn't get any further, so that's all for today...
I've also written a guide to overhauling the XR250 / BAJA front forks, from disassembly to oil, springs and re-plating, with the steps and costs.
-

-
Honda XR250 / BAJA Front Fork Overhaul Guide: Steps, Costs and Model-Year Differences
A summary of my XR250 BAJA (MD30) front fork overhaul: the order of the work, re-plating costs, spring differences between the XR250, BAJA and XR250R, mixing fork oil to match Honda's viscosity, and axle thread sizes by year.

The next part (part 2) is in this article.
-
-
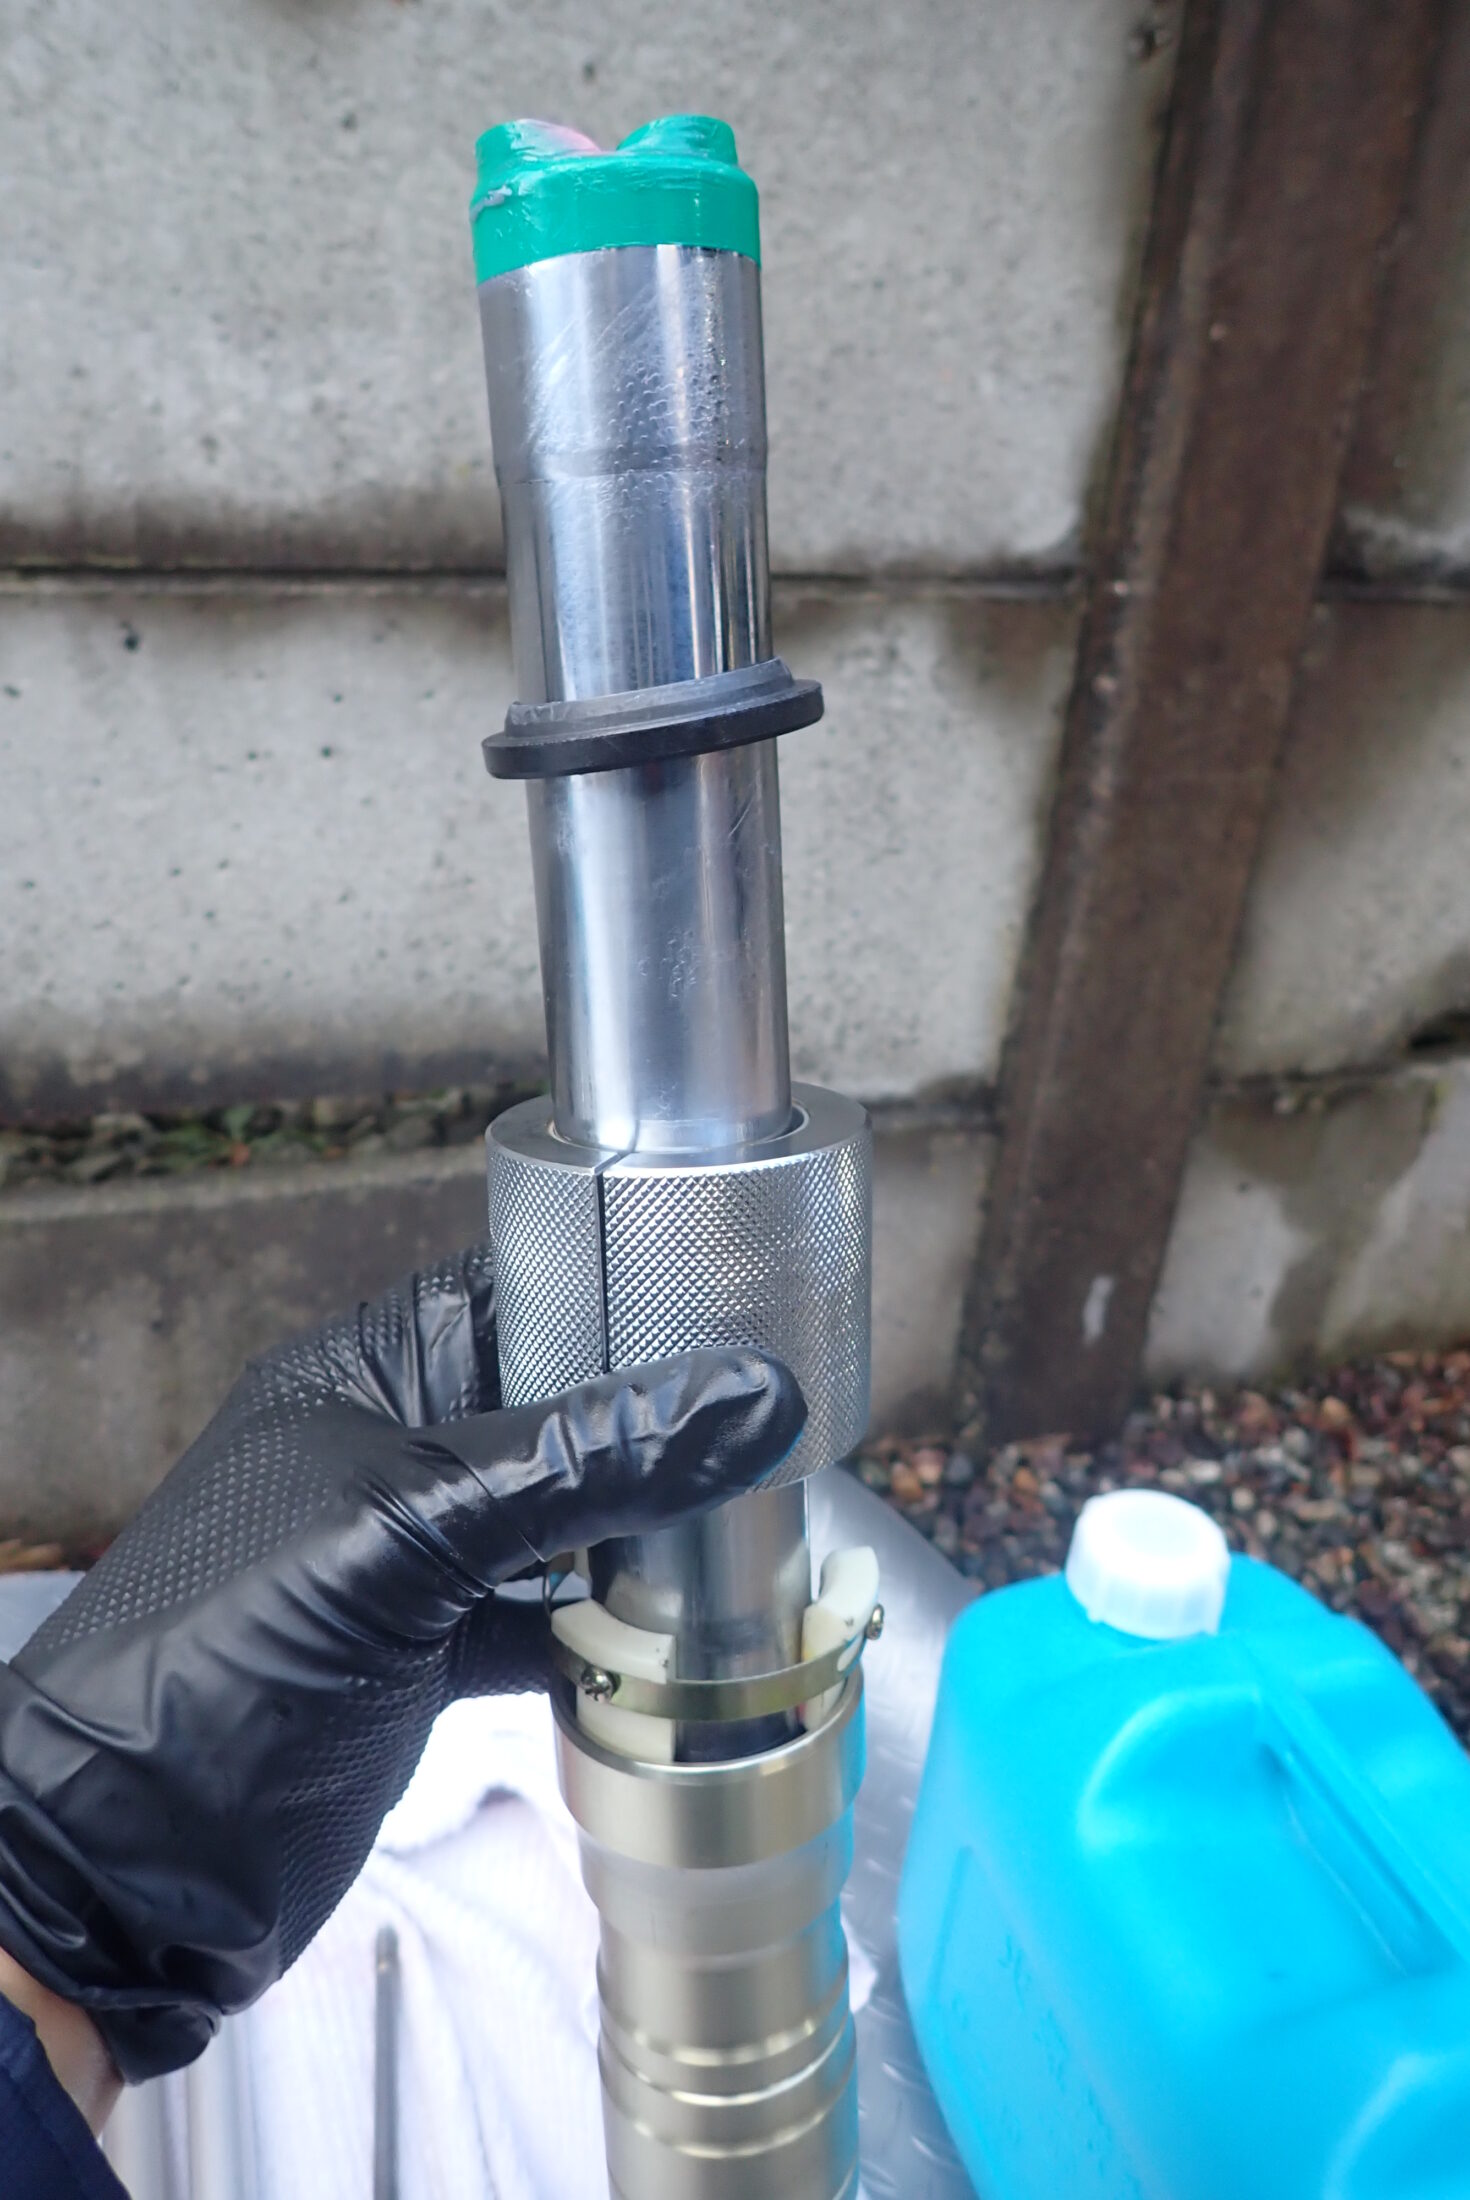
Honda XR250 BAJA Front Fork Rebuild (Part 2): Seals, Slide Bushes, Seal Driver and Centre Bolt
Part 2 of rebuilding my XR250 BAJA forks: taping the inner tube, greasing seal lips, using a fork seal driver without scratching the tube, fitting the snap ring, and tightening the ME08 centre bolt while holding the cylinder.