Hi everyone. This time, I’ll show you how I replaced the swingarm pivot shaft on my BMW G650GS.
What is a swingarm pivot shaft?
The pivot shaft is the thick shaft (bolt) that holds the swingarm to the frame. It runs through the front end of the swingarm (the swingarm pivot), and when the rear wheel moves up and down over bumps, the swingarm swings around this shaft.
On most bikes, it sits near the footrests, where the frame and the front of the swingarm overlap. You can see the head of the shaft and the nut from the side of the bike.
Between the pivot shaft and the swingarm there are bearings and collars, lubricated with grease. If the grease dries out or water gets in, the shaft can rust and seize, so it becomes hard to remove or the swingarm stops moving smoothly.
You normally can’t see this part, so I recommend pulling it out, checking it and greasing it when you replace the swingarm or rear linkage bearings.
Have you ever serviced your pivot shaft?
When I replaced the swingarm and rear linkage bearings a while ago, I pulled out the pivot shaft. It was badly rusted and very hard to get out. It kept bothering me, so in the end I ordered a new pivot shaft.
I covered the rusty pivot shaft and how I got it out in this article:
The new pivot shaft
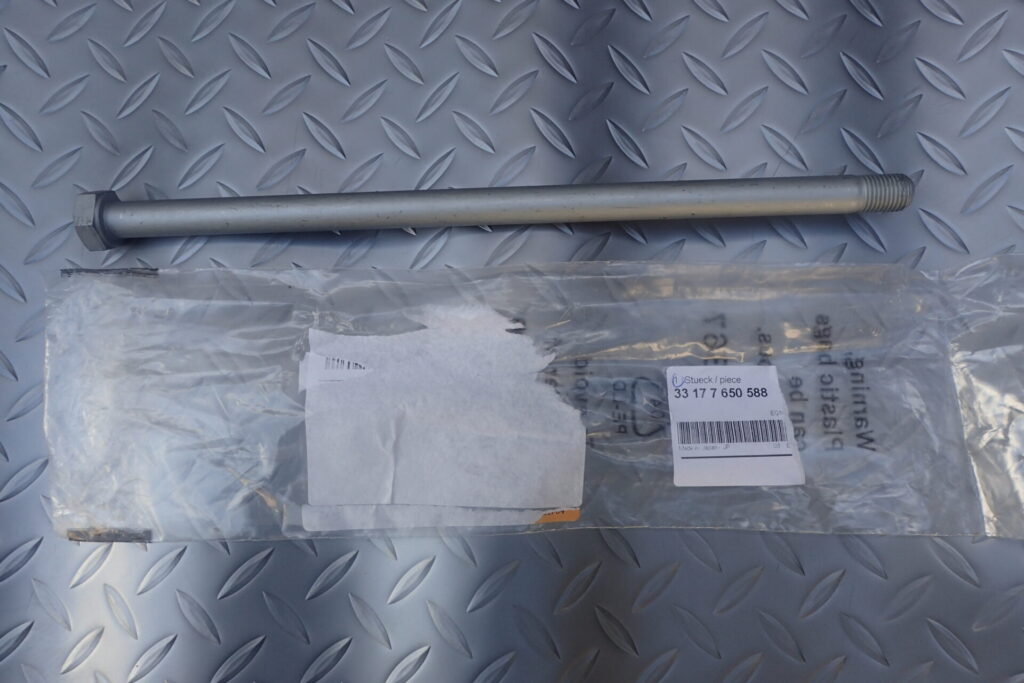
This is the pivot shaft I ordered. It arrived about three weeks after I ordered it. The label on the bag shows the BMW part number 33 17 7 650 588.
What you need
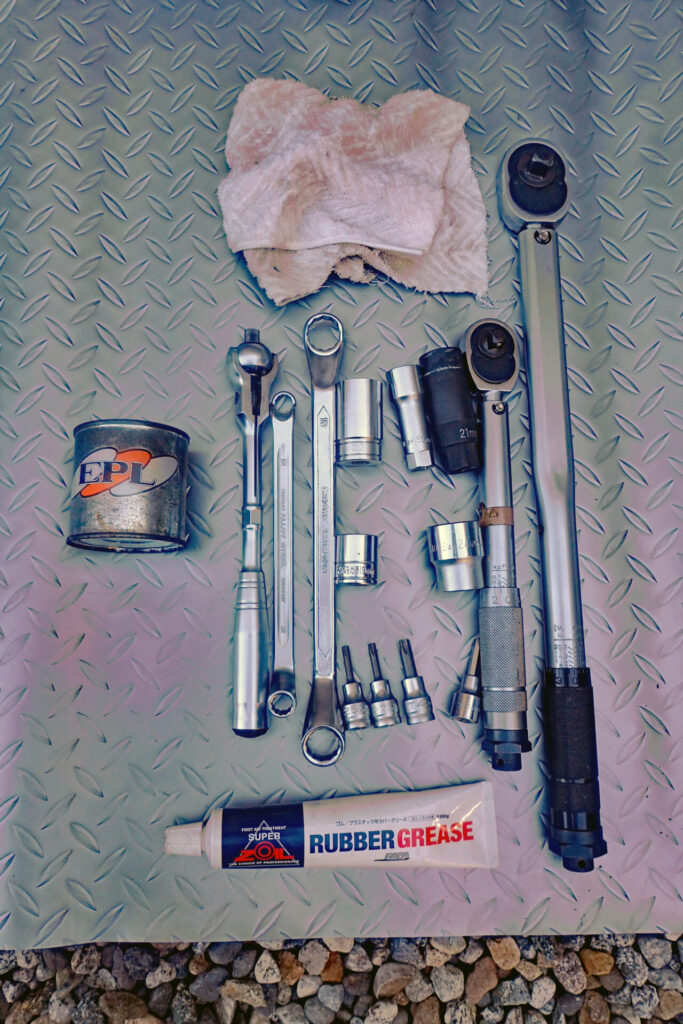
I used the tools in the photo above. Some can be swapped for other tools (for example, the tool for removing the mudguard), so you don’t have to use exactly the same ones.
- Torx sockets: T25, T27, T45
- Hex (Allen) socket: 5 mm
- Torque wrench that covers 71 Nm and 100 Nm
- Hex sockets: 18, 19, 21, 22, 24 mm
- Ring spanners (box-end wrenches): 10 mm, 19 mm
- Ratchet handle for the sockets
How to replace the pivot shaft
Remove the rear wheel
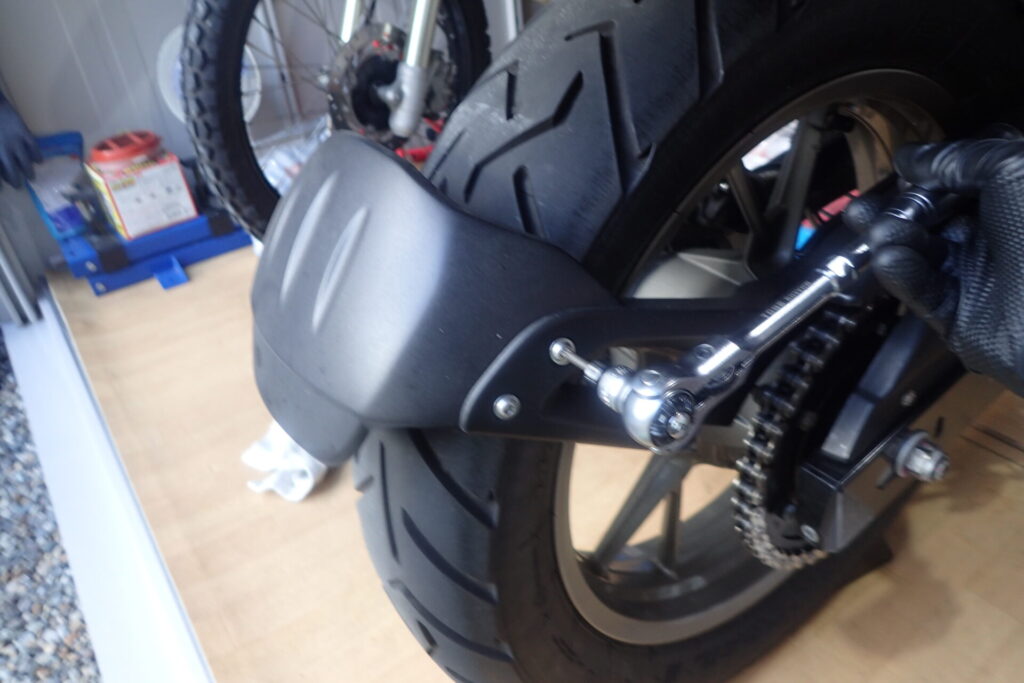
First, I removed the stock mudguard I had only just fitted. (As it turned out, I also had to remove the chain guard later.)
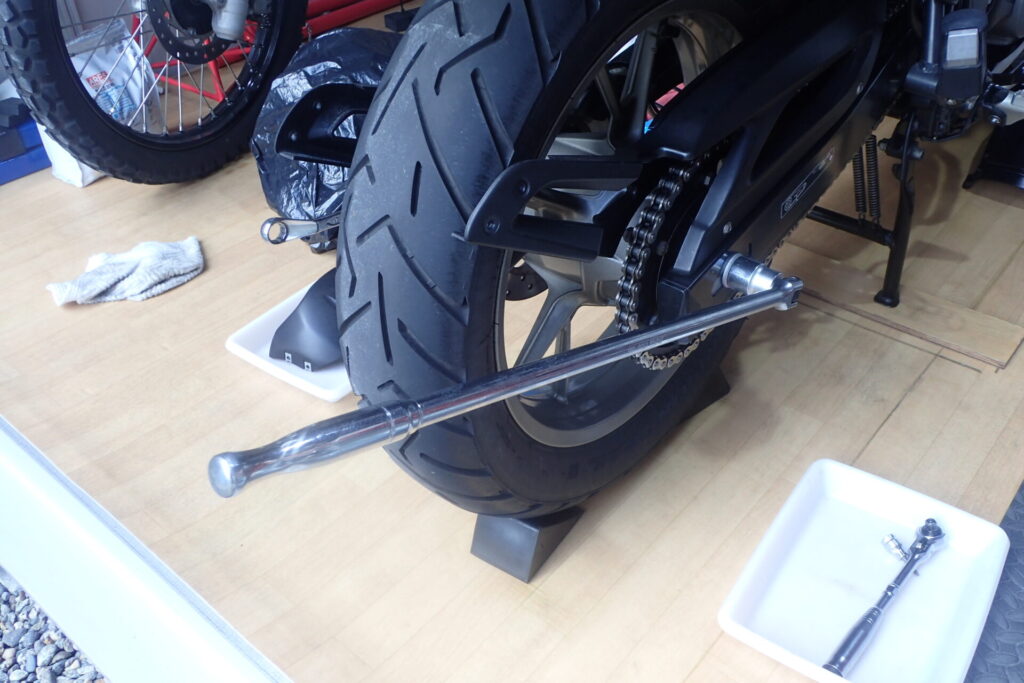
Loosen the rear axle. It is done up very tight, so I used a breaker bar.
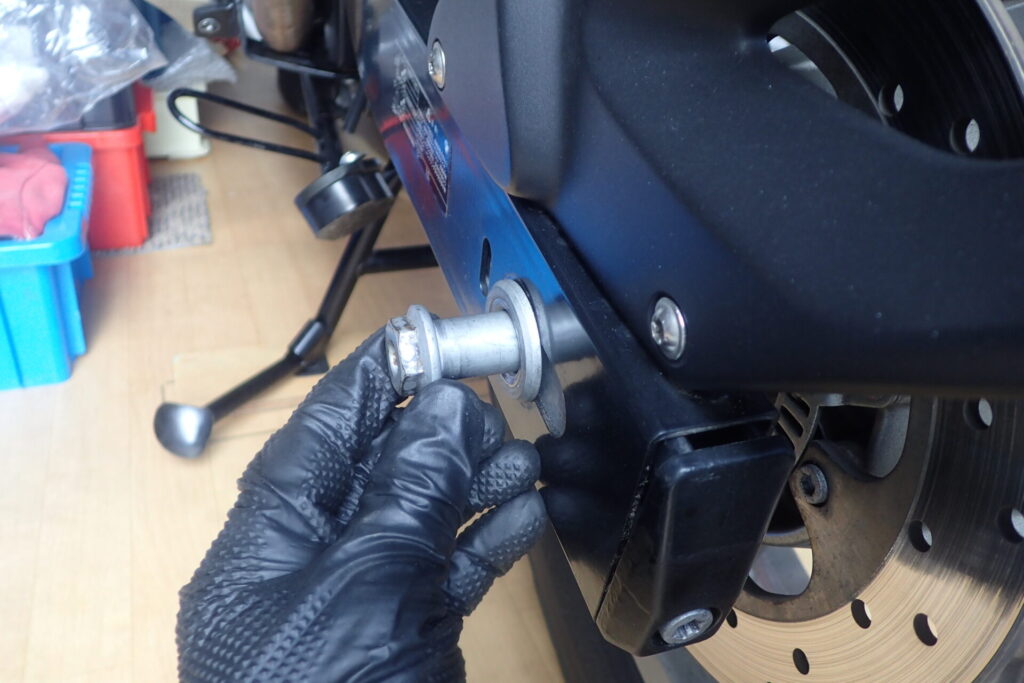
Pull out the rear axle. I had greased the axle before, so it came out without any trouble.
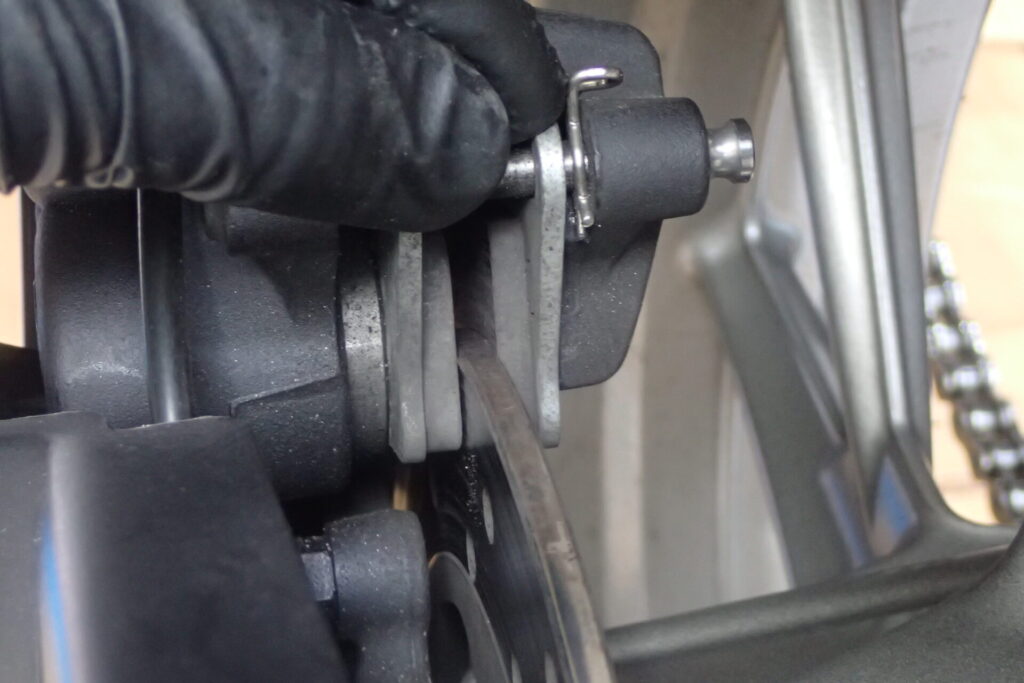
Before removing the wheel, push the rear brake pads apart a little so the brake disc can come out.
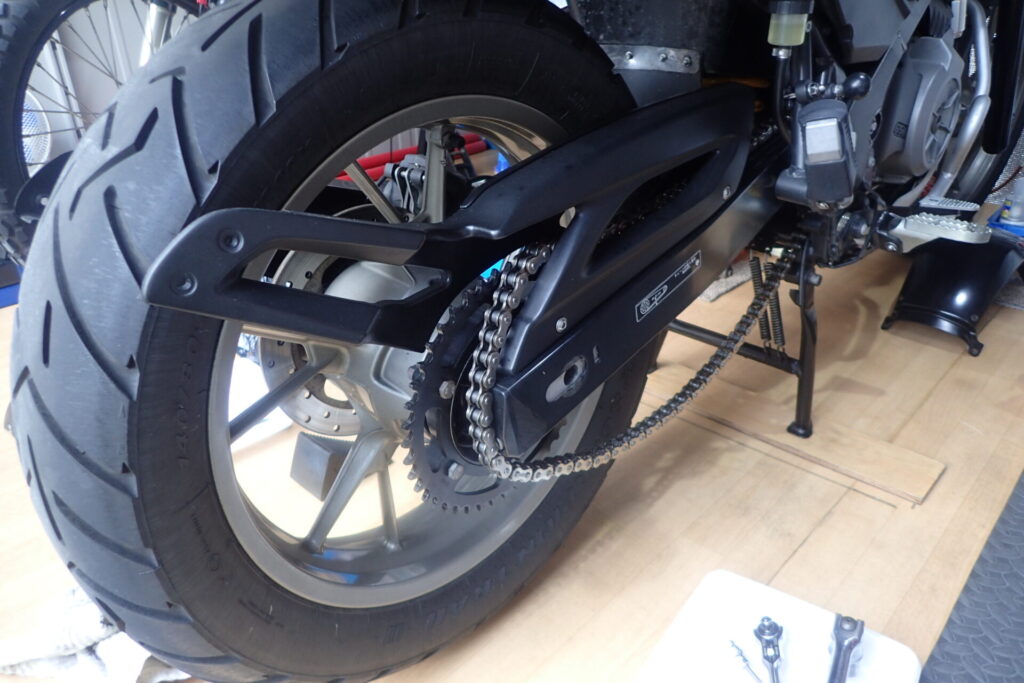
With the axle out, I thought the rear wheel would come off, but the chain guard was in the way. I might have been able to wiggle it out, but I didn’t want to scratch anything, so I took the slow but sure route and removed the chain guard.
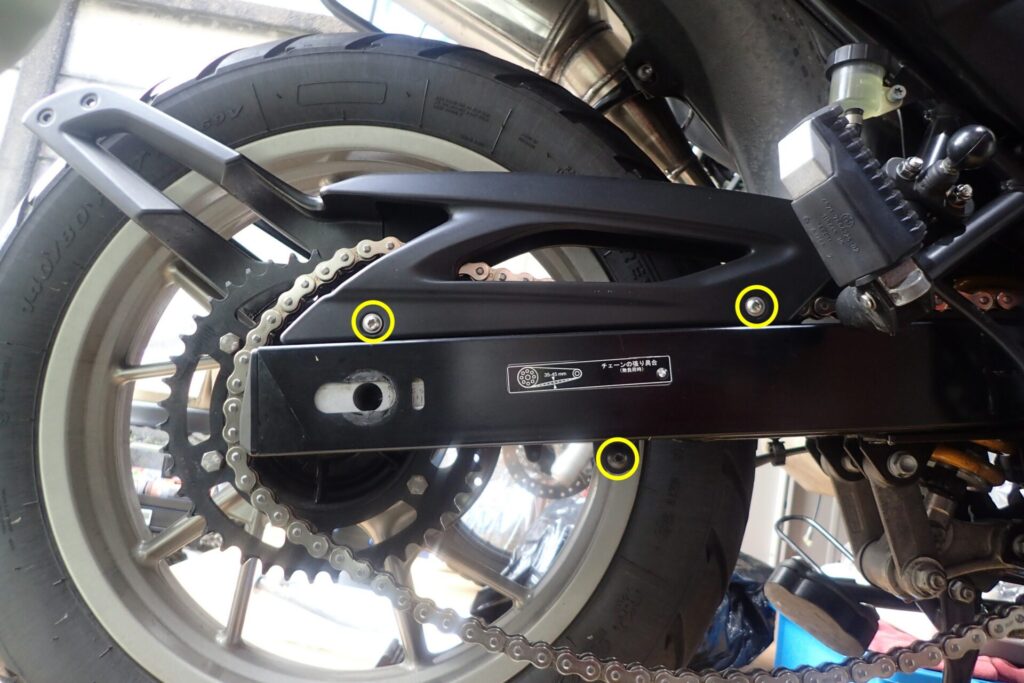
The chain guard is held on by the three screws circled in yellow in the photo above.
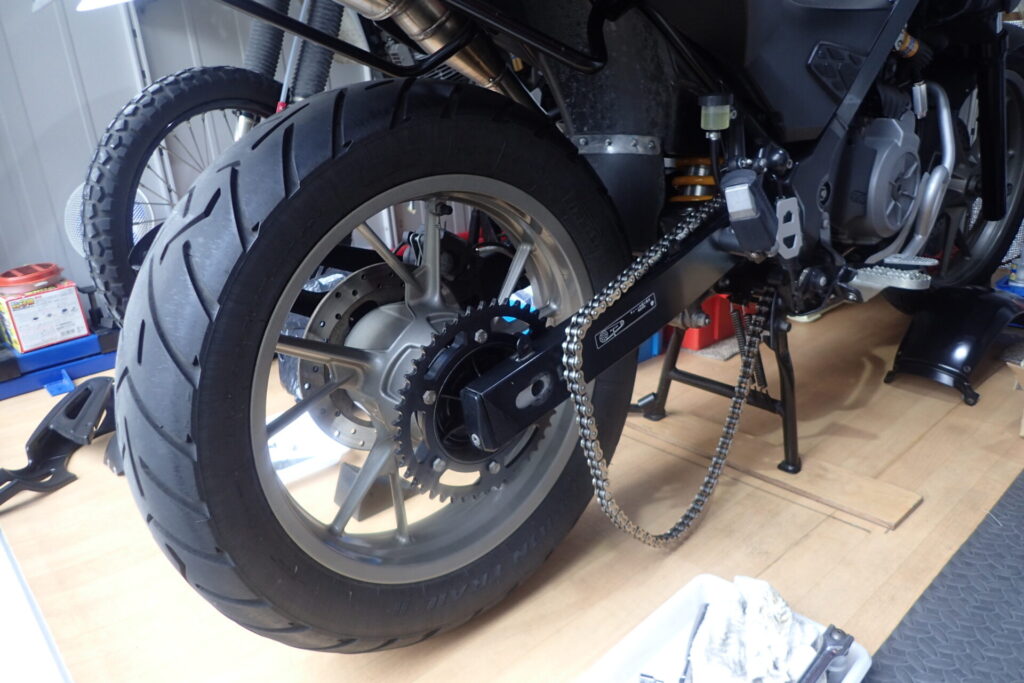
With the chain guard off, the rear wheel came out easily.
Disconnect the swingarm from the rear suspension
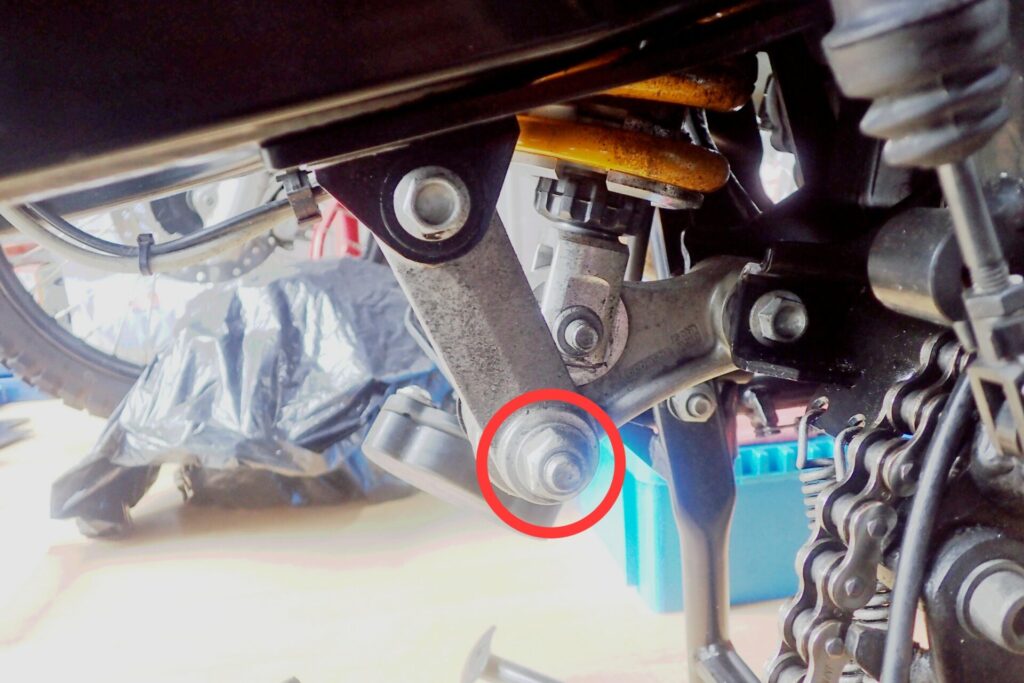
Next, disconnect the rear linkage from the swingarm by removing the nut circled in red in the photo above.
But before that…
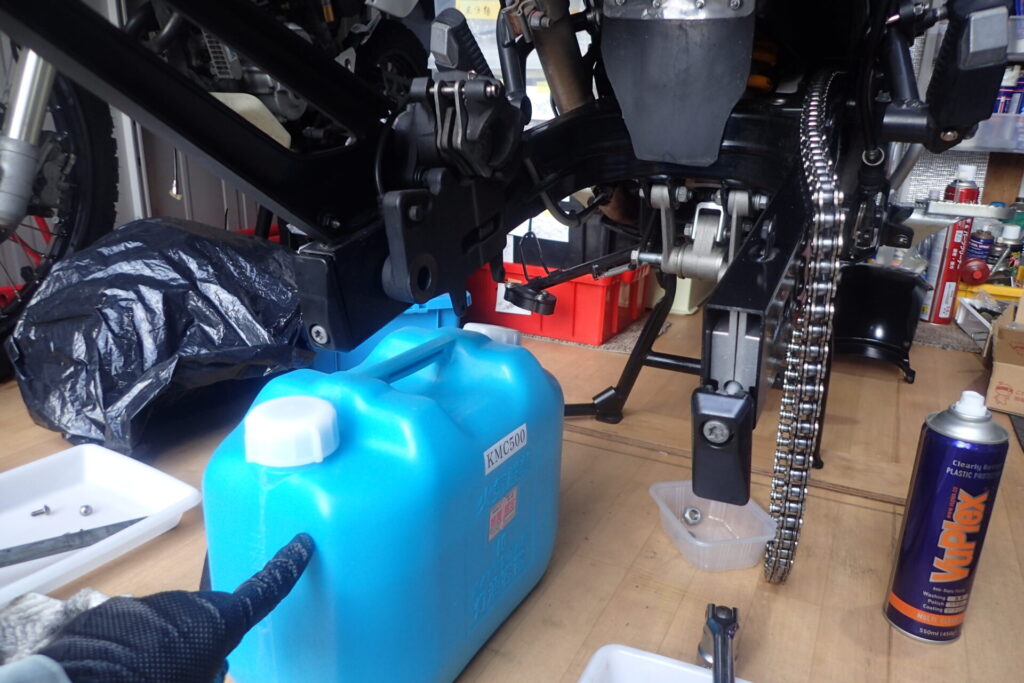
Once the linkage is disconnected, the swingarm is free to move and will drop down. That makes the job harder, so stop the swingarm from dropping first.
I supported the rear end of the swingarm on a 10-litre plastic container. You could also hang the swingarm from the subframe with a strap.
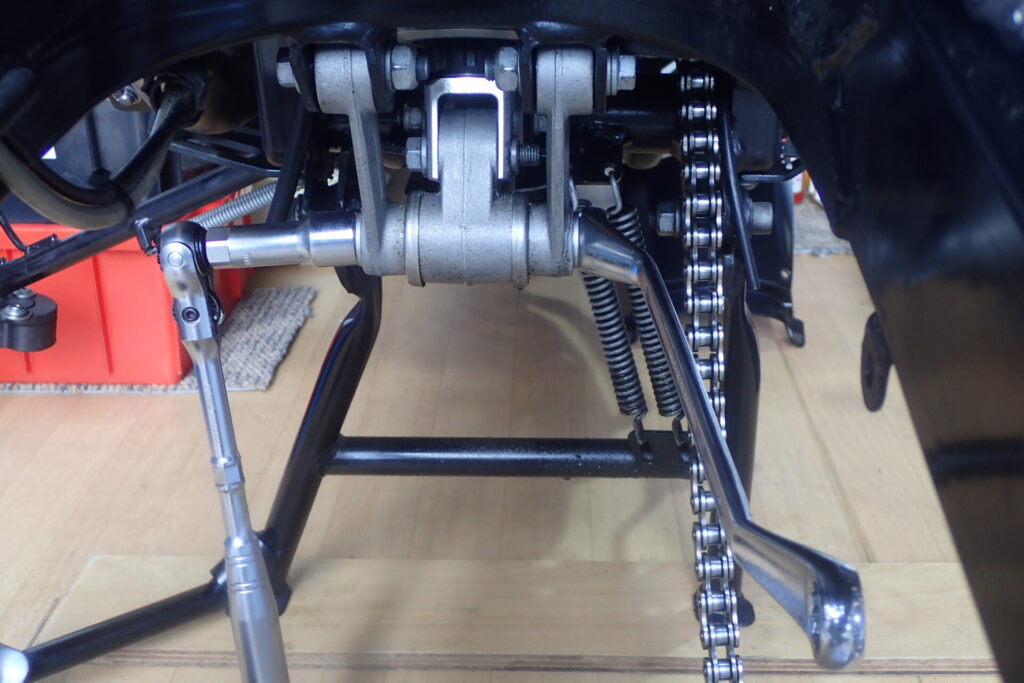
With the swingarm supported, loosen the bolt. The bolt head is 18 mm. I didn’t have an 18 mm socket, so I used a spark plug spanner instead. A plug spanner really shouldn’t be used for a job that needs this much force, so I recommend having the right socket ready beforehand.
Pull out the pivot shaft
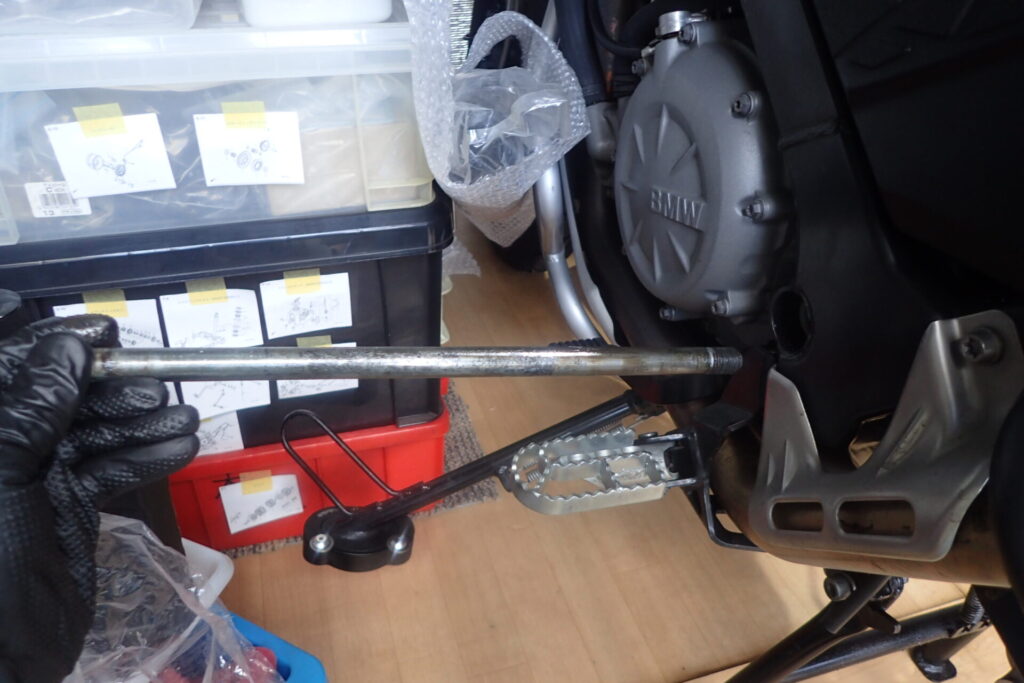
With the swingarm free, pull out the pivot shaft. I had greased the shaft during the previous service, so this time it slid out easily.
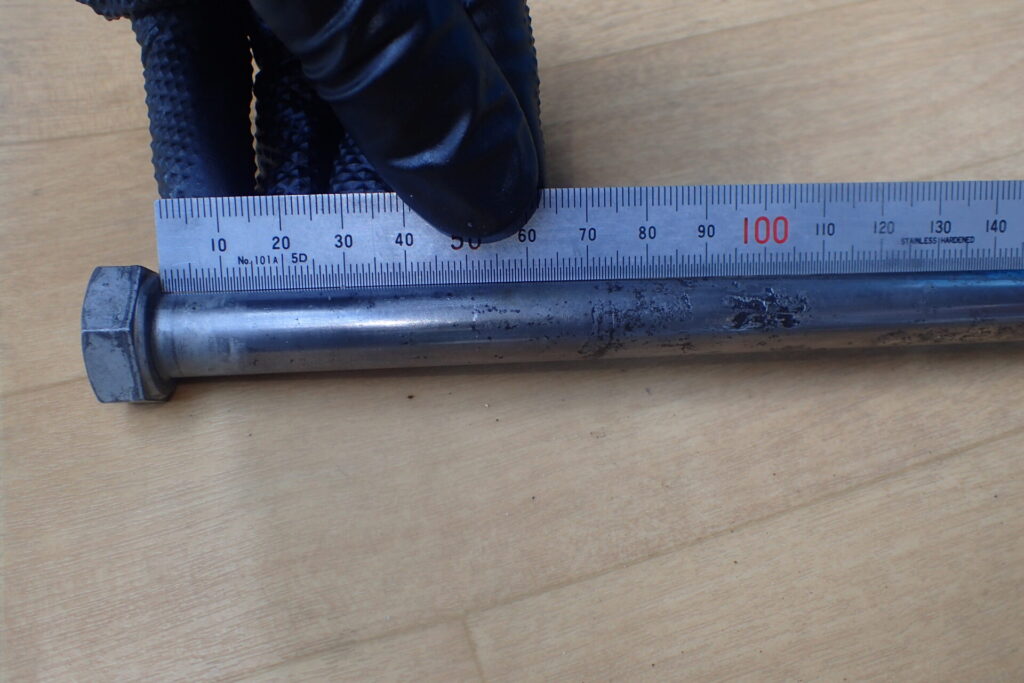
Now let’s look at the most corroded part of the old pivot shaft. The worst spot was about 100 mm from the head of the shaft.
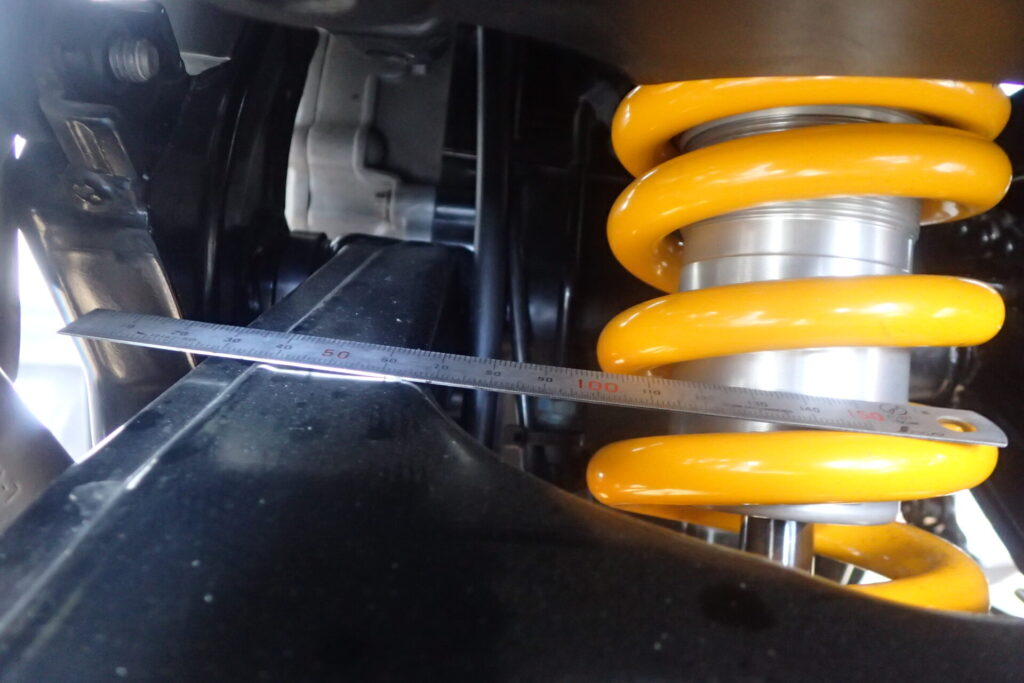
So where is this spot when the shaft is fitted to the bike?
I didn’t know the thickness of the frame, so this is only a rough estimate, but in the photo above it is around the left end of the rear shock spring. I don’t know if it is the same on every bike, but on mine, this was where the corrosion was worst. I’m sharing this in case it helps other G650GS owners (and maybe F650GS owners too?). For reference, my bike is a 2012 model with about 20,000 km on it.
Fit the new pivot shaft
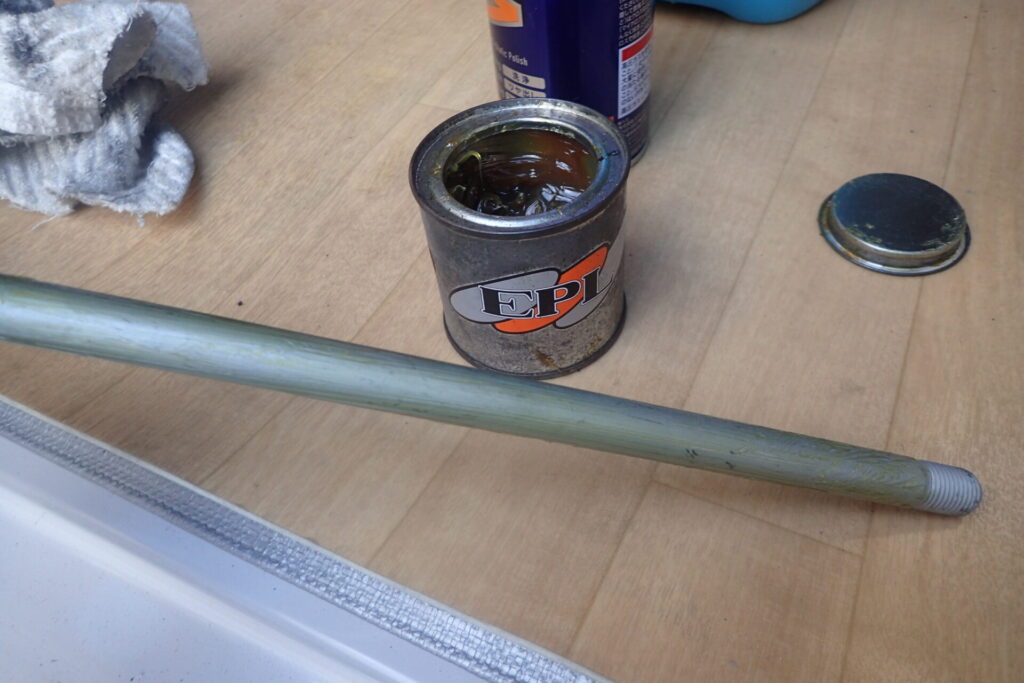
Grease the new pivot shaft. I used EPL grease.
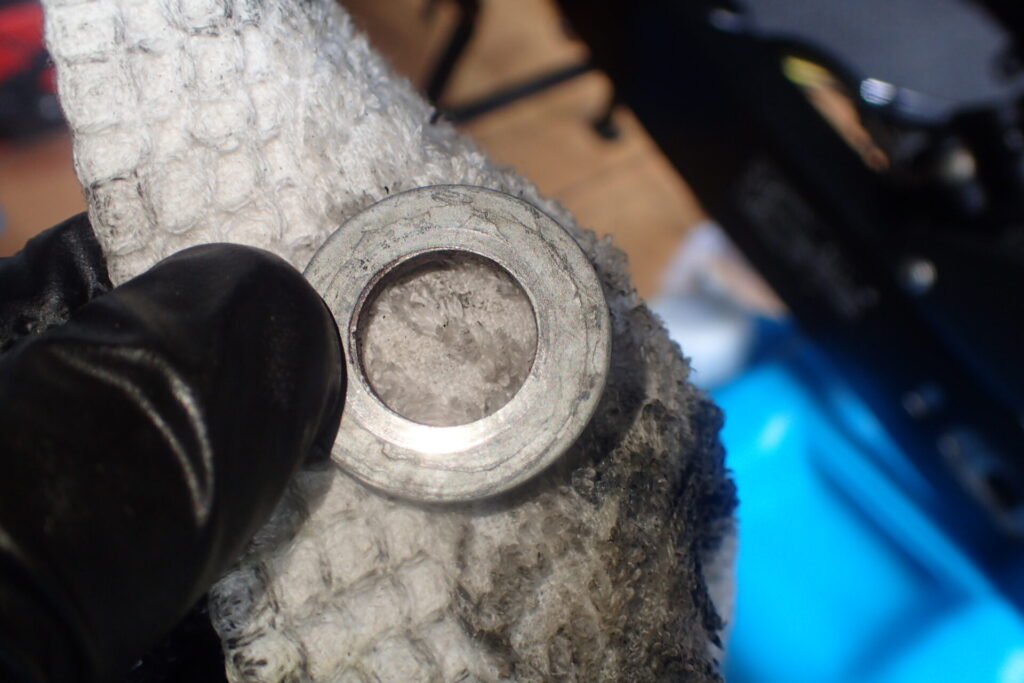
There is a washer at each end of the pivot shaft. Ideally these should be replaced with new ones, but I cleaned them up and reused them.
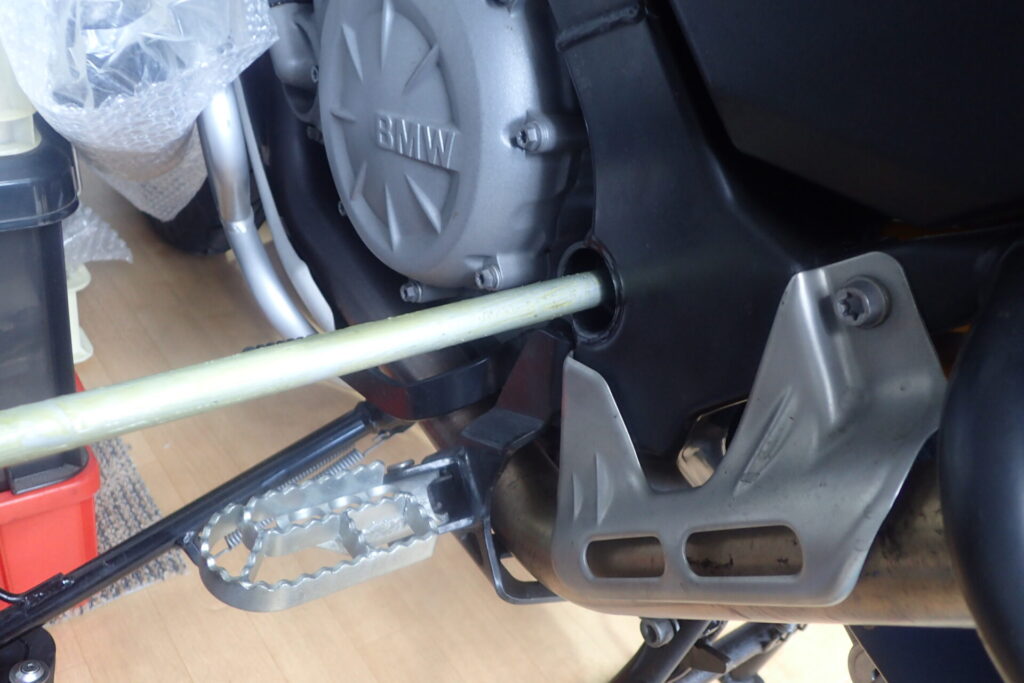
Insert the new pivot shaft.
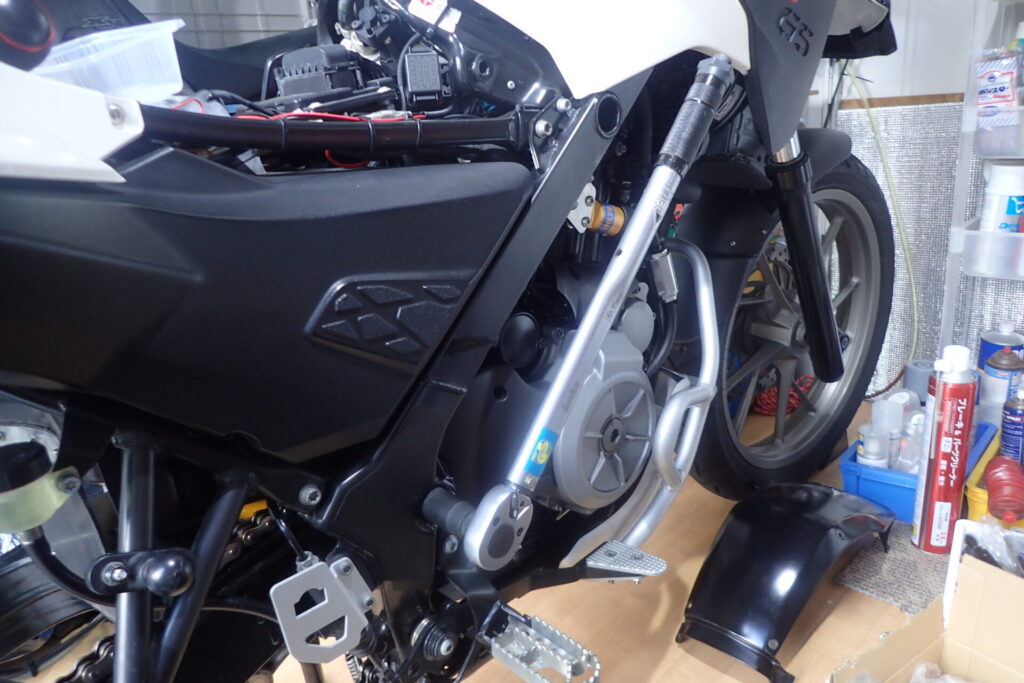
Tighten the pivot shaft with a torque wrench.
| Swingarm pivot to frame | Torque |
|---|---|
| M14 x 1.5, replace the nut, use thread-locking compound | Initial torque: 40 Nm Final torque: 100 Nm |
Source: BMW G650GS repair manual (Japanese edition), translated by me.
The repair manual says to replace the nut, use thread-locking compound, and tighten it first to 40 Nm, then to a final 100 Nm.
I reused the nut, didn’t use any thread-locking compound and simply tightened it to 100 Nm. If you do this job, please follow the repair manual.
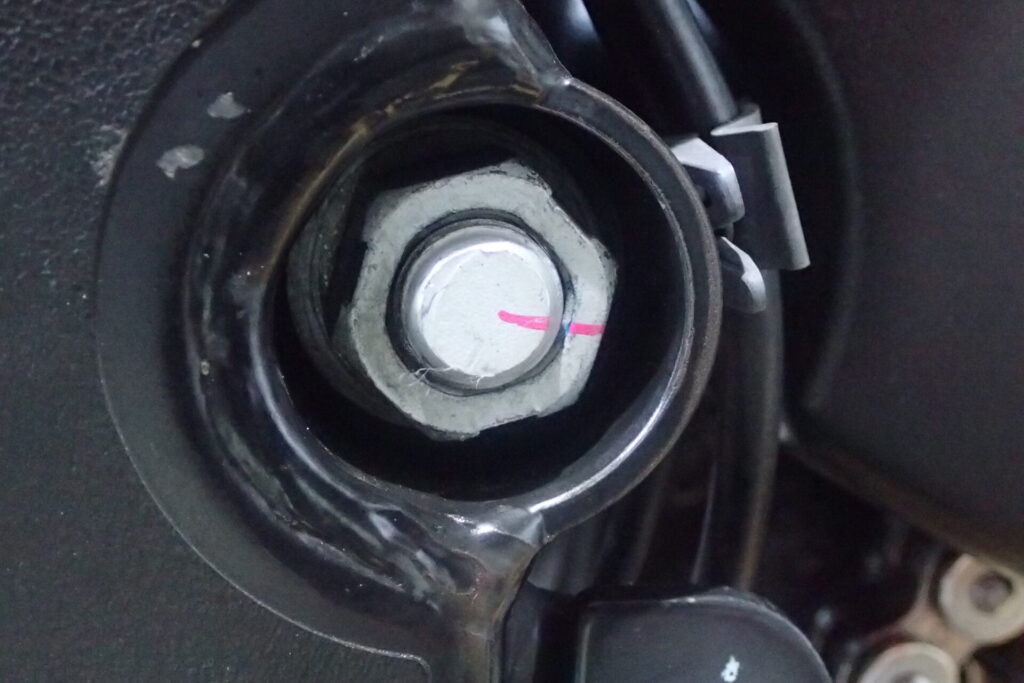
I tightened it to a high torque, so I don’t think it will come loose, but I marked it just in case.
Check that the swingarm moves freely
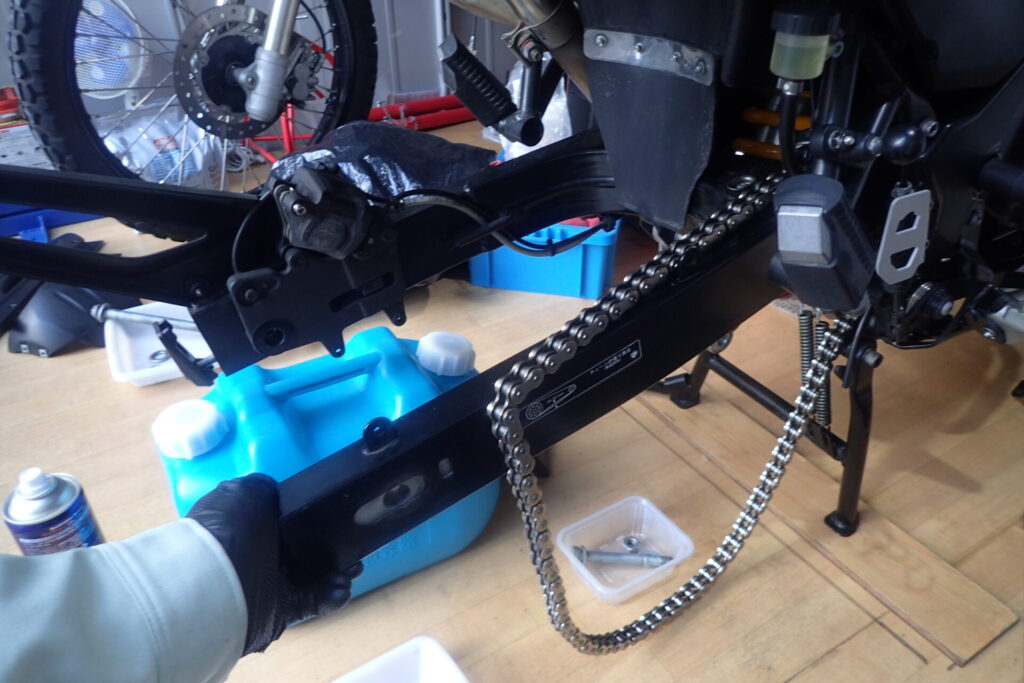
After fitting the pivot shaft, check the swingarm movement while it is still free. Even after tightening to that torque, it moved smoothly! It showed me that the pivot is designed so that tightening the shaft doesn’t restrict the swingarm.
Reconnect the swingarm to the rear suspension
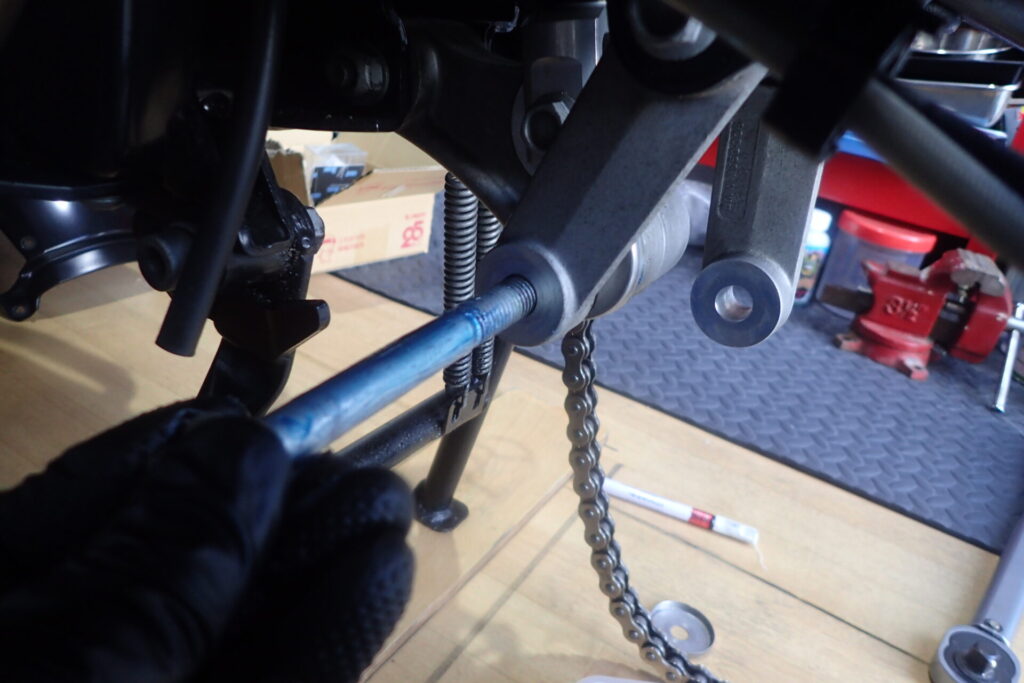
From here, put everything back together in the reverse order. Reconnect the swingarm to the rear linkage.
I forgot to take a photo, but I applied Omega grease to the moving parts.
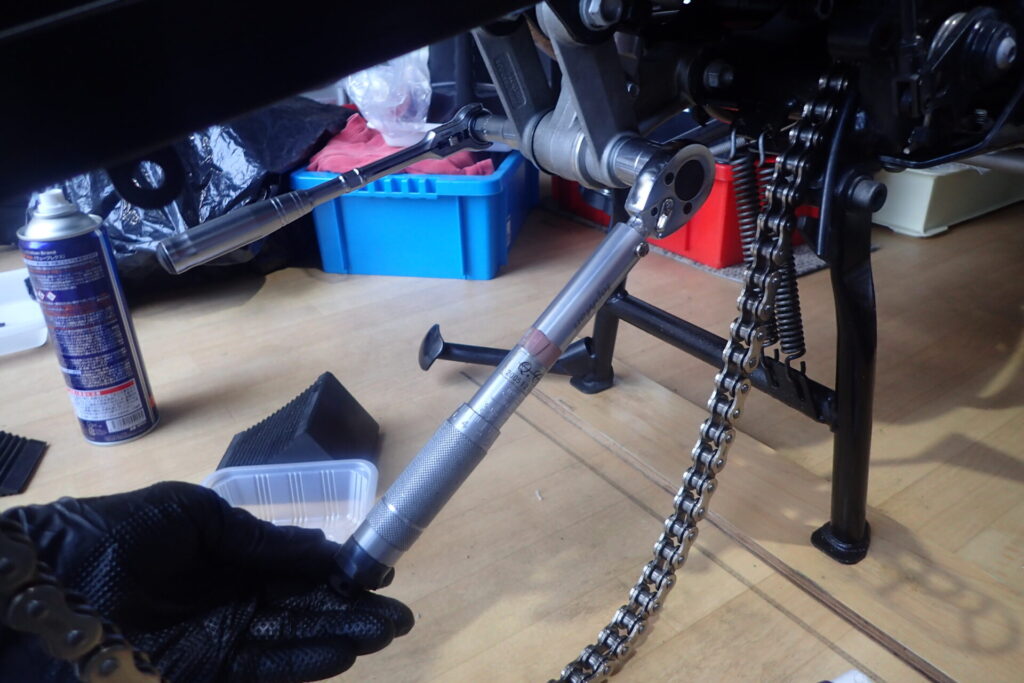
Here too, I used a torque wrench. (Although, to be honest, I’ve had this torque wrench for years and have never had it calibrated…)
| Tension strut to deflection lever | Torque |
|---|---|
| M12 x 110 bolt | - |
| M12, replace the nut, use thread-locking compound | 71 Nm |
Source: BMW G650GS repair manual (Japanese edition), translated by me.
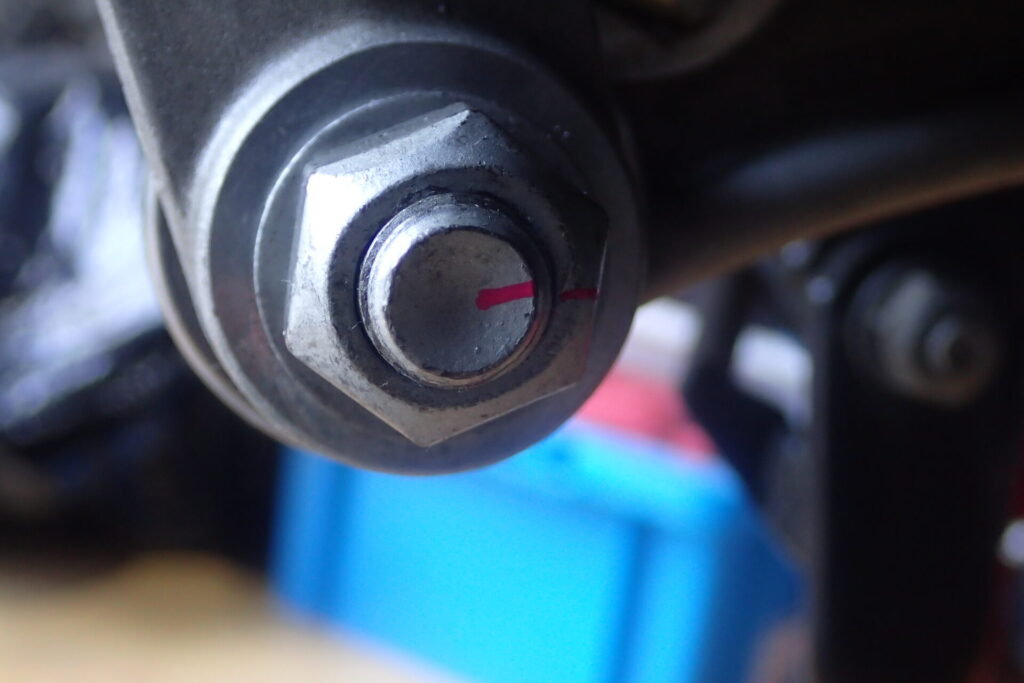
The repair manual also says to replace the tension strut / deflection lever nut, use thread-locking compound and tighten it to 71 Nm.
I marked this nut after tightening, too.
Refit the rear wheel
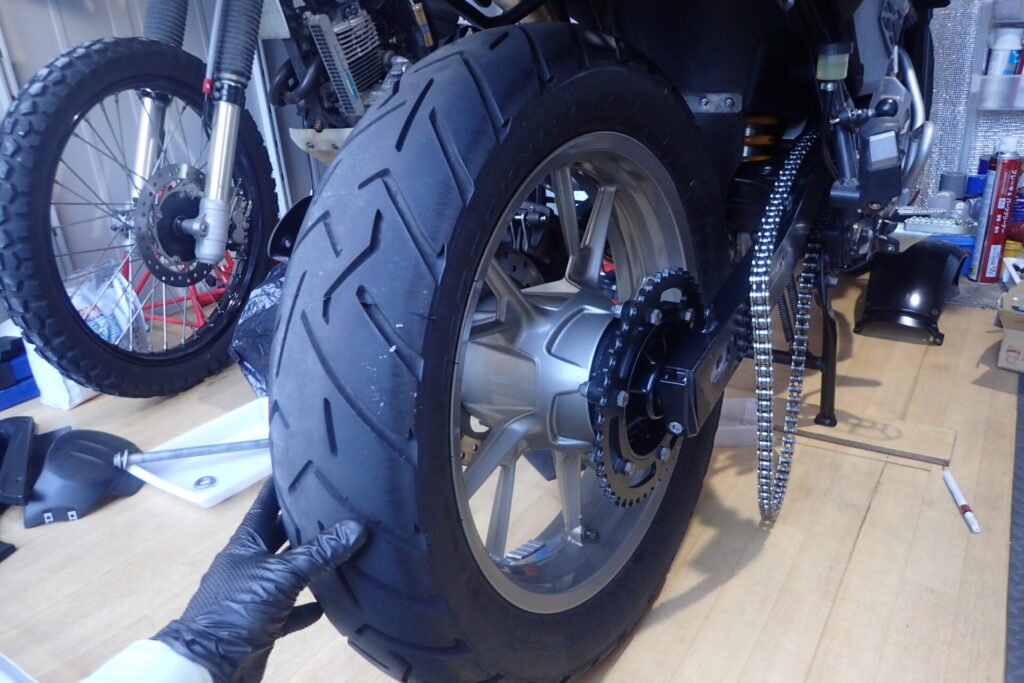
Refit the wheel. What I paid most attention to was keeping the brake disc from hitting the brake caliper, and making sure the disc went in properly between the two brake pads.
Adjust the chain slack
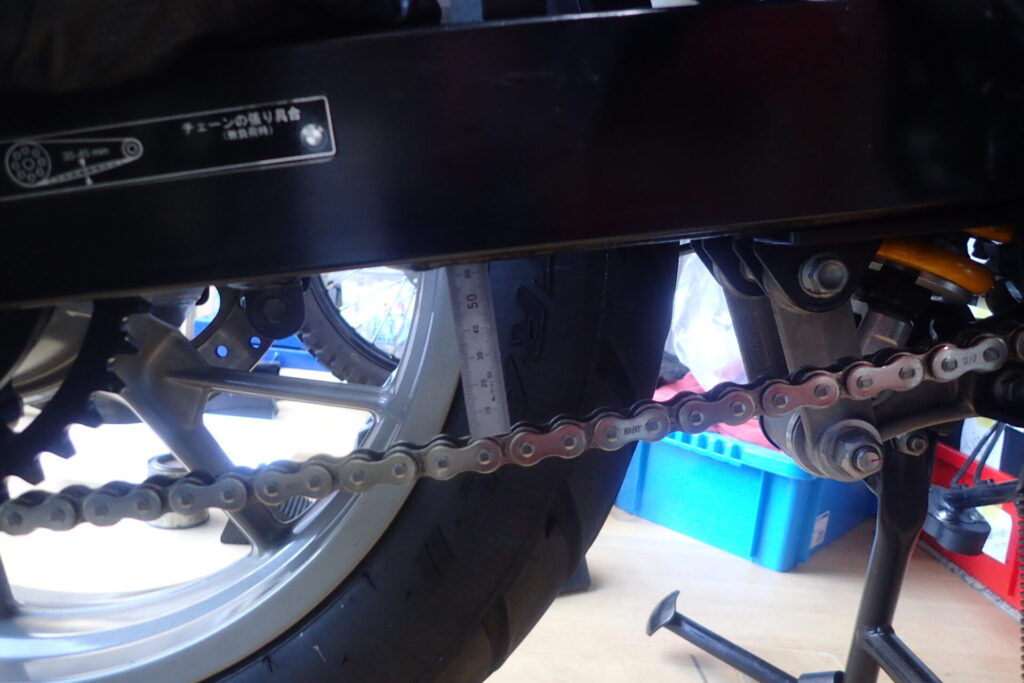
With the wheel in place, push the axle through and adjust the chain slack.
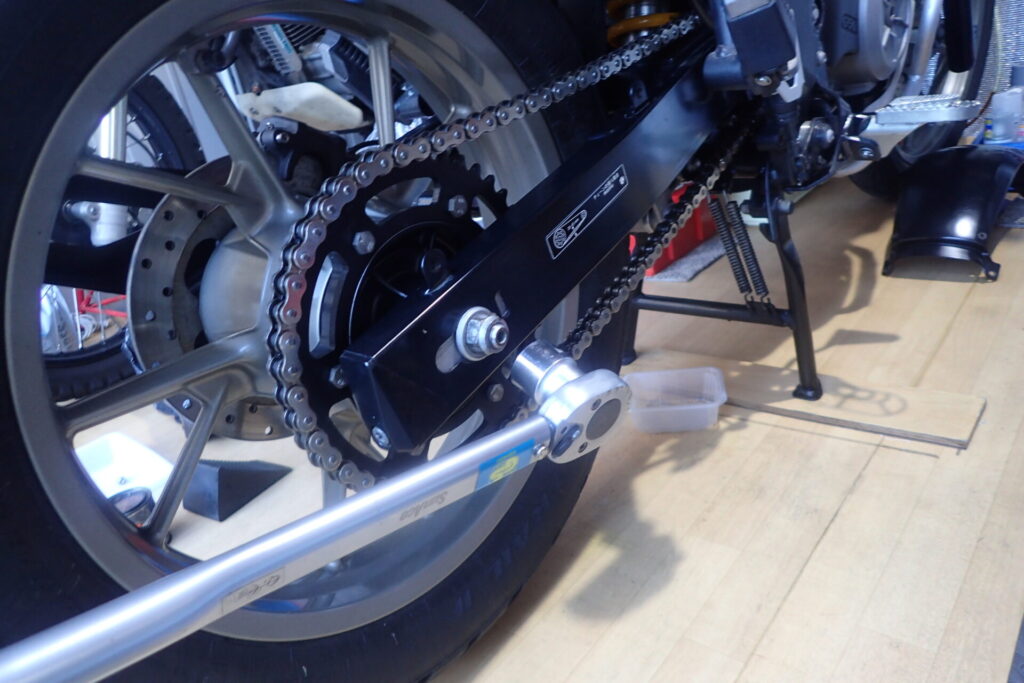
I used the torque wrench here as well.
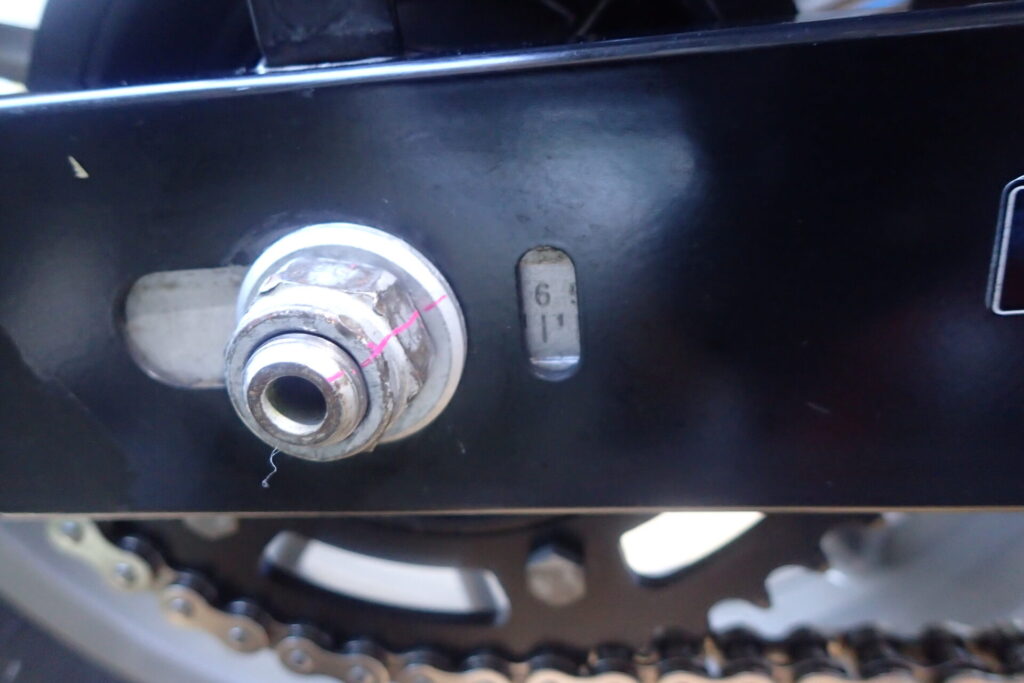
I marked the axle nut after tightening, too.
That completes the pivot shaft replacement.
How to avoid asking yourself “Did I torque that bolt?”
When you service a bike, you loosen lots of bolts and nuts at once. Some are only snugged up for now, some are fully tightened, and sometimes the job runs over several days.
So I often find myself wondering, “Did I actually torque that one?” That’s why I mark every bolt and nut once it is fully tightened, and on parts that would cause big trouble if they came loose, I make the mark show the tightened position as well.
Note: This is a record of work I did on my own bike. I’m not a qualified mechanic. Always follow the torque values and procedures in the service manual for your bike. The EPL grease and Omega grease I used are Japanese products and may be hard to find outside Japan.