Hello everyone.
Today I'm writing about replacing the chain on my BMW G650GS.
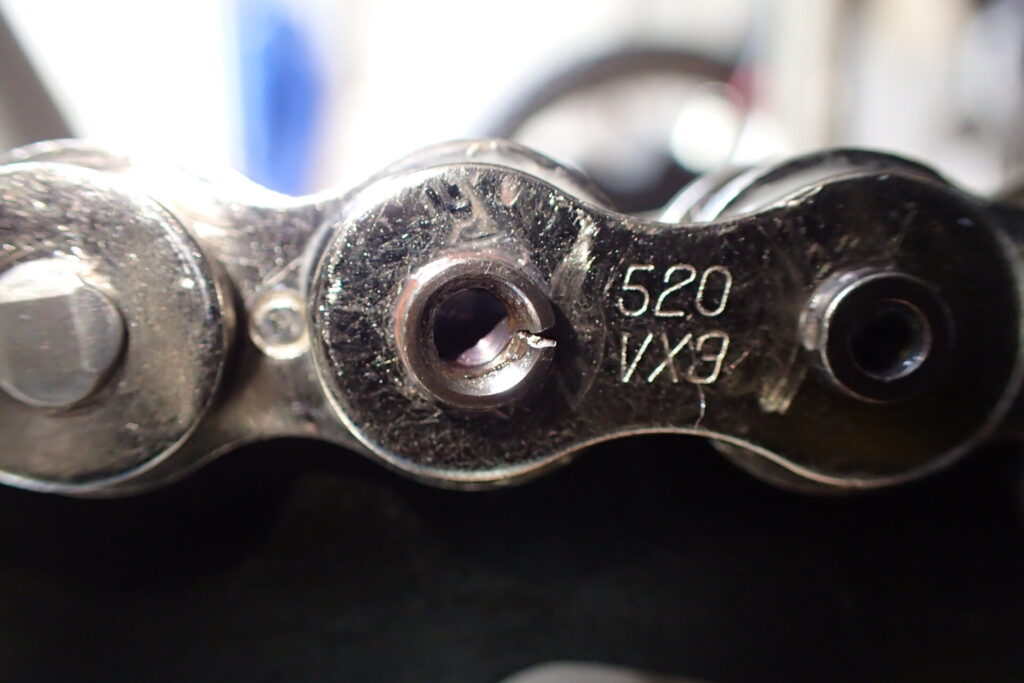
I'll say it first: as you can see in the photo below, I failed at riveting the chain.
I hope this post helps you when you replace your own chain.
The tools I used for replacing and riveting the chain
To replace a chain yourself, you need special tools.
Here I show the tools I used and some that are handy to have.
Chain cutting and riveting tool
To replace a chain, you need a special tool that can cut, press and rivet.
I used the KASHIMARU, thinking that a tool made by a chain manufacturer couldn't go wrong.
- DID KASHIMARU (KM500R): the tool I used this time
Handy measuring tools: calipers and a torque wrench
When riveting, checking the dimensions matters.
Have calipers ready to measure the outside diameter of the riveted pin (the rivet diameter).
You also need a torque wrench to tighten the rear axle to the specified torque.
- Calipers: for measuring the rivet diameter (5.5 mm or more for the 520VX3; check the figure for your chain on D.I.D's website)
- Torque wrench: for the final check of the axle nut, which is directly linked to safety
- Steel rule: handy for checking chain slack
Consumables: parts cleaner, rags and chain lube
When fitting a new chain, it's a good idea to clean the area around it at the same time.
Remove old grease around the sprockets with parts cleaner and wipe it clean with a rag.
Finish by applying chain lube.
- Parts cleaner: for removing old grease and dirt around the sprockets
- Chain lube: one that suits your chain
- Rags etc.: useful for wiping off stubborn oily dirt. I used Kimwipes.
Replacing and riveting the chain, step by step
This is what I prepared:
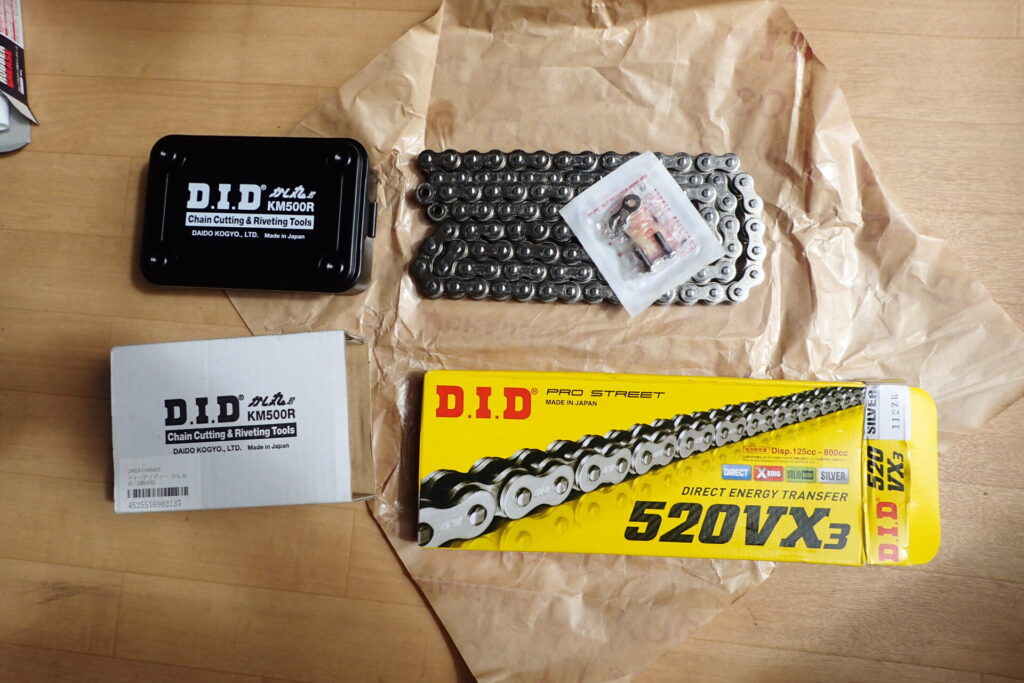
- Chain: DID 520VX3
- Chain riveting tool: DID KASHIMARU
- 19 mm and 27 mm spanners (wrenches) for the KASHIMARU
Fitting the new chain and preparing the link
At this point I had already replaced the front and rear sprockets, so all that was left was to fit the chain.
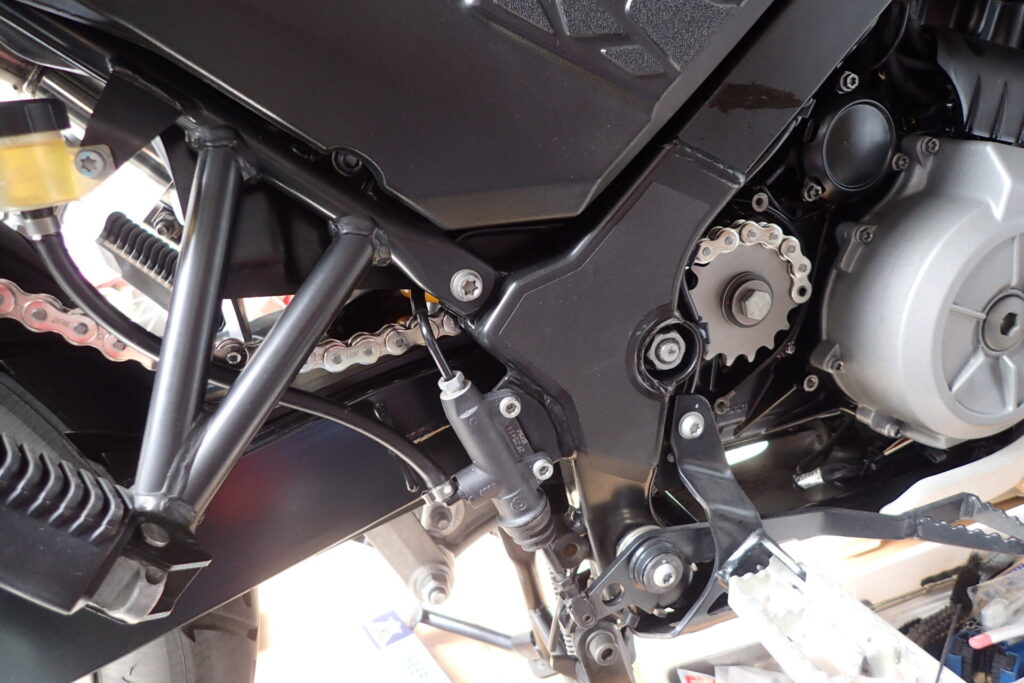
Fit the chain onto the front sprocket.
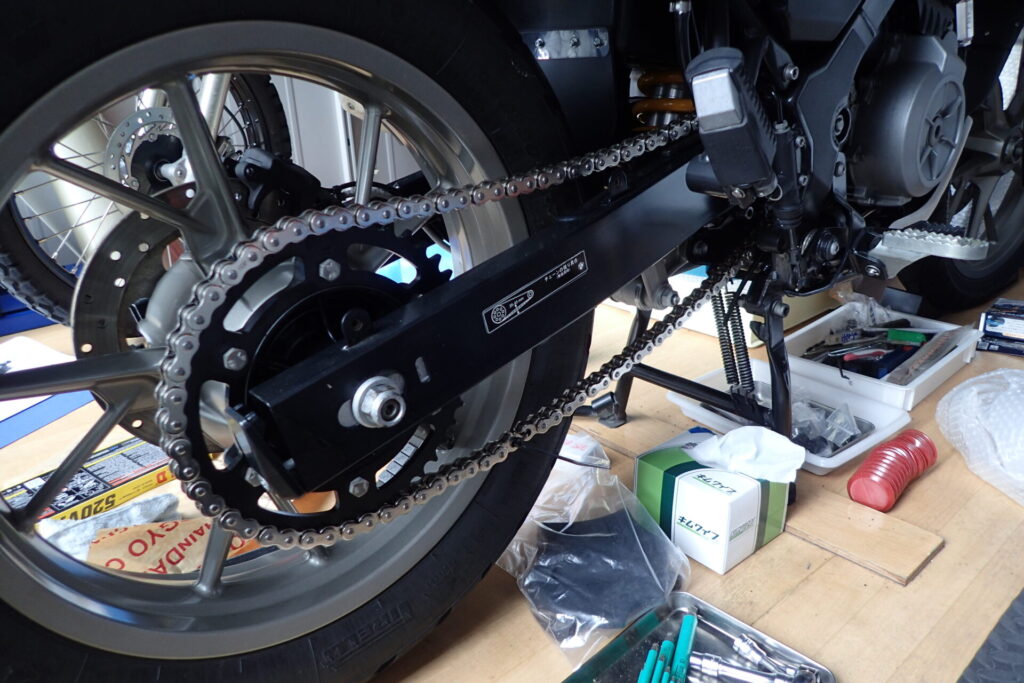
The chain now goes all the way round, so I hold it temporarily with a cable tie and check whether the length is right.
Why check this? Because I changed the number of teeth on the rear sprocket (47T to 44T).
By the way, the chain I bought has 112 links.
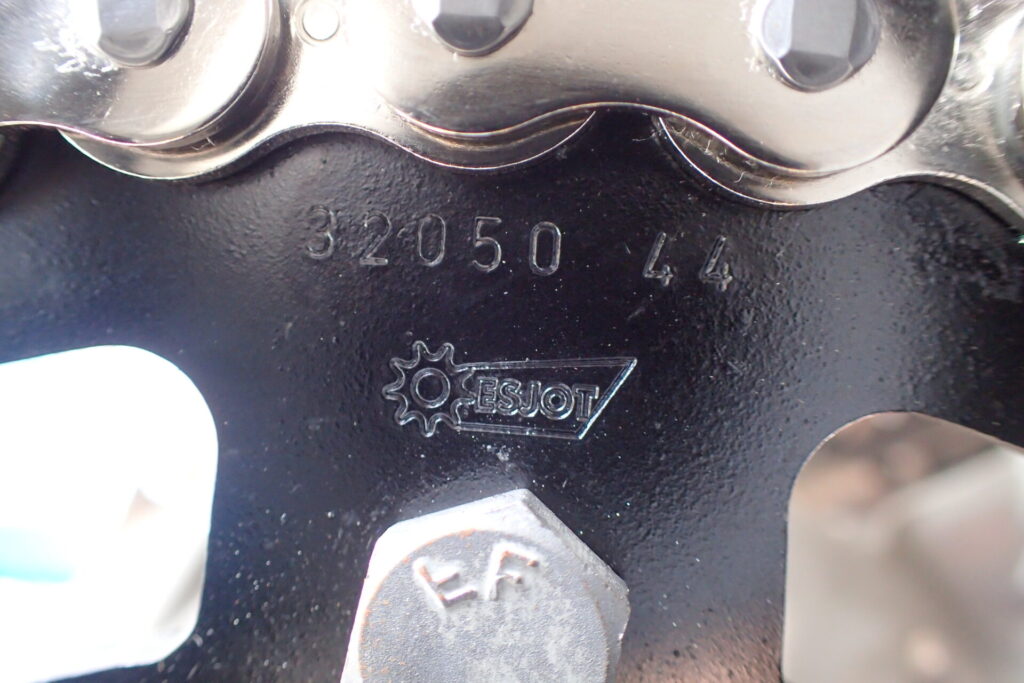
This is the 44-tooth rear sprocket.
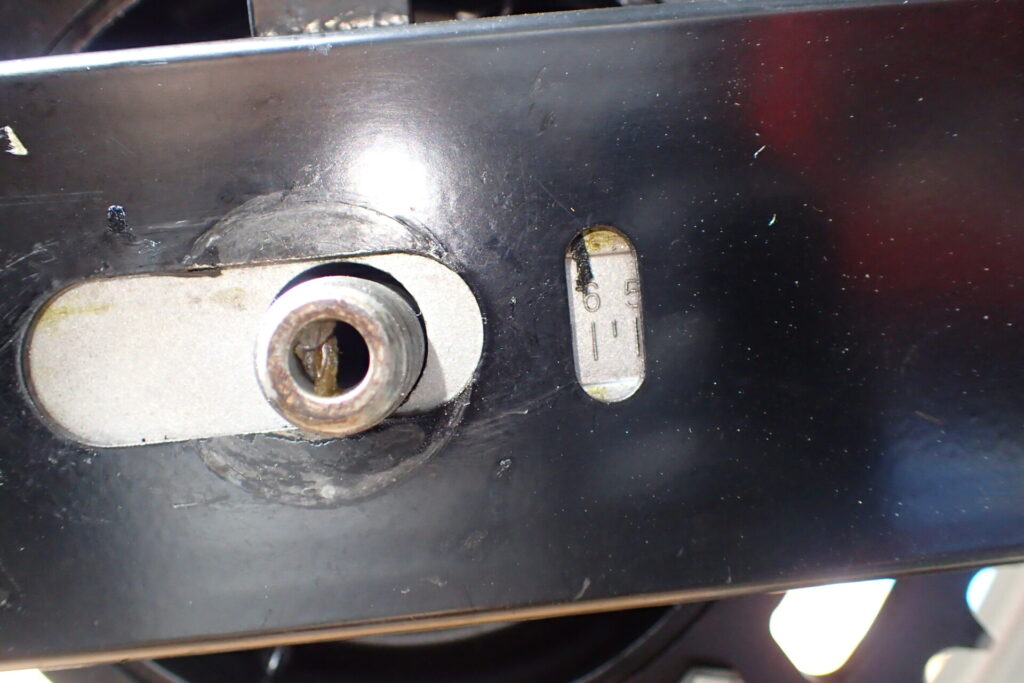
Considering the chain length, the room for moving the rear axle back and chain stretch, I decided that "6.5" on the rear adjuster scale was right.
That puts the rear wheel quite far forward, but any further back and the adjusters won't be able to take up the slack when the chain stretches.
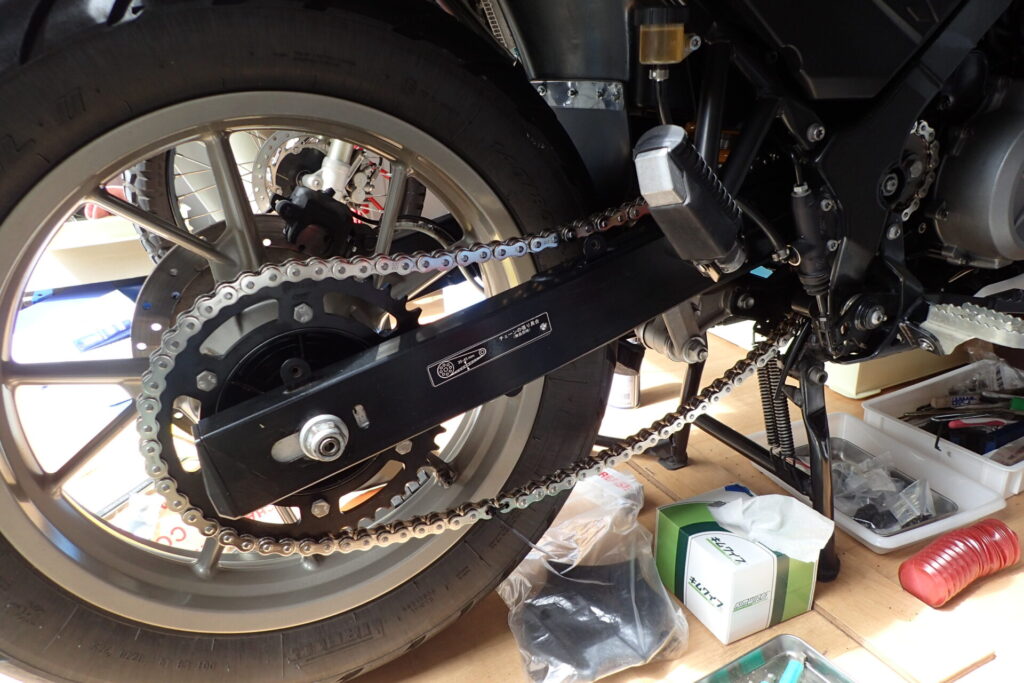
With both adjusters set to match, the chain looked like this.
Really slack... The chain needs cutting.
Cutting and removing the old chain
This time I replaced the chain together with the swingarm bearings, so I didn't need to cut the old chain.
However, because I fitted a smaller rear sprocket, I had to shorten the new chain, so here is how I cut it.
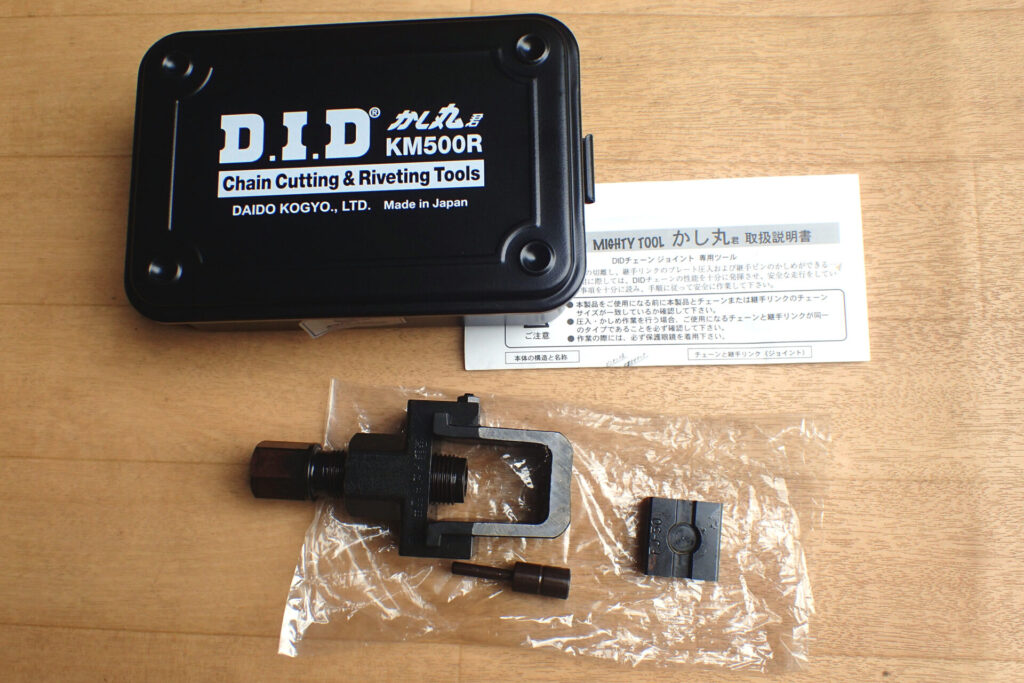
This is where the KASHIMARU comes in.
The photo above shows what comes with it, but I couldn't really understand how to use it from the supplied instructions alone.
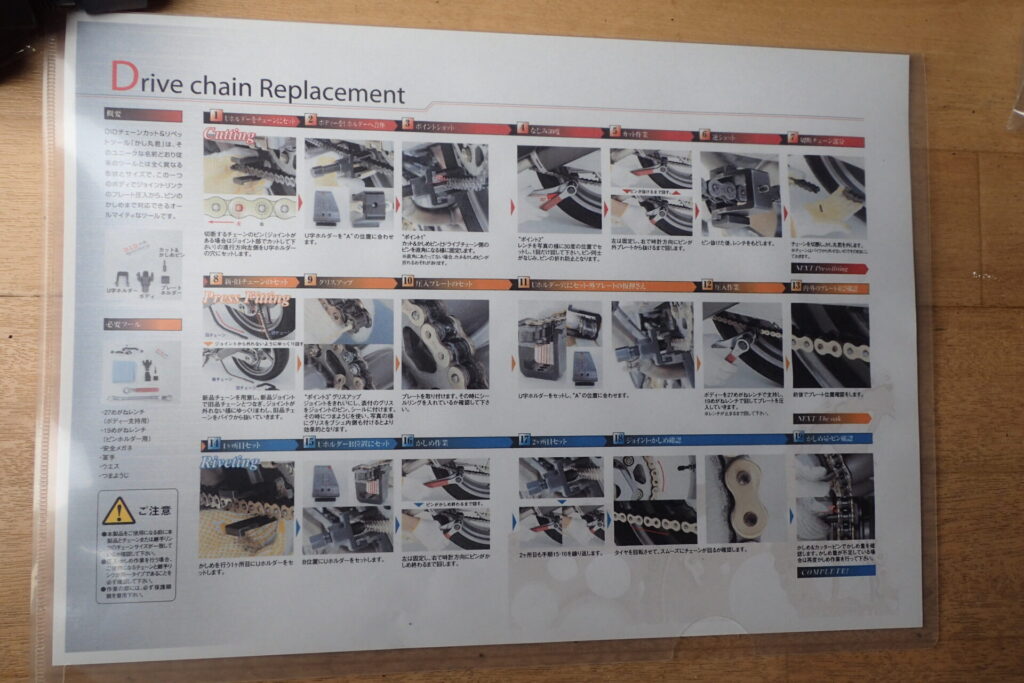
So I checked the DID website, found a clear PDF with photos, printed it out and used it for the job.
The KASHIMARU is also explained on blogs and YouTube, so those are worth a look too.
First, cutting the chain.
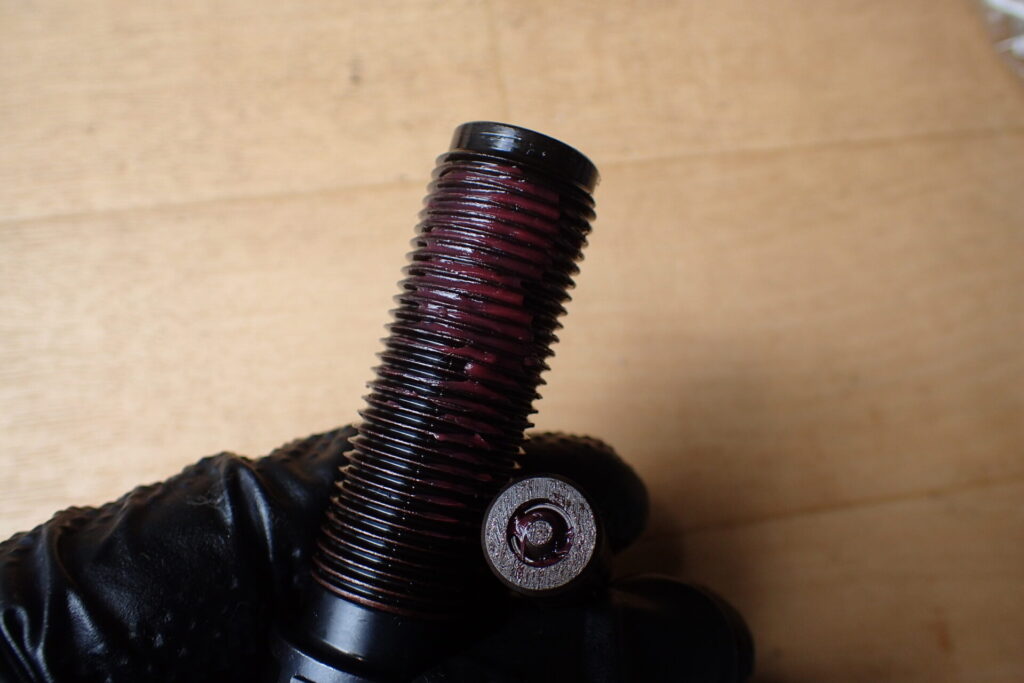
Before cutting: the KASHIMARU cuts and rivets the chain by the force of screwing it in, so I thought the thread would take a lot of load and greased it.
I used WAKO'S Multi Purpose Grease, since it says "extreme pressure".
Now for the cutting.
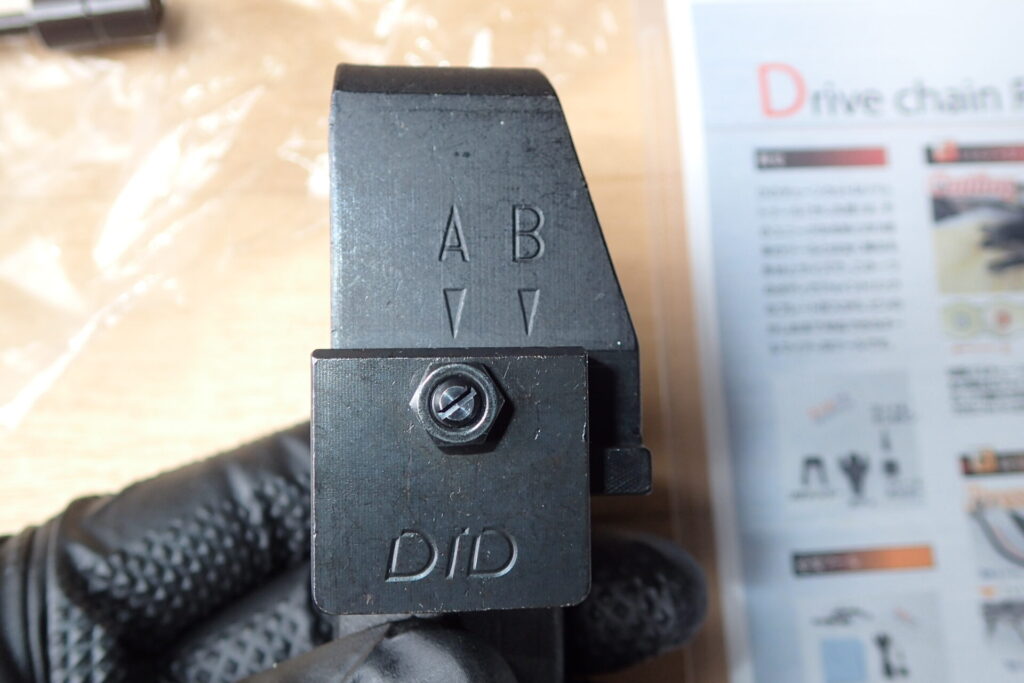
First, set it to position A.
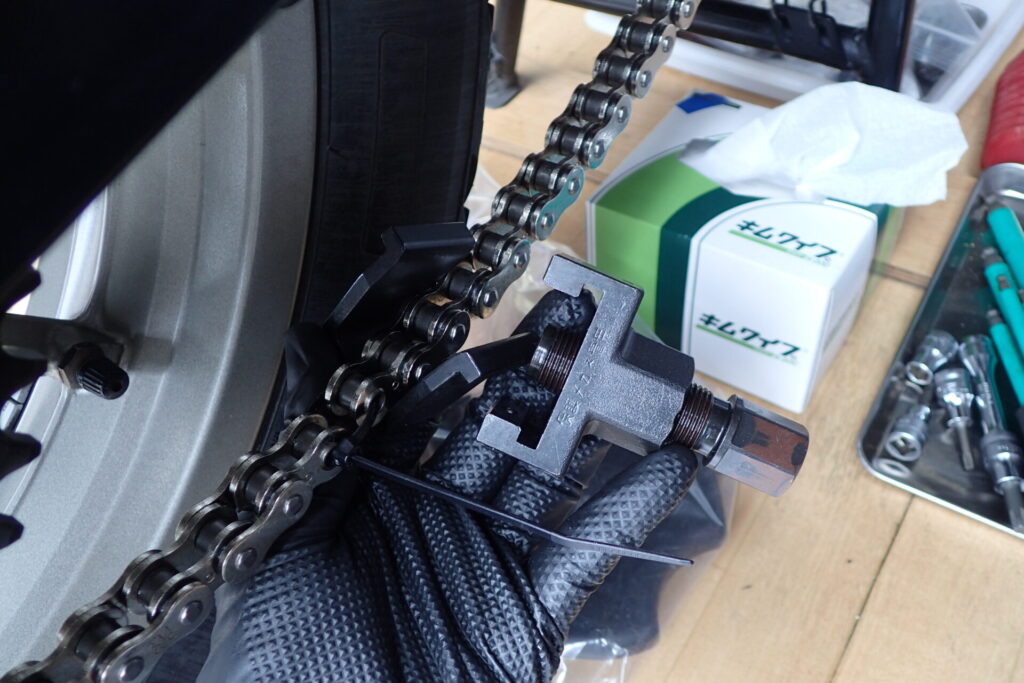
With it set to A, fit the KASHIMARU onto the chain.
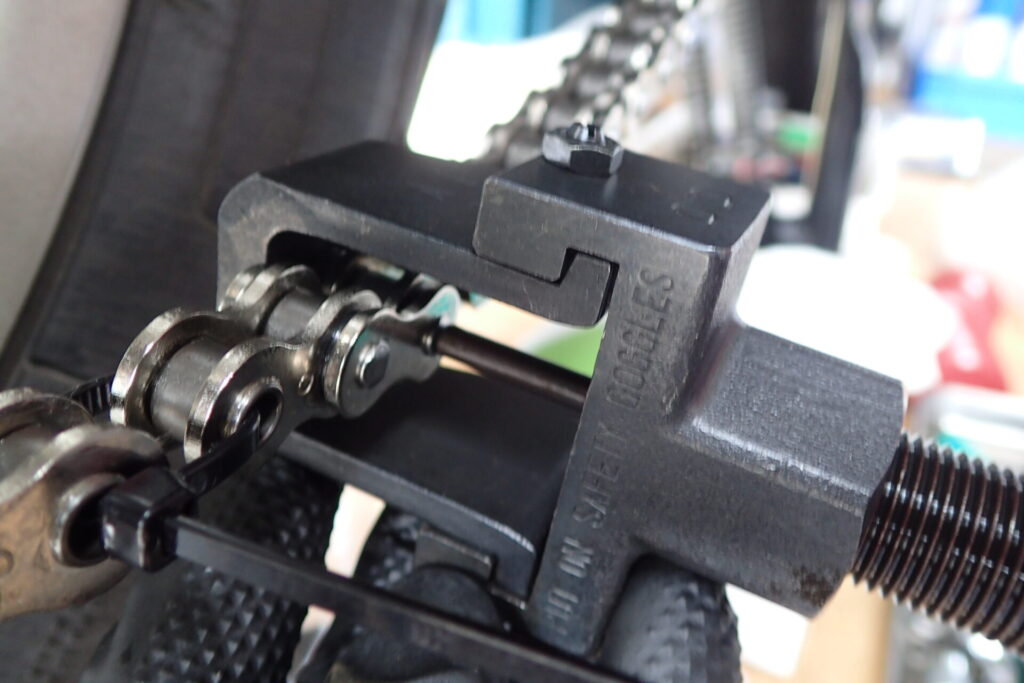
When cutting, it looks like this.
At this point you need to line up the hole in the KASHIMARU so that the pin being pushed out can come through it (see the photo below).
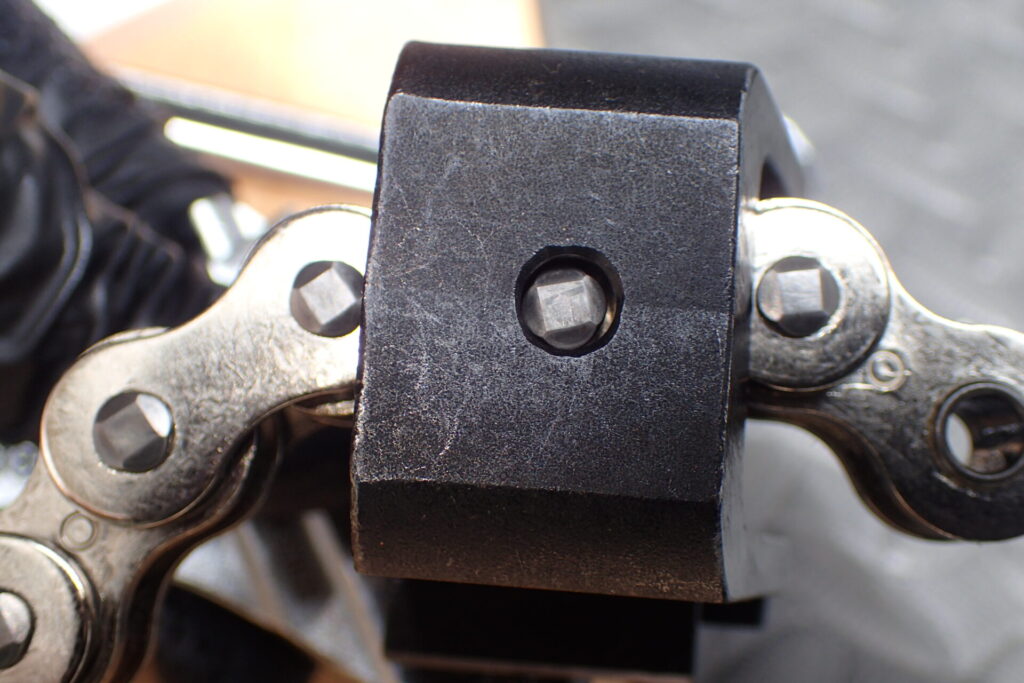
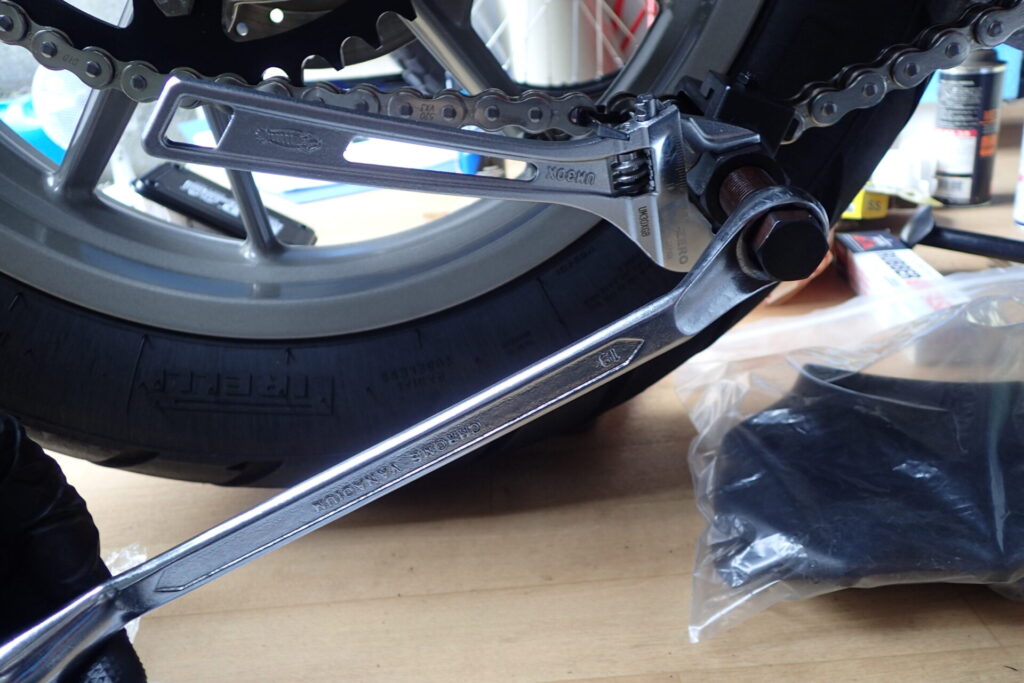
I used a ring spanner and an adjustable spanner. First, set the two spanners at an angle of 30 degrees, as in the photo above.
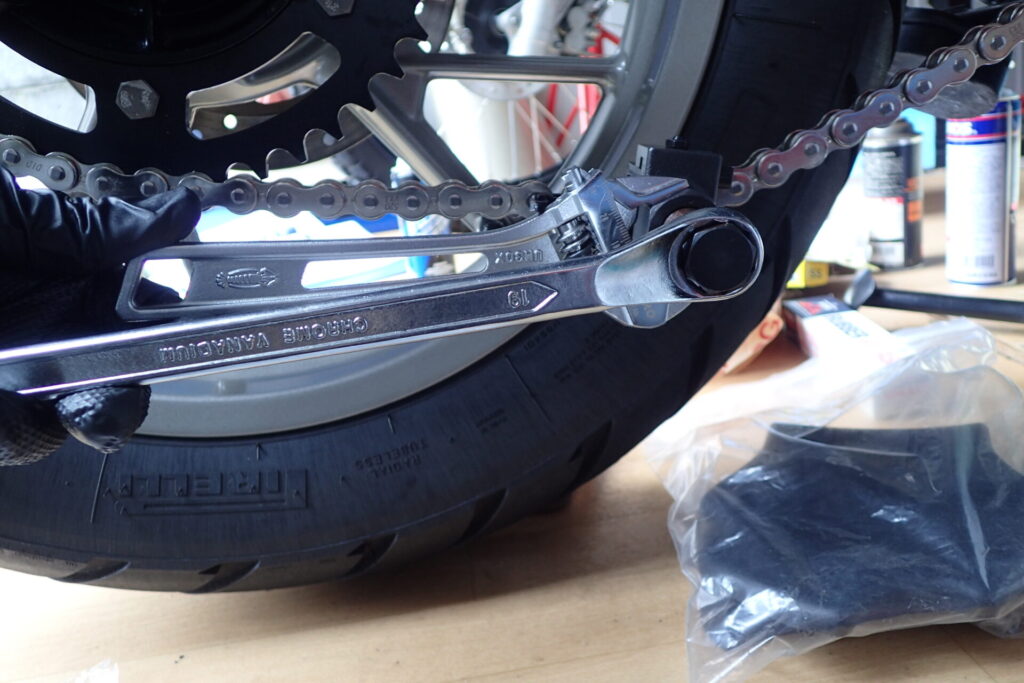
Then bring the two spanners in line (in other words, tighten the KASHIMARU bolt by 30 degrees) to seat the cutting pin, according to the instructions.
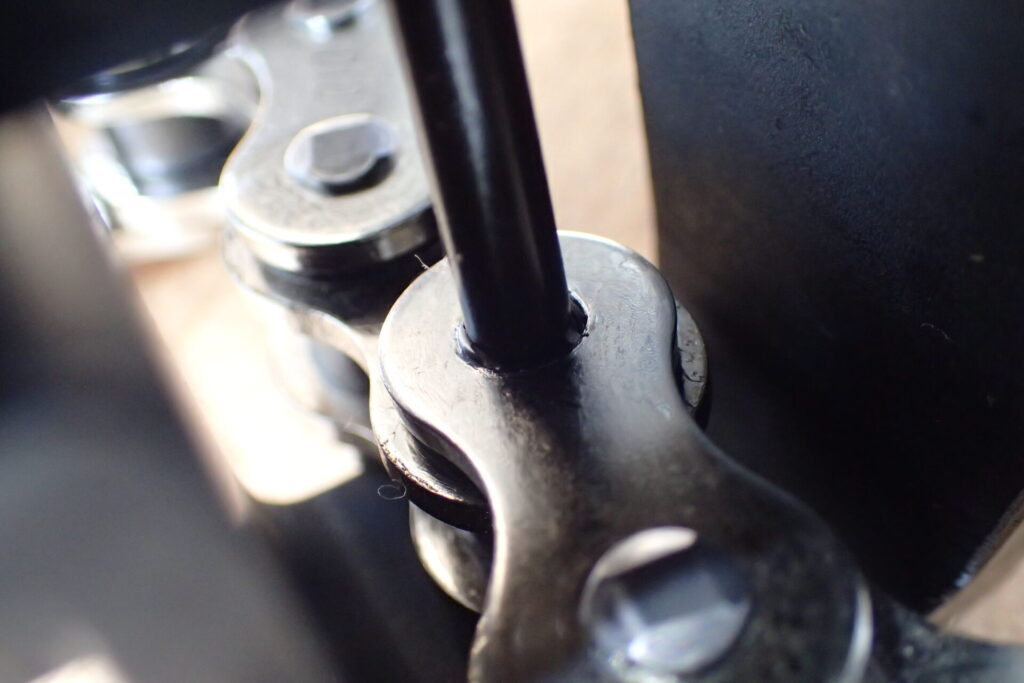
Close up, it looks like this. The KASHIMARU pin pushes the chain pin out.
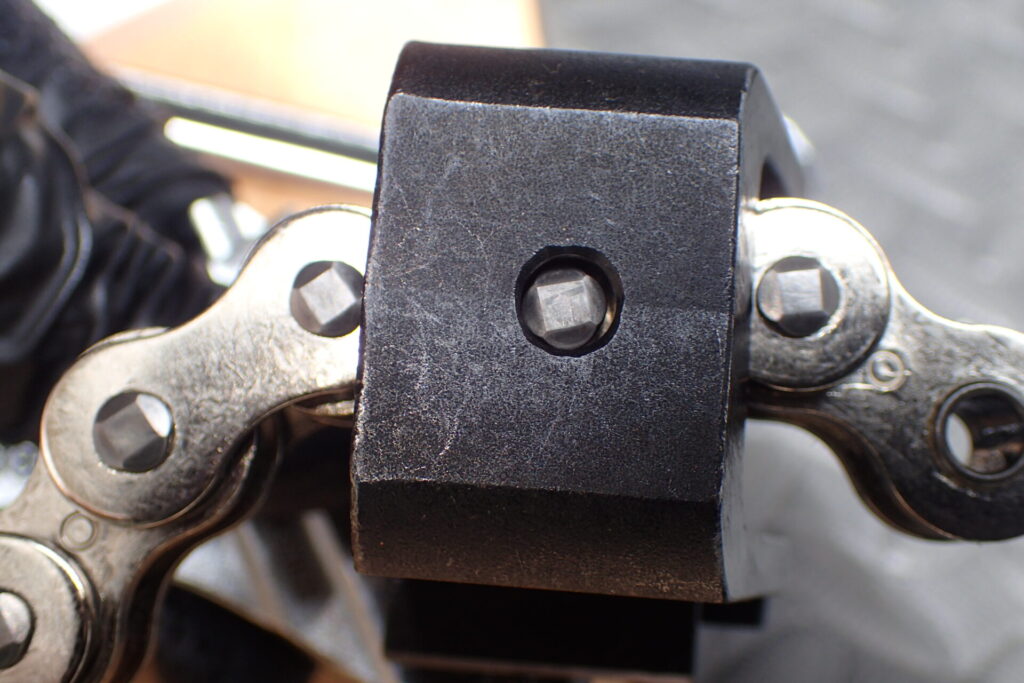
The pushed pin comes out through the hole in the KASHIMARU. That is why lining it up at the start is so important.
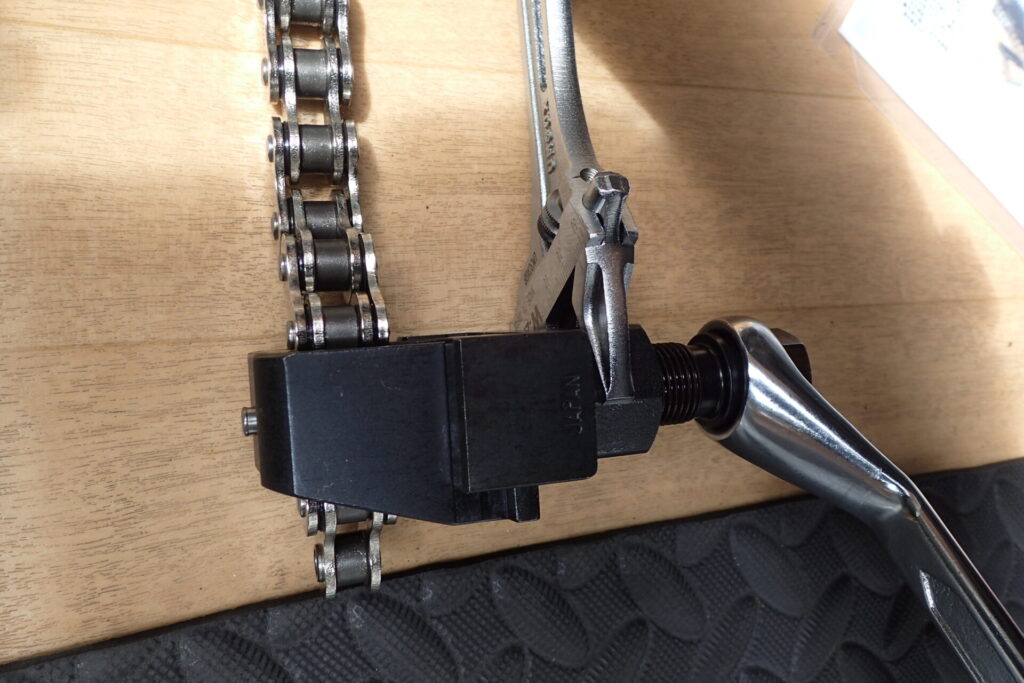
Hang on? I was working with the chain on the bike, but now it's off...
In fact, this job takes a lot of force.
With the chain on the bike, and with an adjustable spanner, I couldn't do it, so I took the chain off the bike to work on it.
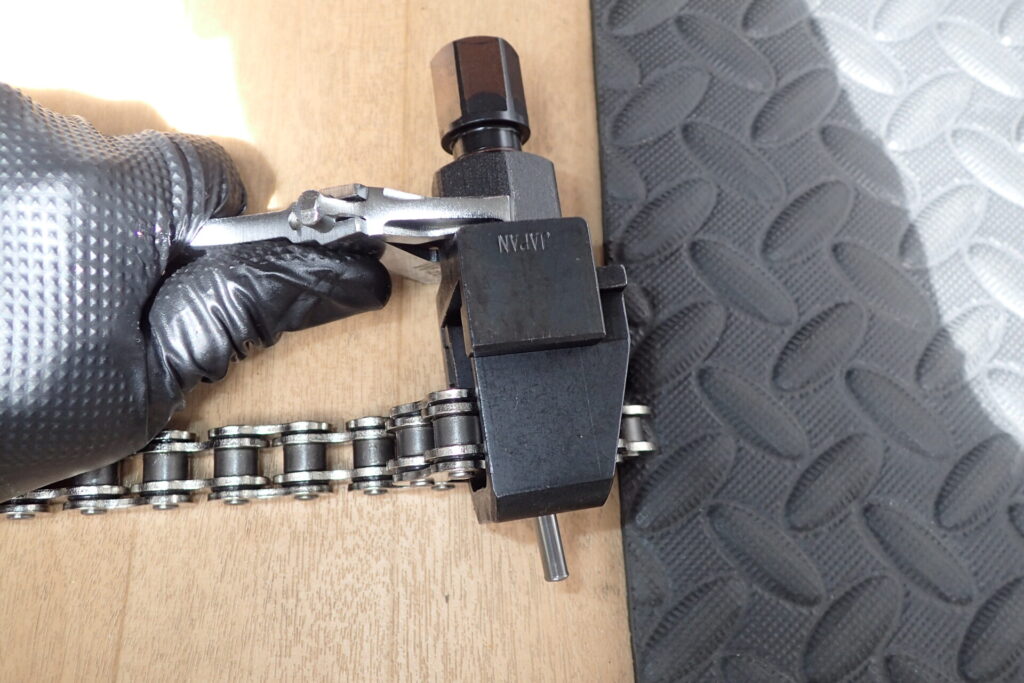
Somehow I managed to push the chain pin out.
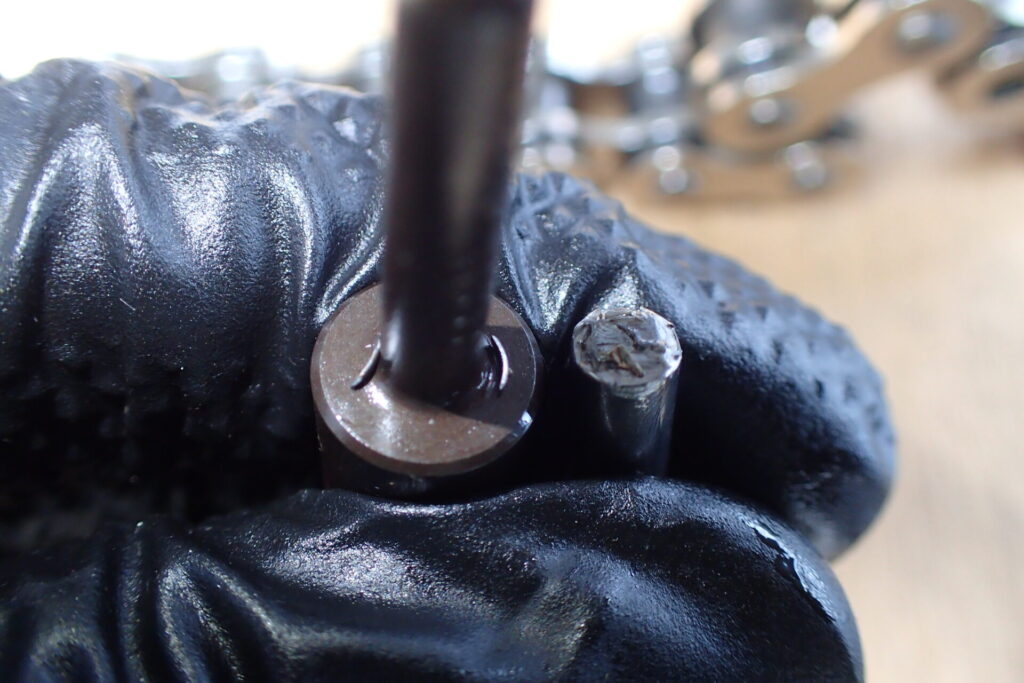
Looking closely at the removed pin and the KASHIMARU, I found metal fragments on them.
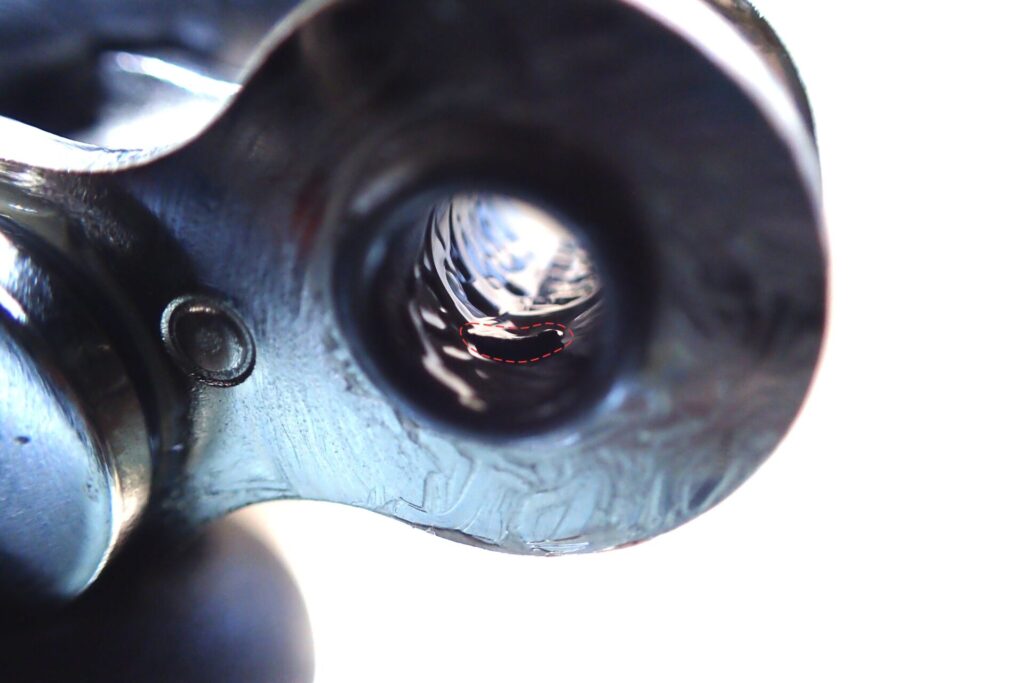
There were metal fragments inside the cut chain too.
Pressing on the plate (read the KASHIMARU manual carefully!)
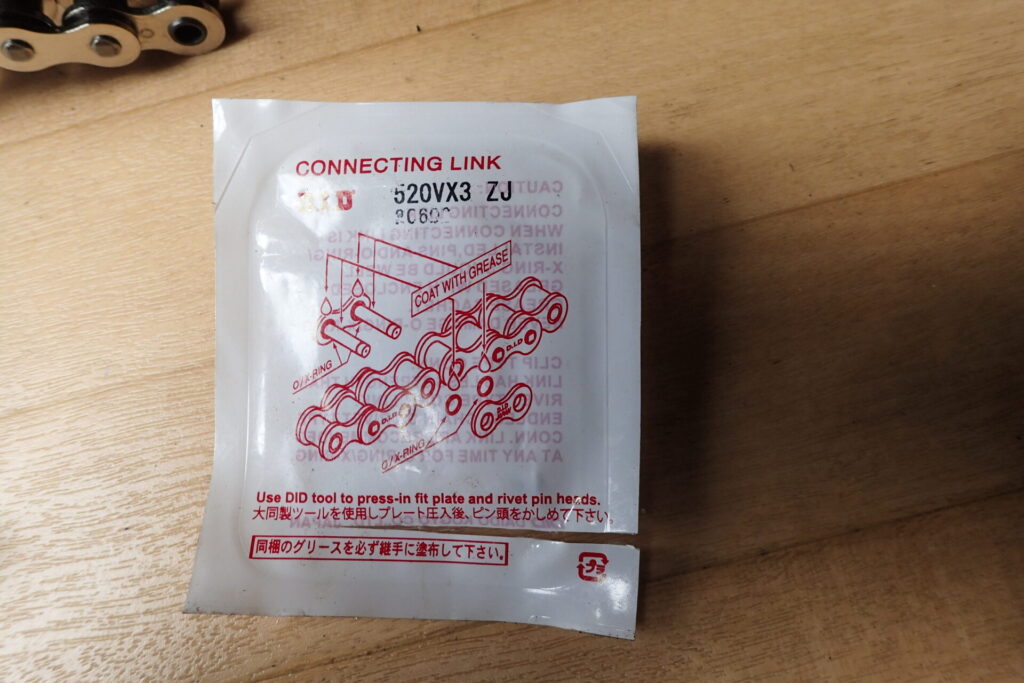
This is the rivet-type connecting link supplied with the chain.
It came with the link, O-rings and grease.
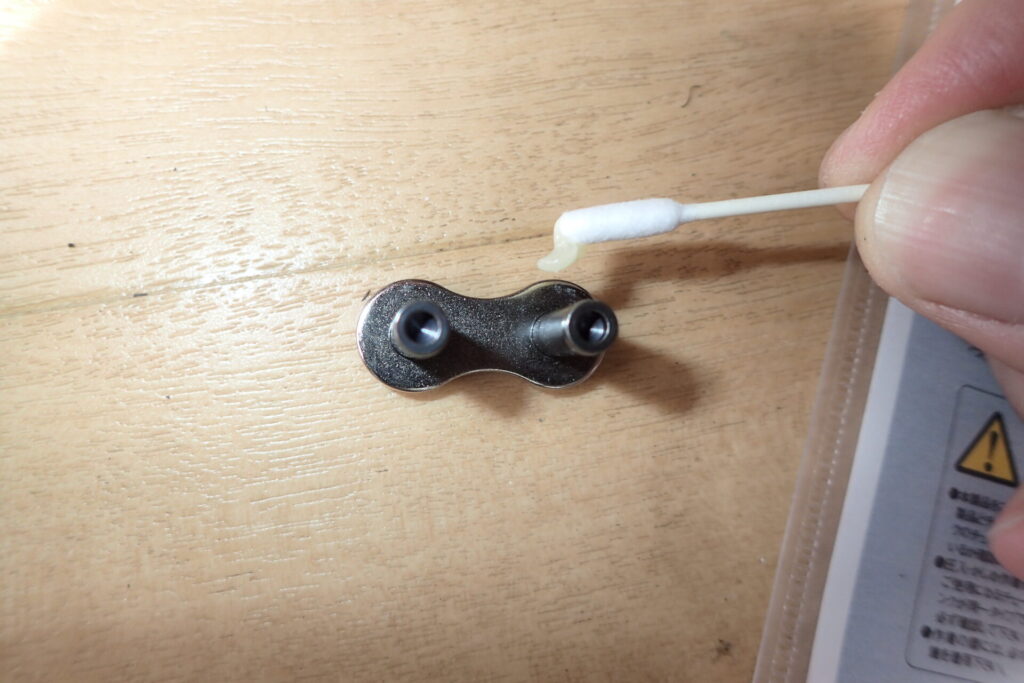
I used a cotton bud to apply the grease.
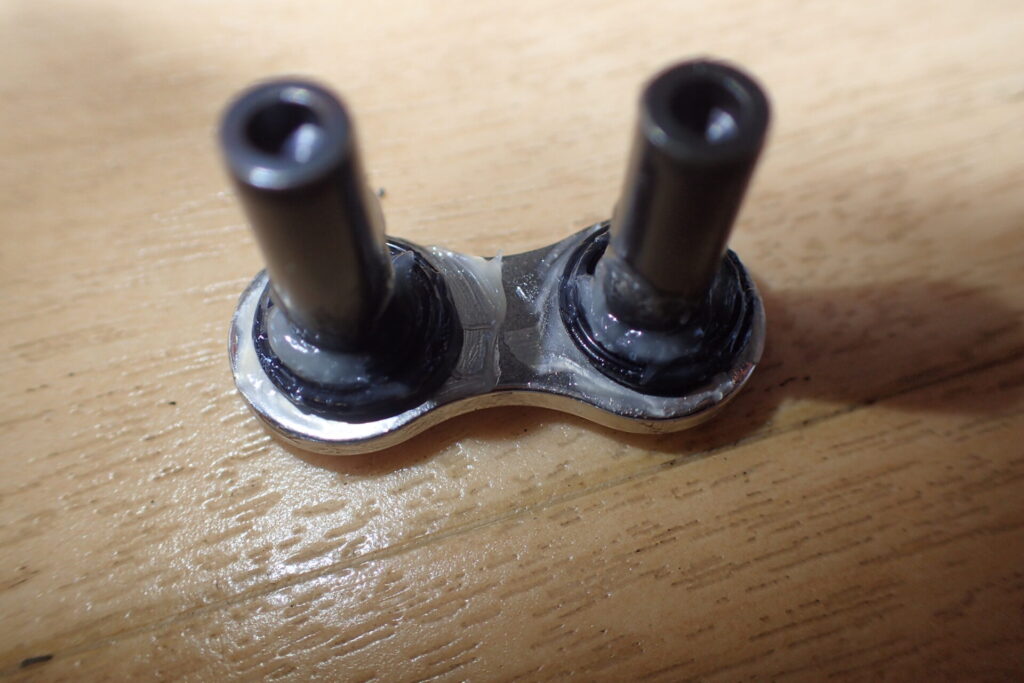
Once the link is fitted, you can never grease it again, so I put on as much as I could.
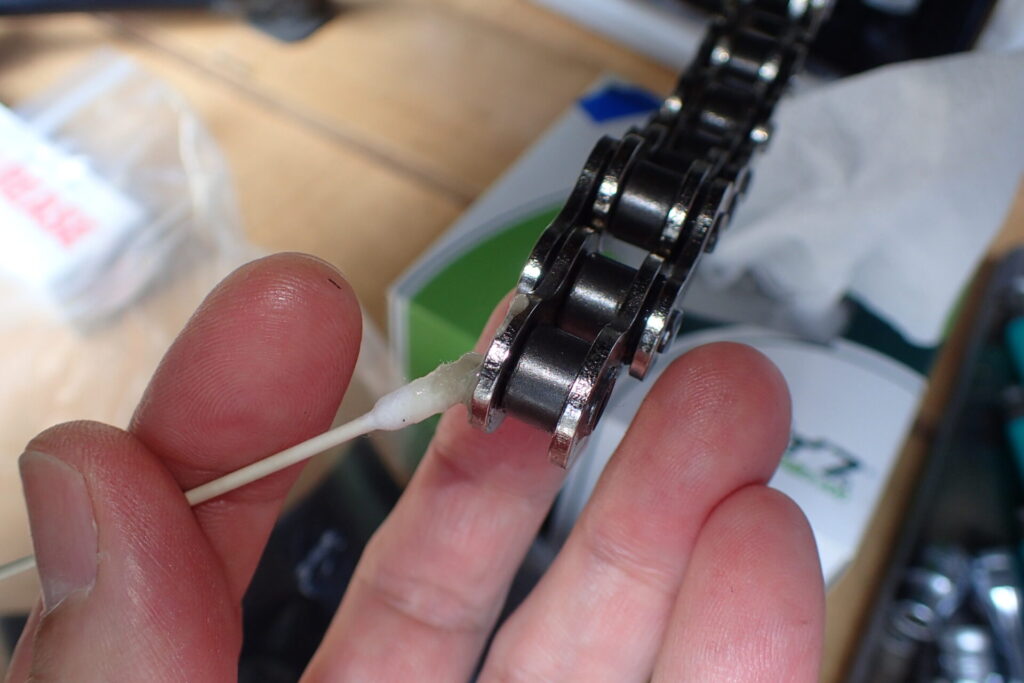
Grease the chain side too.
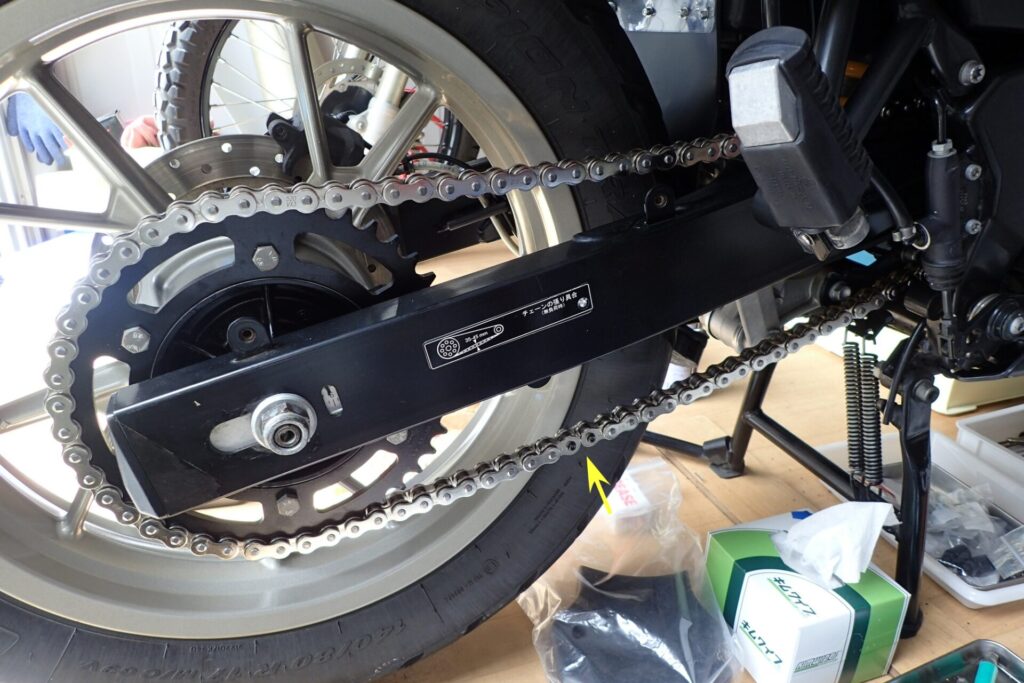
Join the chain with the link. The yellow arrow in the photo above shows where the link is.
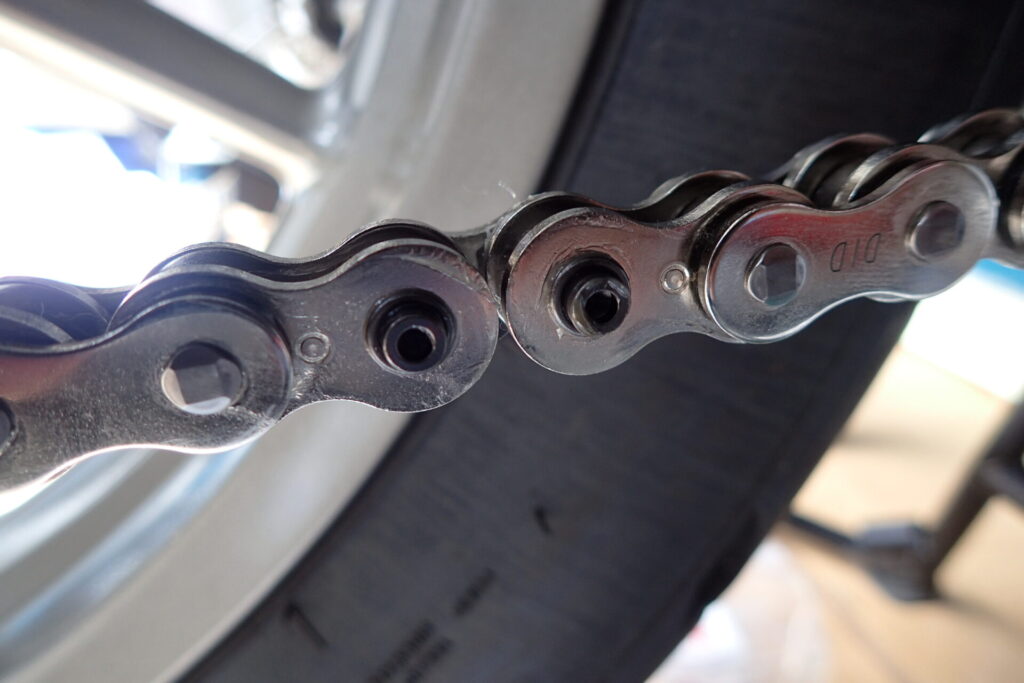
The link is just passed through the chain.
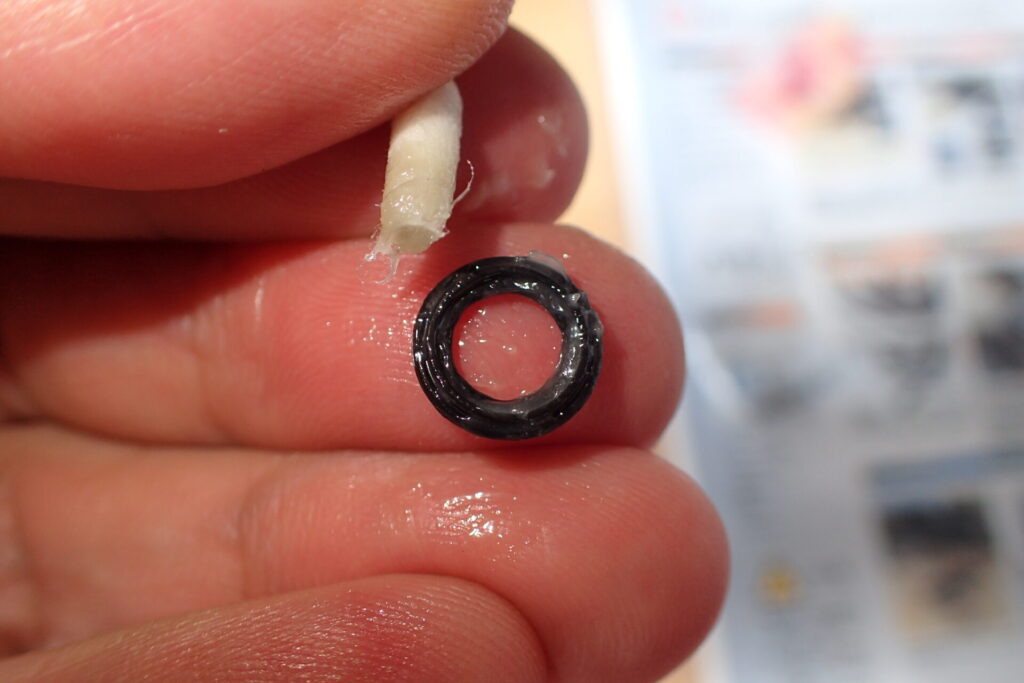
Grease the O-rings well too.
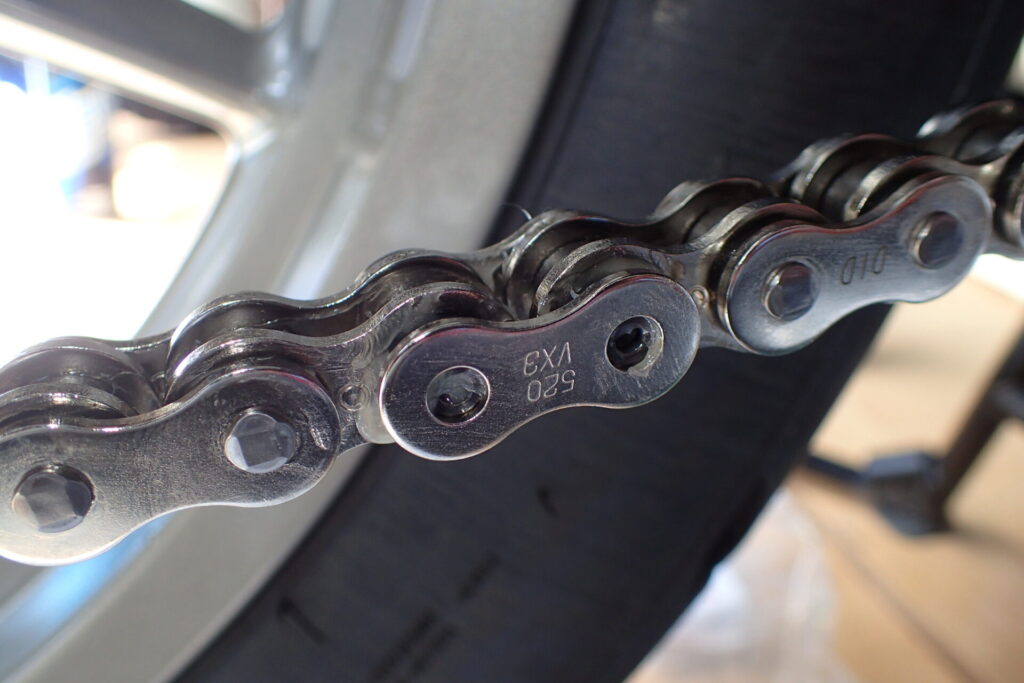
Fit the side plate onto the link. I couldn't do this by hand, so I used the KASHIMARU here too.
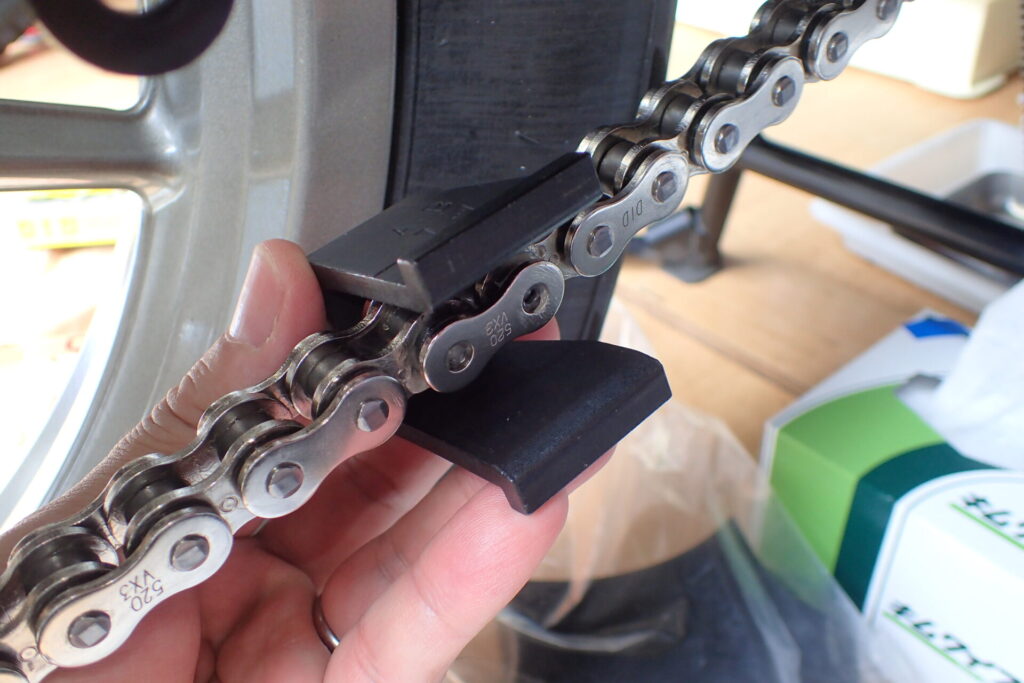
Set the KASHIMARU up to press the plate on.
Here I suddenly wondered how far I should press the plate on with the KASHIMARU.
If I pressed it too far, the chain wouldn't move freely.
So I measured the width of the chain away from the link first.
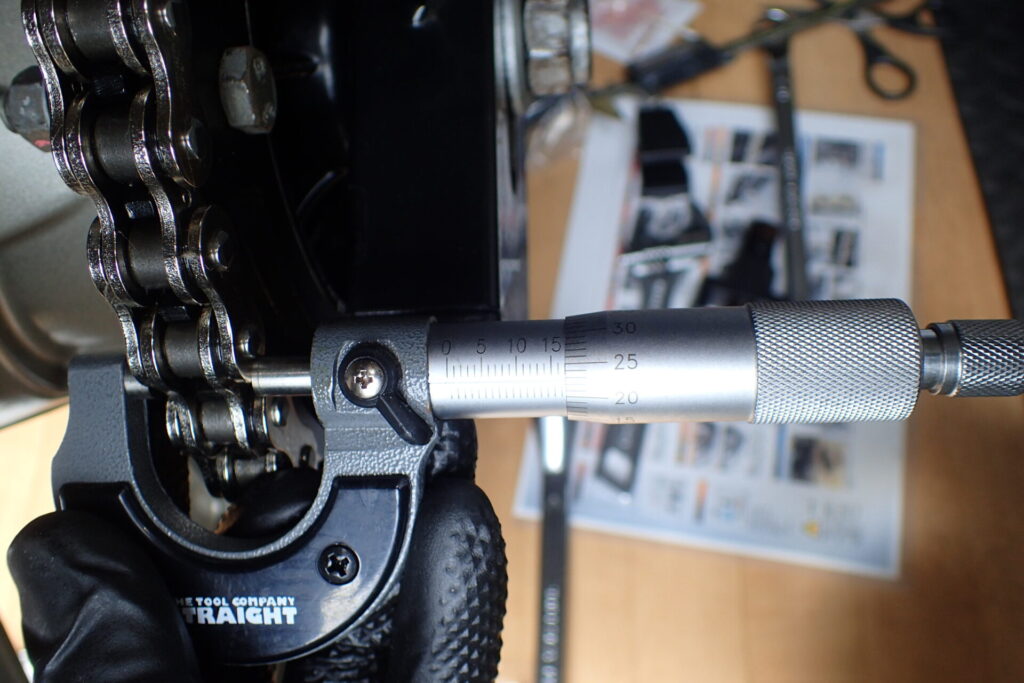
17.225mm
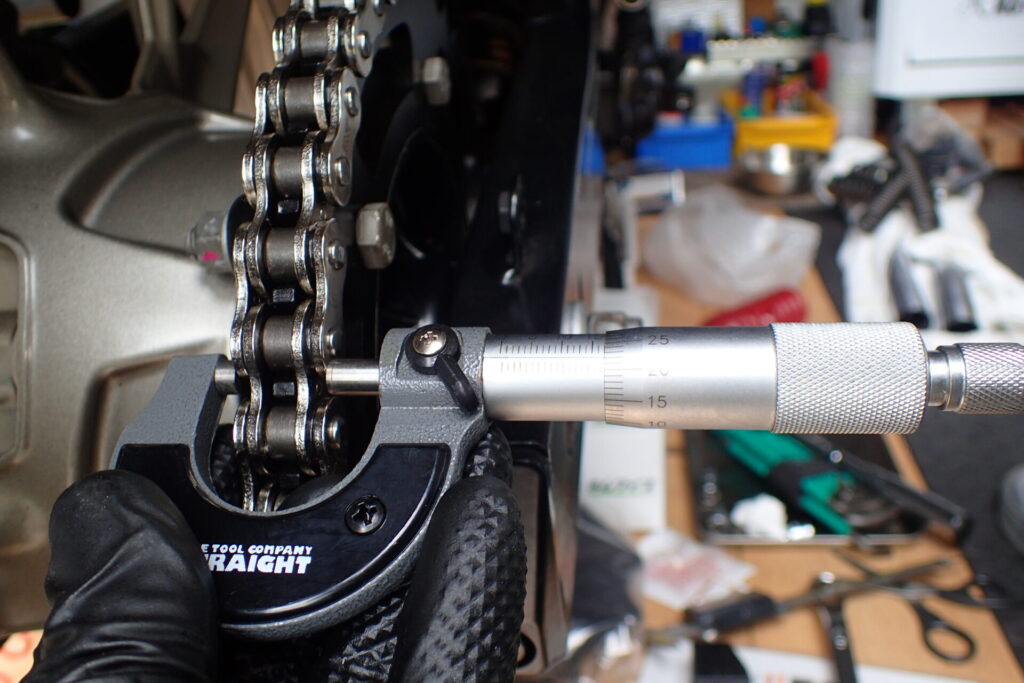
17.222mm
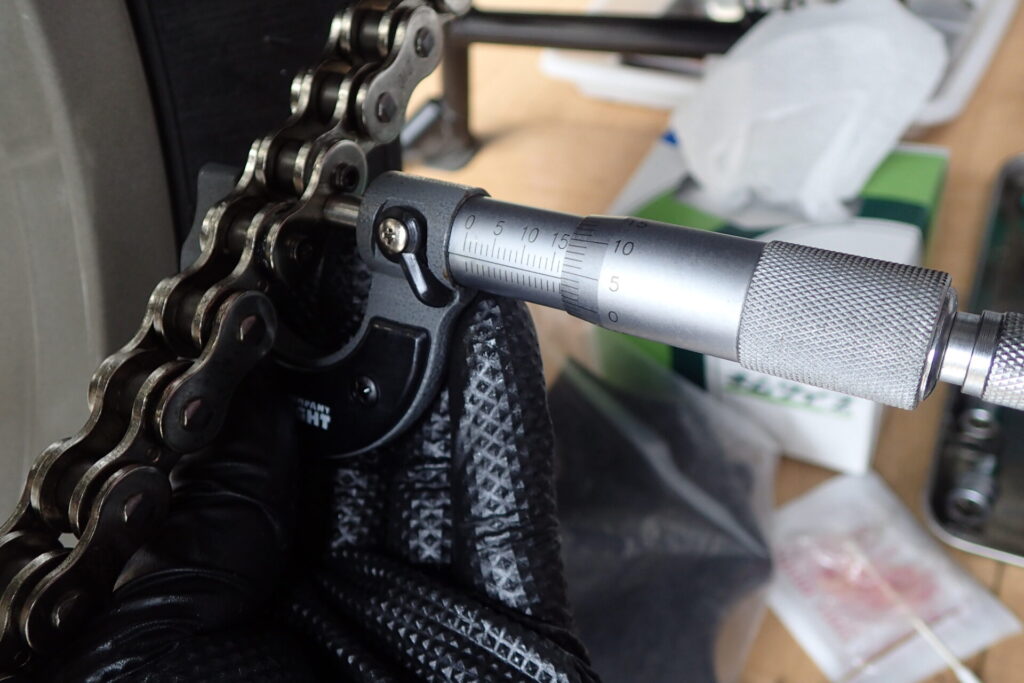
17.038mm
It was a rough measurement, but I decided the chain width should be about 17.0 to 17.25 mm.
Carrying on, I found an important point in the KASHIMARU instructions.
When pressing on the plate, use the "plate holder".
With the plate holder, you don't need to worry about the chain width: just turn the spanner until it stops.
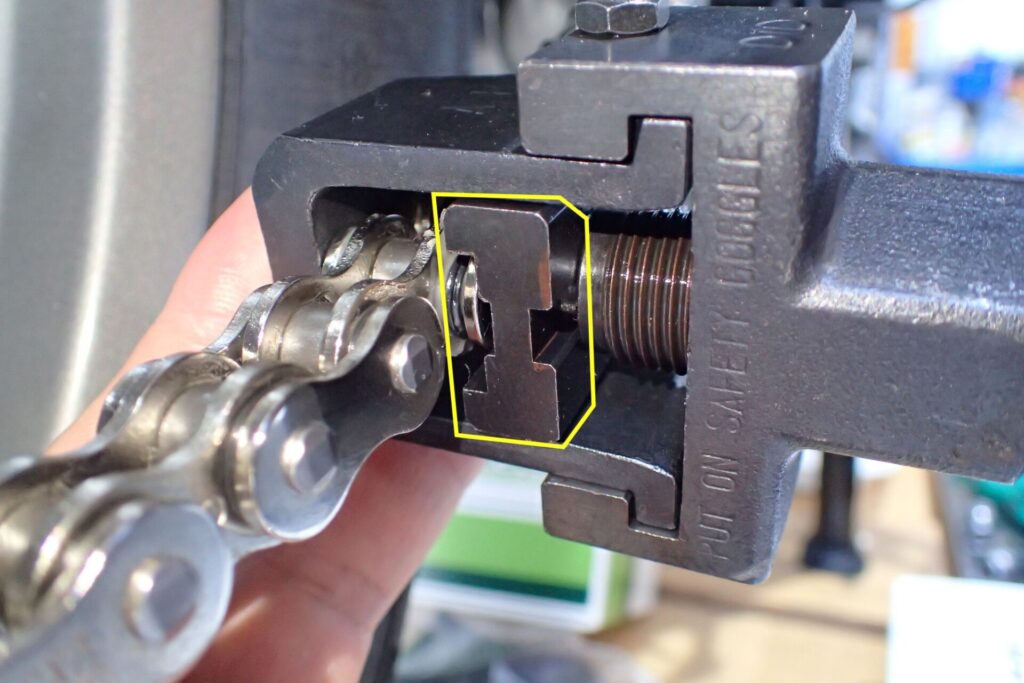
The plate holder is the part circled in yellow in the photo above.
Fit the plate holder and screw the bolt in until it stops, and the plate is on.
Riveting the pins and checking the result (this is a failure!!)
Now that the link is in the chain, it's time to rivet.
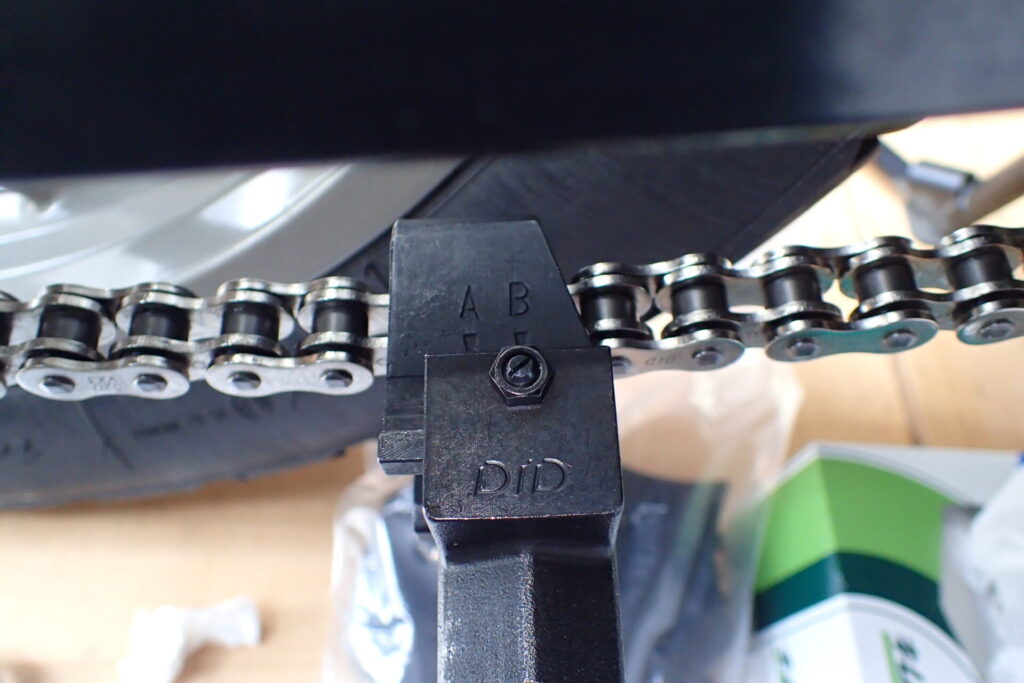
For riveting, use the KASHIMARU in position B.
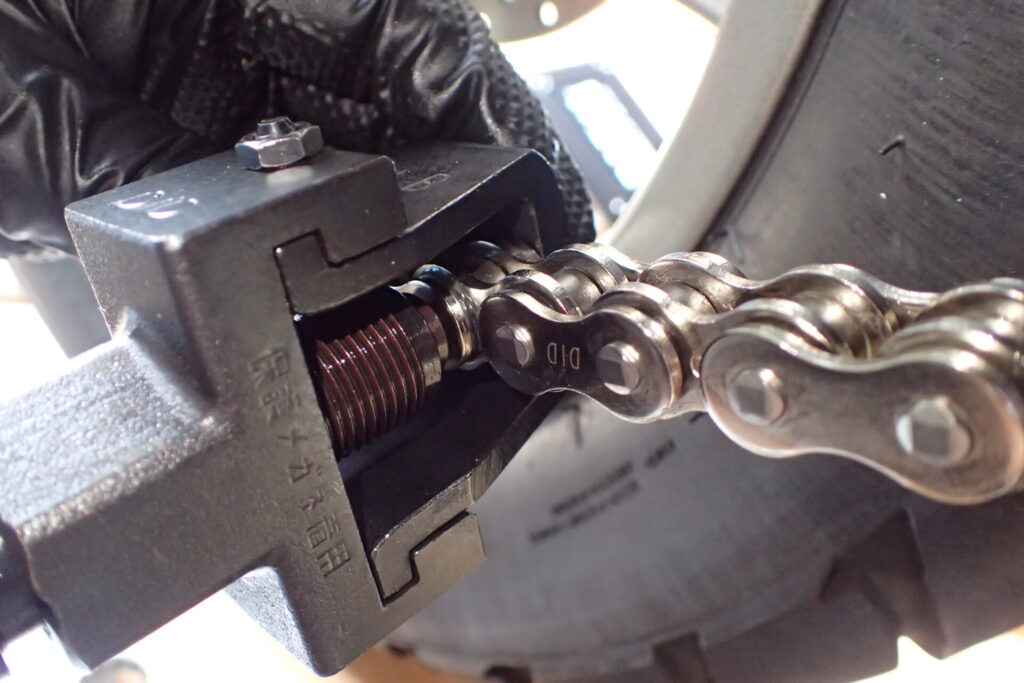
Fit the riveting tip and screw it in little by little.
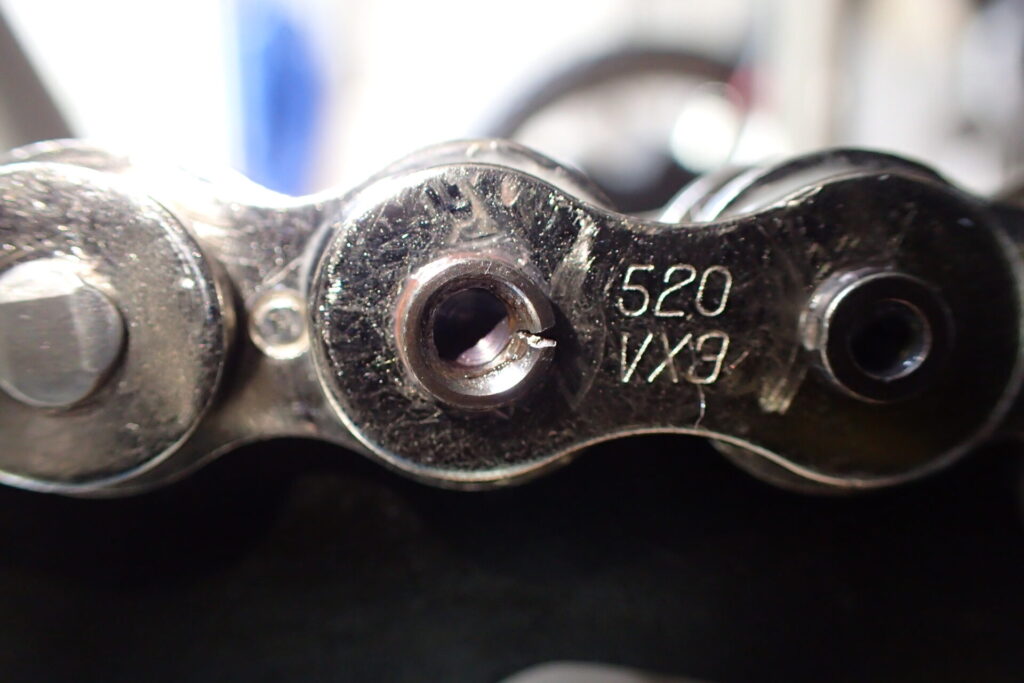
Yes! I screwed it in too far!!
I thought I had been careful all the way, but I failed at the very end.
I had been thinking I could finally go for a ride and test it once the chain was done, so I was gutted.
Why it failed!
- I was checking the riveting wrongly with the KASHIMARU riveting tip
- I didn't check the rivet diameter while working
- The KASHIMARU tool and the chain were at an angle while riveting.
I ordered a new connecting link straight away, but the job is on hold until it arrives.
Oh dear...
Here is the post about my second attempt.