Hello everyone, Boo here.
Today's post is about rear linkage maintenance.
Has your bike started to feel a bit awkward to ride lately, unsettled over bumps in the road, or less comfortable than it used to be?
There can be many causes, but I think one of them is a rear linkage that has run short of grease.
Using my BMW G650GS as the example, I'll go through replacing the rear linkage bearings, greasing them and replacing the oil seals (this post covers stripping and cleaning).

First, to remove the rear linkage (the deflection lever), I disconnected the joint to the swingarm (the tension strut).

To get the tension strut off, I removed the swingarm as well.
For removing the swingarm and pivot shaft, see the post below.
-

-
How I Removed a Seized Swingarm Pivot Shaft on a BMW G650GS
Hi everyone, it’s Boo. This time, I removed the swingarm pivot shaft from my BMW G650GS. BikeBMW G650GS (2012)Time2 days (the shaft was rusted in place and would not come out in one day)DifficultyFor riders who have removed wheels or suspension parts before (you remove the tension strut and support the swingarm while you work)Tools21 mm (nut on the sprocket side), 22 mm (bolt on the brake side), 18 mm and 19 mm (tension strut), a plastic hammer and a heavier hammer, an impact driver, a thin steel rod (wrapped in masking tape)ChemicalsSilicone spray (to get it out), Hanasaka G ...

The tension strut and other parts after washing in alkaline cleaner at 40 to 50°C.

There was still plenty of grease, but an oil seal was sitting at an angle.
I can't tell whether it was pressed in crooked from the start, or whether a stone got caught in it on the road and pushed it over.

The bush has marks where the bearing rollers have rubbed.
Could these be smearing (see below)? Either way, I'll try a grease with extreme-pressure additives when I put it back together.
https://www.ntn.co.jp/japan/products/care/damage/sumiaring.html
Quoted from the NTN website (in Japanese)

With the swingarm off, I removed the deflection lever.

I took photos so I'd know which way the bolts go when I reassemble it after maintenance.

The deflection lever just after removal.

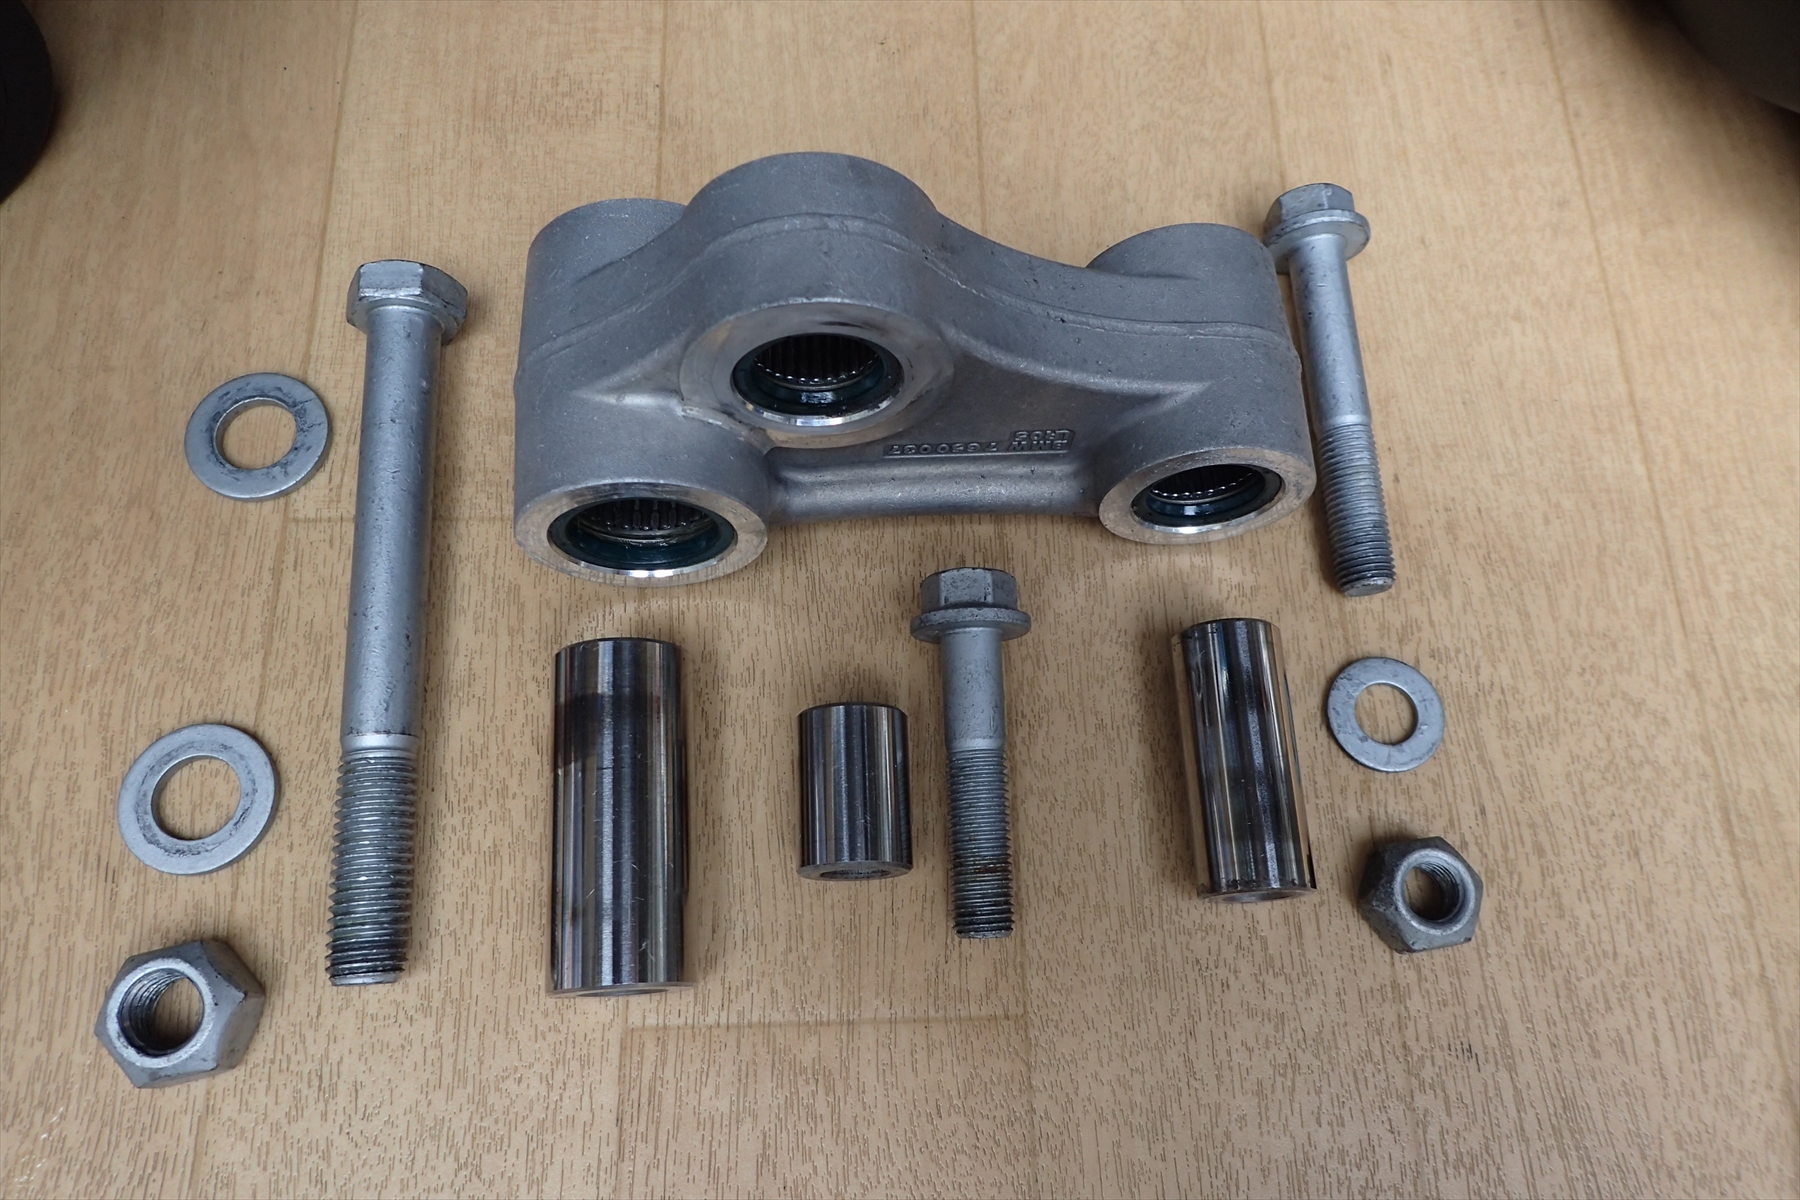
The deflection lever and its parts after cleaning.

This is the joint between the deflection lever and the tension strut.
There was still plenty of grease here.

This is the bush joining the deflection lever and the tension strut.
The slightly cloudy area in the photo above is where the bearing makes contact.

Here's a close-up.
It's discoloured, and there are fine lines running at right angles to the axis of the bush.

This is where the deflection lever connects to the rear shock.
There was grease left here too.

A close-up of this one also shows lines running at right angles to the axis of the bush.

An even closer view.

This is the joint between the deflection lever and the frame.
There was grease left here too.

This is the bush joining the deflection lever to the frame.
You can see that the area in contact with the bearing has turned slightly darker.
There is also rust near both ends.

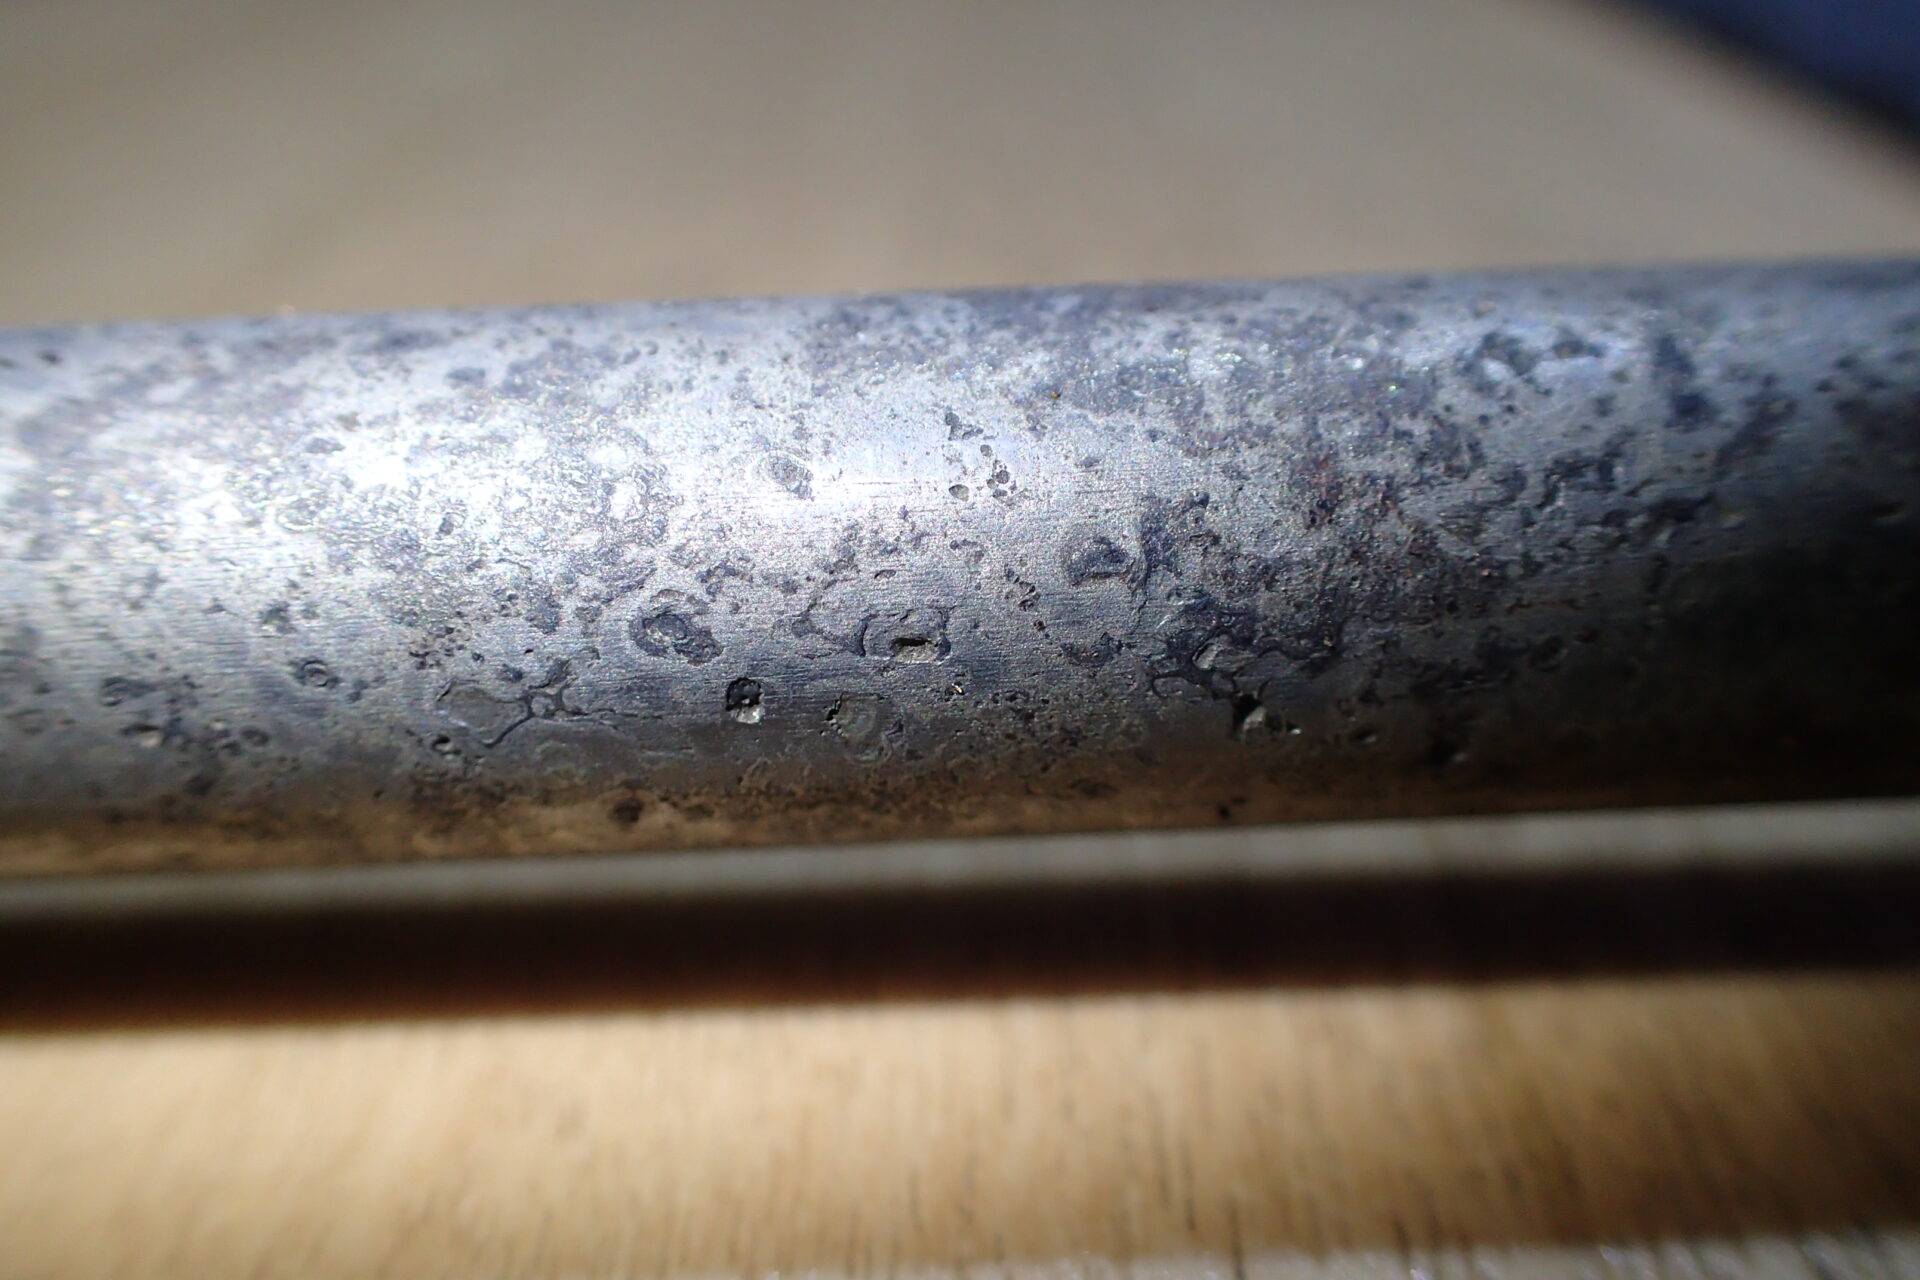
This is a close-up of the bush.
You can clearly see fine lengthwise scratches, and some diagonal ones too. I wonder how scratches like these get there.

This is the rust on the end of the bush.
It will need de-rusting and polishing.
This post has got a bit long, so I'll stop here.
I've covered the bearing replacement, greasing and new oil seals in the next post.
-
-
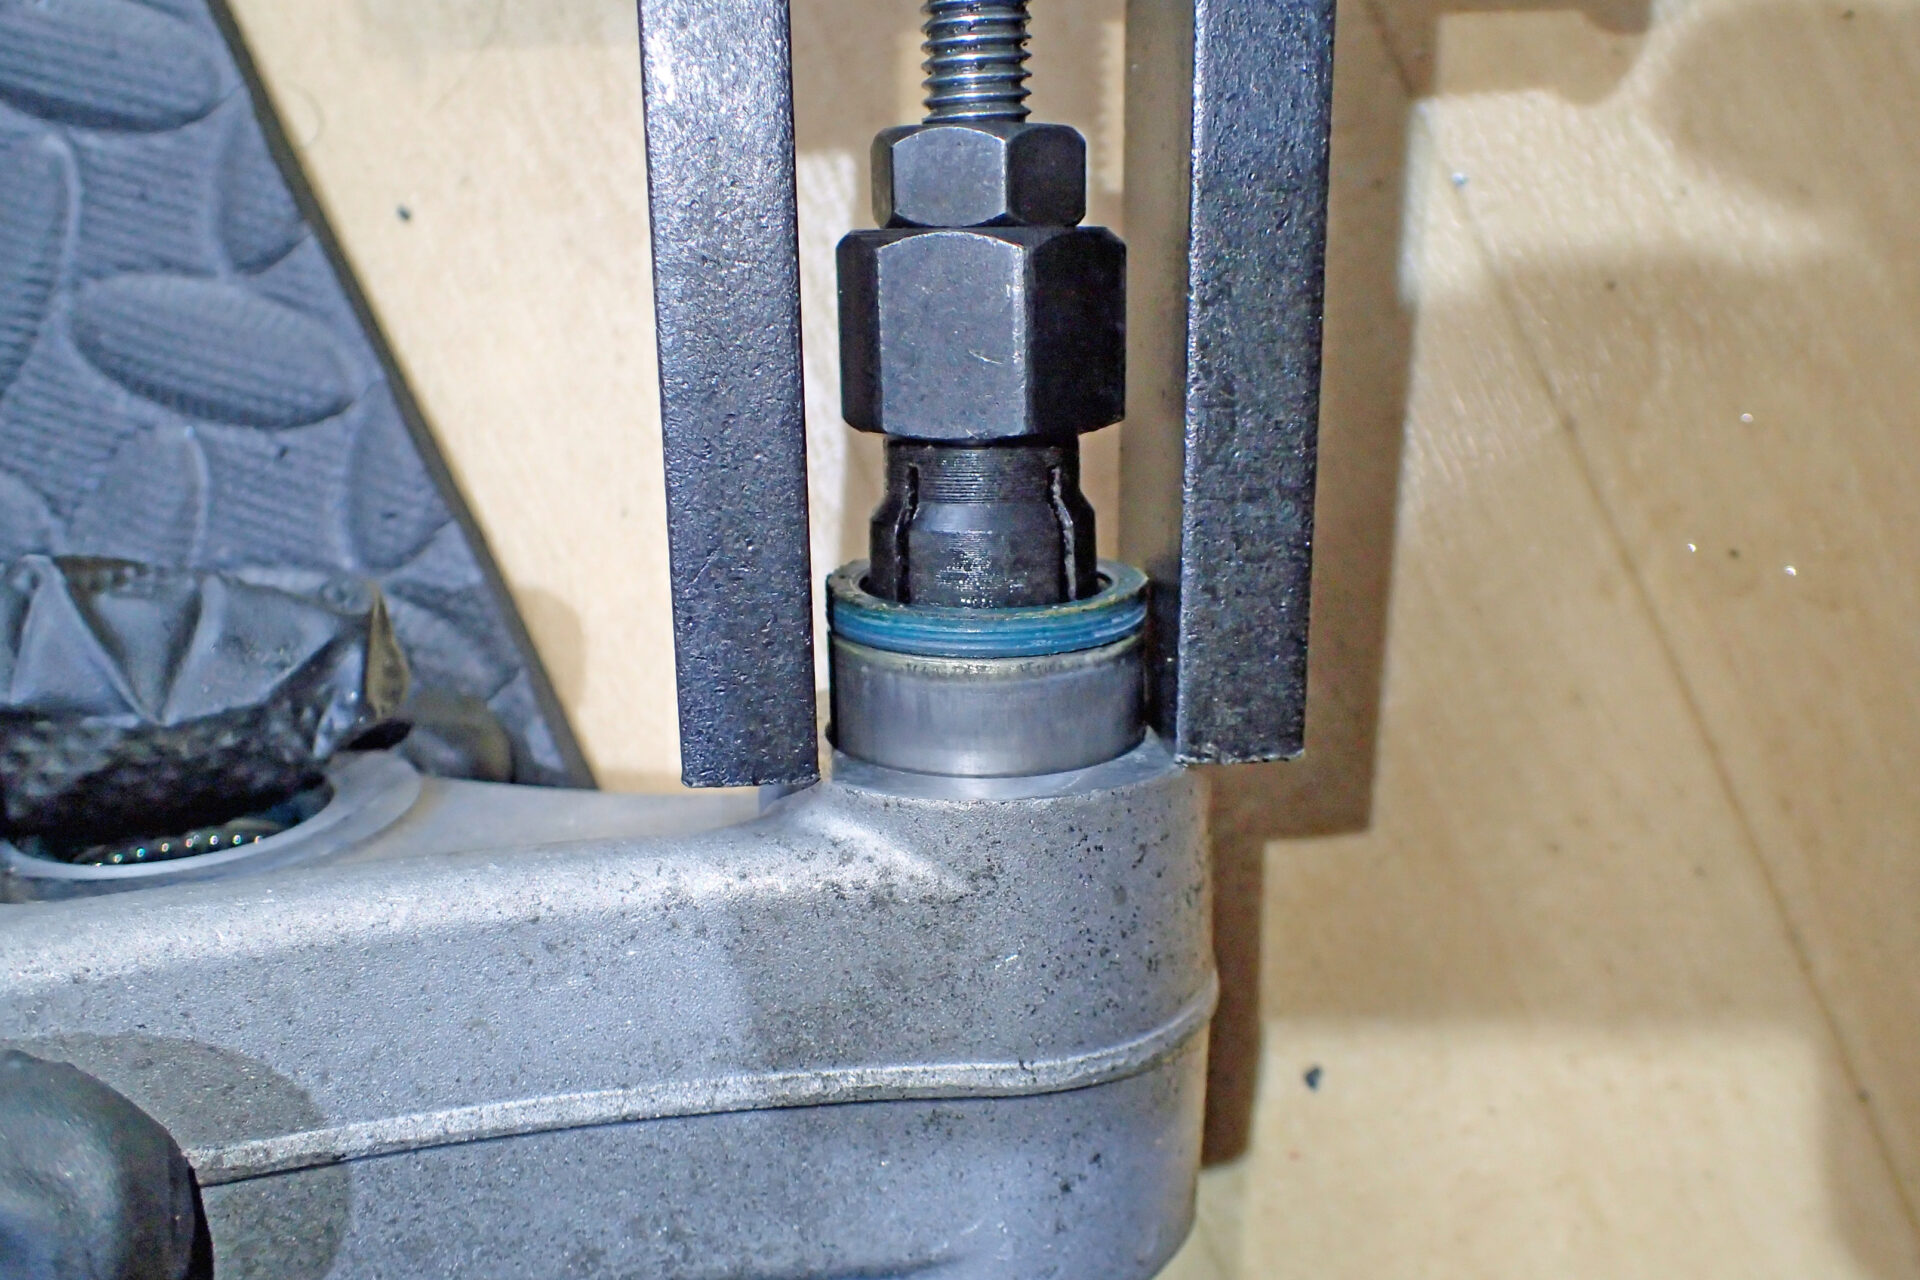
G650GS Rear Linkage Bearing Replacement: Bearing Puller and DIY Installer
Replacing the rear linkage bearings on a BMW G650GS: removing them with an internal bearing puller and pressing new ones in with an M12 threaded rod.
Related post:
-

-
BMW G650GS Rear Linkage Greasing: How the Job Goes, in Photos
A short photo summary of removing, cleaning and greasing the rear linkage (deflection lever and tension strut) on my BMW G650GS: rust on the collars, the greases I used, and links to the detailed posts.