Hello everyone.
Today I'm showing how I replaced the front brake pads on my Honda XR250 BAJA (the Japan-market XR250 / MD30).
A note on maintenance work: Brake work is critical to your safety on the road. This article is a record of maintenance based on my own experience, and I can't guarantee that it is accurate or safe.

I work on the BAJA with it on a stand.
You can also do the job on the side stand.

It's a bit hard to see, but this is checking the remaining pad thickness with the caliper still on the bike.

First, I locate the brake caliper and get started.

First, I remove the brake pad pin.
This pad pin is a DRC part, not the original.
The original pad pin has a cap with a slotted (flat-head) screw over the hex socket. That slotted cap tends to seize, so I replaced it with the DRC pin.

The pad pin is out.

The pads slide straight out from below.

When I checked the pad thickness, the grooves had gone and the pads were quite thin.

This is the side of the pads that contacts the brake disc.
The top pad has no groove left, and the bottom pad's groove is almost gone. Also, the groove remains in some places but not others, which shows the pads had been contacting the disc at an angle.

Here are the new pads.
They're Daytona (a Japanese brand) Golden Pad χ, and the packaging is designed so the pads don't rub against each other. A nicely made product.

I also transfer the parts on the back of the pads.

Now I check the brake fluid level.
I take the lid off the front master cylinder.
Brake fluid attacks paint and other surfaces, so I cover the area round it with rags.

I remove the diaphragm.

This time I'm replacing worn pads with new ones.
Because the new pads are thicker, the caliper pistons get pushed back.
As the pistons are pushed back, the fluid in the caliper returns to the master cylinder, which can make it overflow.
So at this stage, I draw out a little brake fluid with a dropper.

Back to the caliper.
I remove the caliper.

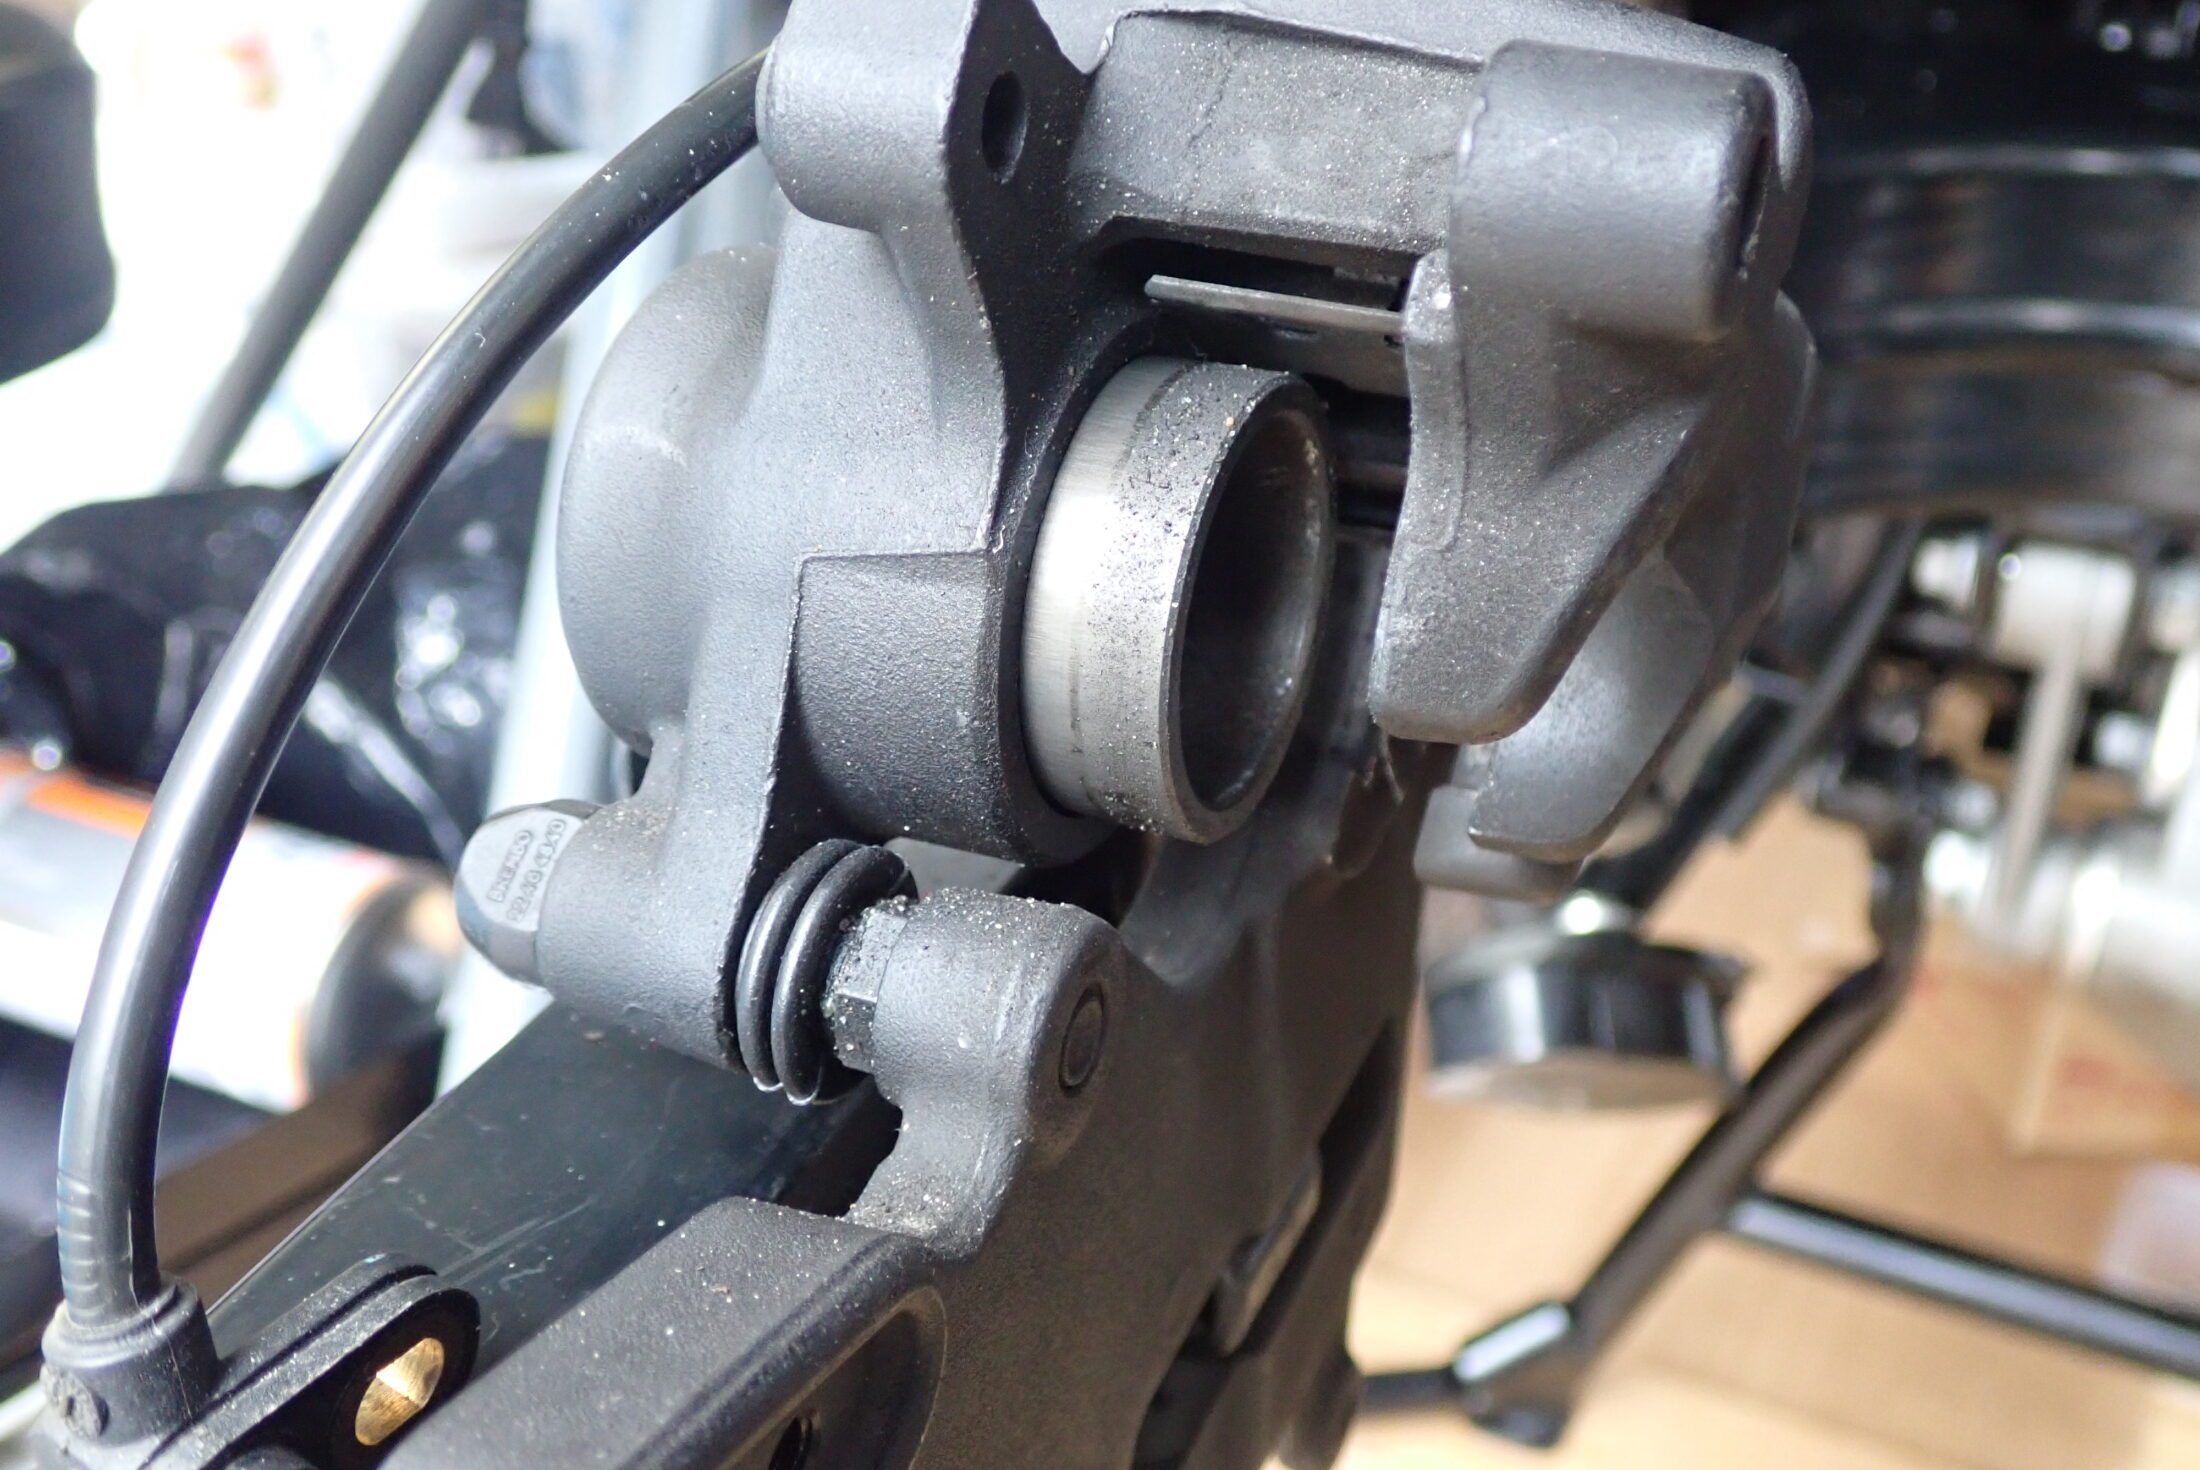
Because the pads were worn, the caliper pistons were pushed quite a long way out.
The photo above was taken after cleaning.
The BAJA's pistons have been replaced with Kashima-coated ones, so a light scrub with a brush was enough to remove the dirt.

I use a tool to turn each piston and clean all the way round it.

The photo above shows the dirt that came off the caliper and pistons.
There was quite a lot of it, which, embarrassingly, shows I'd been skipping maintenance.

Now I push the clean pistons back.
I'm pushing with one hand for the photo, but you need to push both pistons back together; if you push one back, the other one pops out.

The pistons pushed back.

Now I check the fluid level in the master cylinder.
The photo above shows the fluid level before pushing the pistons back.

And this photo shows the level after pushing the pistons back.
It's hard to see, but the fluid level has risen.
That's why I drew some fluid out with a dropper at the start.

At last, I can fit the new pads into the caliper.

The new pads are in!

I put the caliper back on the bike.

Right now the caliper pistons are pushed back. Squeeze the brake lever several times until the pads touch the disc, and always make sure pressure builds up (this is easy to forget).

Once that's done, check the brake fluid level in the master cylinder again. If it's low, top it up.

Once the level is right, refit the diaphragm, inner lid and outer lid.

Fit the caliper to the bike and tighten the bolts to the specified torque.
While doing this, I tighten the bolts while pushing the caliper in the direction the disc turns, to get as close as possible to how the caliper moves when you brake while riding.

Finally, I tighten the bolt that holds the brake hose.
That's the job done.
I accept no responsibility for any accident, damage to your vehicle or injury that results from working with reference to this article. Please always do the work at your own risk. If you feel even slightly unsure, don't push yourself; I strongly recommend asking a professional motorcycle shop.
I explain how I cleaned the brake caliper pistons in this article.
-

-
How to Clean and Work a Motorcycle Rear Brake Piston (BMW G650GS)
How I cleaned and worked the rear brake caliper piston on my BMW G650GS: pushing it out with the pedal, wiping it with Kimwipes, turning it with piston pliers, Metal Rubber, and safety checks afterwards.