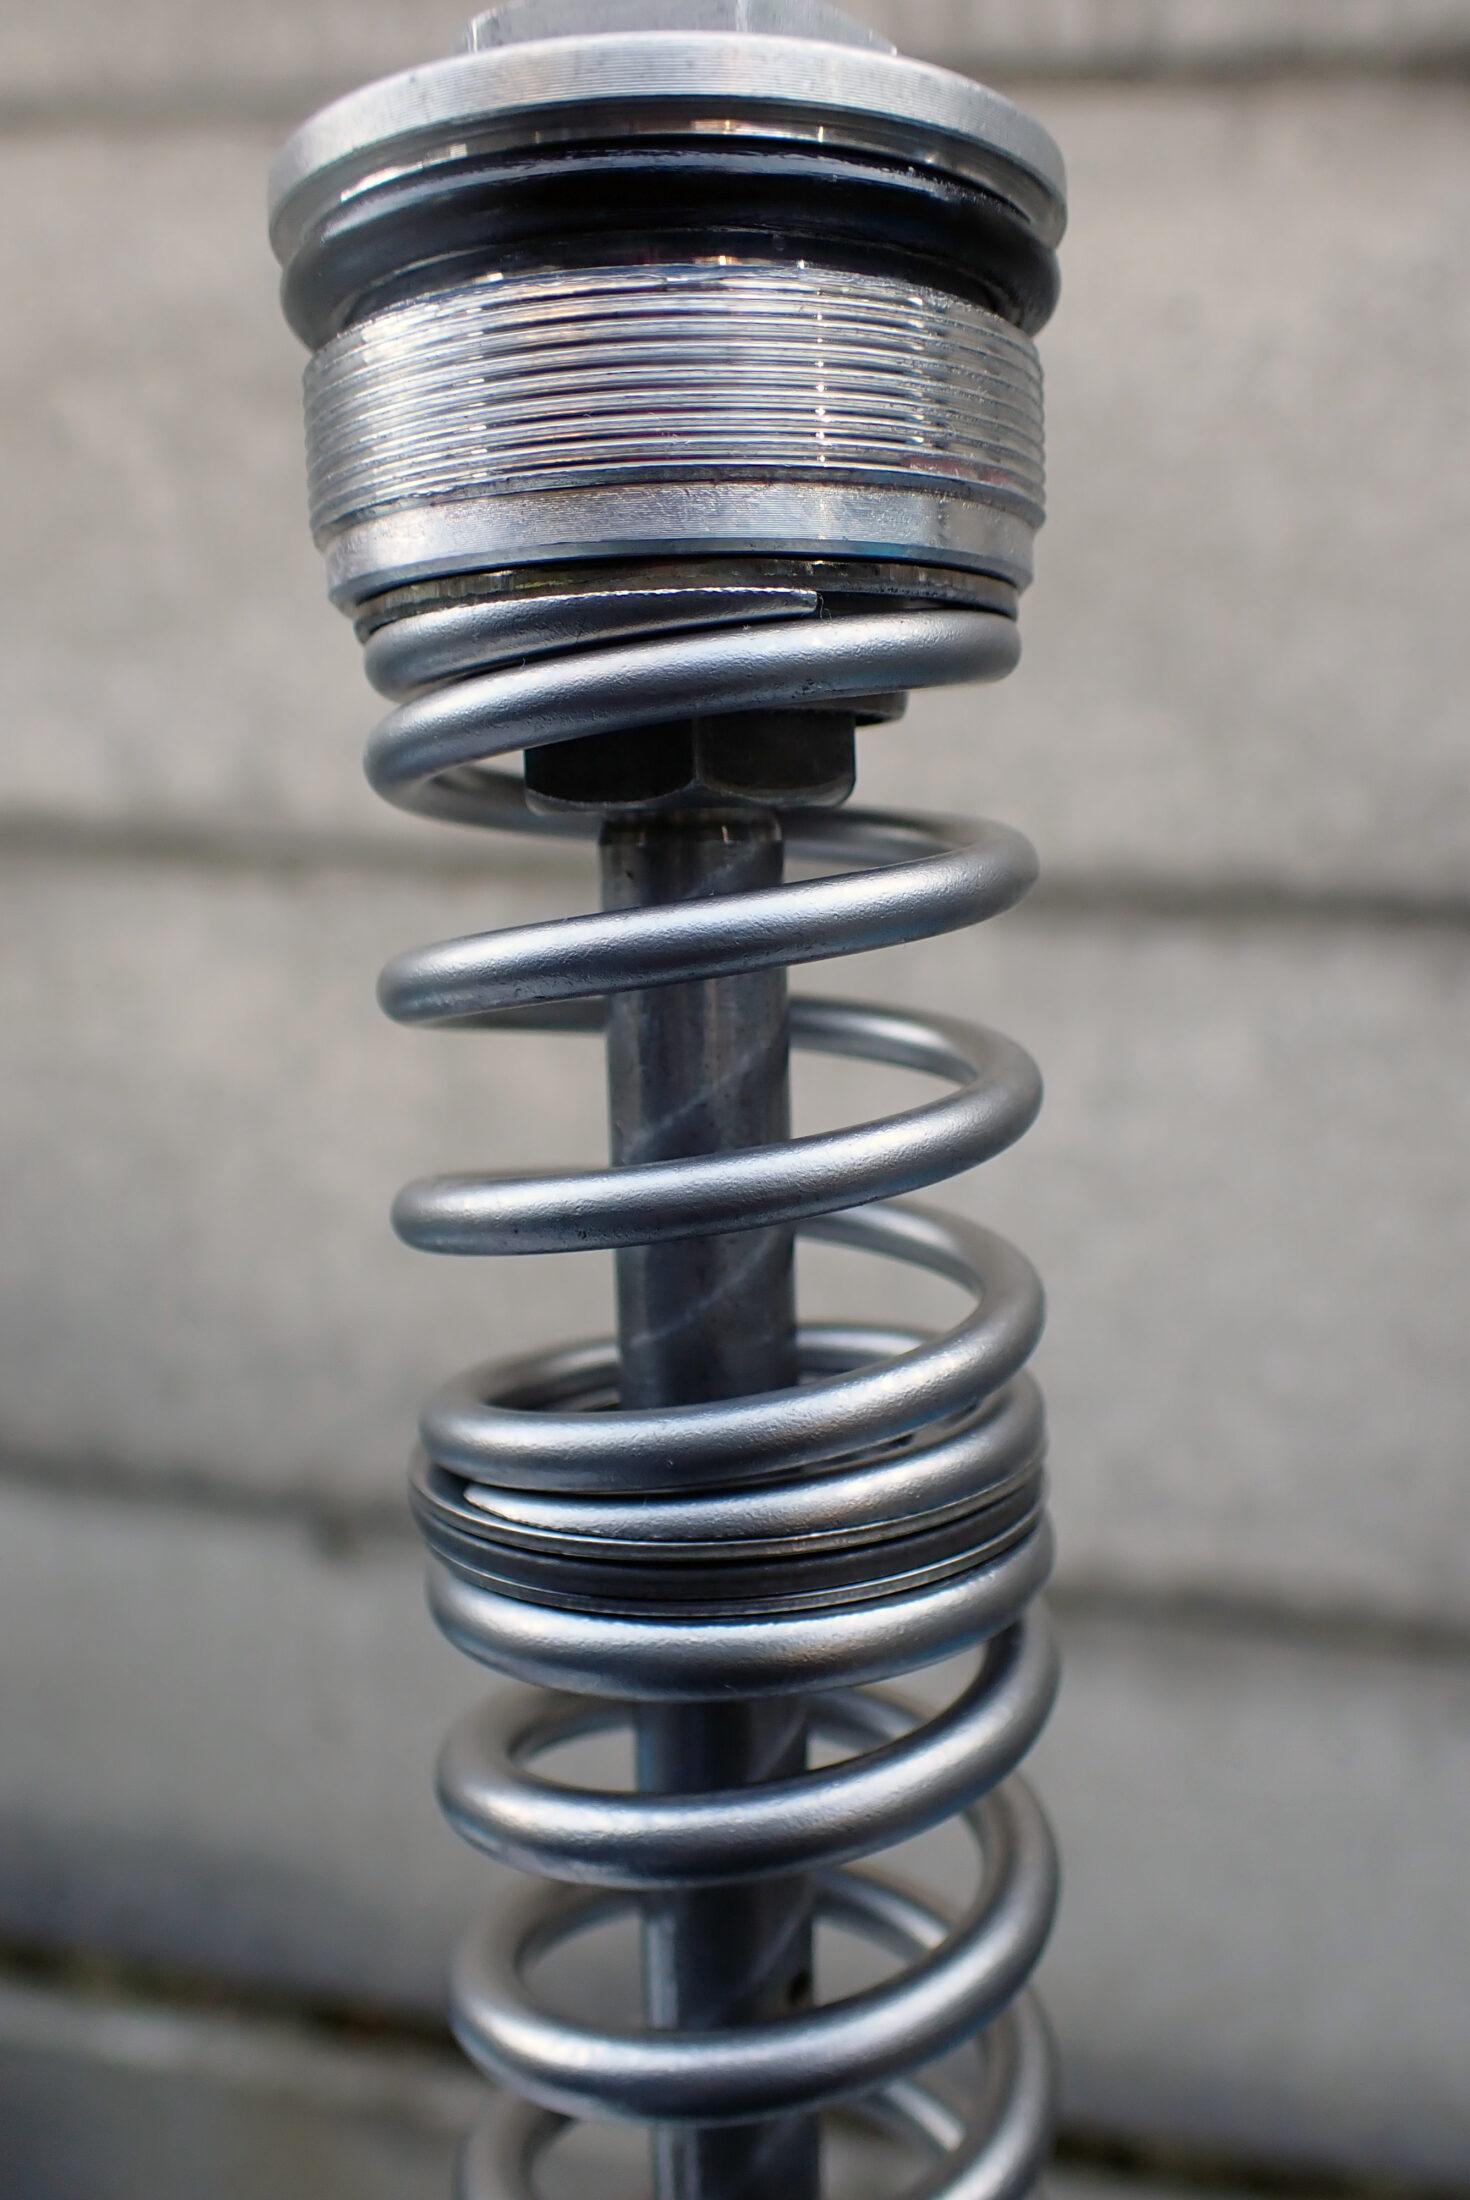
Hello everyone.
Today I'm stripping down the front forks on my Honda XR250 BAJA (the Japan-market XR250 / MD30).
As I wrote before, I took them apart to swap the ME08 springs I had been running for the standard BAJA springs.
-

-
Why I Don't Recommend XR250R (ME08) Fork Springs for the XR250 Baja
Hello everyone.Today I'd like to share a mistake I made: running XR250R (ME08) front fork springs on my XR250 Baja.First, please note that this article is just my personal impression. I don't expect it to apply to everyone. Many owners of the XR Baja or the XR250 (MD30, the Japanese-market model) consider fitting parts from the ME08, the XR250R racer, to improve off-road performance. Swapping the front fork springs comes up often, but on my Baja, forks with ME08 springs inside were not a good match. In this article, I describe how forks with ME08 springs felt on my Baja, ...
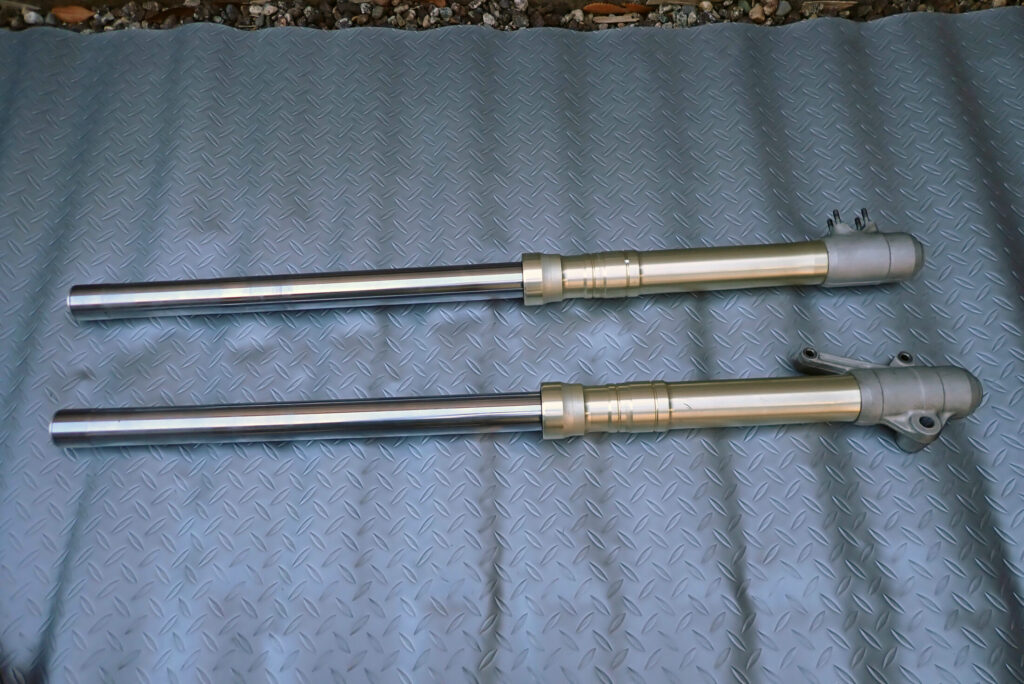
First, here are the forks off the bike.
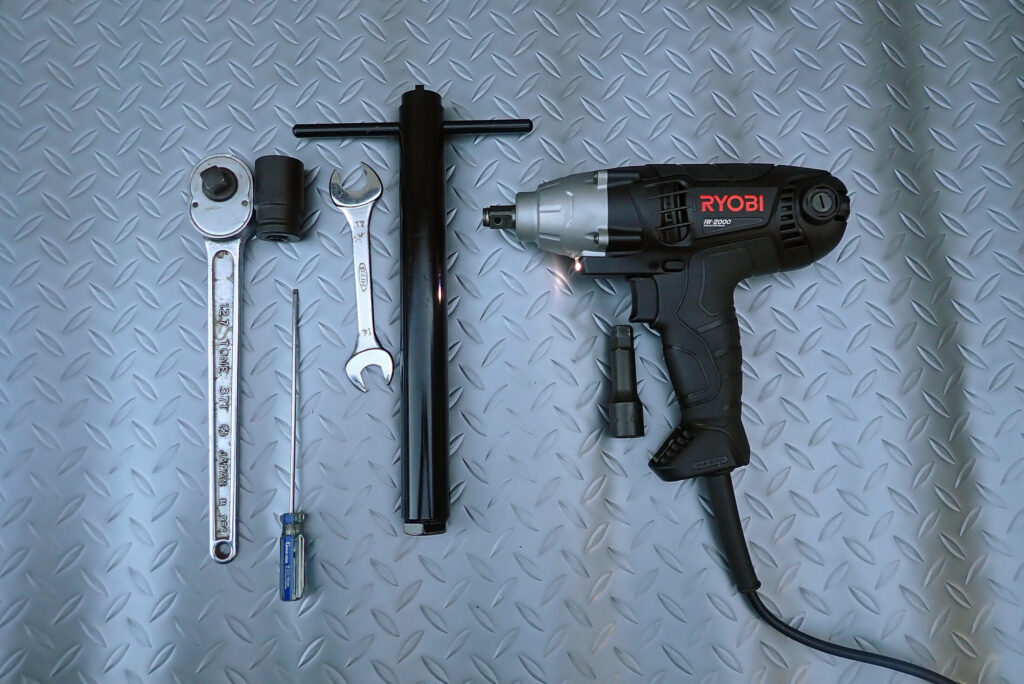
These are the tools I used to strip the forks down completely.
- 22 mm socket (a 22 mm ring spanner, adjustable spanner or open-ended spanner will also do)
- 17 mm spanner
- Small flat-blade screwdriver
- 14 mm hex socket (a 14 mm long hex nut also works)
- Impact wrench (not essential, as long as you can apply enough force)
- Special tool for fork disassembly
- 3 to 5 rags (not in the photo, but important, because fork oil drips out a lot!)
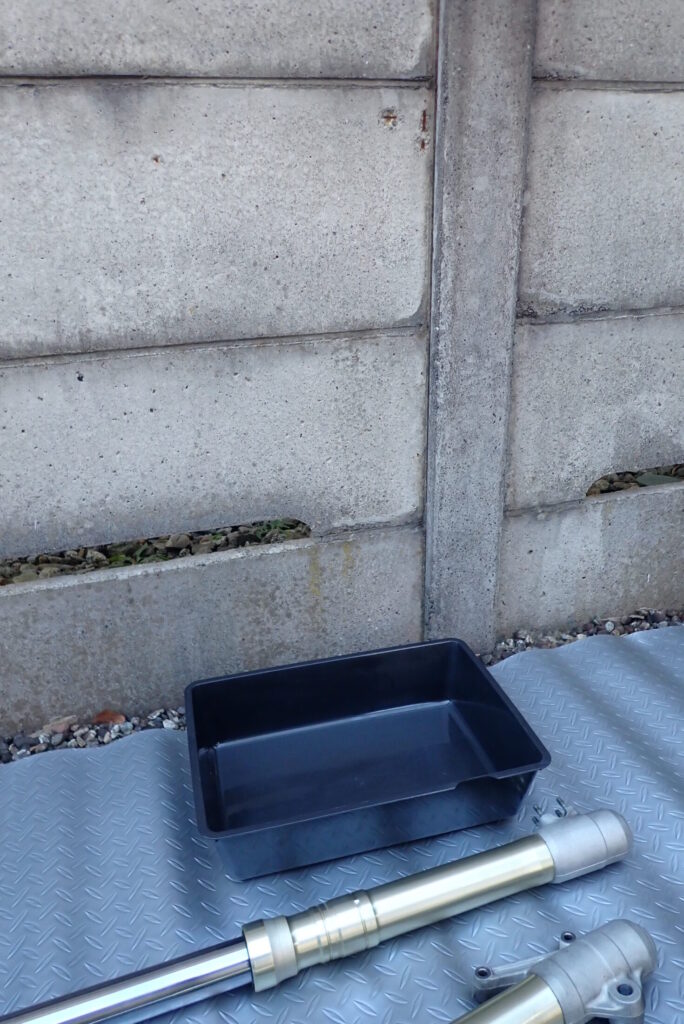
Oil will spill as you work, so put something down underneath and have an oil drain tray ready before you start.
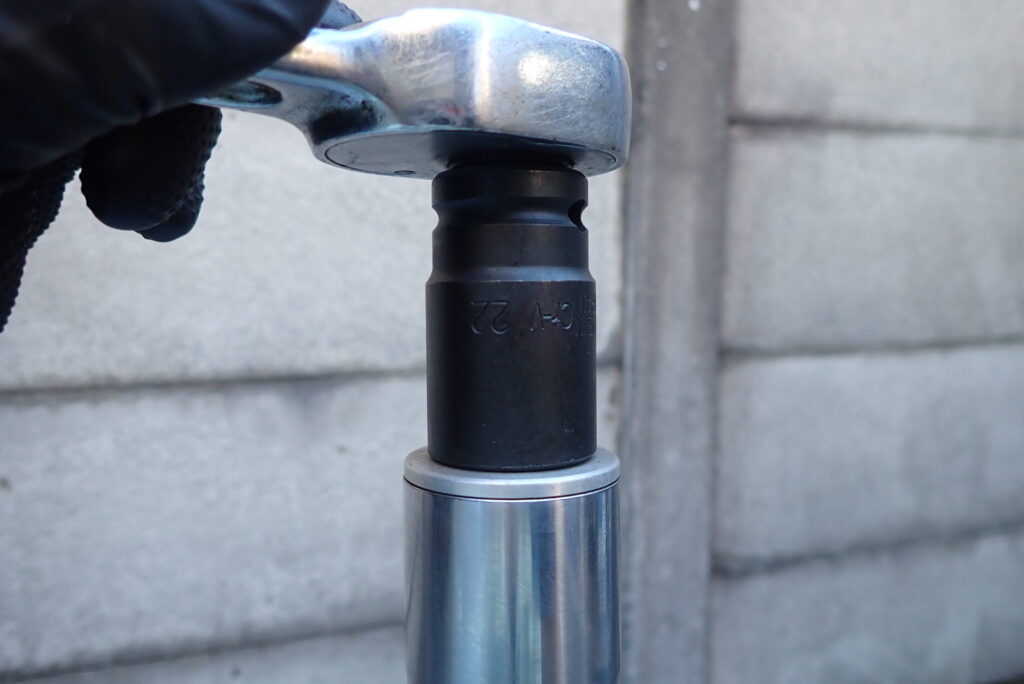
First, loosen the top cap.
This is easier while the fork is still on the bike. I cracked mine slightly loose with the forks still fitted.
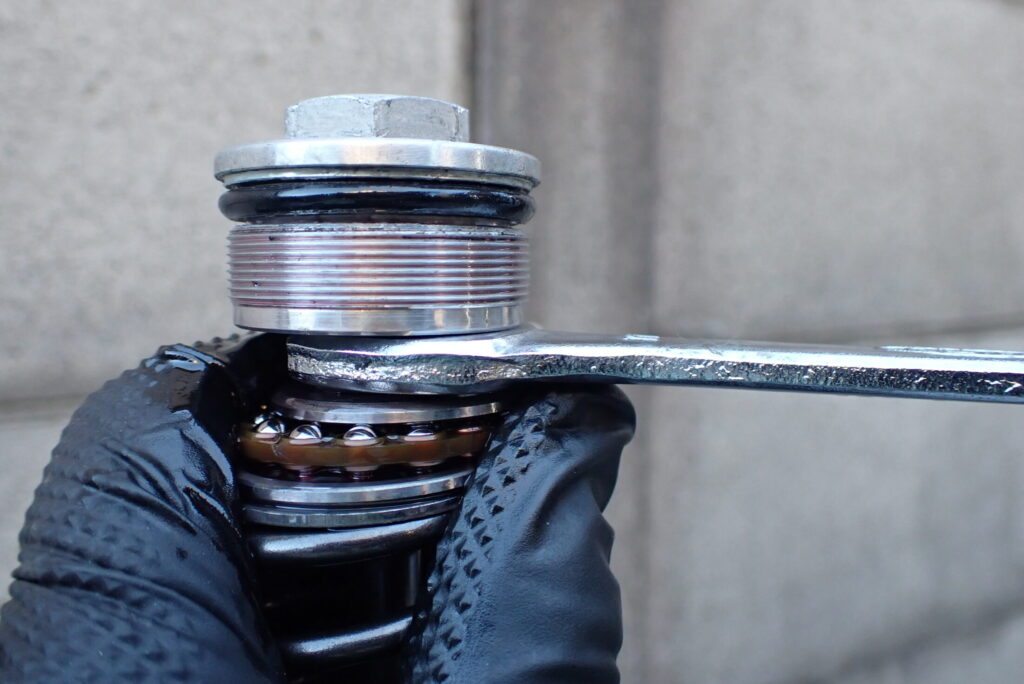
Once the top cap is loose and the inner tube comes free, the spring and piston rod appear from inside.
Push the top of the spring down and you'll find a 17 mm nut under the top cap. Put a spanner on it and remove the top cap.
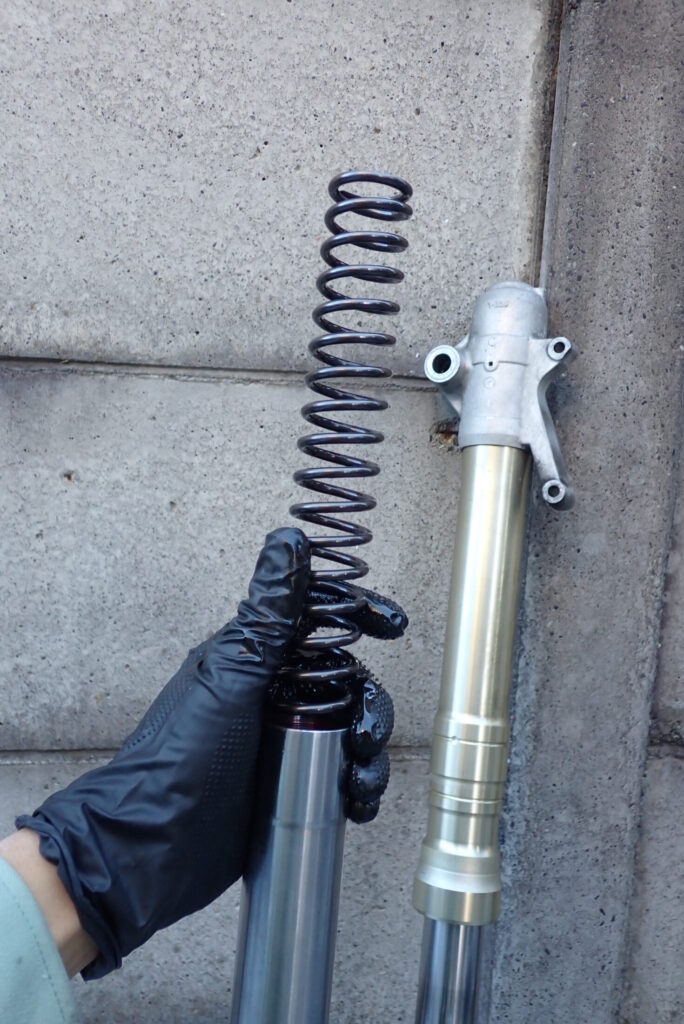
With the top cap off, the piston rod drops under its own weight. At this point, lower the inner tube all the way down slowly. (If you drop the inner tube quickly, the fork oil on the spring will drip out.)
With the inner tube all the way down, pull the spring out slowly. If you rush, the oil on the spring will drip out.
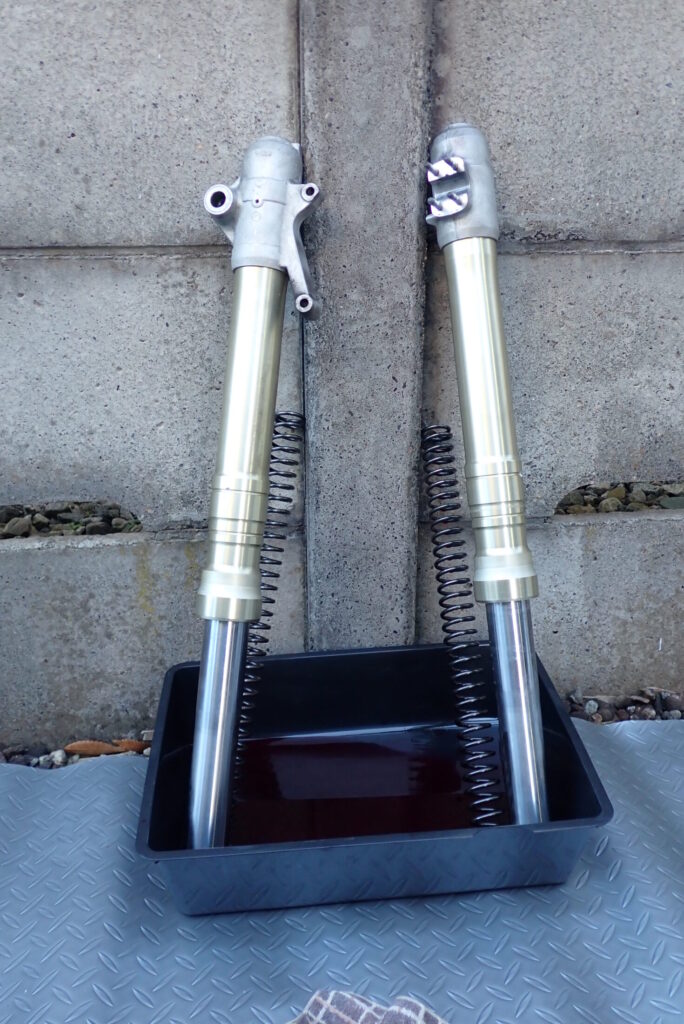
With the spring out, turn the fork upside down to drain the oil.
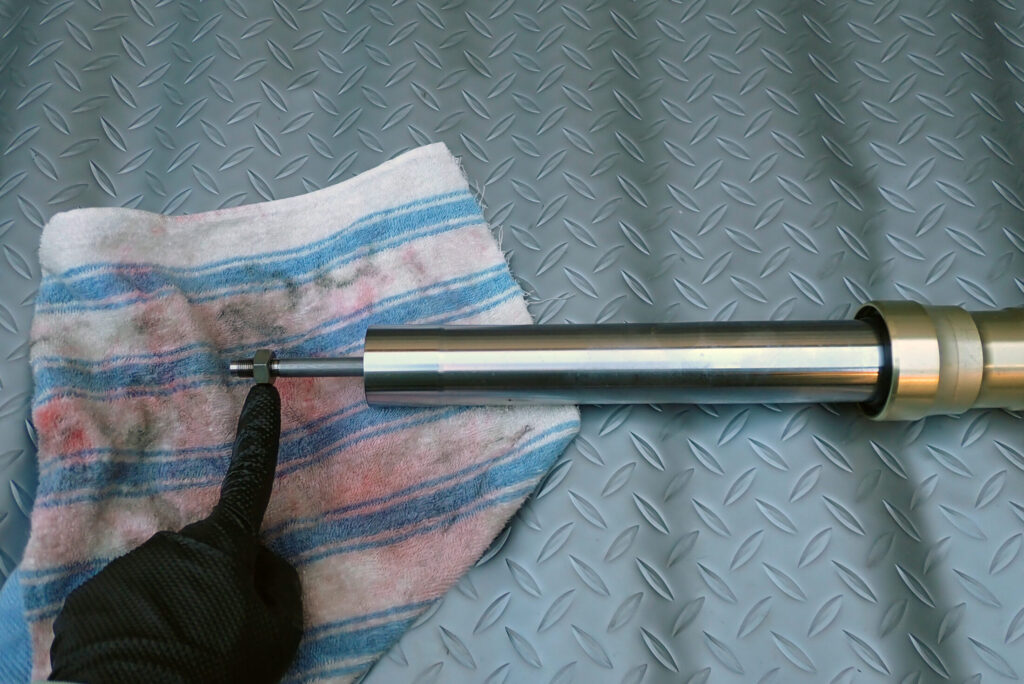
Once the oil is out, remove the nut near the end of the piston rod.
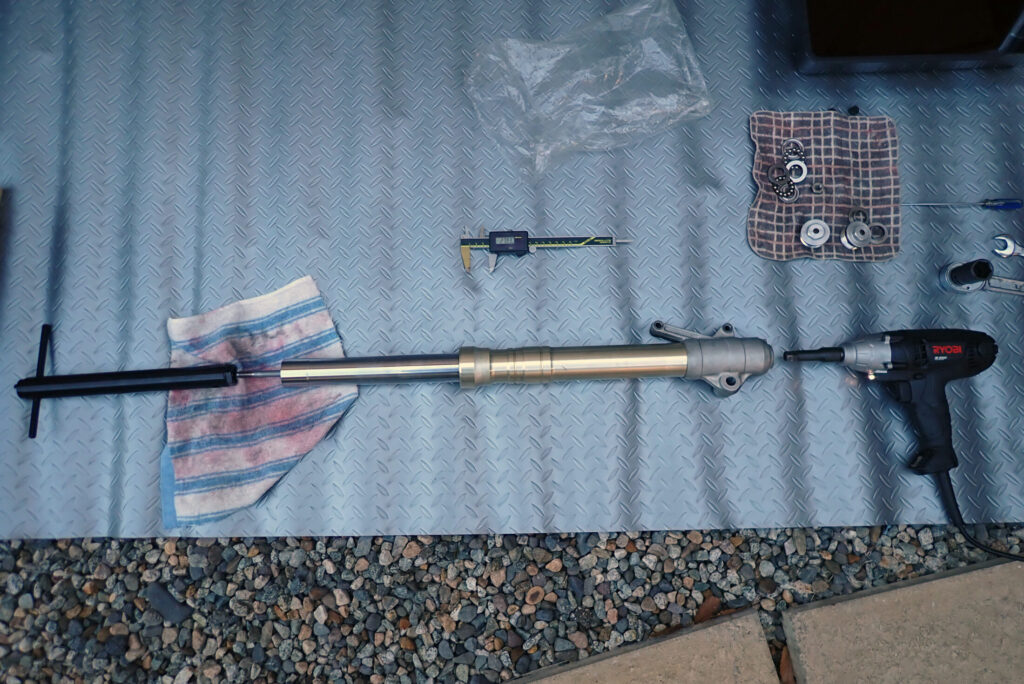
This is the hardest part of stripping the forks (in my opinion).
As in the photo above, put the special tool in from the top of the fork and the impact wrench on the bottom, and loosen the centre bolt that holds things together at the bottom.
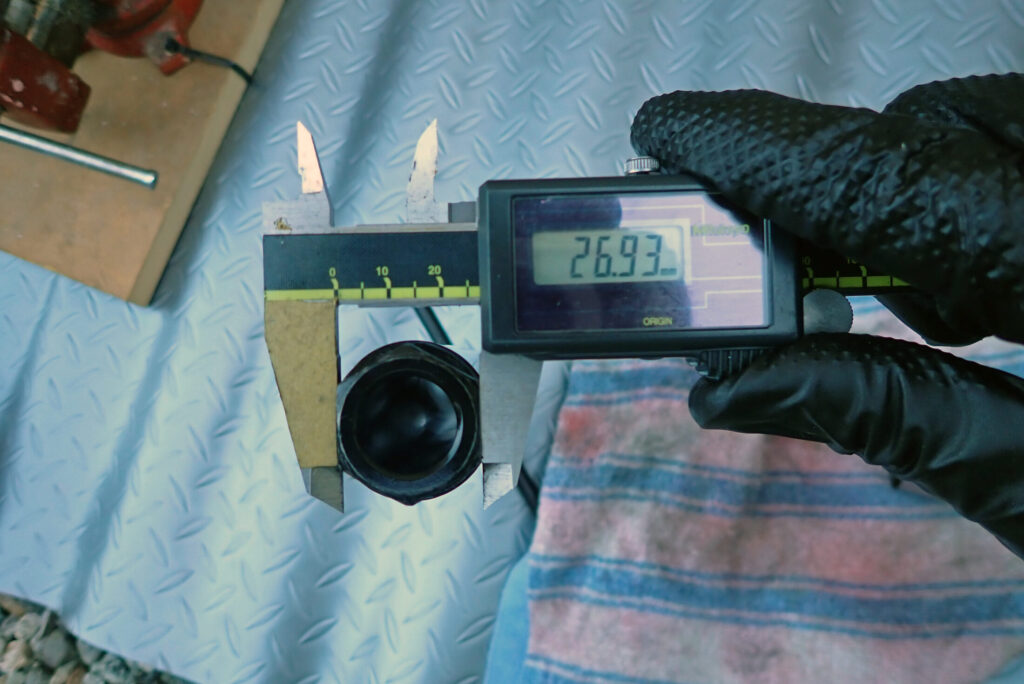
The special tool has a 27 mm hex tip and is hollow in the middle (for the piston rod to pass through). Some people make their own, but I bought the proper tool.
The tool I use is the MotionPro damper tool (part number YM08-0223). The UNIT fork cartridge holder (D7008, formerly UN-P3044) also works.
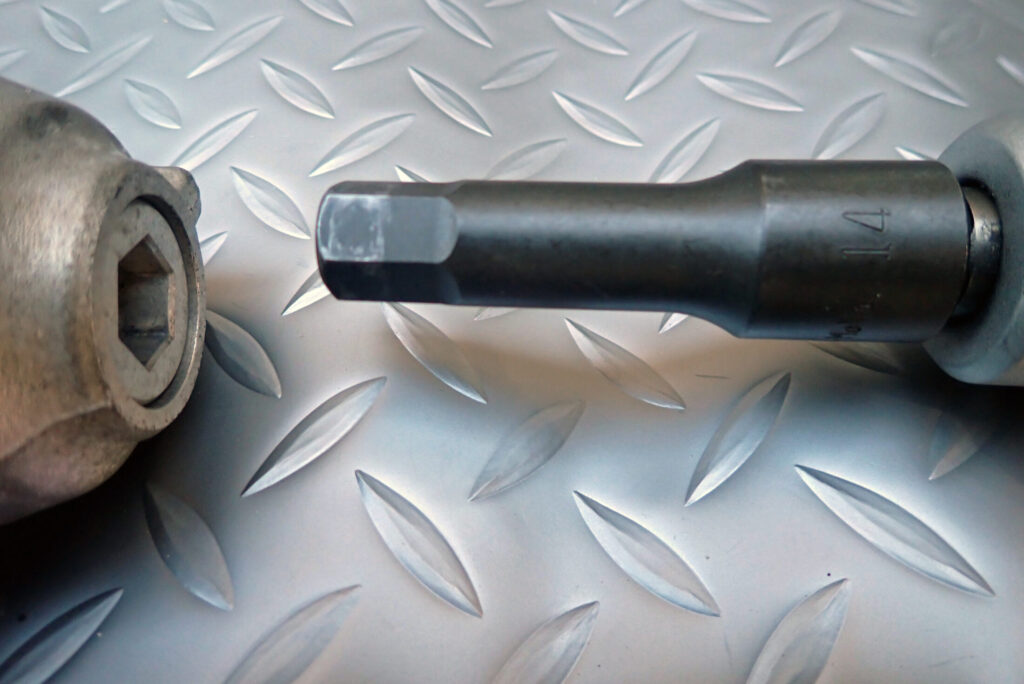
The bottom centre bolt takes a 14 mm hex socket. A 14 mm long nut also works.
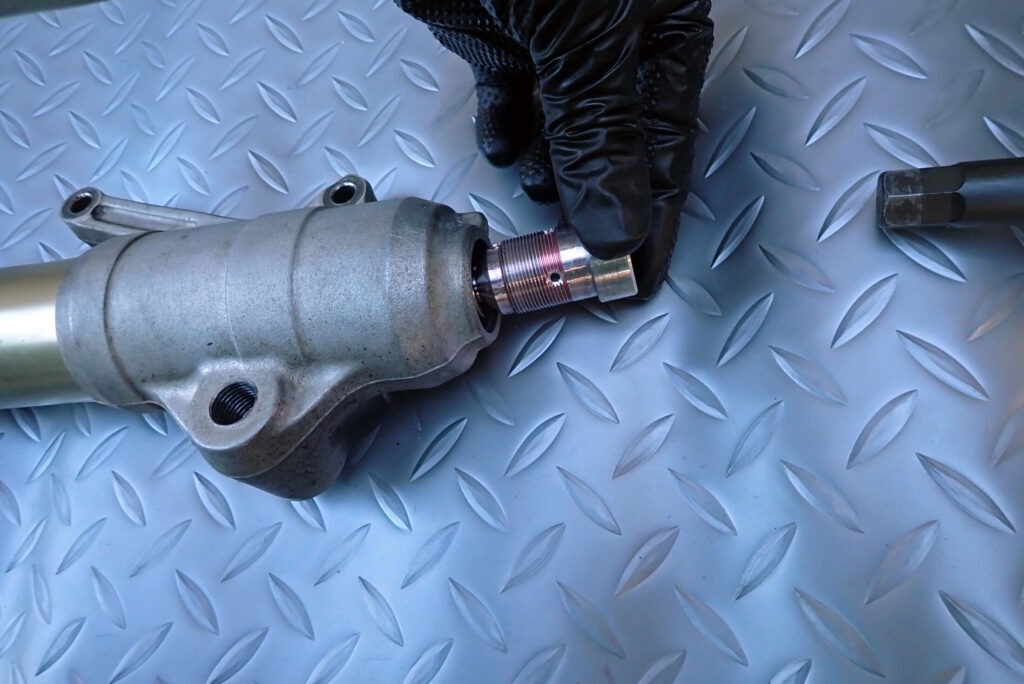
The centre bolt is out. Fork oil may leak out at this point, as in the photo below, so it's a good idea to put a rag underneath.
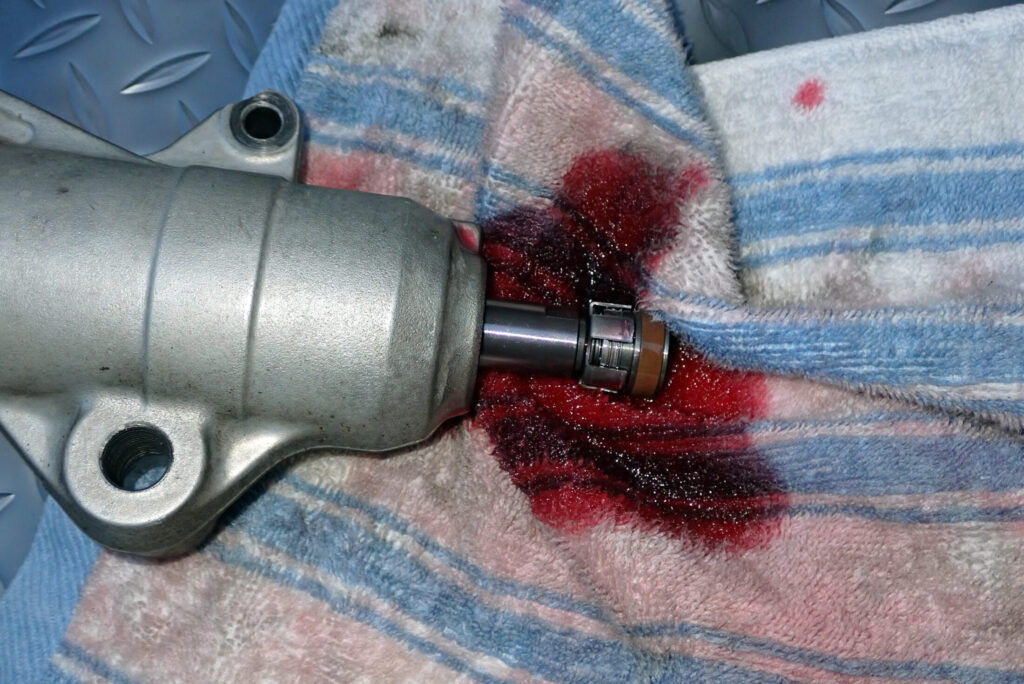
The piston rod comes out from the bottom, so take it out.
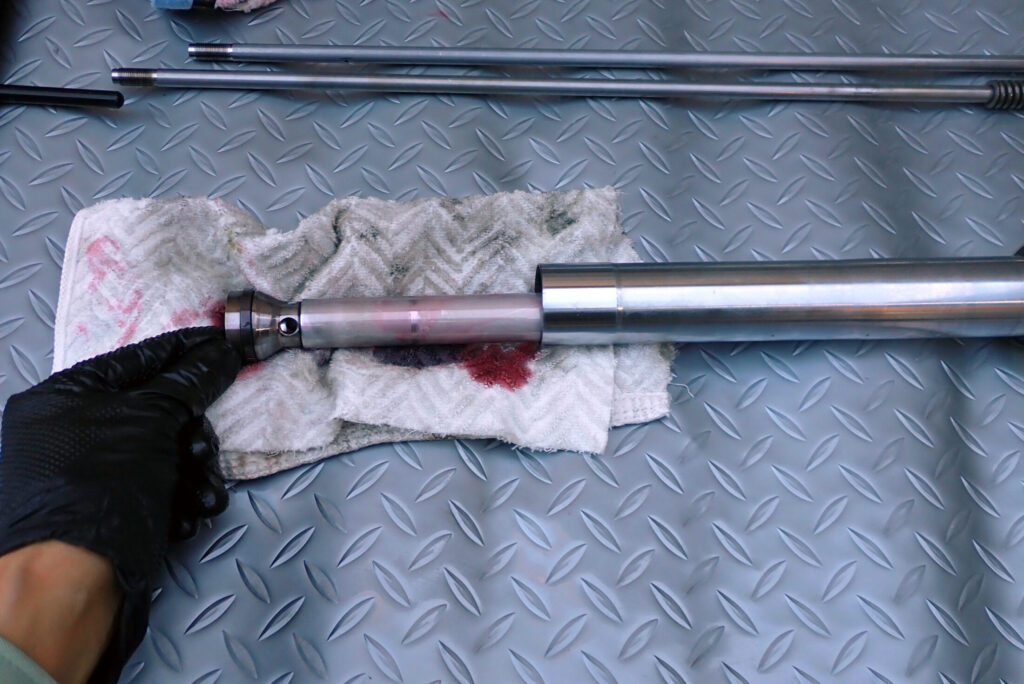
With the centre bolt out, the fork damper comes out from the top.
Now only the inner and outer tubes are left.
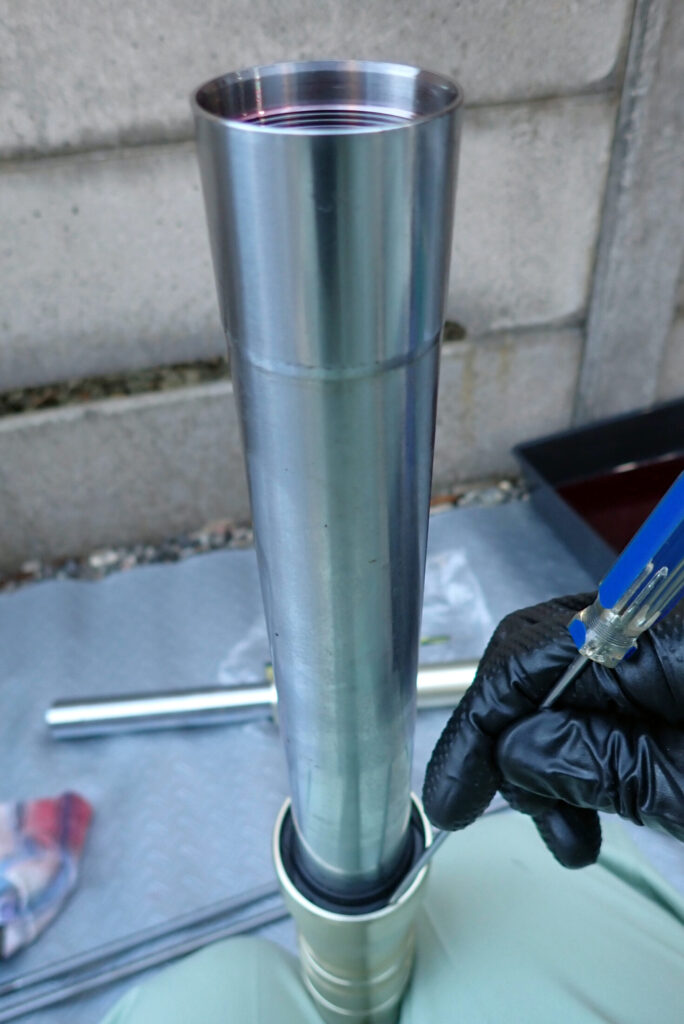
Next, separate the outer tube from the inner tube.
Remove the stopper ring at the fork seal.
I used a thin flat-blade screwdriver for this; take care not to scratch the inner tube.
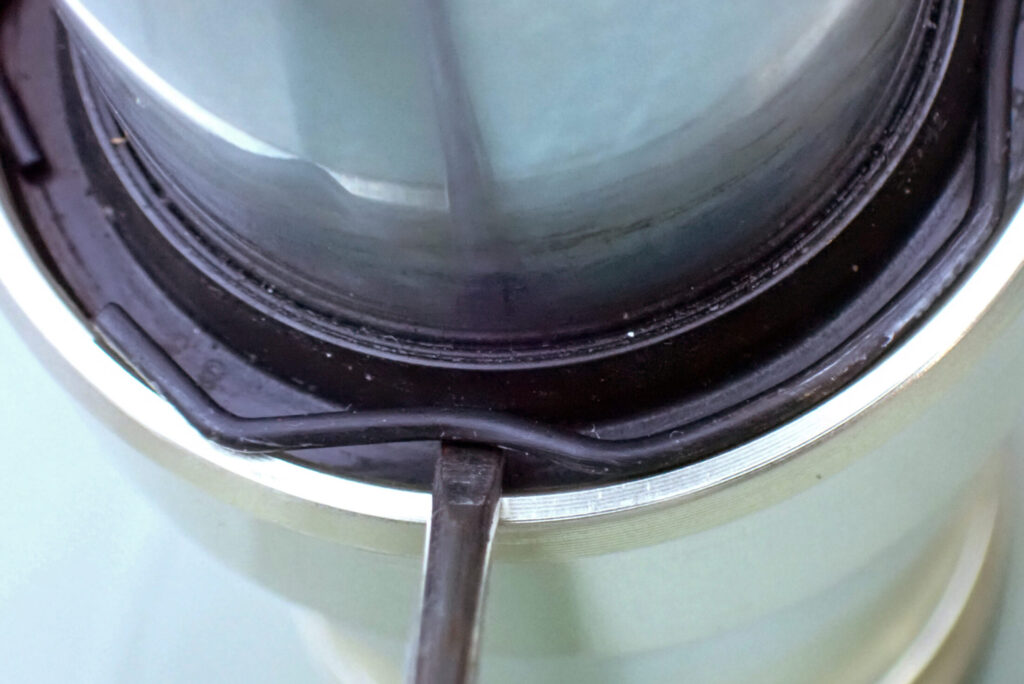
As in the photo above, the stopper ring comes out if you lever it with something thin.
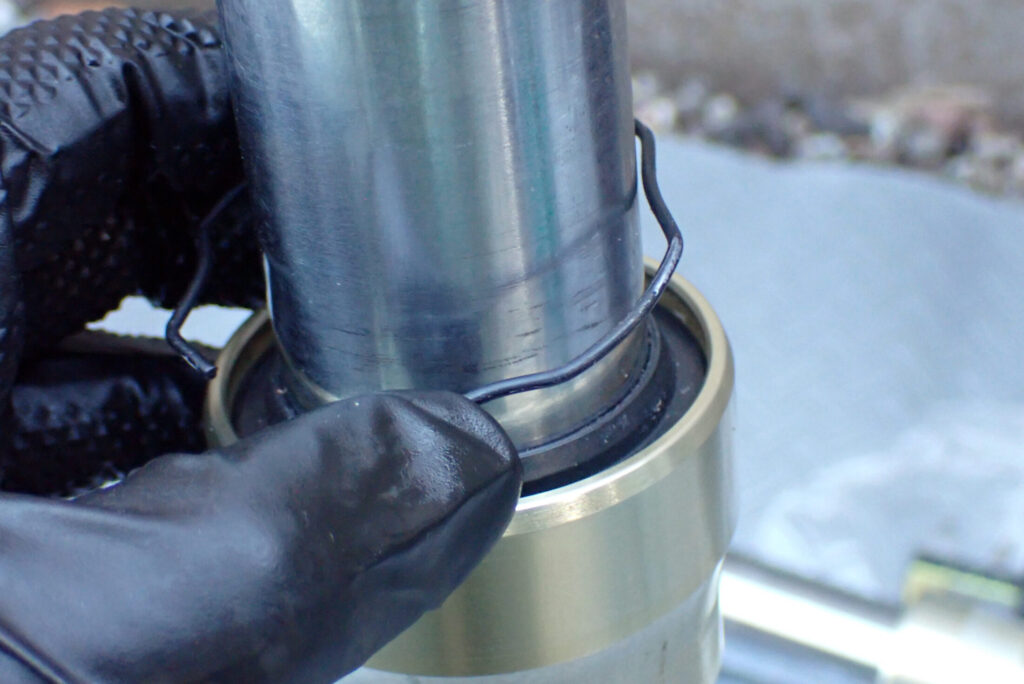
The stopper ring is out.
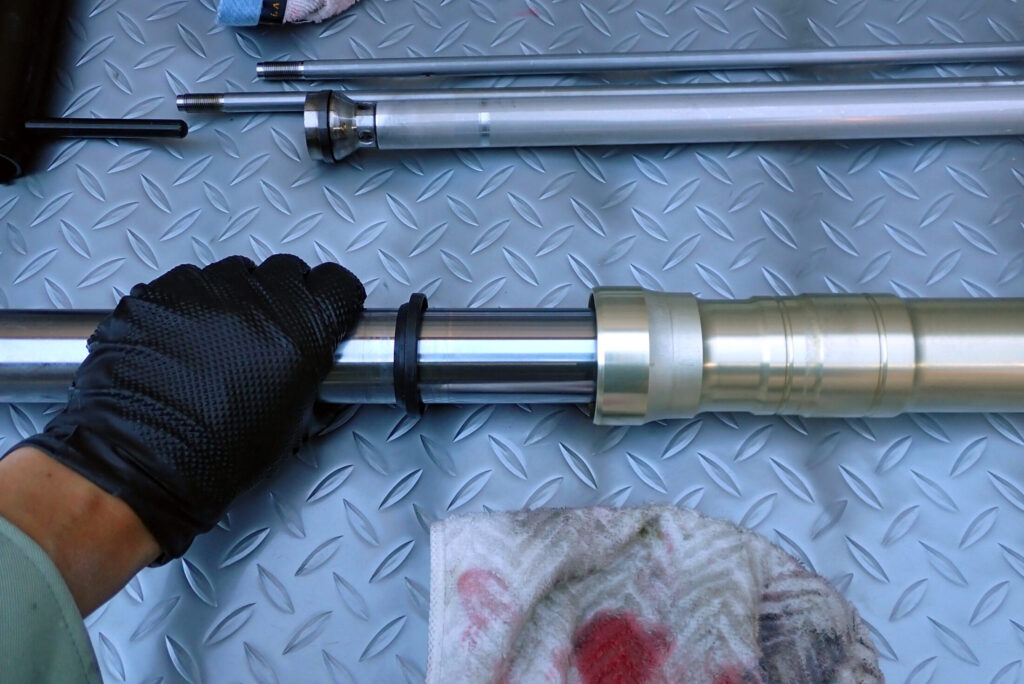
Now the inner and outer tubes can be separated.
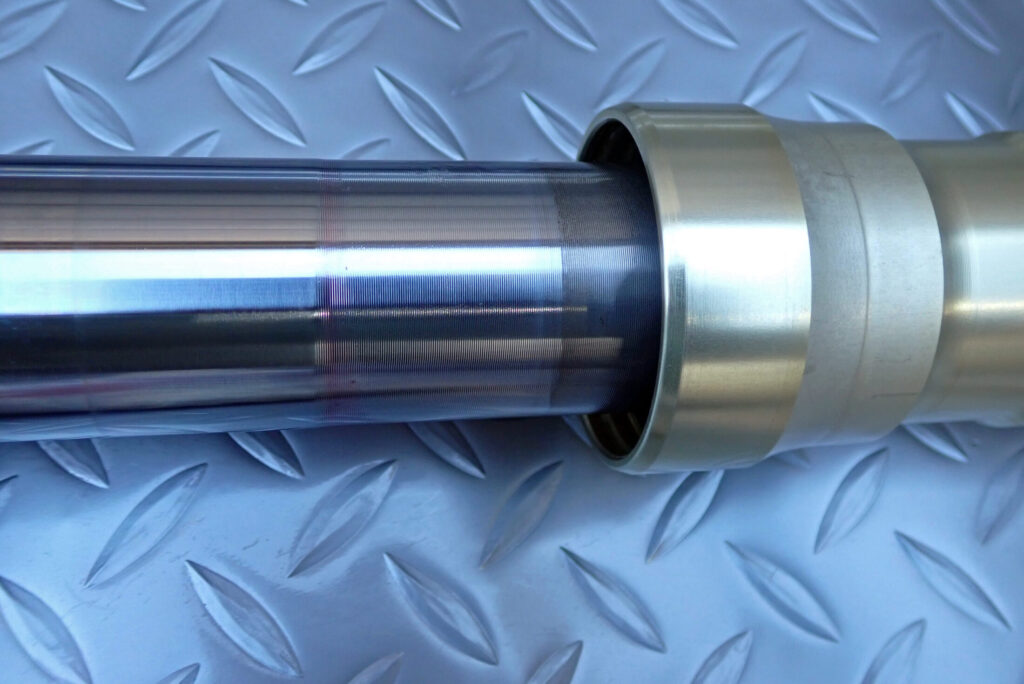
First, pull the inner tube out. It will soon stop coming with light force.
From there, push the inner tube a little way back into the outer tube, hold the inner tube in your left hand and the outer tube in your right (or the other way round), and pull them apart sharply a few times. The inner and outer tubes will separate.
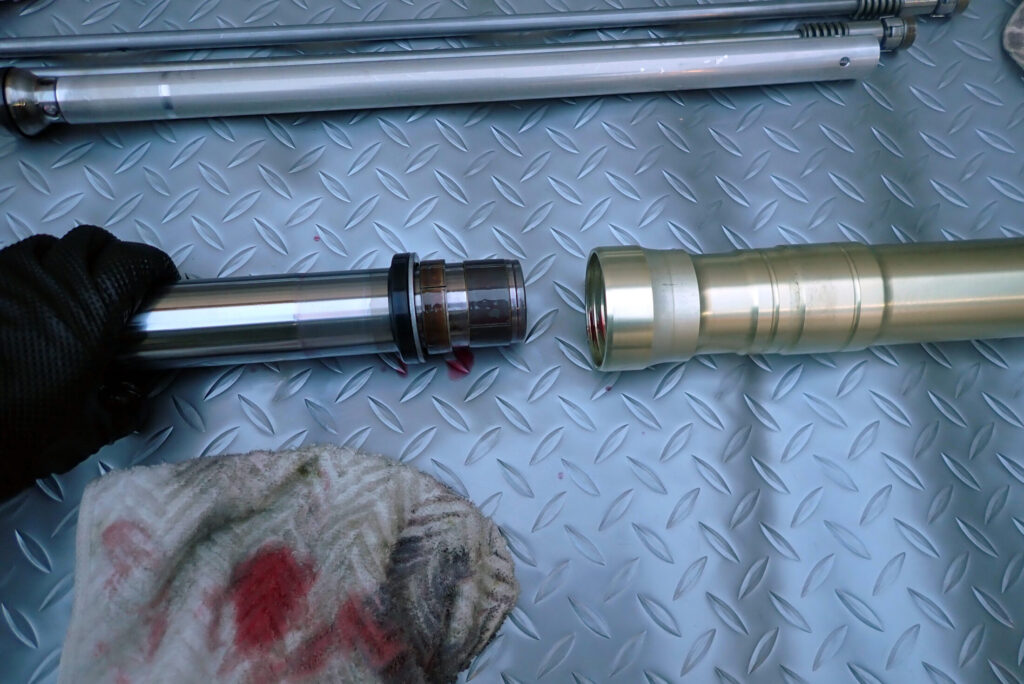
The inner and outer tubes are apart.
All that's left is to remove the bushes and seals on the inner tube.
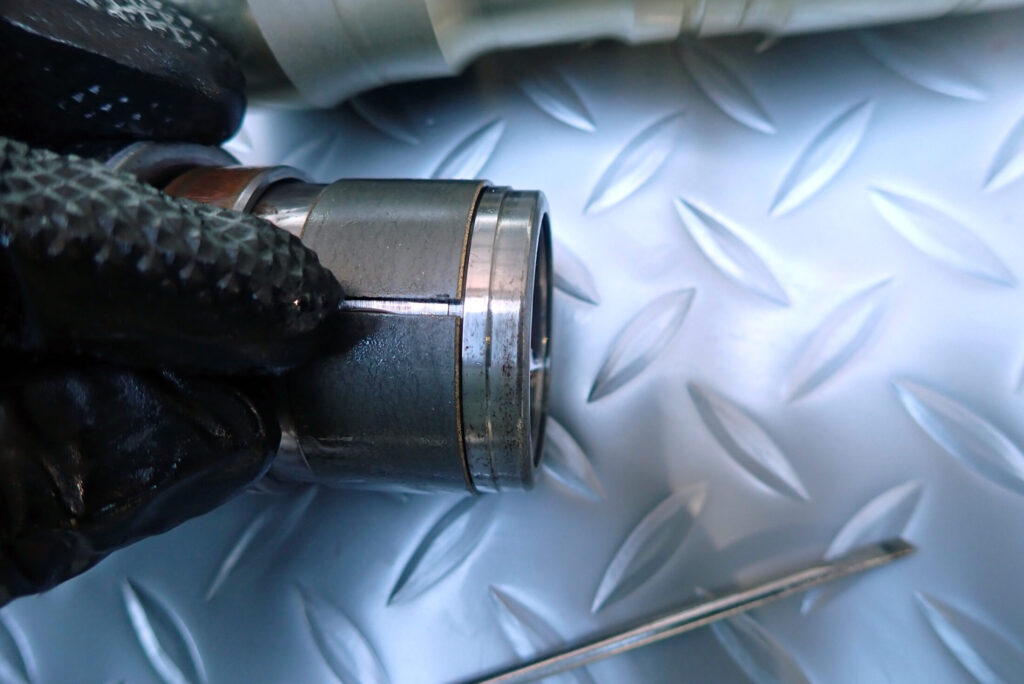
Remove the fork tube bush at the bottom of the inner tube by opening its split. Be careful not to open the split more than necessary.
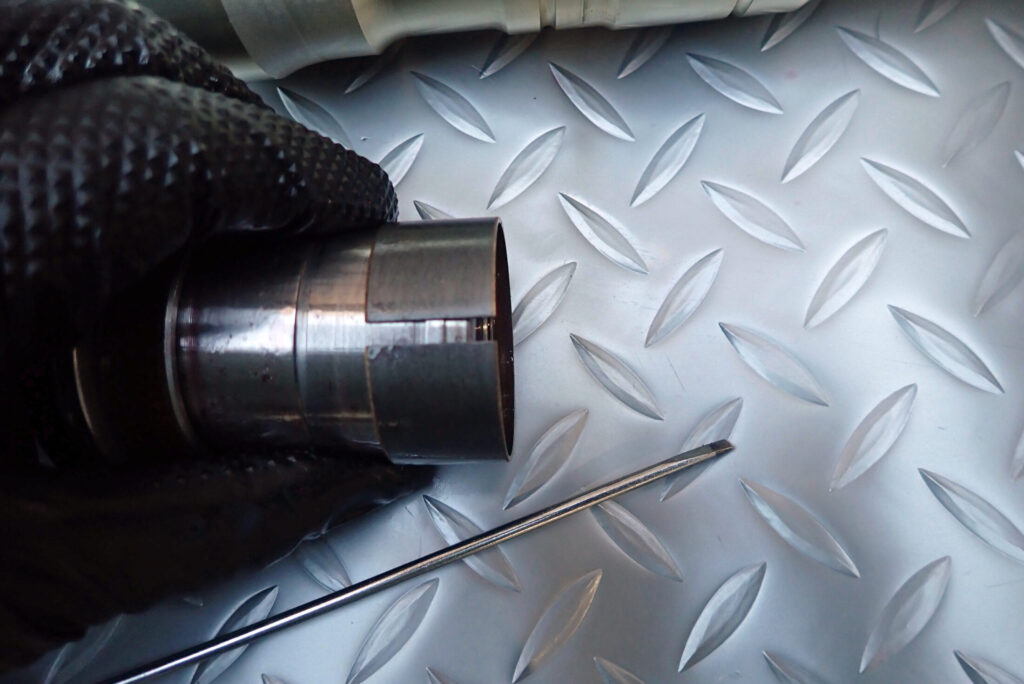
The fork tube bush is off.
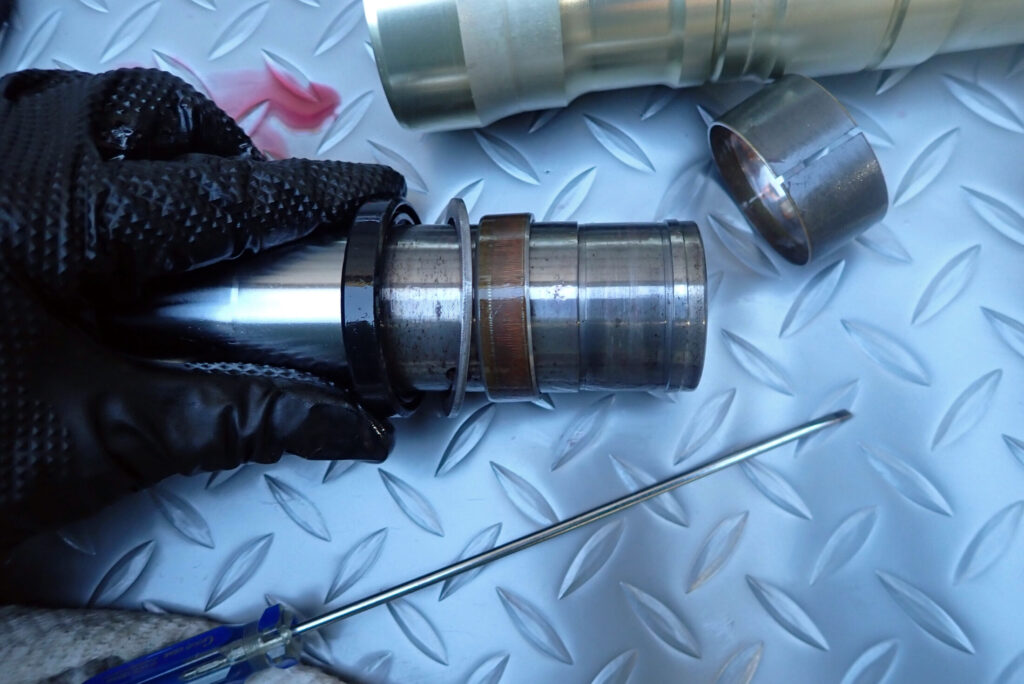
Finally, remove the guide bush, back-up ring and oil seal.
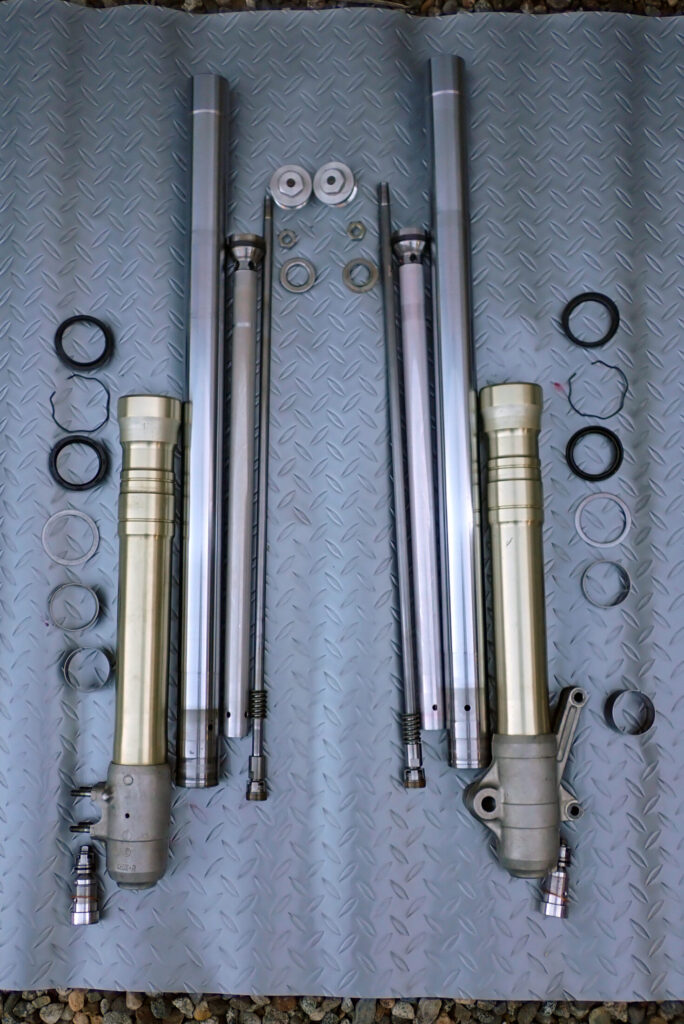
The front forks are fully stripped!
(The spring and oil lock piece are not in the photo above.)
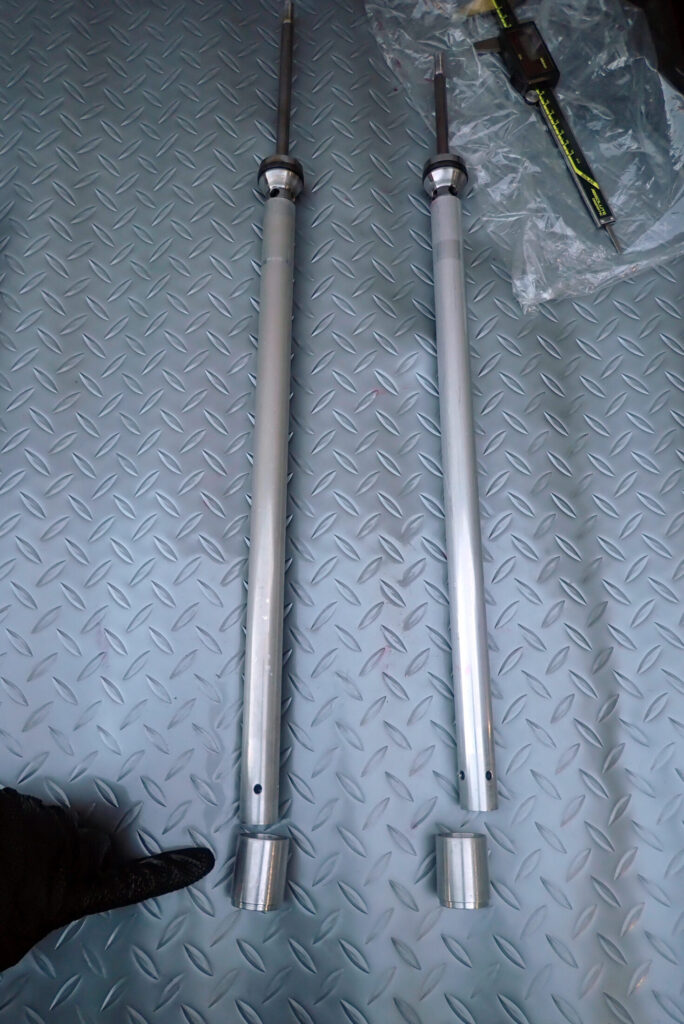
By the way, the oil lock piece is the part my finger is pointing to in the photo above.
From here, I'm going to do the following jobs.
- Baking soda blasting the axle holders
- Put the standard BAJA fork springs back in (the ME08 springs are in at the moment)
- Swap in the re-plated inner tubes
- Fit thrust bearings to the fork springs
Changing several things at once like this makes it hard to tell what each change does, but it's a bad habit of mine to do everything at once "while I'm at it".
I've also written a summary of my XR250 / BAJA front fork work, from stripping to oil, springs and re-plating, with the steps and costs.
-

-
Honda XR250 / BAJA Front Fork Overhaul Guide: Steps, Costs and Model-Year Differences
A summary of my XR250 BAJA (MD30) front fork overhaul: the order of the work, re-plating costs, spring differences between the XR250, BAJA and XR250R, mixing fork oil to match Honda's viscosity, and axle thread sizes by year.