Hello everyone.
This time I cleaned the rear brake piston, so I'll show you how I did it.
1. What is "working" the rear brake piston?
If the brake feels like it is dragging
If the bike feels heavier than before when you push it, or you keep hearing a scraping sound, the rear brake may be dragging.
When you release the pedal, the brake piston is pulled back slightly by the elasticity of the piston seal inside the caliper. If brake dust and mud build up on the exposed part of the piston, it doesn't retract as well, and the pads can stay in contact with the disc. Then the bike is not only harder to push, but the disc and pads can overheat and wear.
What "working the piston" means
"Working the piston" means cleaning and lubricating the piston, then pushing it in and out repeatedly so that it moves smoothly.
Before you start: safety
Cleaning the rear brake piston can be done with basic tools, but brakes are safety-critical parts, and your life depends on them. If you push the piston out too far and it comes out, or you get the bolt torque wrong, it can lead to a serious accident.
Before you start, get the service manual and check the specified torques. If you feel at all unsure, or if the piston is seized and won't move, it is safer not to force it and to ask a professional mechanic.
2. Tools and chemicals I used
Brake piston pliers
To turn the piston and clean its hidden side, you use brake piston pliers. This special tool goes inside the piston and expands to grip it, so you can turn it or pull it out.
When choosing a pair, check that it fits your bike's piston diameter. Mine has no lock, so I have to keep squeezing the whole time I turn the piston. So I recommend a type that locks.
What I used for cleaning
When removing brake dust from the piston, don't use solvents that can damage the seals. If the dirt is stubborn, you can also use diluted neutral detergent and a nylon brush.
For small areas, an old toothbrush or similar is handy.
When I actually cleaned the piston (shown below), I used lint-free Kimwipes.
What I used for lubrication: Metal Rubber
After cleaning, apply a thin coat of a lubricant that doesn't attack rubber. Some people use silicone grease, but I used CCI Metal Rubber (a brake cylinder assembly fluid).
It is a spray and easy to use, and I found it suits working the piston. Whichever you use, too much attracts dirt, so the knack is to leave just a thin film, as if spread with a fingertip.
3. In practice: cleaning and working the rear brake piston, step by step
Removing the wheel and pads
Here I show how I cleaned and worked the piston, using my BMW G650GS as an example.
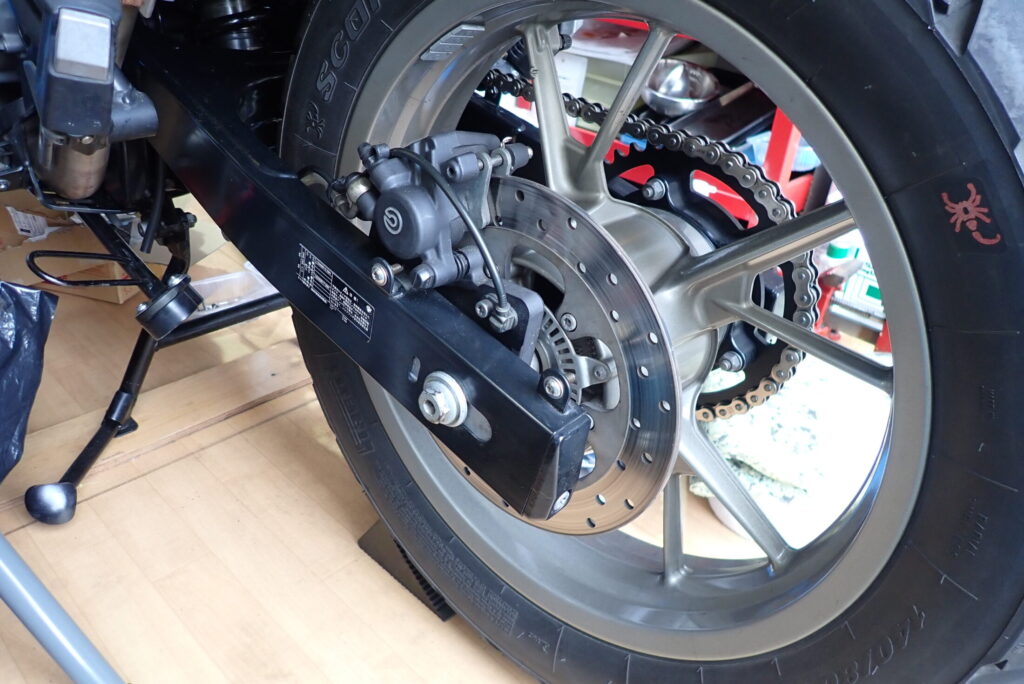
Remove the rear wheel to get at the piston.
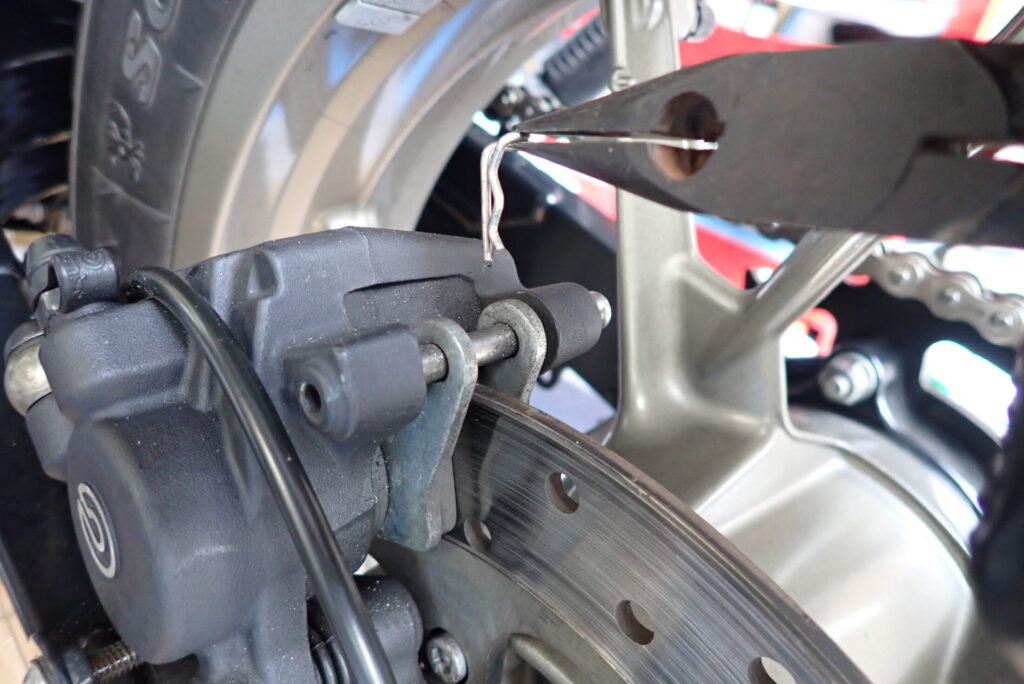
To remove the brake pads, remove the pad pin.
First, remove the R-clip (beta pin) that secures the pad pin.
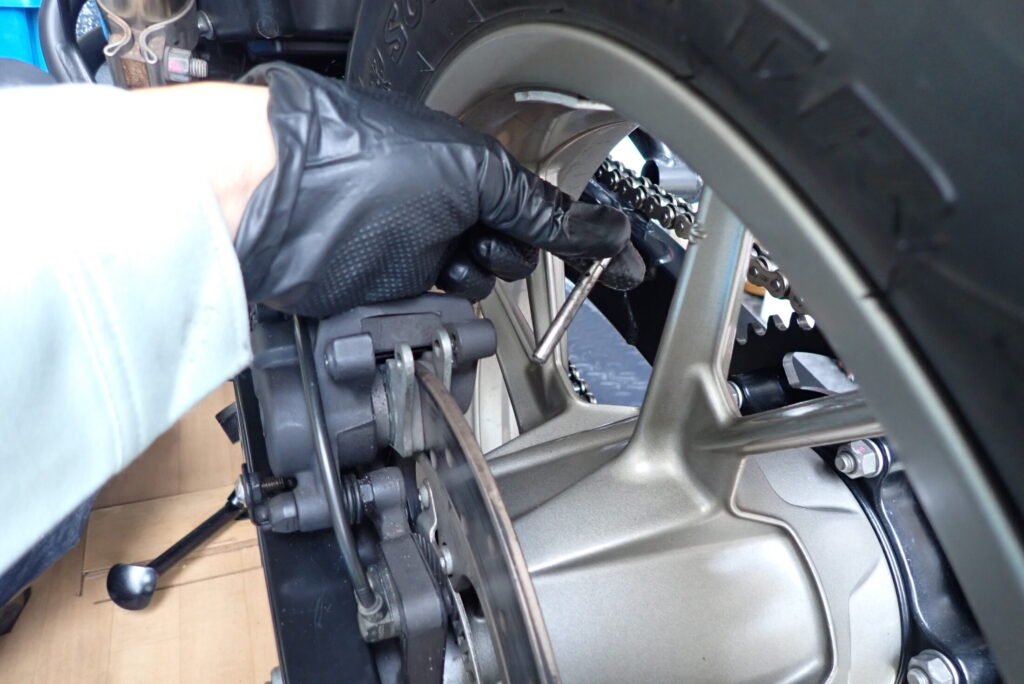
Pull out the pad pin.
The rear wheel spokes can get in the way of the pad pin, so it helps to turn the wheel to a suitable position first.
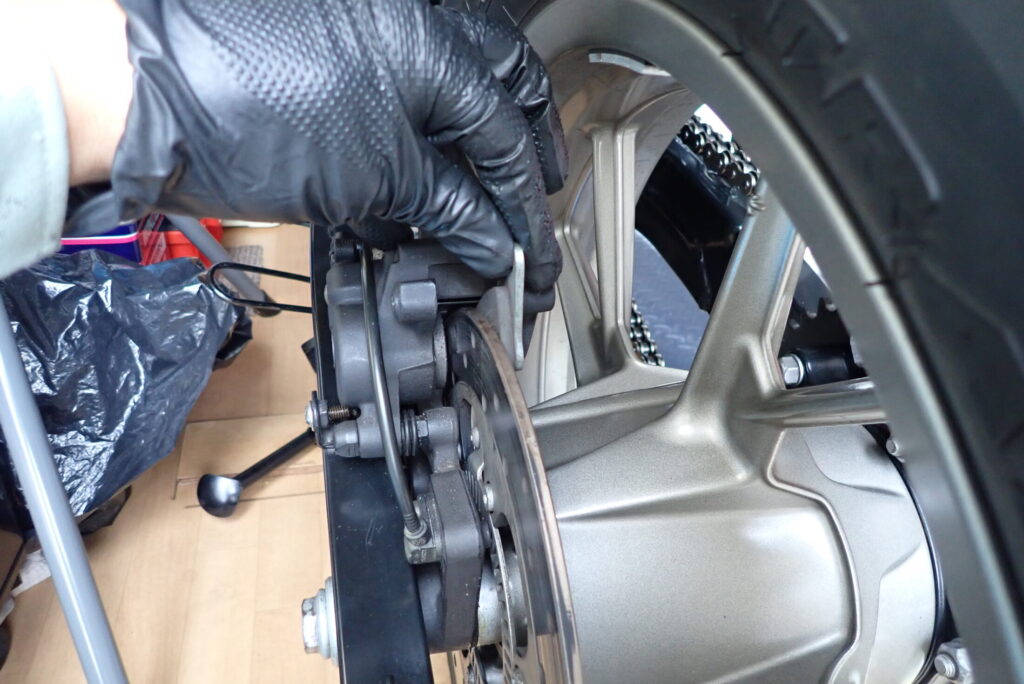
With the pad pin out, remove the brake pads.
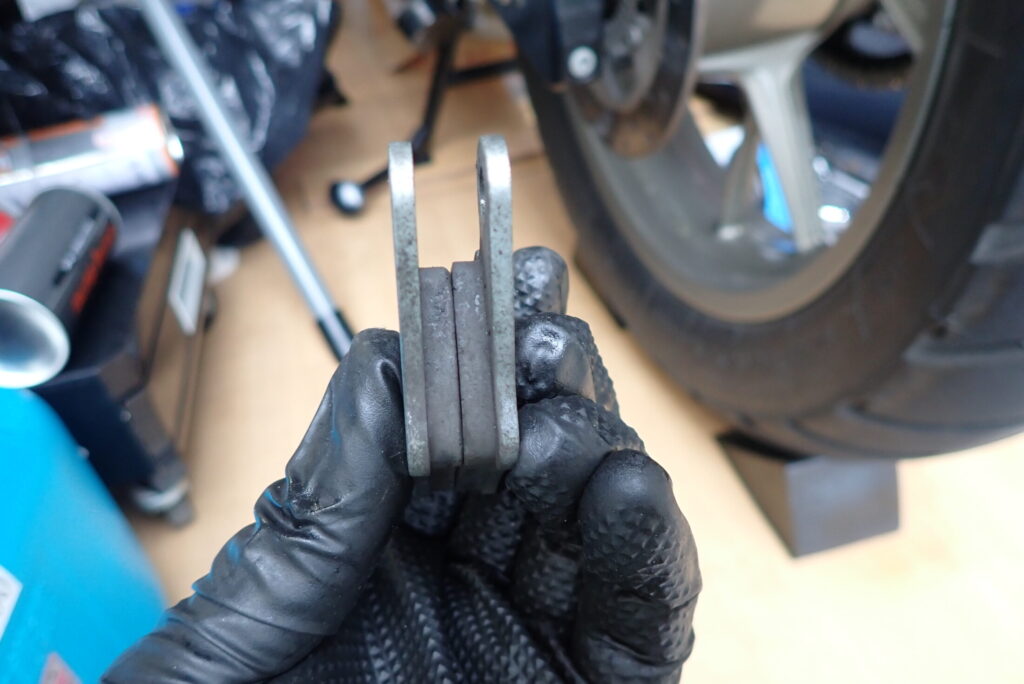
These are the pads I removed.
While they are out, check them. There is plenty of pad left.
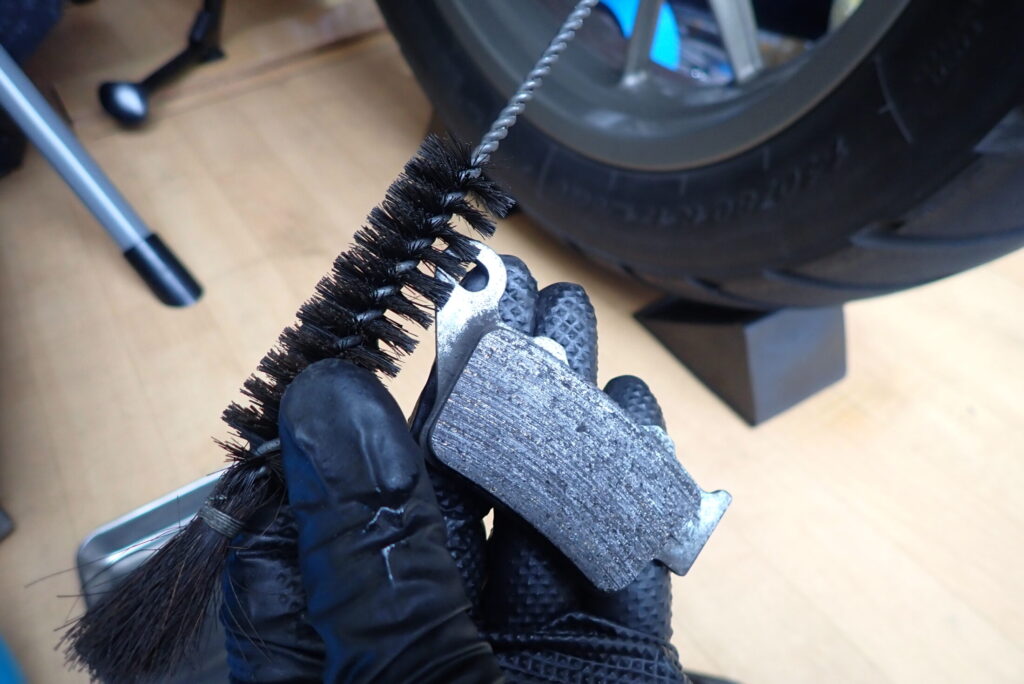
Brush the dust off the pads.
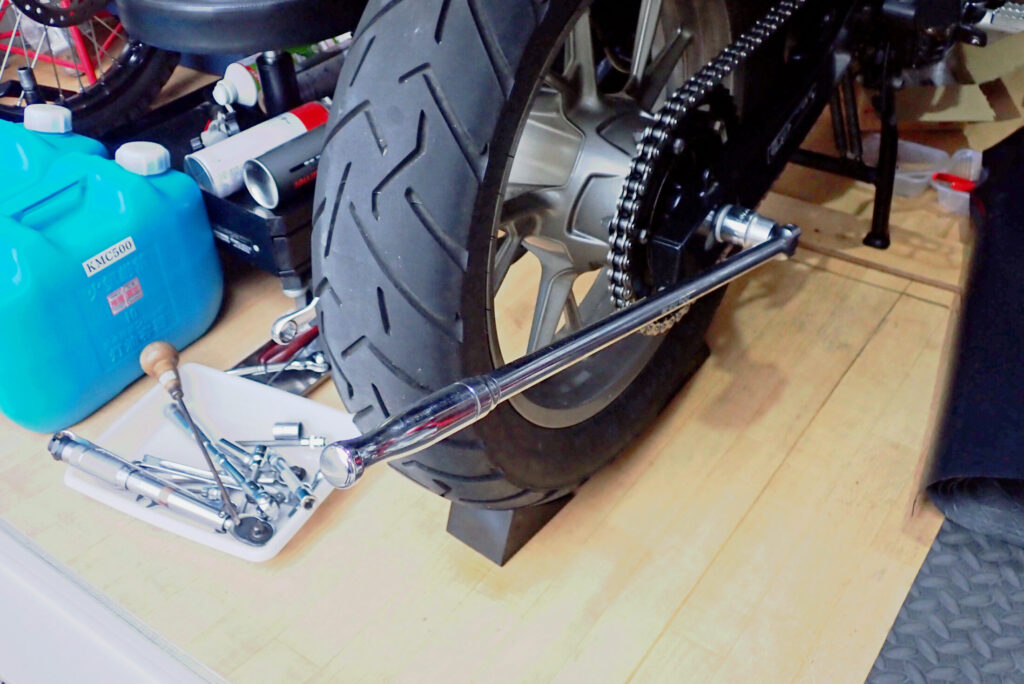
Loosen the nut and remove the rear axle.
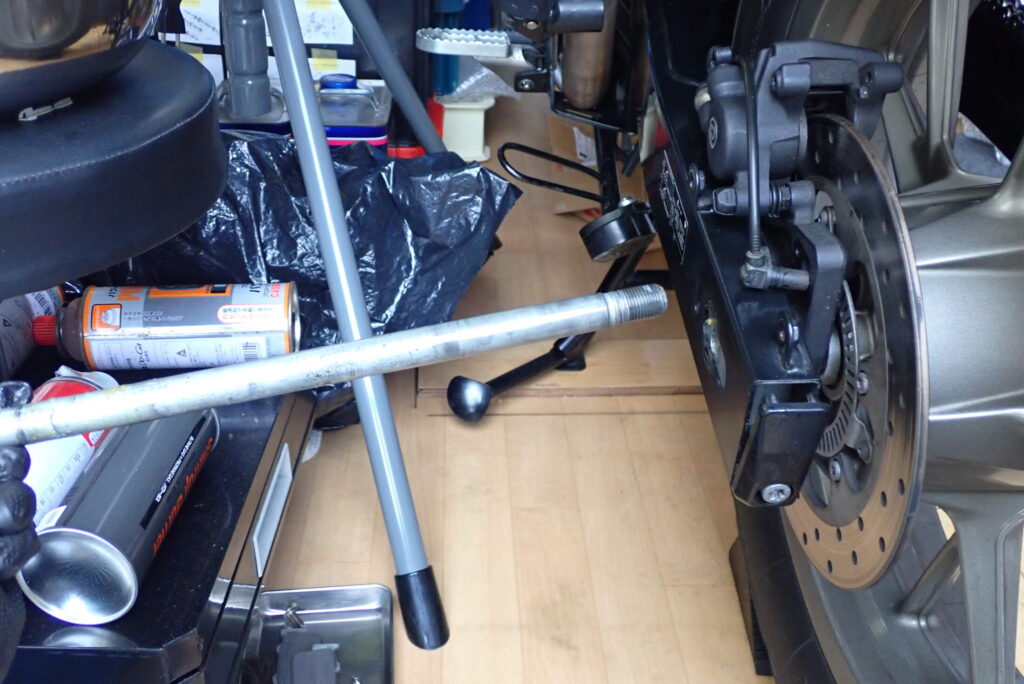
The axle is out.
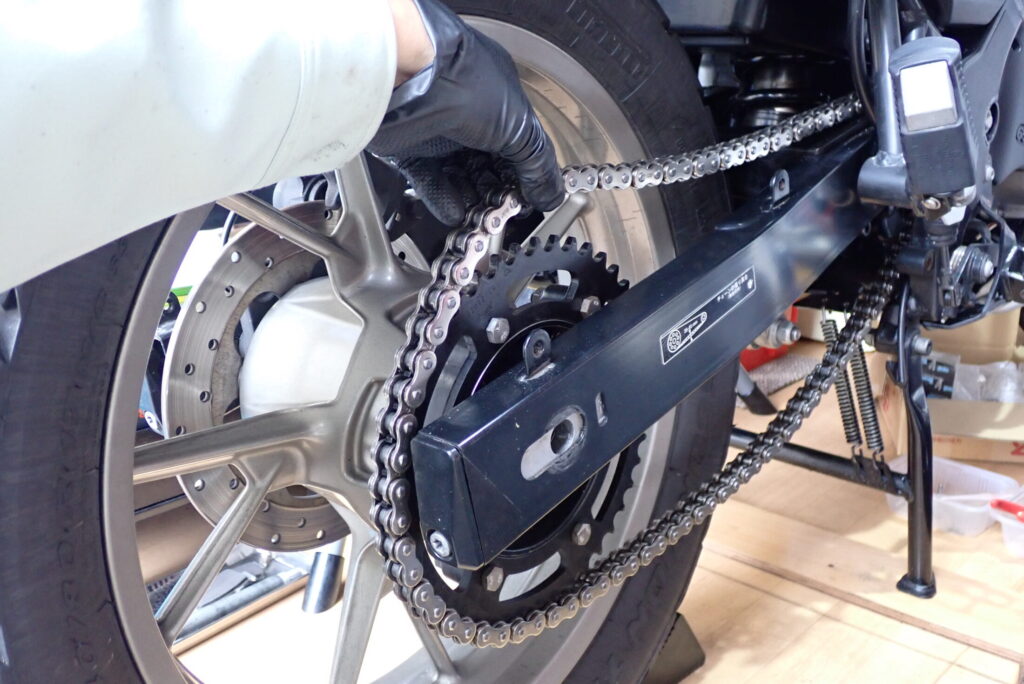
Take the chain off.
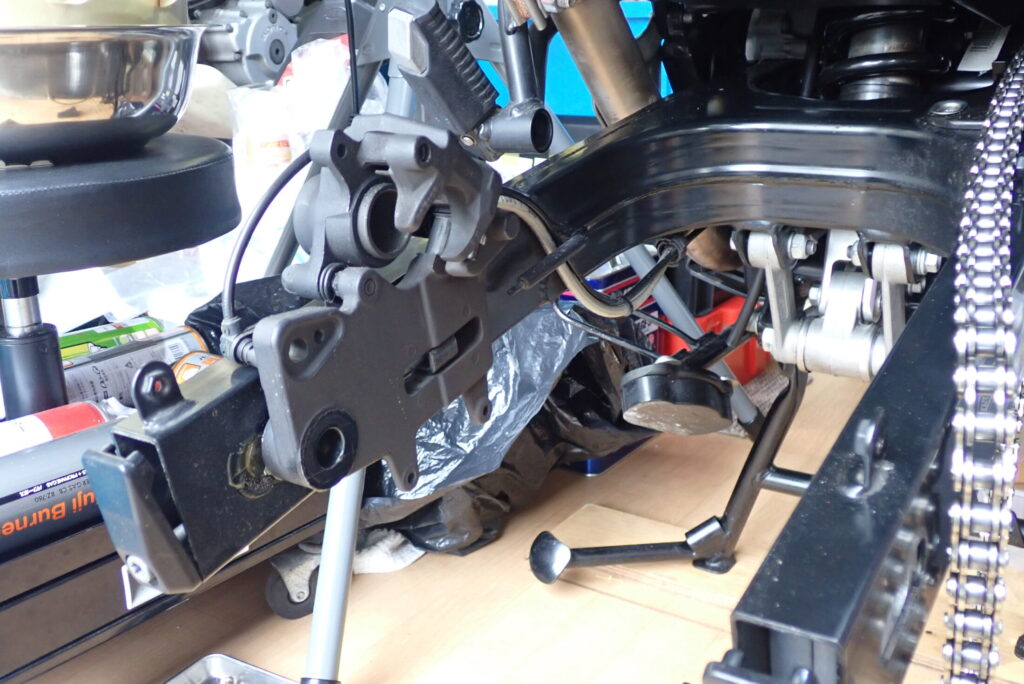
Now I can get at the brake caliper piston.
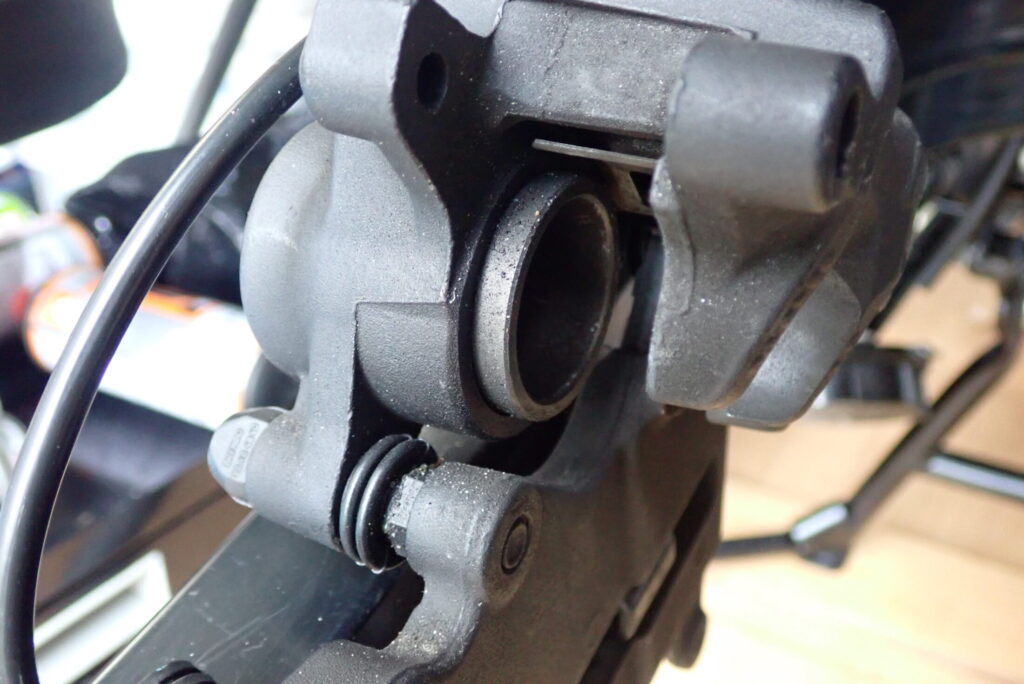
You can see dirt on the piston.
Pushing the piston out safely with the brake pedal
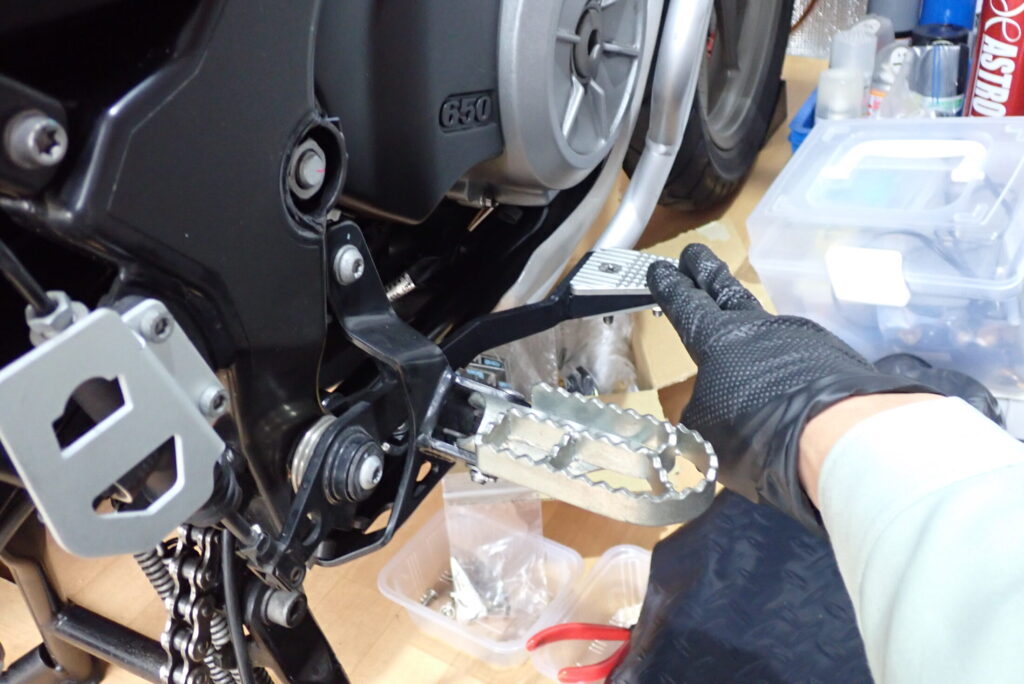
Now press the rear brake pedal to push the piston out.
Don't press the pedal many times. Stop as soon as a clean part of the piston appears.
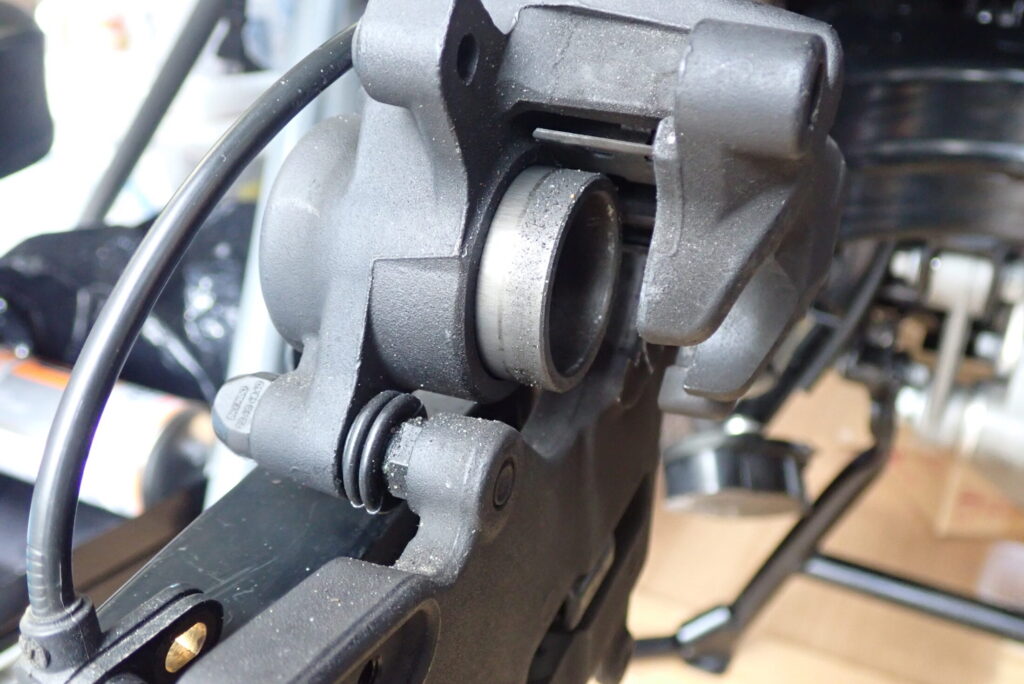
A clean part of the piston has appeared, so I stop pushing it out.
If you press the pedal too much, the piston comes out of the caliper and brake fluid pours out.
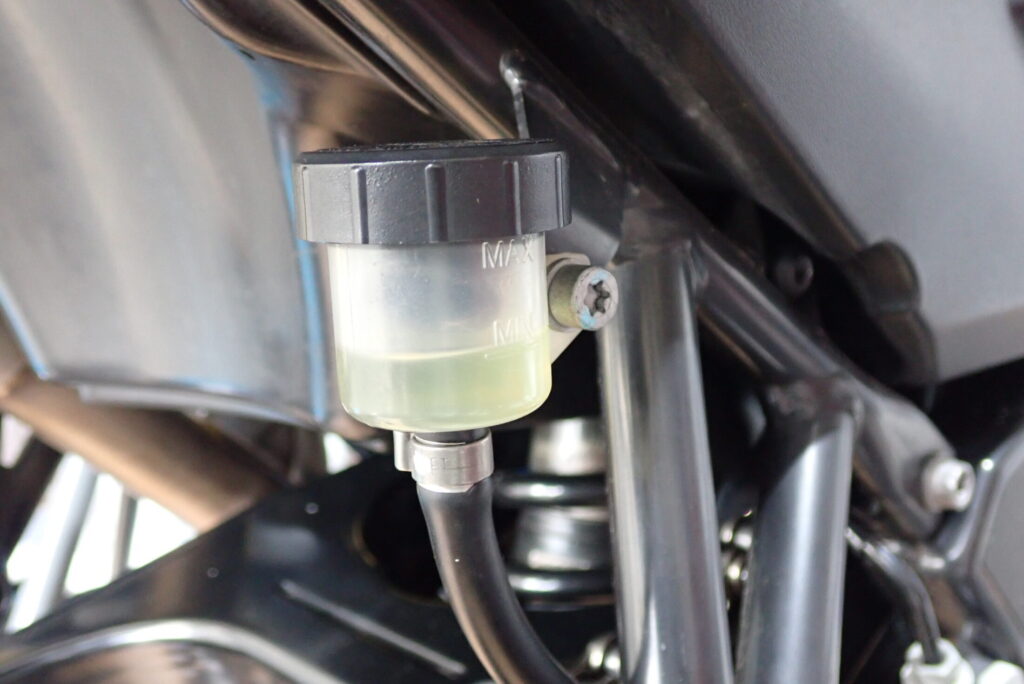
Also, if you push the piston out too far, the reservoir runs short of fluid and starts drawing in air.
So press the pedal while checking both the fluid level in the reservoir and how far the piston has come out.
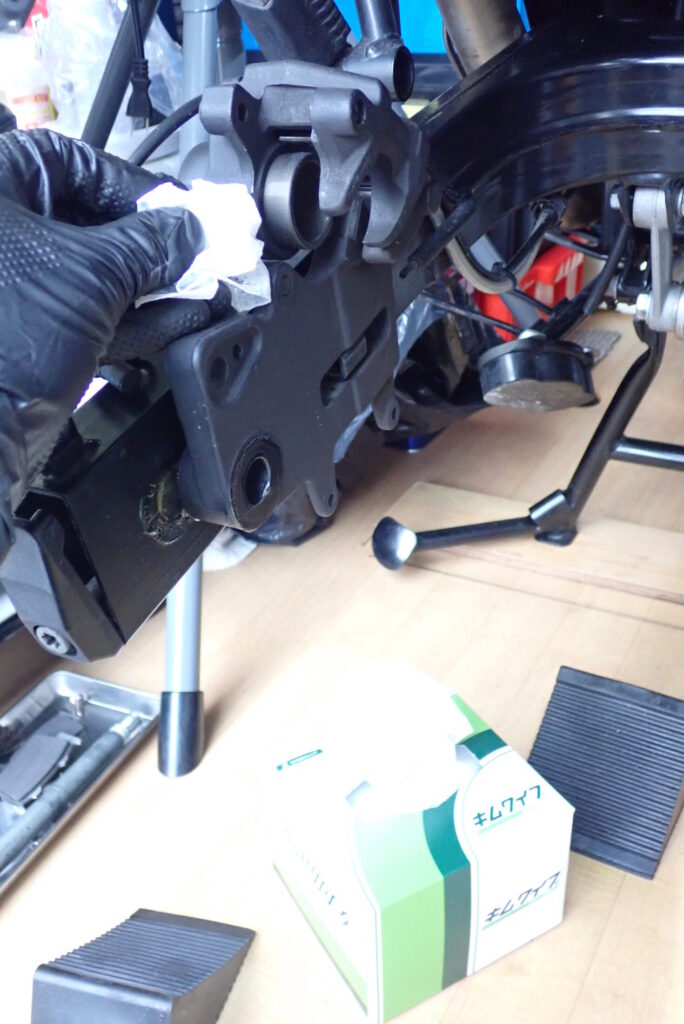
The dirt on the piston didn't look stubborn, so I gently wiped it off with a Kimwipe.
Cleaning the hidden side of the piston
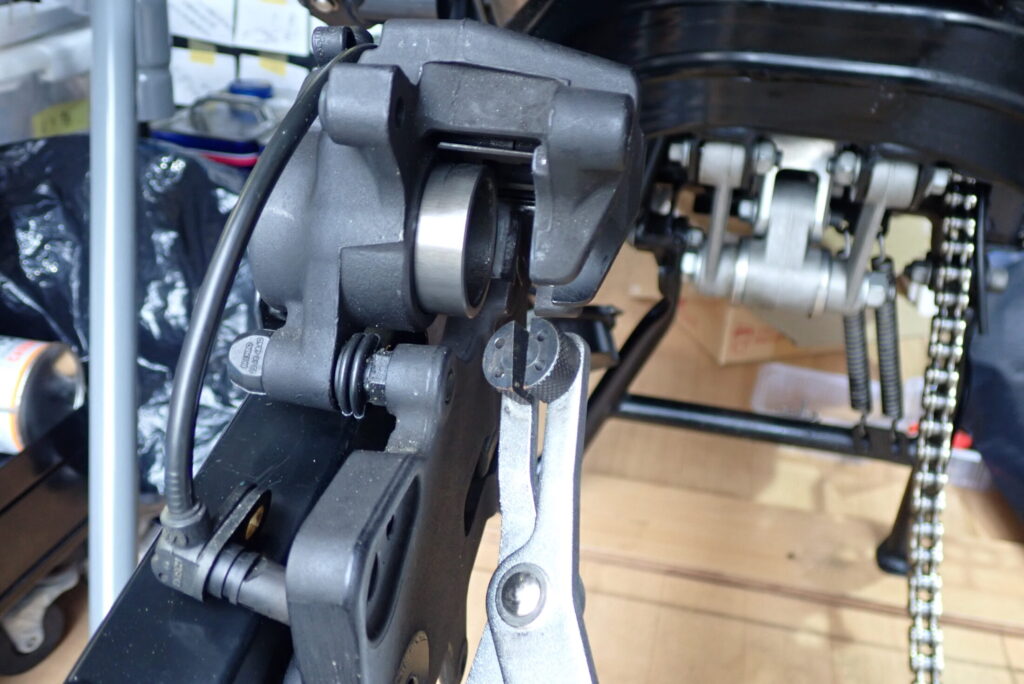
After cleaning what you can reach, turn the piston to clean the hidden part.
This is where the brake piston pliers mentioned above come in.
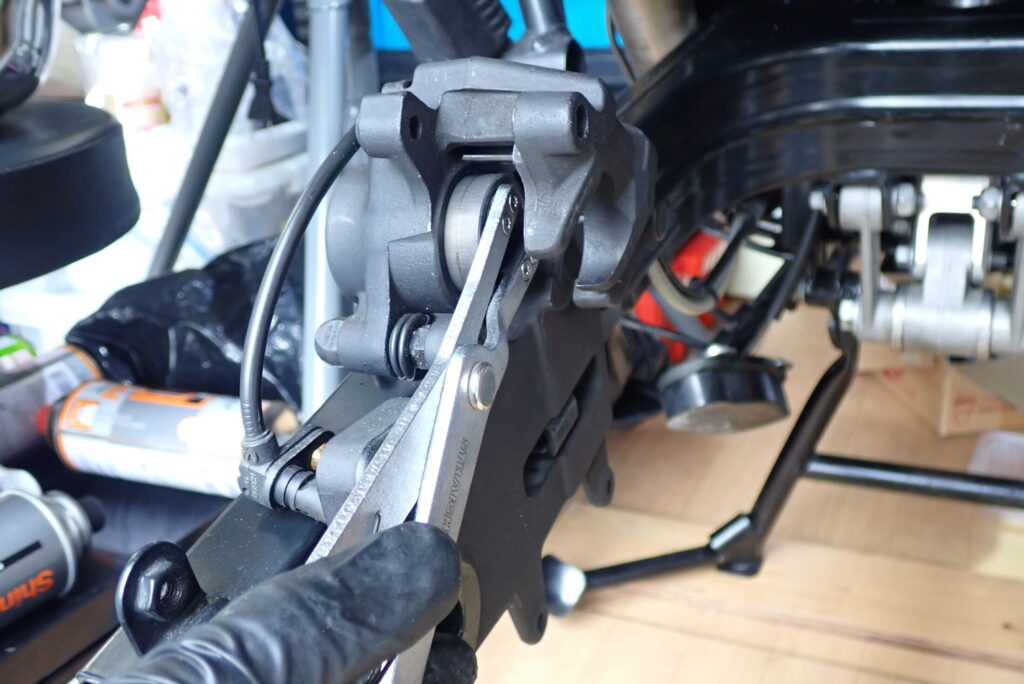
Grip the inside of the hollow piston like this and turn it.
My piston pliers have no lock, so I have to keep squeezing them while turning the piston, which is awkward. So I recommend a pair with a lock.
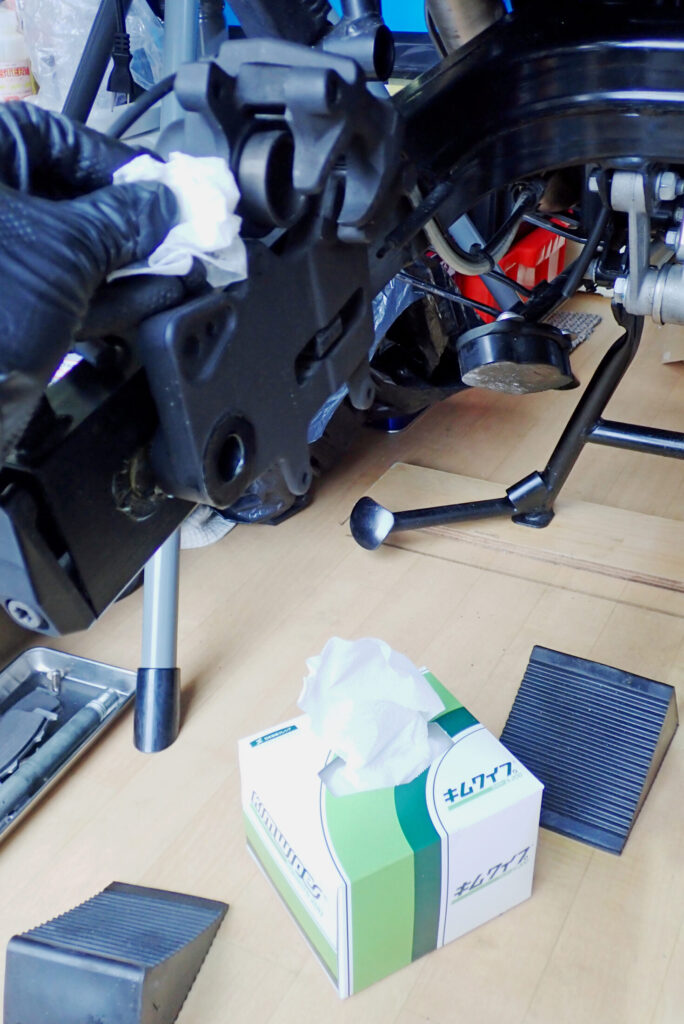
After turning the piston, clean the part you couldn't reach before.
Lubricating it so that it moves smoothly again
Once the piston is clean, it's time to work it.
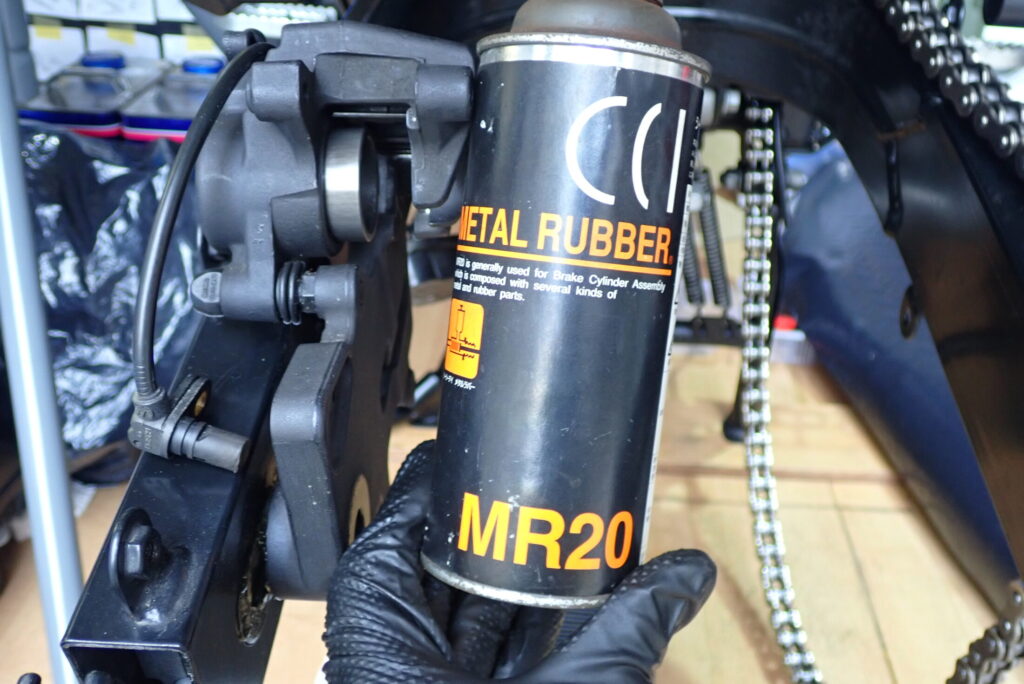
This is Metal Rubber. It is said not to attack rubber and to be compatible with brake fluid.
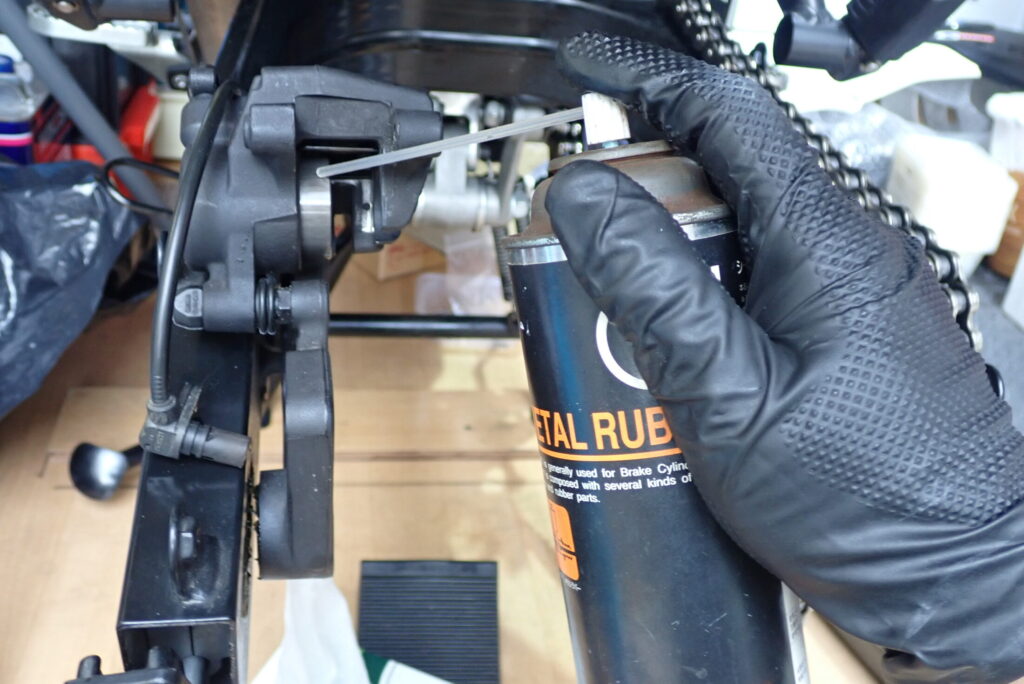
Apply Metal Rubber to the piston. The spray isn't very forceful, so it doesn't splash about.
Until you get used to it, it may be better to spray it onto a Kimwipe or rag first and then apply it.
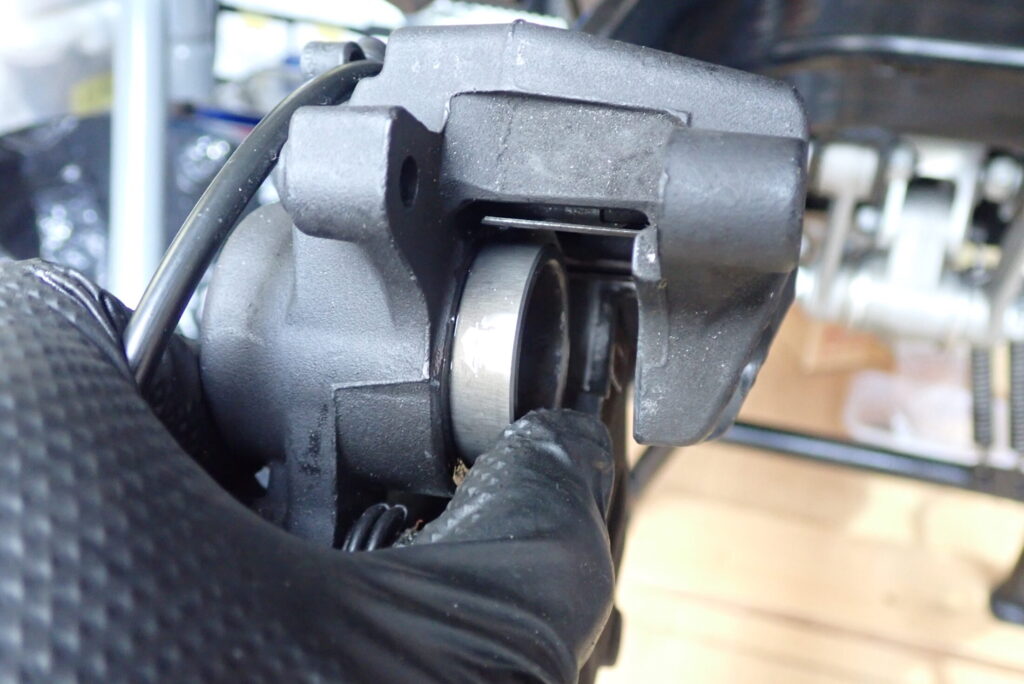
Turn the piston and apply Metal Rubber all the way round. If it drips and looks like it will get anywhere other than the piston, wipe it off.
Once the whole circumference is coated, push the piston back in.
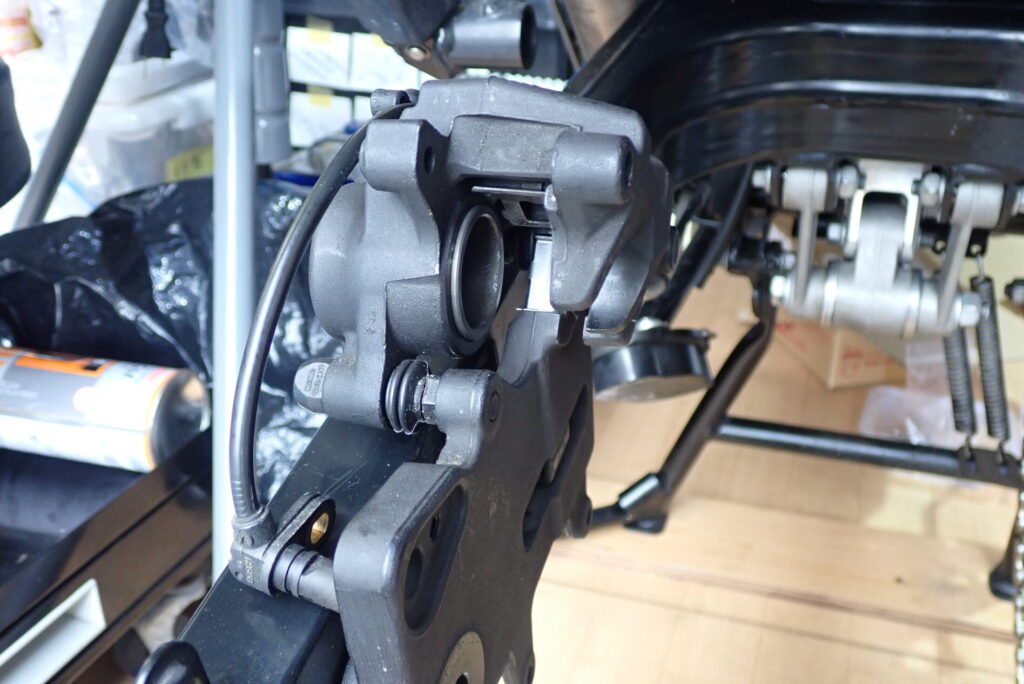
After pushing it in, press the pedal again to push the piston out. Then turn the piston, apply Metal Rubber, push it back in...
Repeating this a few times makes the piston move better.
Avoiding fluid overflow when pushing the piston back
When you push the piston back into the caliper, the same amount of brake fluid flows back up the hose into the master cylinder reservoir. If fluid has been topped up in the past, it can overflow from the reservoir. Brake fluid damages paint, so before you start, open the reservoir cap and, if the level is high, take a little out with a syringe or similar to be safe.
Also, push the piston back squarely, not at an angle.Finally, after fitting the pads and the caliper, always pump the pedal a few times to bring the piston back into contact with the disc.
4. Things to watch out for
If the piston is seized and won't move
On a bike that hasn't been maintained for a long time, the piston may be seized so it won't move even when you press the pedal. Forcing it with pliers could damage the piston, so don't force it; consider overhauling the caliper or asking a professional.
Don't push the piston out too far
The thing to avoid most when working the piston is letting it come out. If it does, brake fluid leaks out and air gets into the brake line.
Then cleaning alone isn't enough: you will need to bleed the brakes. When pressing the pedal, push a little at a time while watching the fluid level and how far the piston comes out.
Tighten the bolts around the caliper to the specified torque
When refitting the caliper and axle, bolts that are too loose can work free, and bolts that are too tight can damage the threads.
Use a torque wrench and tighten to the torque specified in the service manual. If the manufacturer specifies threadlocker, use it too.
Checking the brake after the job
Don't ride off as soon as everything is back together.First, with the bike stationary, press the brake pedal several times and check that it firms up. Just after pushing the piston back, the brake won't work until you have pressed the pedal a few times.
Once the pedal is firm, push the bike without the engine running and check that the brake works and that there is no noise or dragging. Then ride slowly somewhere safe and check the brake.
If cleaning doesn't fix it
If the brake starts dragging again soon after working the piston, or fluid seeps from around the piston, I think you should consider an overhaul including new seals. The same goes if the piston has rust or pitting.
Cleaning only restores function; it may not fix the root cause.