Hi everyone, it’s Boo.
This time, I removed the swingarm pivot shaft from my BMW G650GS.
This job gave me a lot of trouble. I couldn’t finish it in one day, and it took me two days in total.
First, I checked the socket sizes needed to remove the pivot shaft.
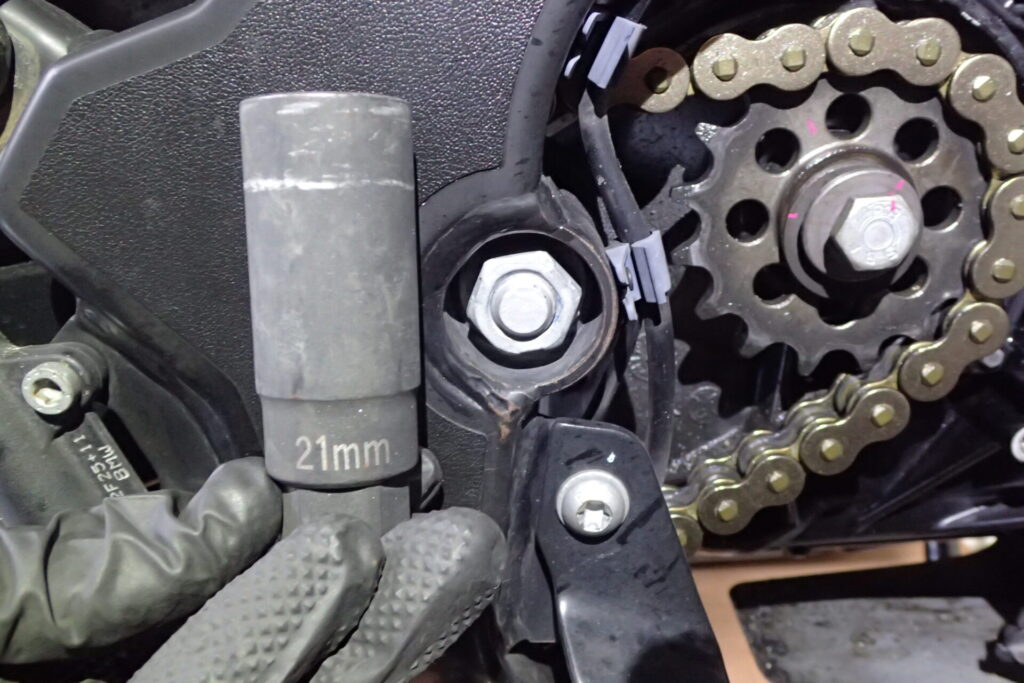
On the front sprocket side, there is a 21 mm nut.
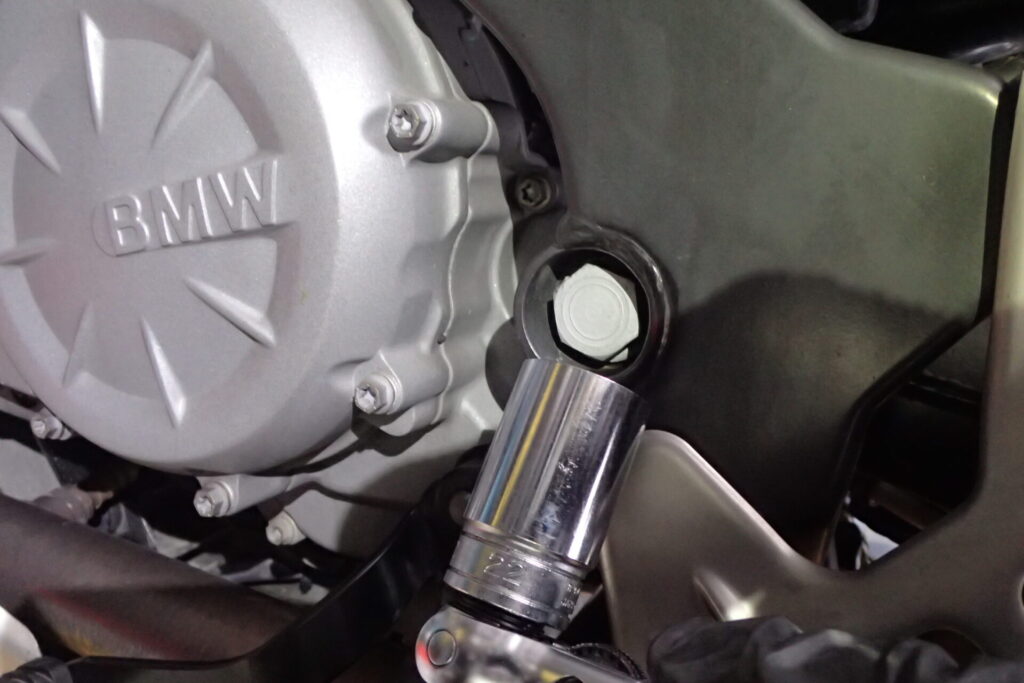
On the rear brake side, there is a 22 mm bolt head.
I thought it would be better to take all the load off the swingarm before removing the pivot shaft, so I also decided to remove the tension strut.
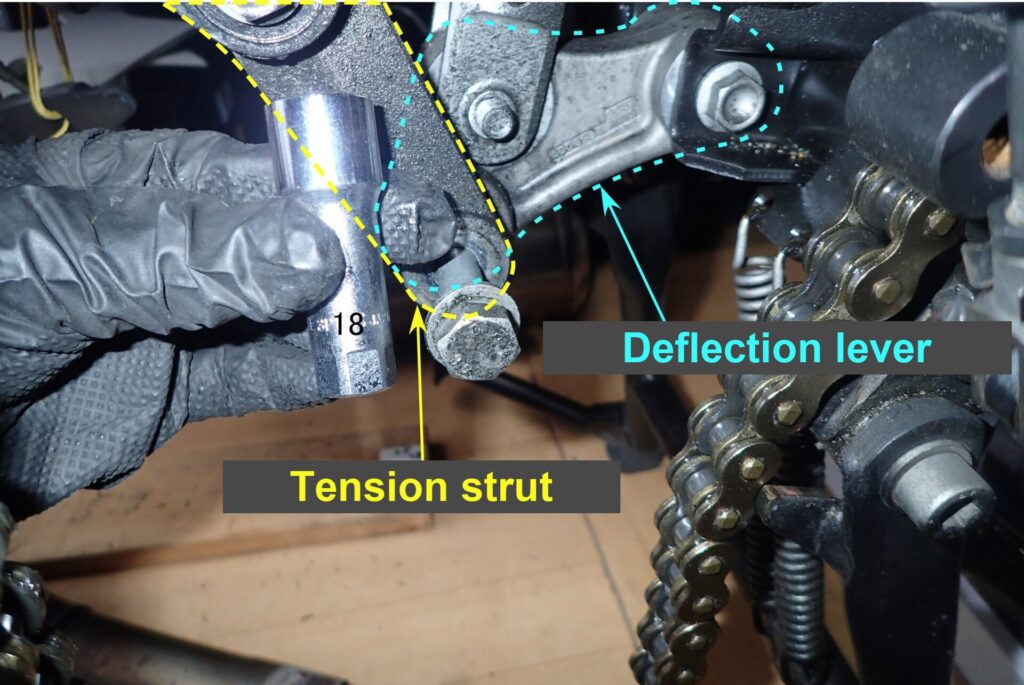
Removing the tension strut.
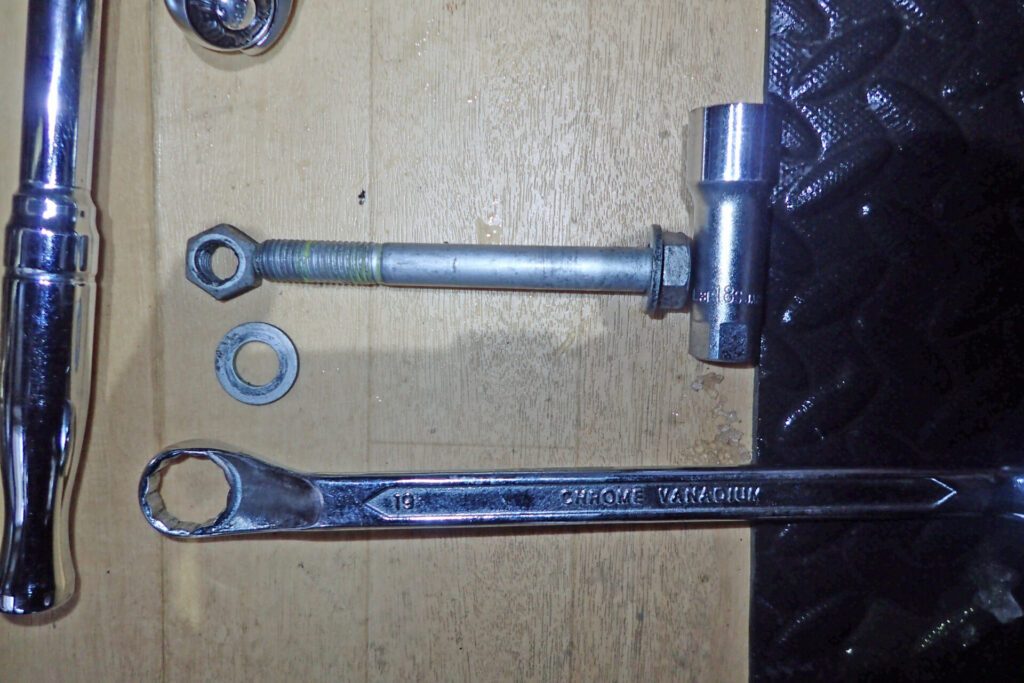
This is the bolt that connected the tension strut to the deflection lever.
To remove it, you need 18 mm and 19 mm sockets or spanners (wrenches).
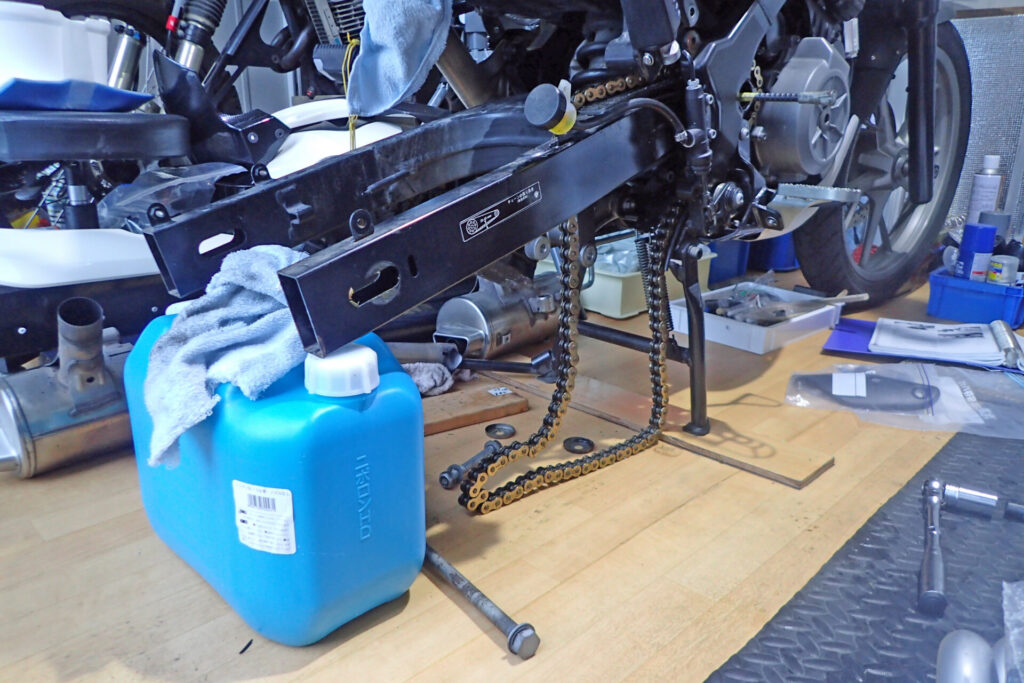
Once this is done, the pivot shaft is the only thing holding up the swingarm.
To stop the swingarm from dropping, I rested it on a stand. A 10-litre plastic container was just the right height.
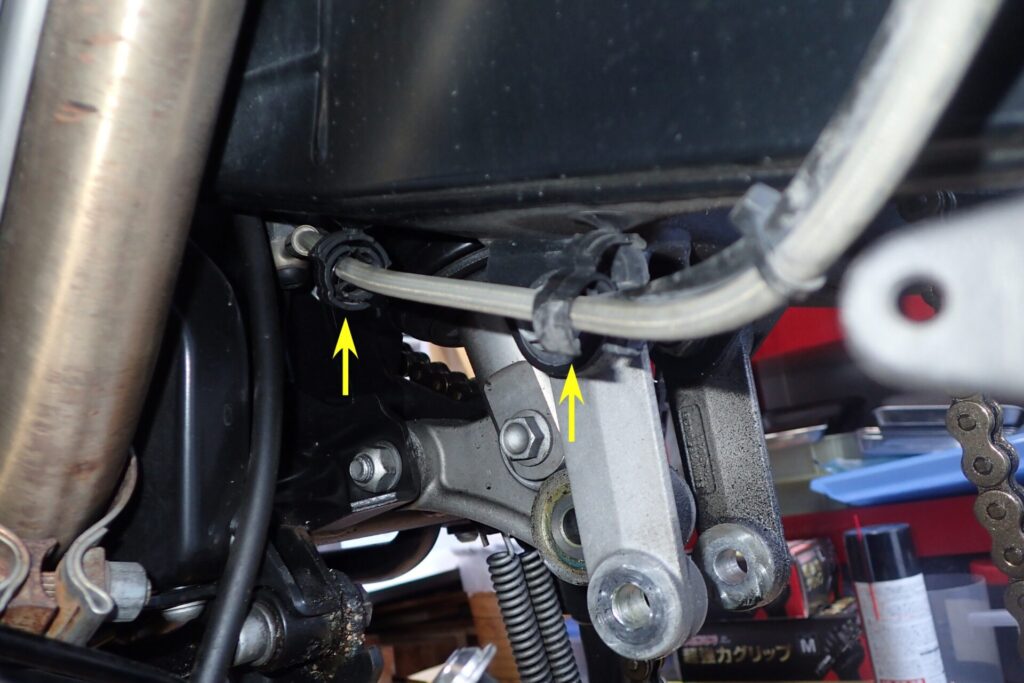
I also unclipped two lines from the swingarm — the brake hose and the ABS sensor cable — in case the swingarm moved in an unexpected direction when the pivot shaft came out.
These two lines are held to the swingarm by two clips (yellow arrows in the photo).

Now, at last, everything was ready, so I started on the pivot shaft itself.
…but it seemed to be rusted solid, and it didn’t move at all when I hit it with a plastic hammer.
So I changed tactics and decided to hit the pivot shaft with a heavier hammer.
I didn’t want to damage the pivot shaft, so I held the plastic hammer against the pivot shaft and struck it with the heavy hammer.
…but even this way, the pivot shaft didn’t move at all.
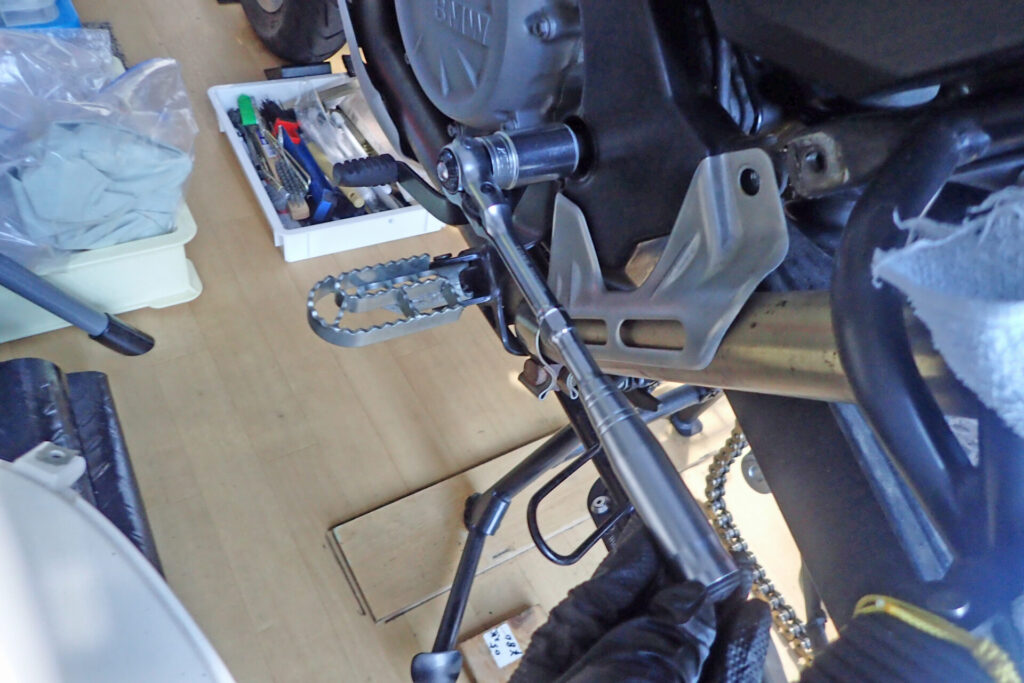
So I added another step.
The pivot shaft could be turned by hand with a socket, so I sprayed it with silicone spray and turned it.
Ideally, I would have hit it with the hammer while turning it, but I was working alone, so I couldn’t do that.
So I repeated this cycle:
1. Hit the pivot shaft from the chain side
↓
2. Spray the pivot shaft with silicone spray
↓
3. Turn the pivot shaft
(an impact wrench or impact driver also works)
↓
Back to step 1.
At step 3, turning the shaft by hand became tedious, so I used an impact driver to turn it.
After turning it with the impact driver, the next hammer blow finally moved the pivot shaft in the direction it needed to come out!
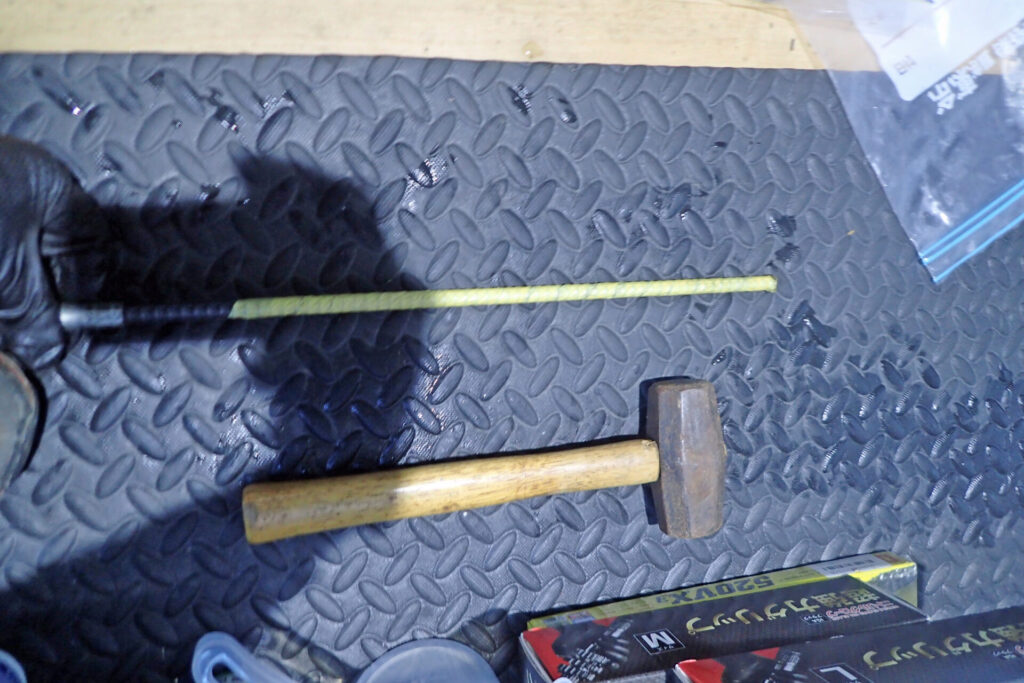
To drive the pivot shaft out, you need something thinner than the pivot shaft that can also take the hammer blows.
I used a thin steel reinforcing bar (rebar).
Rebar has a ribbed surface, and I thought it might scratch the bike when I hammered it, so I wrapped it in masking tape — not much protection, but better than nothing.
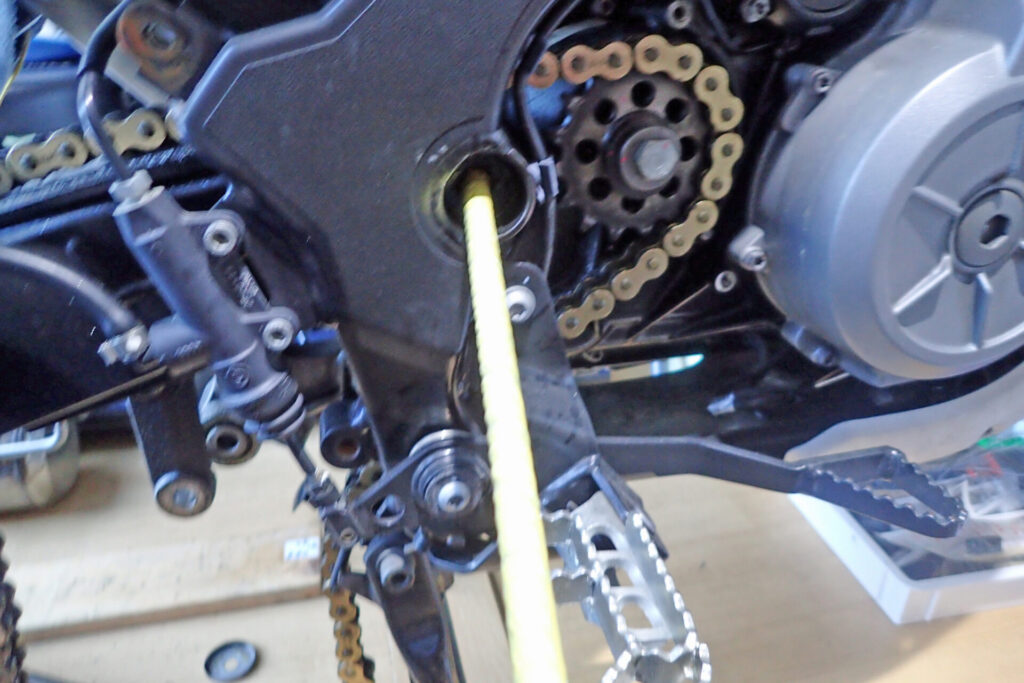
Now I started driving the rebar in.
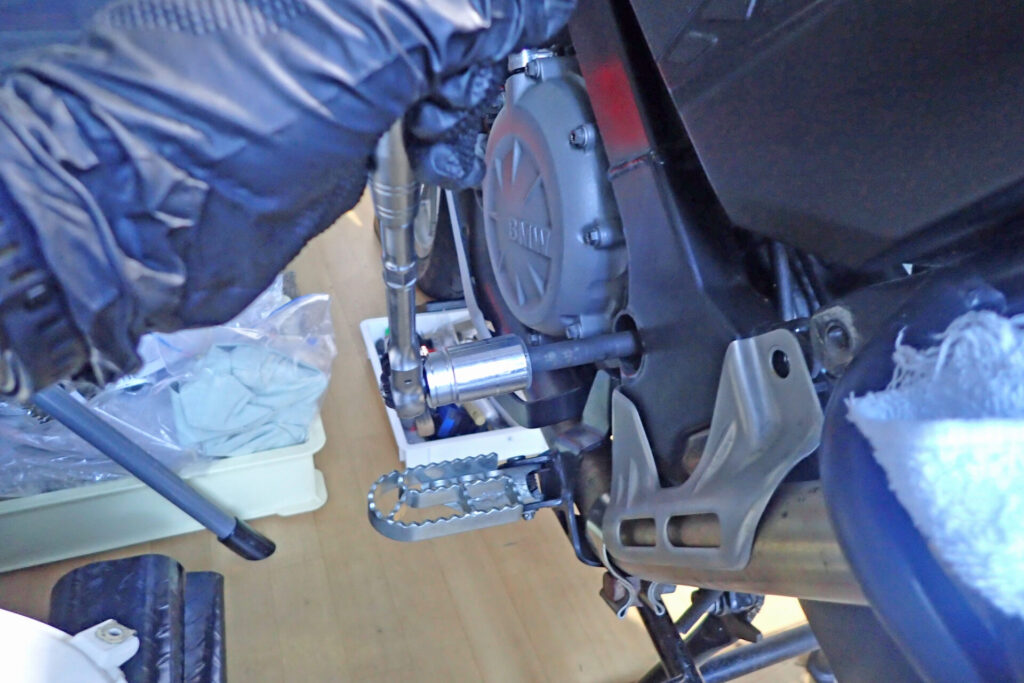
Hammer, then turn. Hammer, then turn…
By repeating this, I finally managed to get the pivot shaft out.
The metallic noise from the hammering was loud, so I think it was a nuisance to my neighbours.
If you need to hammer out a pivot shaft, be careful about the time of day.
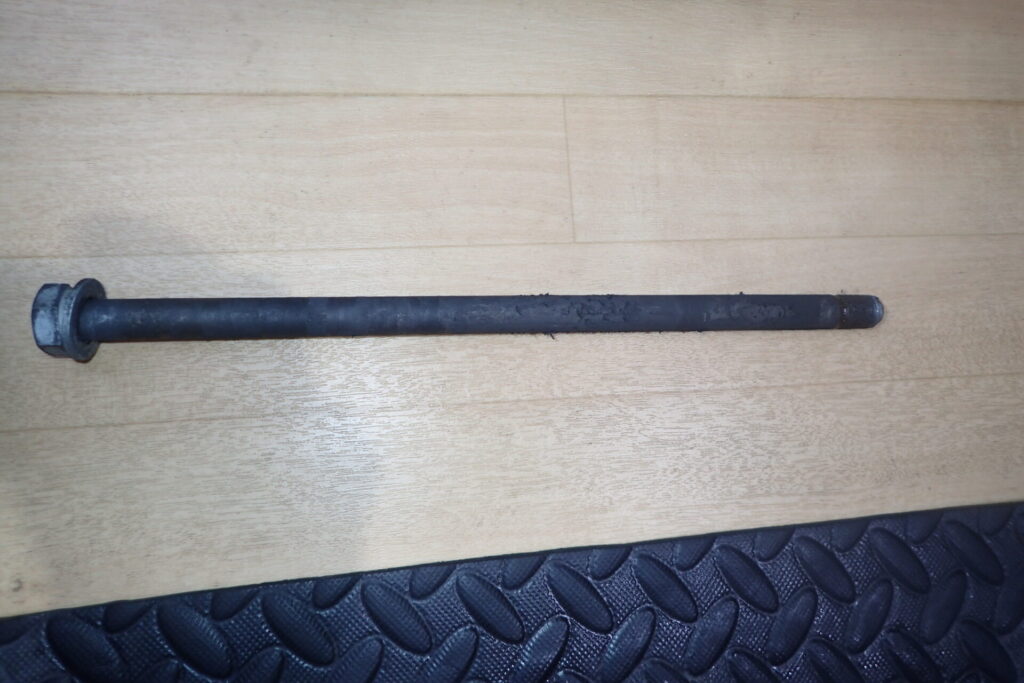
This is the pivot shaft I removed.
Let’s take a closer look.
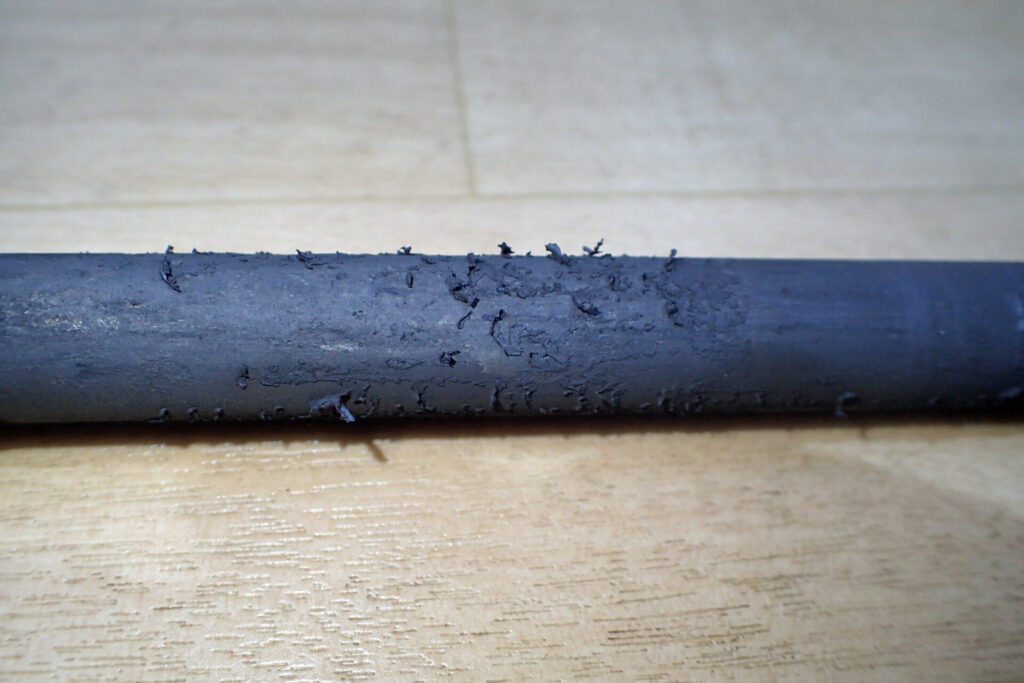
The surface of the pivot shaft was coated in something black and very sticky.
In the photo above, you can see this black material peeling up.
My guess is that it was grease applied when the bike was assembled new, but I don’t know for sure.
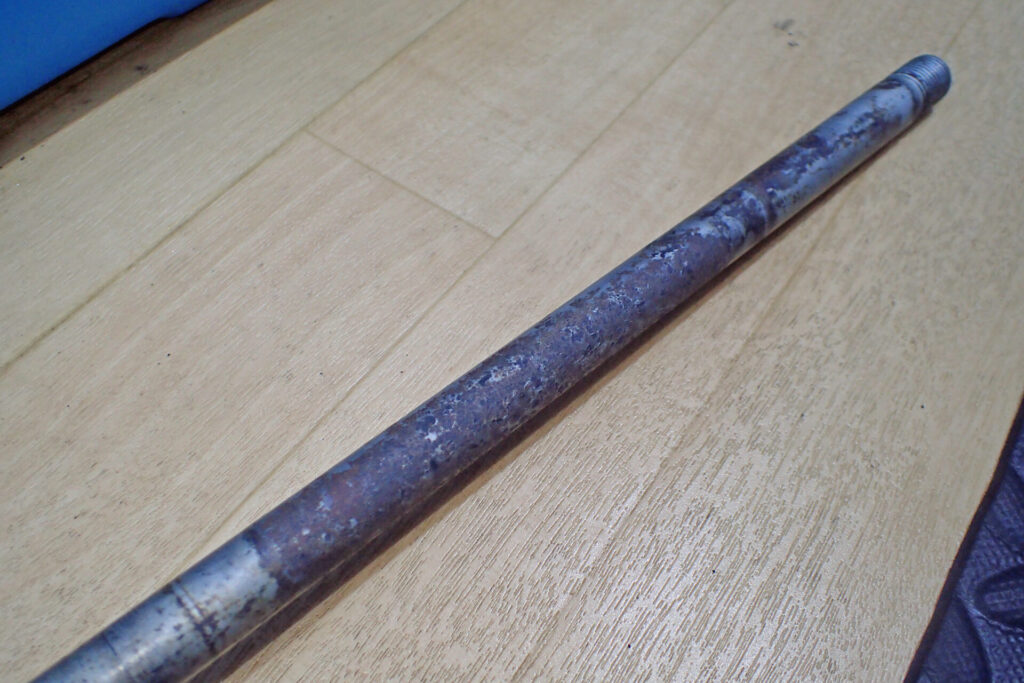
I cleaned the removed pivot shaft with Plexus.
You can see that it is badly rusted.
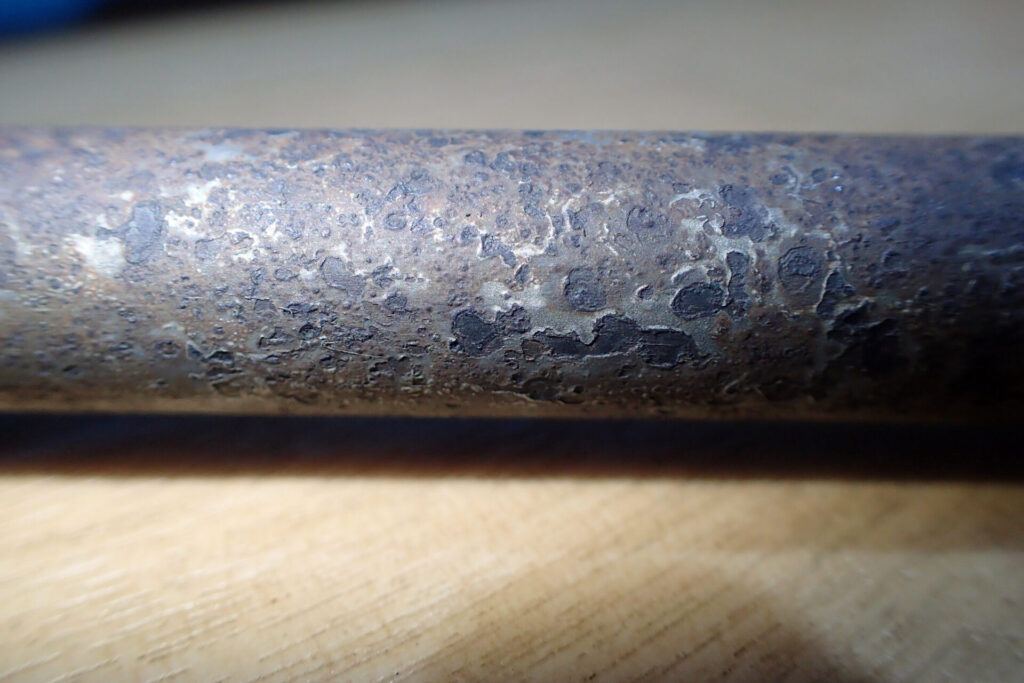
This is a close-up of the worst rust. Sorry, it’s not a pretty sight.
The shaft’s plating (or surface treatment?) has turned into craters, and you can see the rust has progressed.
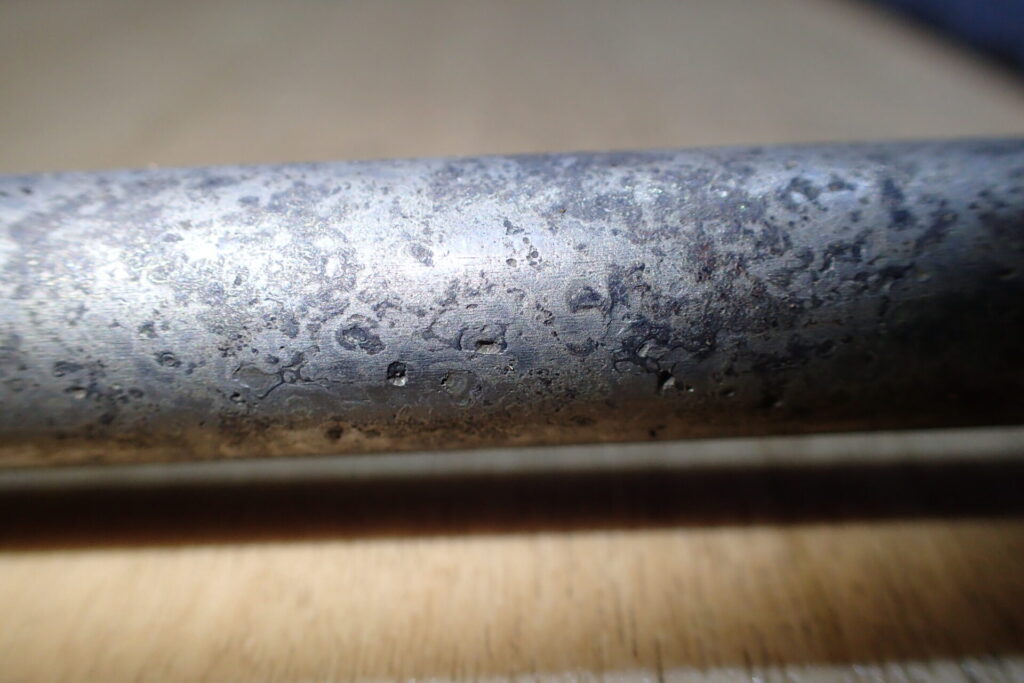
This is how it looked after five rounds of rust removal with a brass brush and Hanasaka G Rust Remover.
Some rust was still left, but I was worried that using the rust remover any more might harm the shaft, so I stopped there.
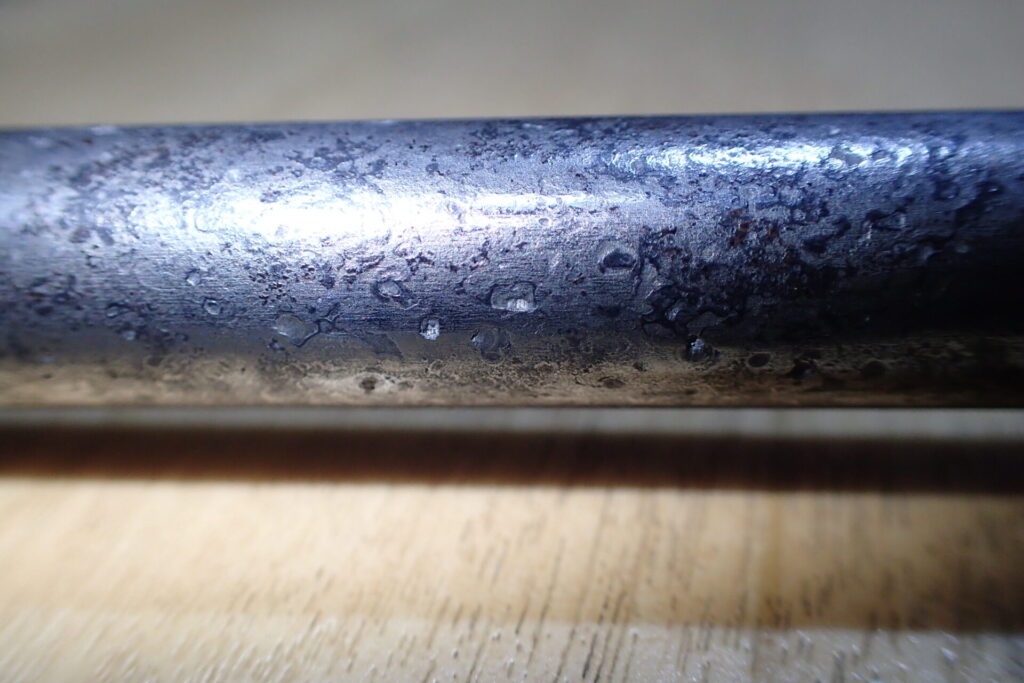
Finally, the photo above shows the shaft after polishing it with WAKO’S Metal Compound.
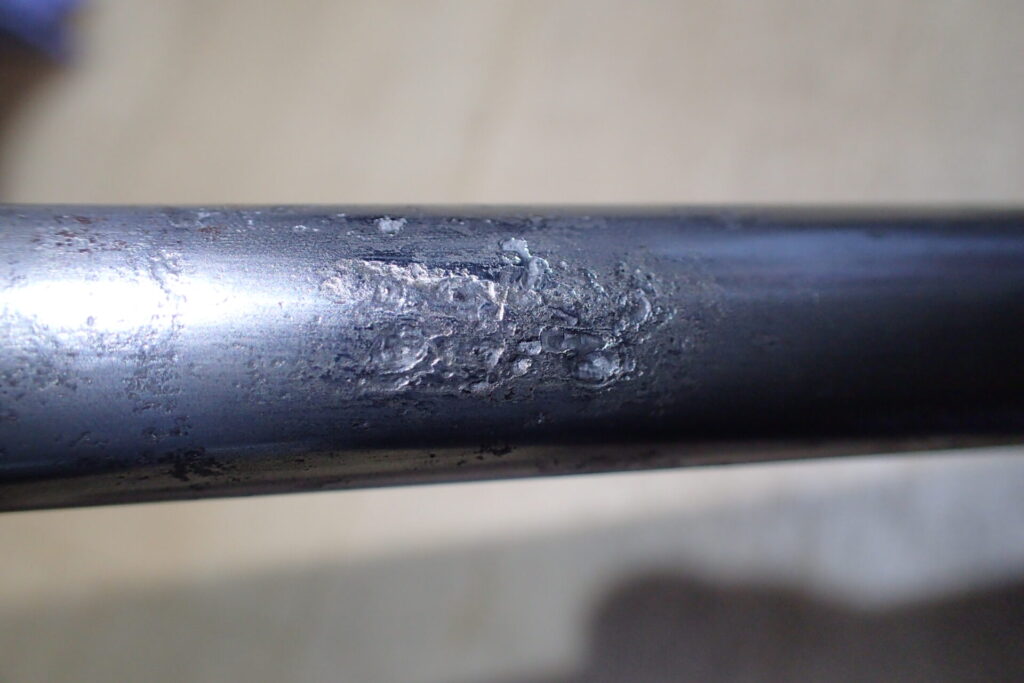
The photo above shows the spot where the rust had eaten in deepest. I didn’t measure it, but by eye it looks about 1 mm (0.04 in) deep.
I’m not an expert on metals or strength, but it is deep enough to worry me.
Maybe I should just have a one-off pivot shaft made…
My guess is that this pivot shaft was never serviced even once between 2012 and 2024.
I recommend removing your pivot shaft and greasing it before it ends up like this.
I later replaced this rusty pivot shaft with a new one. I describe the replacement step by step in the article below.
I used the products below to remove the rust and polish the metal: Hanasaka G Rust Remover and WAKO’S Metal Compound (MTC). Both are Japanese products, so they may be hard to find outside Japan.