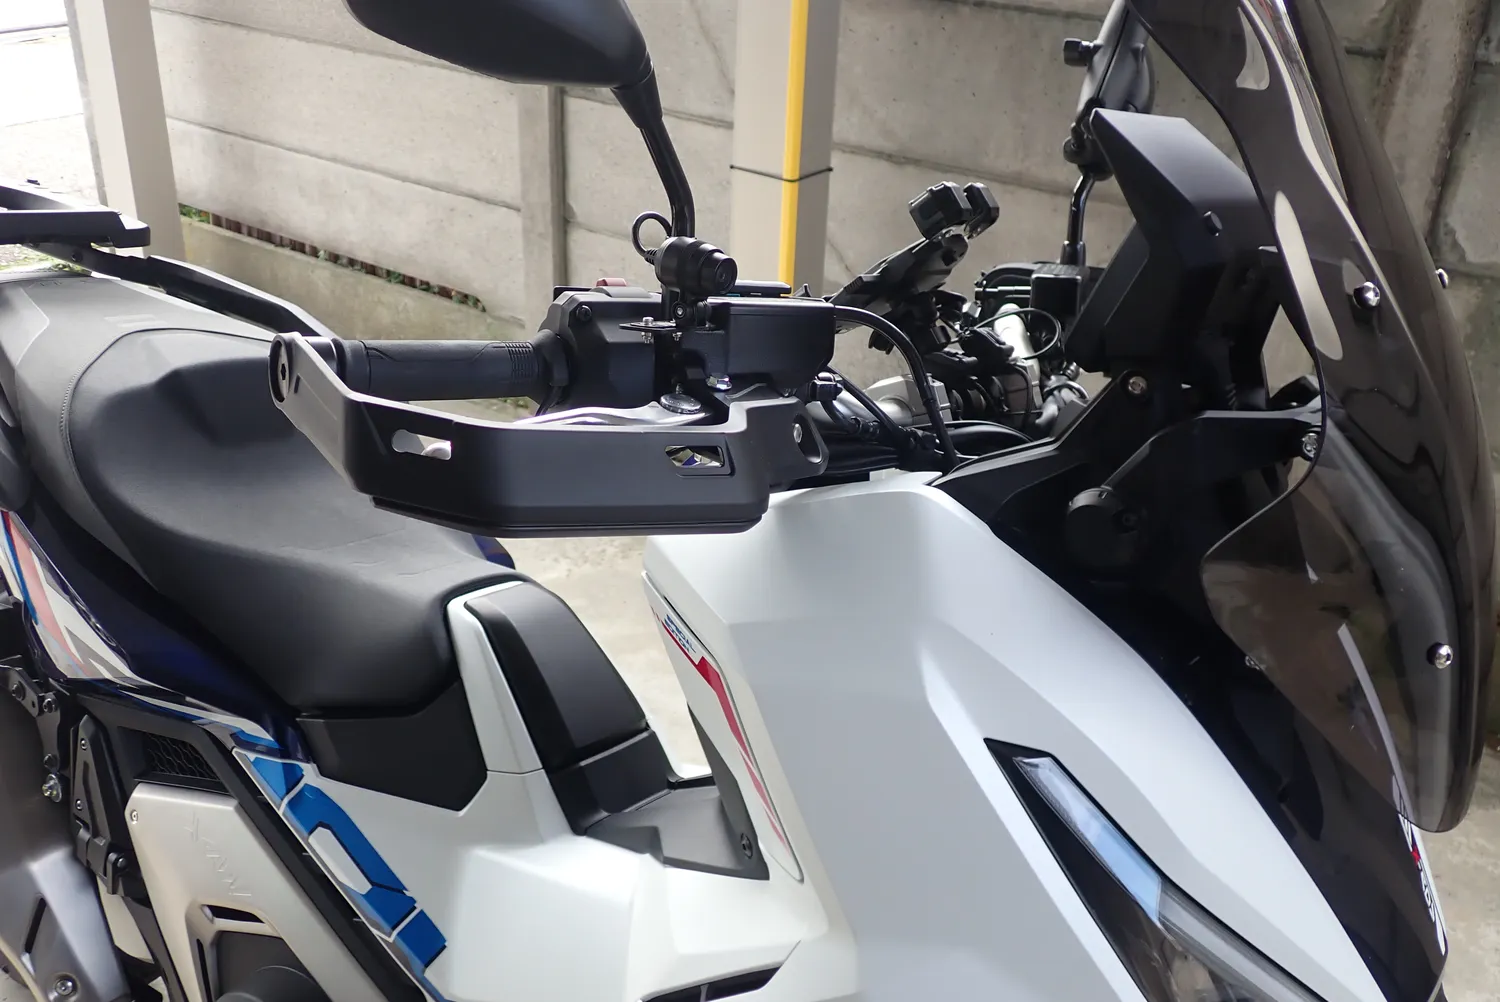
The standard knuckle guards on the X-ADV are just an open frame.
There's nothing in front of the levers, so some of you may notice the wind on your hands in the colder months.
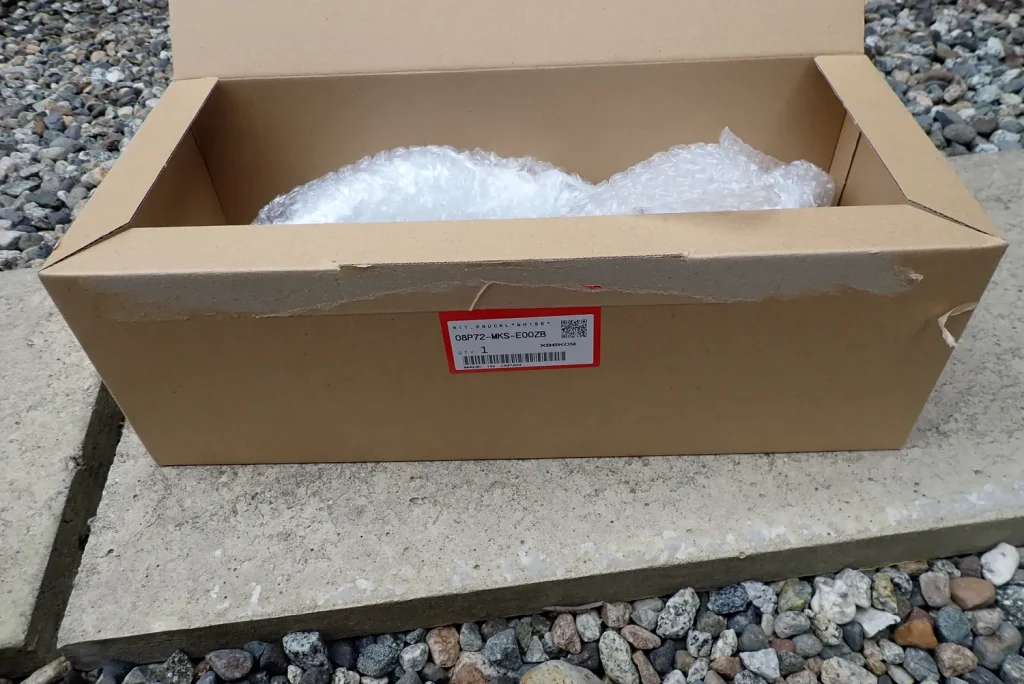
So I fitted Honda's genuine Knuckle Guard Extension (08P72-MKS-E00ZB) to my 2026 X-ADV.
The short answer
- It fitted my 2026 X-ADV
- Only two tools: a 5 mm hex and a ratchet
- No interference even at full lock
- Matt white, only slightly different from the bodywork
- Don't forget the well-nut washers, and don't overtighten
What is 08P72-MKS-E00ZB?
It's a genuine Honda accessory extension for the knuckle guards.
It fits over the existing knuckle guard and covers the area in front of the back of your hand.
- Part number: 08P72-MKS-E00ZB (white)
- Material: PP plastic
- Approximate fitting time: 0.2 hours
- Requires the knuckle guards themselves (standard on the X-ADV)
About fitment
Retail sites list it for the Africa Twin and Transalp. I couldn't confirm the X-ADV as a listed model.
Please read this article as an example of it fitting my 2026 X-ADV.
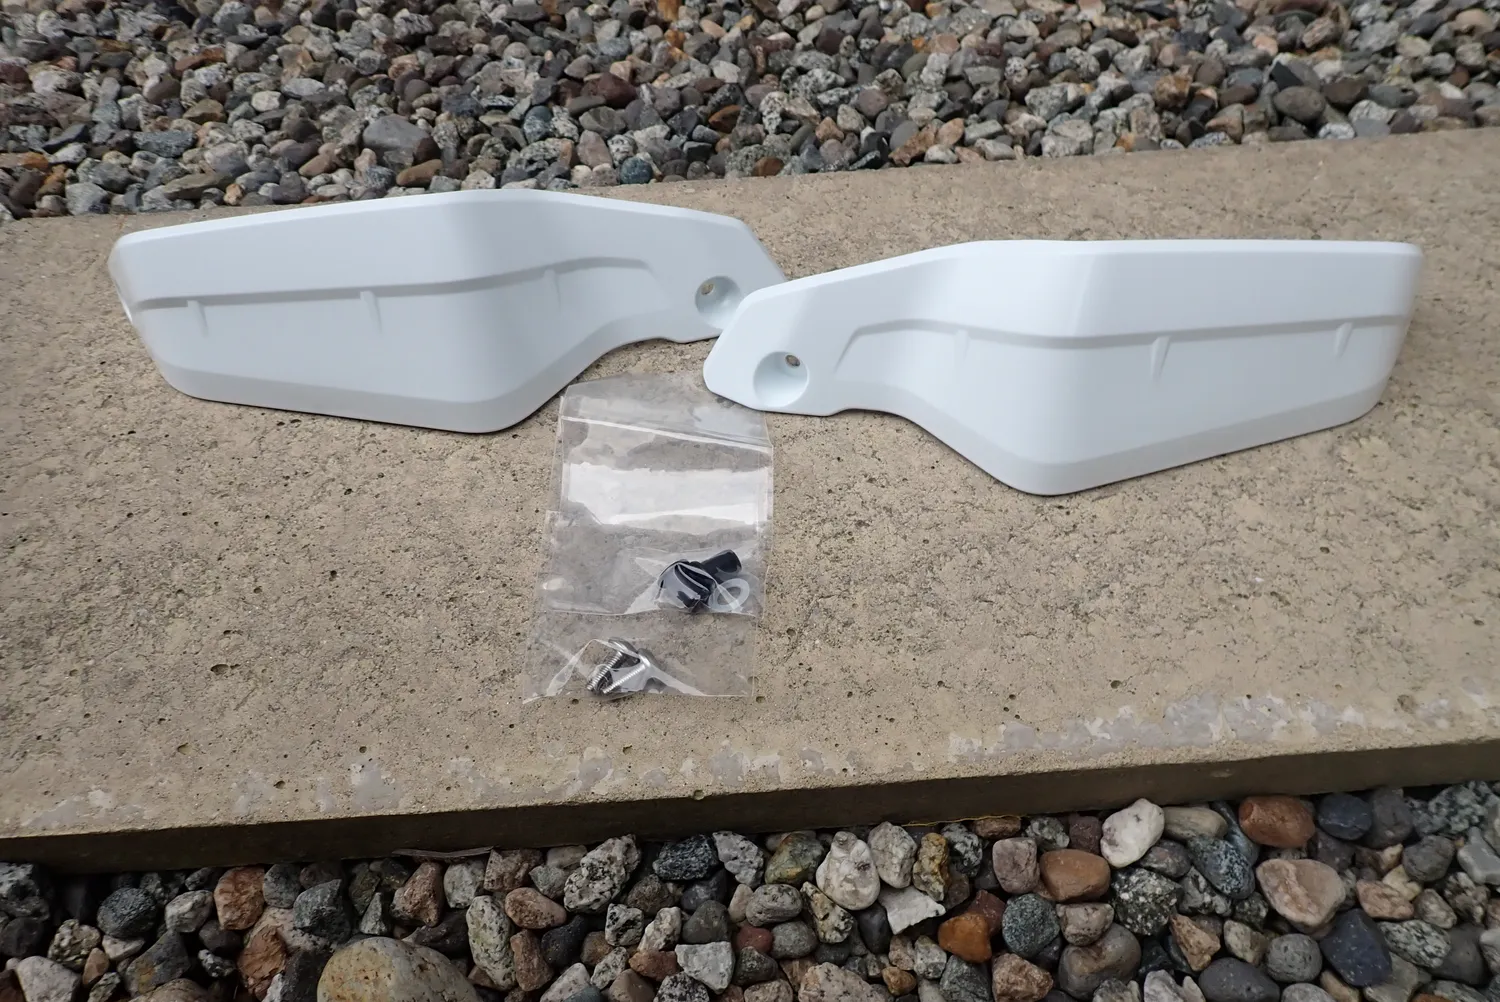
What's in the box
The left and right extensions, plus a small bag of fixings.
The bag contains two each of the 5 mm screws, well nuts and washers.
The X-ADV before fitting
The standard knuckle guard is just a frame, open in front of the lever.
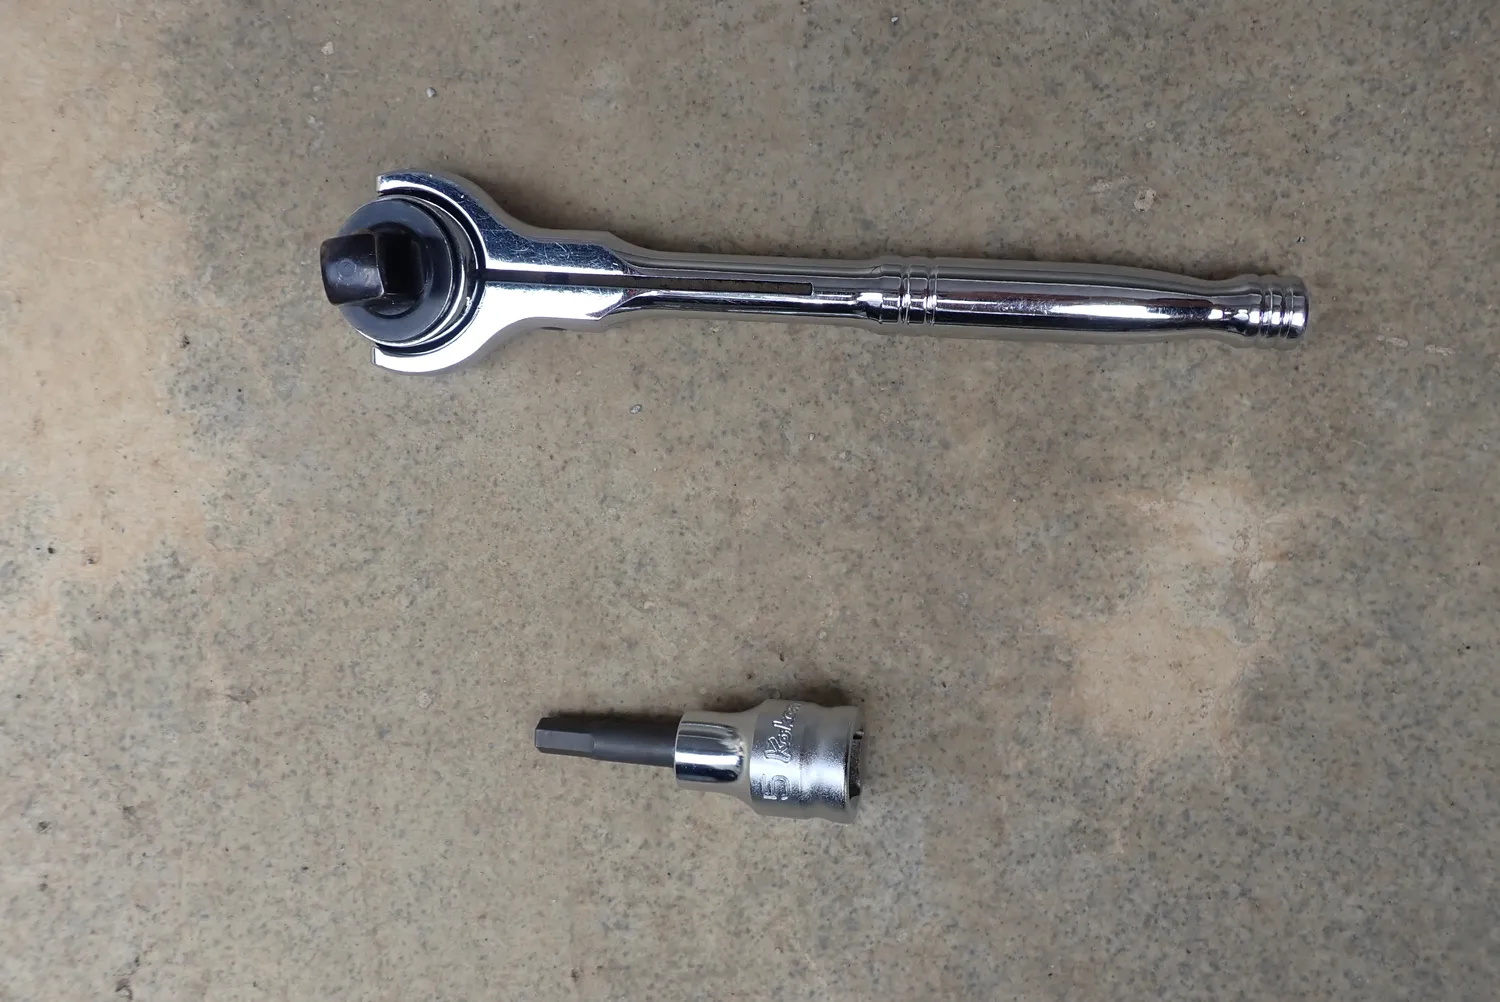
Tools you'll need
I used a ratchet handle and a 5 mm hex bit socket.
A 5 mm Allen key will also do the job.
Honda's fitting instructions specify a 5 mm Allen key and a torque wrench.
Fitting it to the X-ADV
Both sides are done the same way. Work on one side at a time.
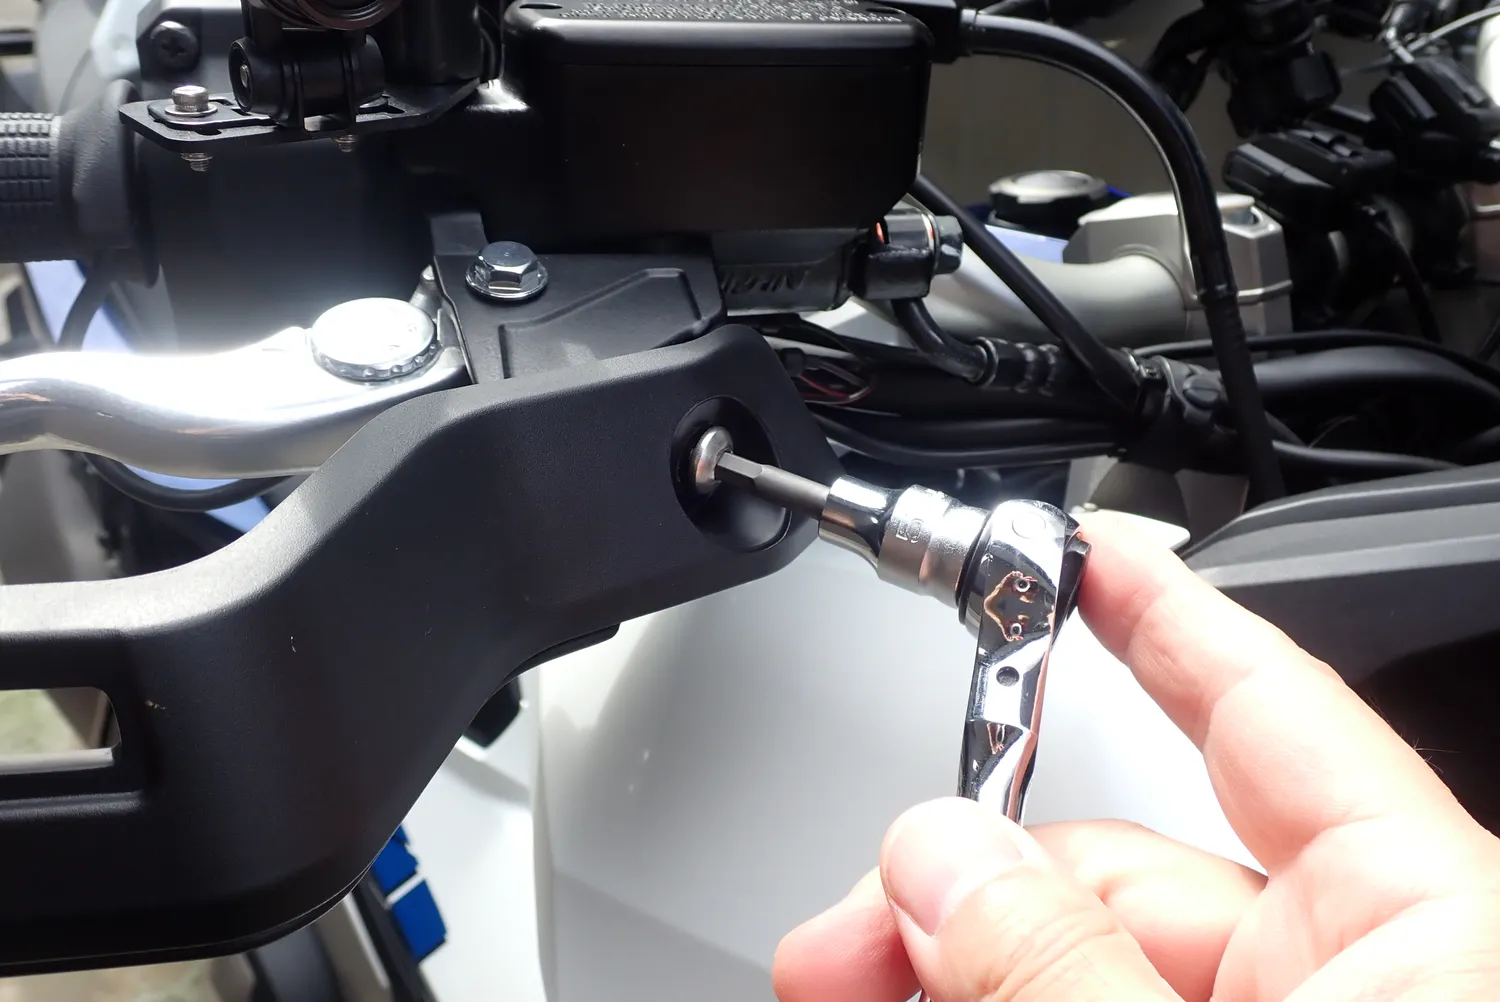
Step 1: Remove the mounting bolt
Use a 5 mm hex to remove the bolt that holds the knuckle guard on the lever side.
This bolt is reused, so don't lose it.
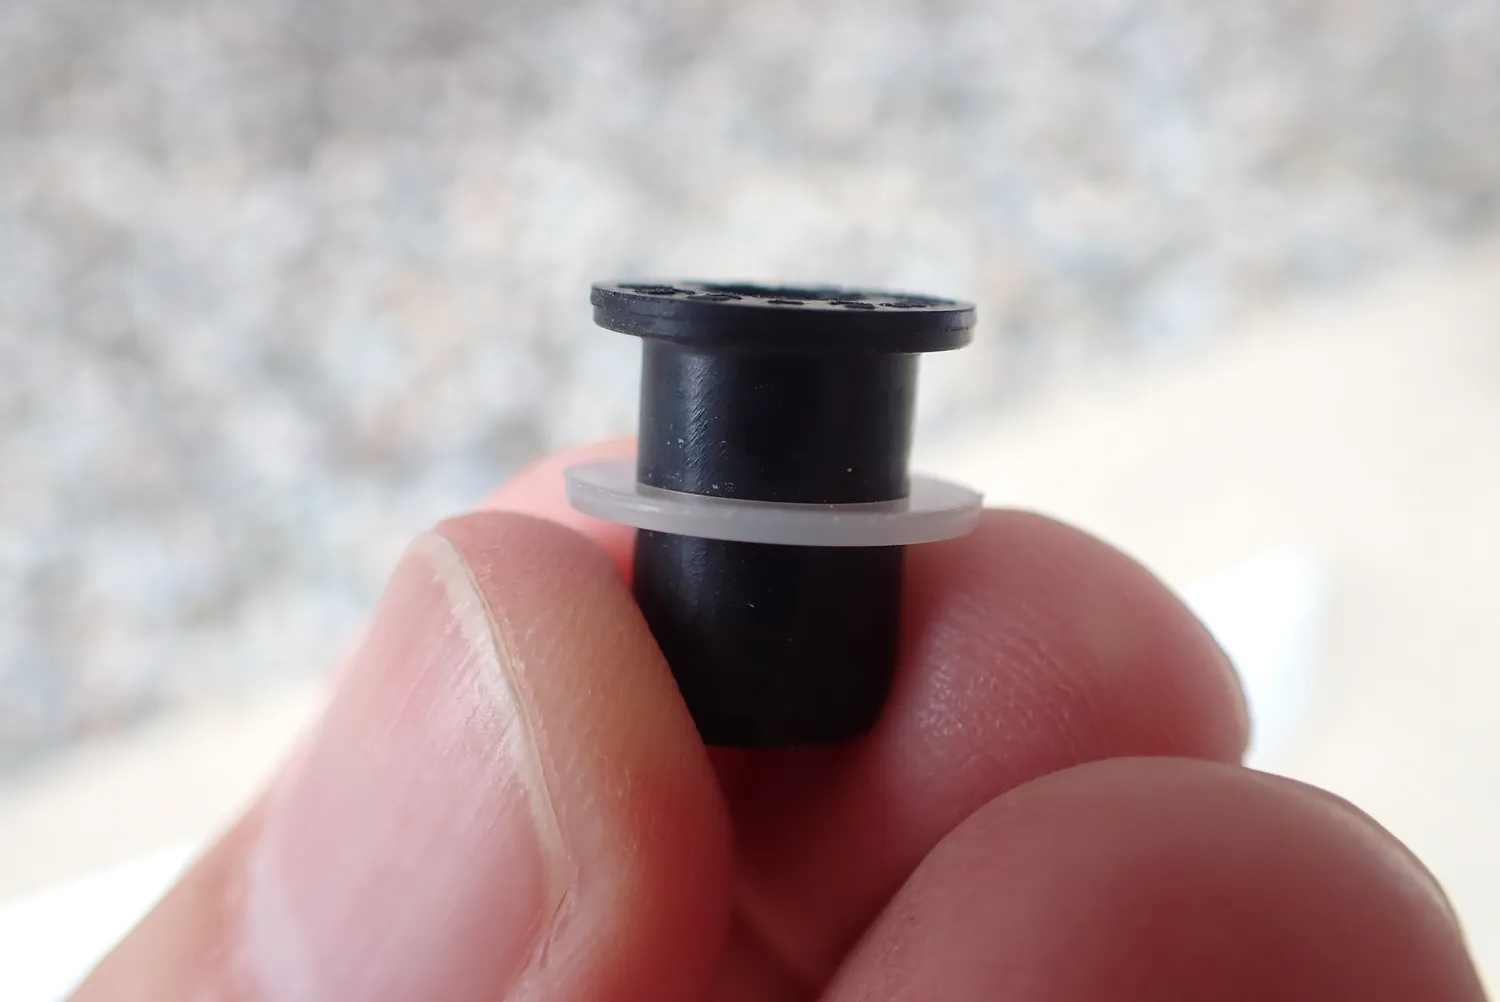
Step 2: Put the washer on the well nut
Slide the thin plastic washer onto the supplied well nut.
The washer is small and translucent, so it's easy to leave it in the bag.Make sure you don't forget it.
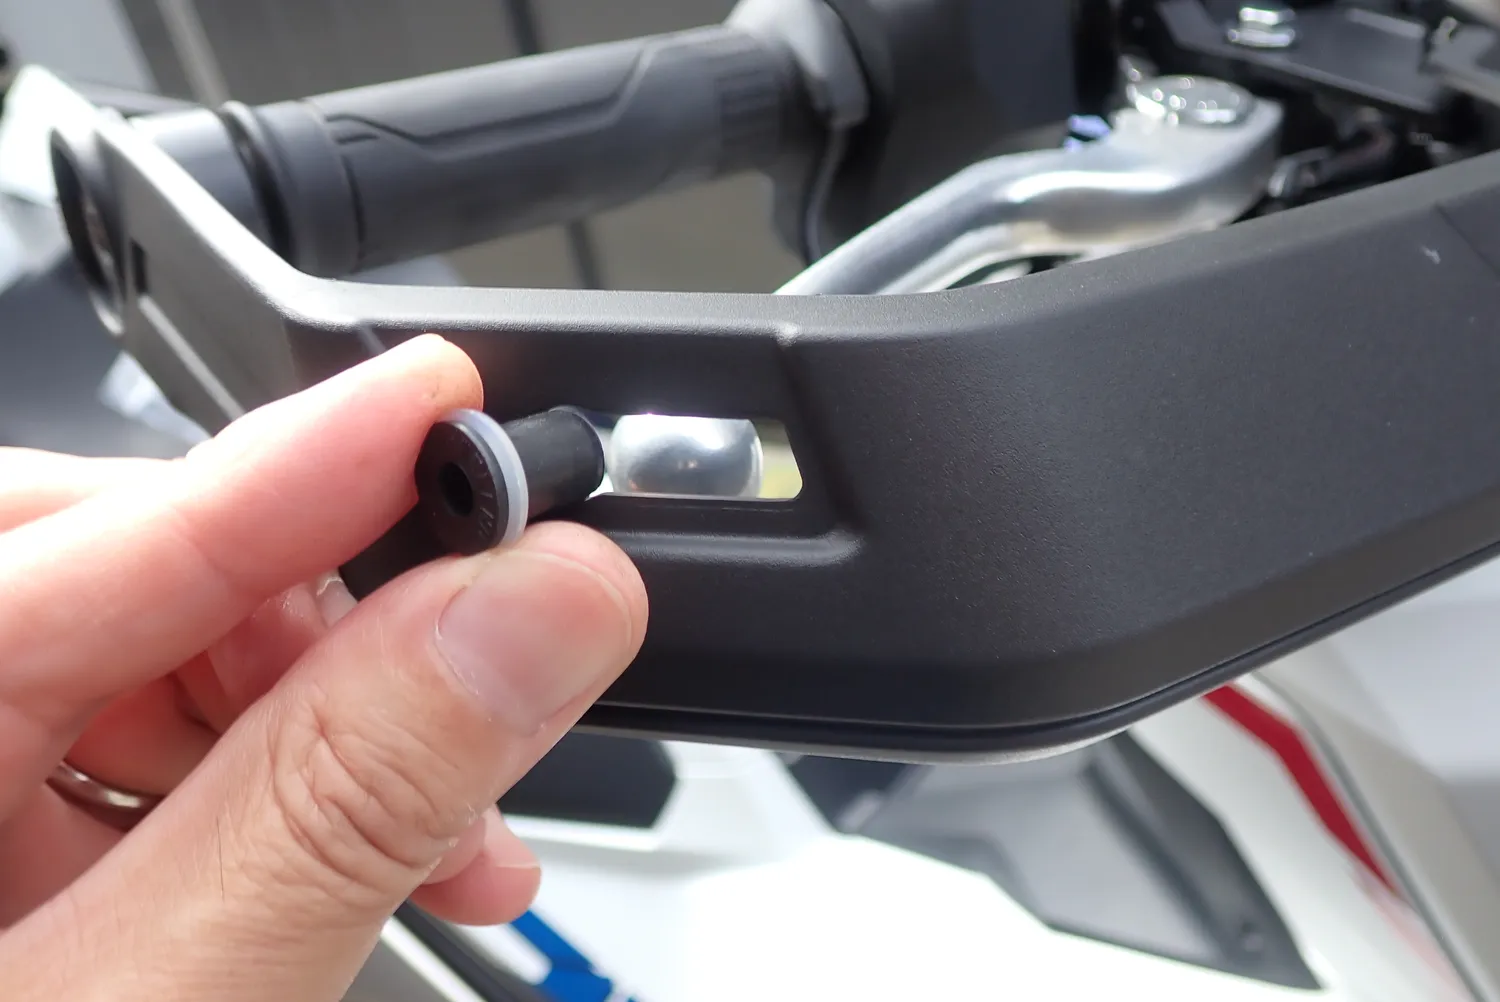
Step 3: Push in the well nut
Push the well nut, with its washer, into the mounting hole on the outside of the knuckle guard.
Step 4: Fix the extension in place
There are locating tabs on the back of the extension.
Line these tabs up with the knuckle guard and fit the extension over it.
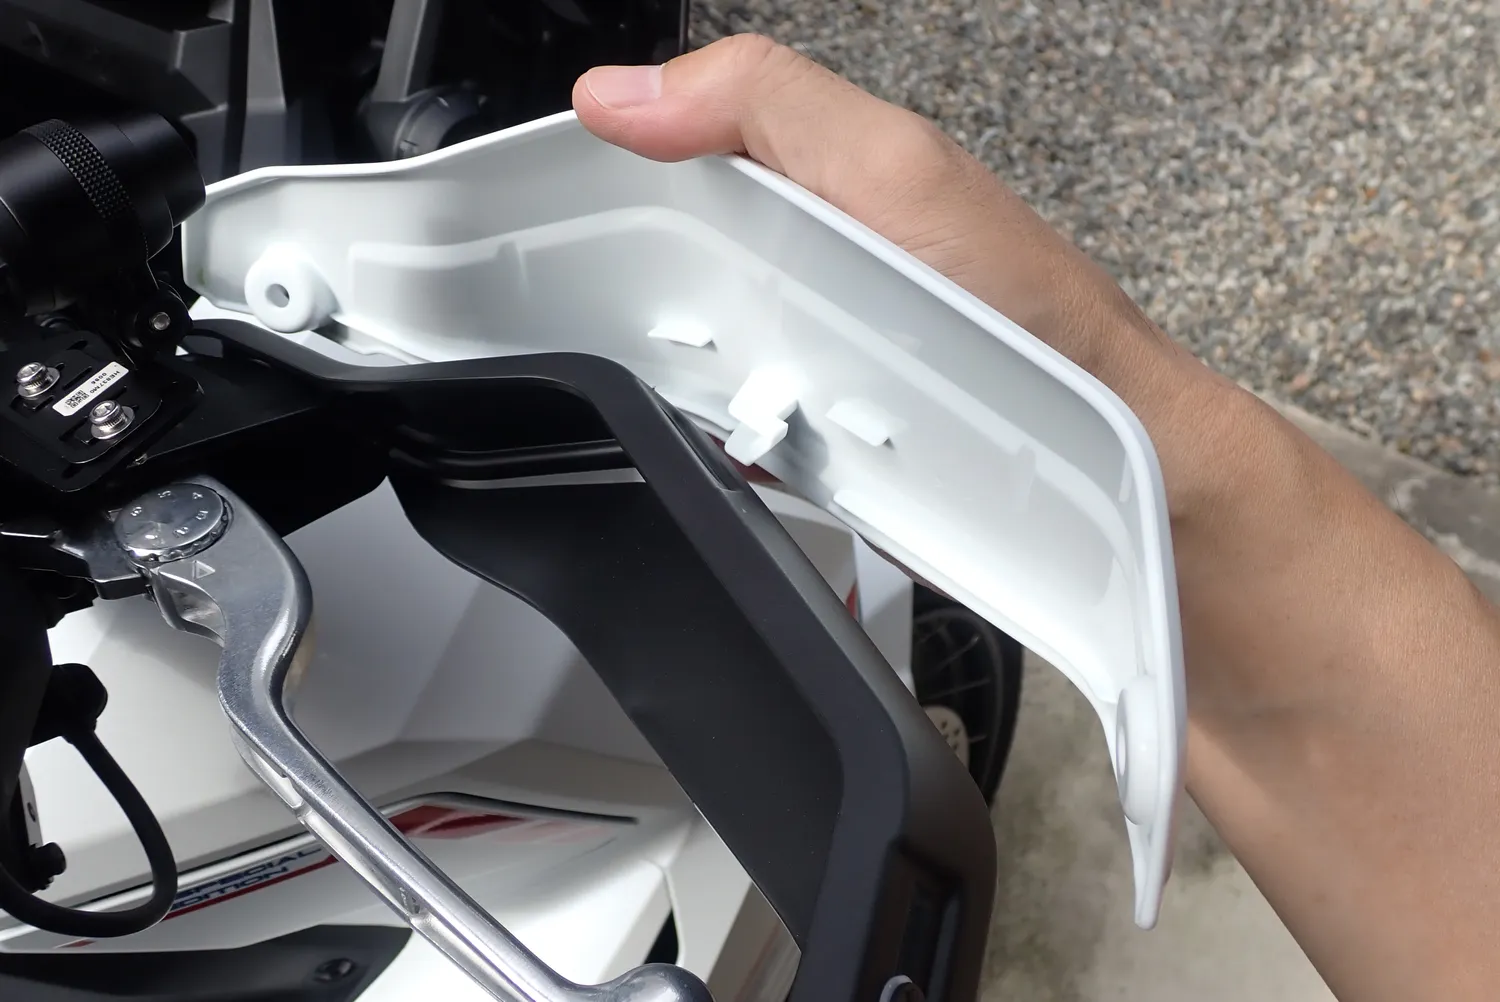
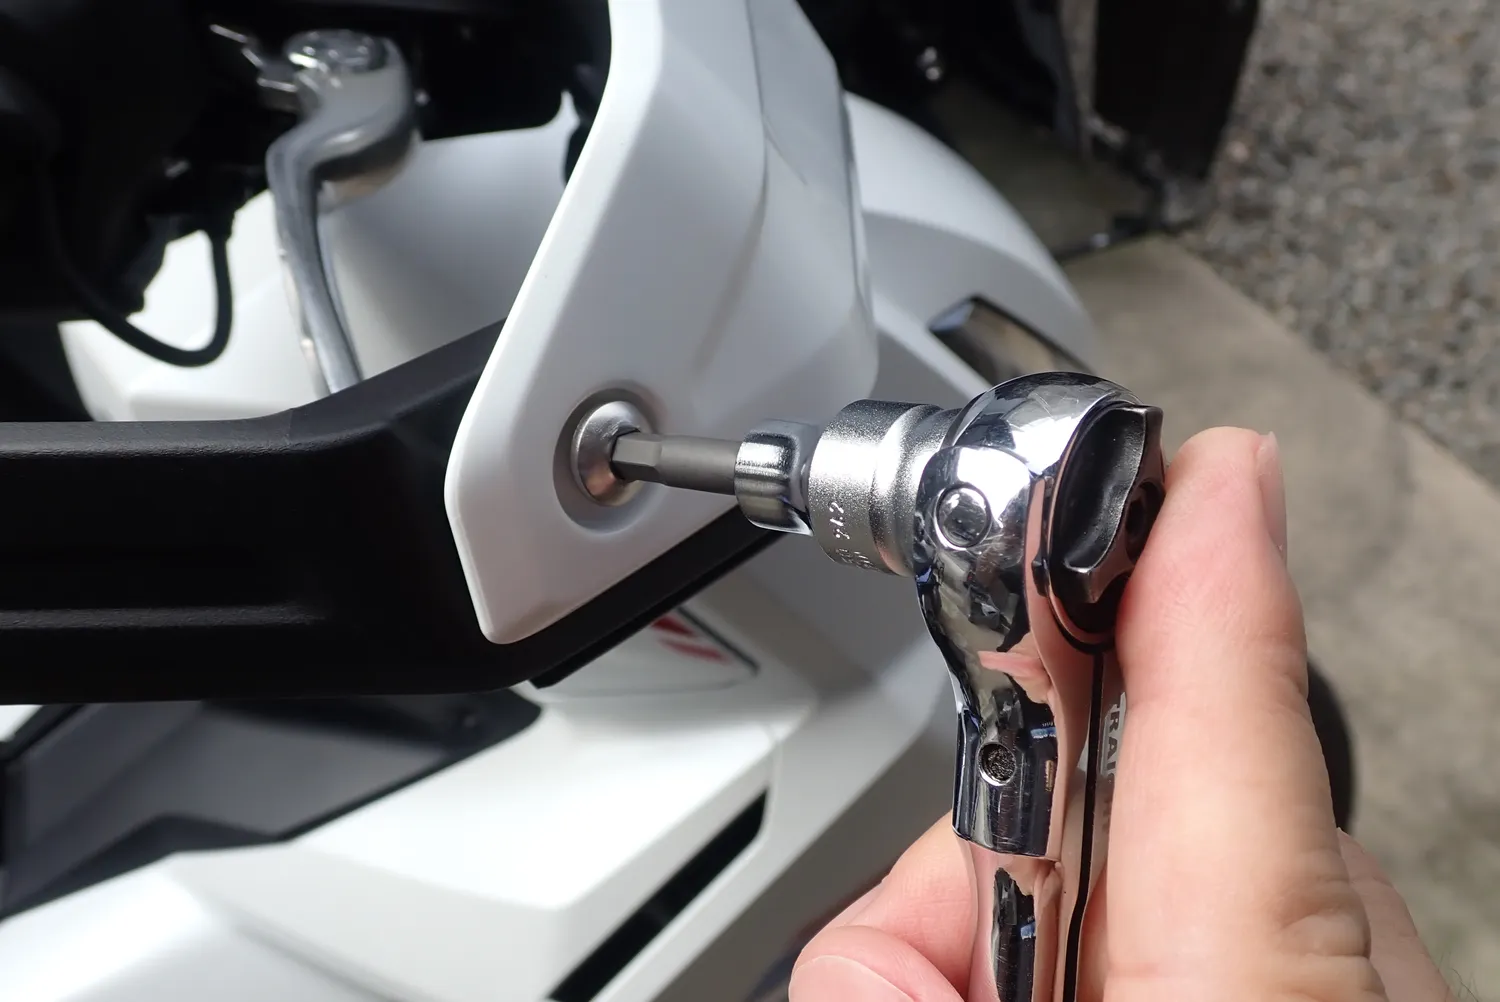
Secure it with the bolt you removed in Step 1 and the supplied 5 mm screw (on the well-nut side).
Don't overtighten
According to the fitting instructions, the specified torque for the 5 mm screw is 0.4N·m.
The well nut is rubber, so if you tighten it hard it can squash or start to spin. Stop as soon as it just nips up.
For the reused bolt, follow the torque specified in the service manual.
Do the other side the same way and you're done.
Checks after fitting
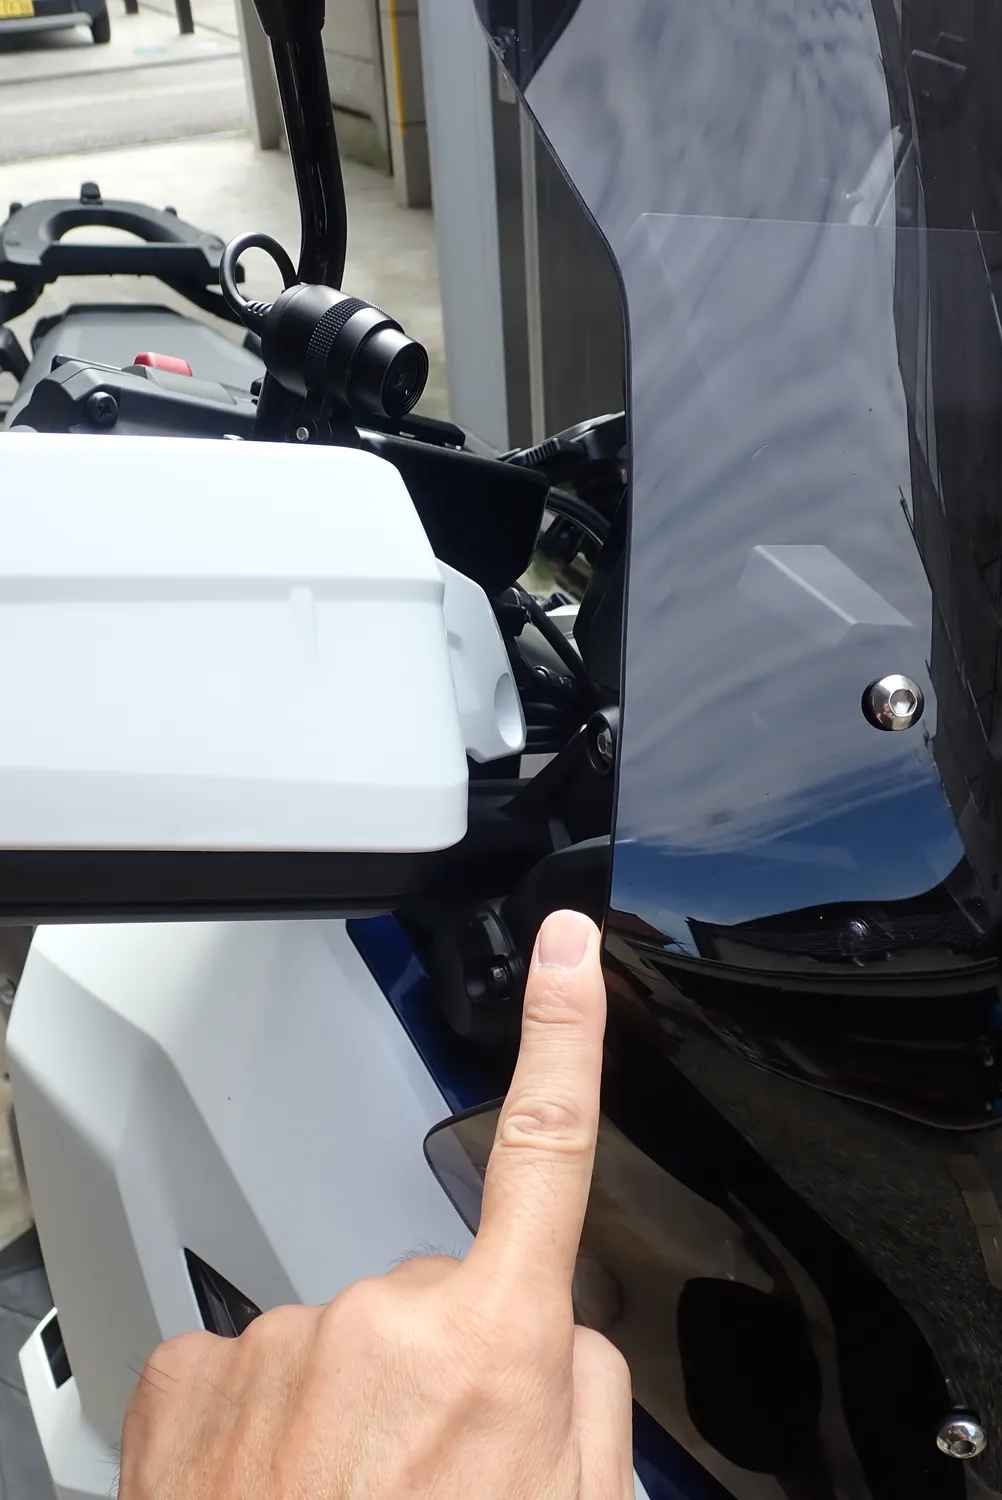
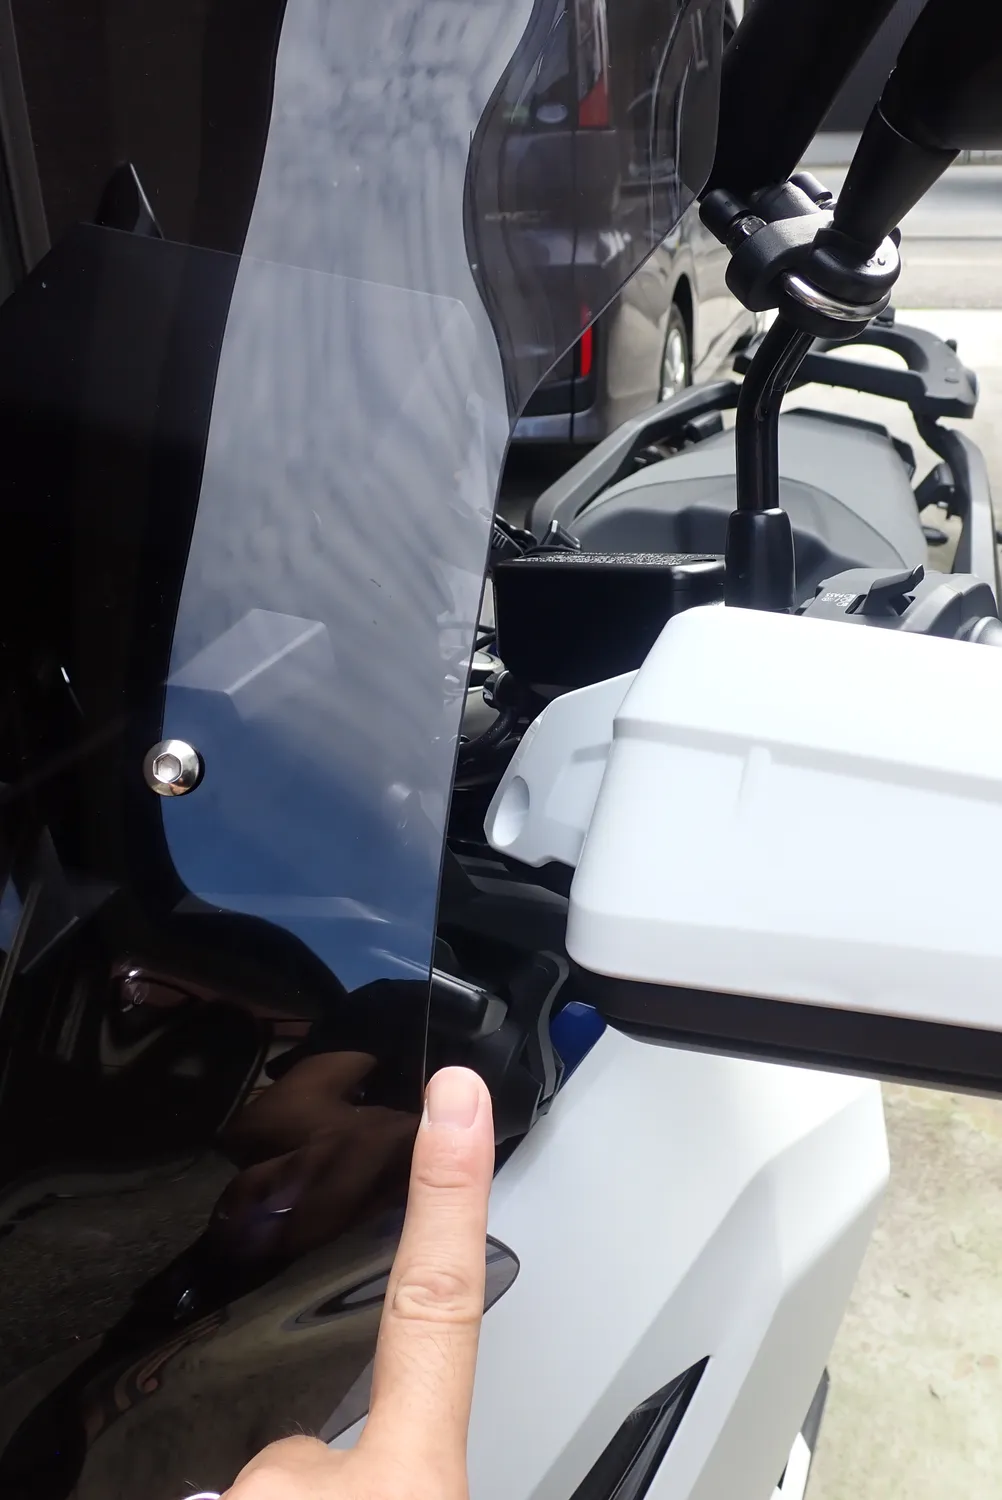
No interference at full lock
I turned the handlebar fully to the left and right to check.There was no interference with the screen or the fairing.
My screen is aftermarket, but it's almost the same shape as the standard one.
From the rider's seat
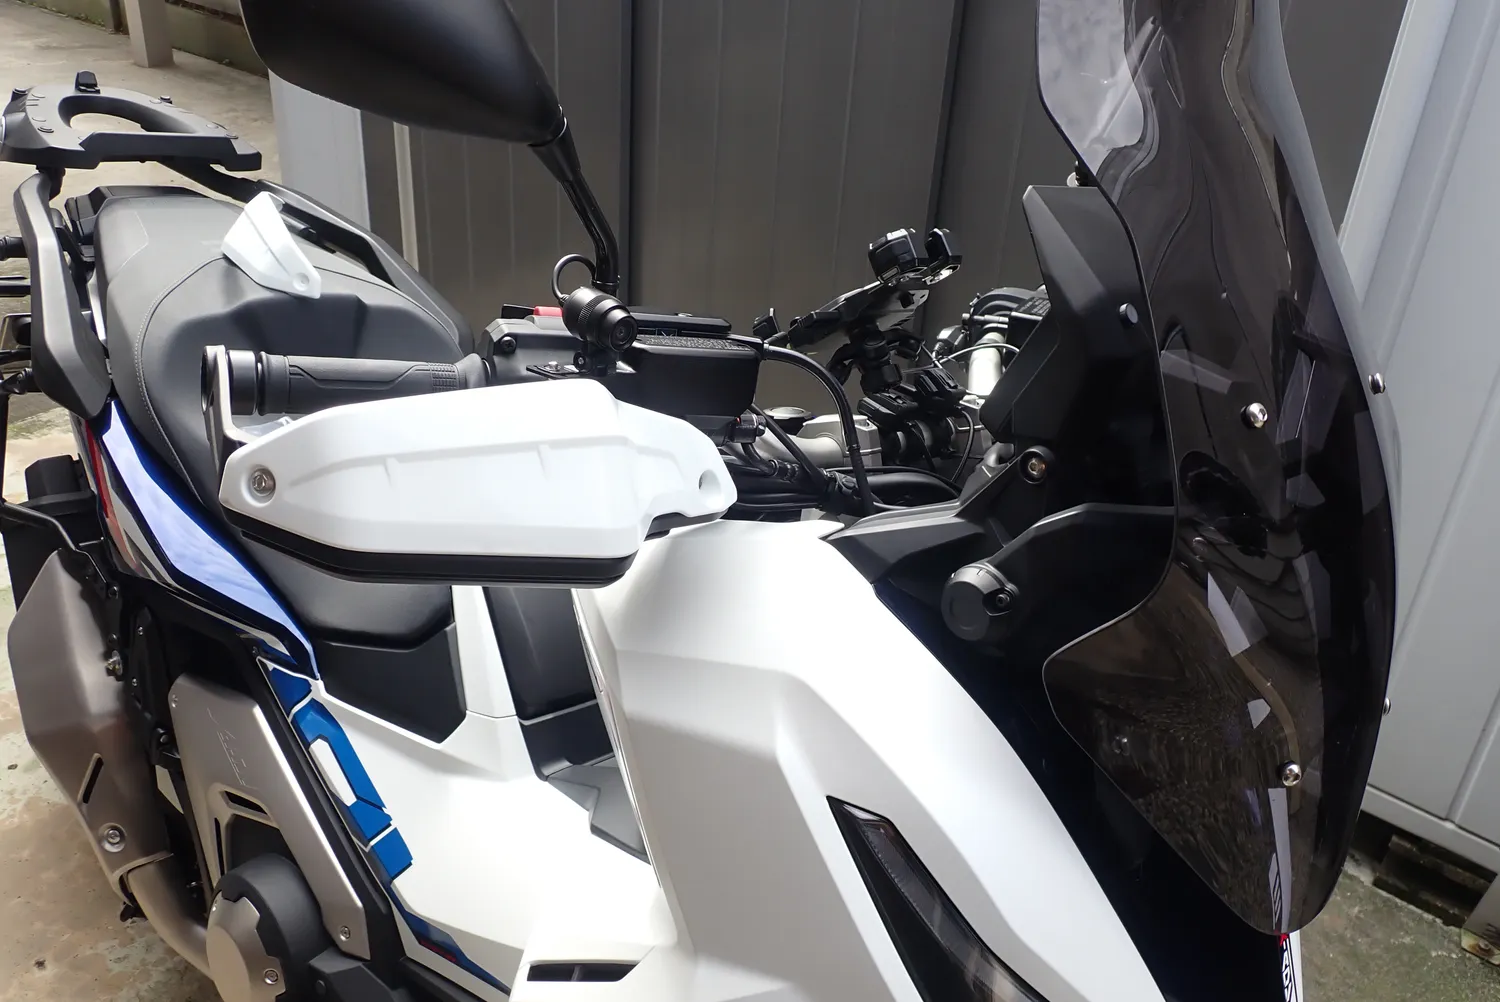
When you hold the grip, the extension covers the area in front of the back of your hand.
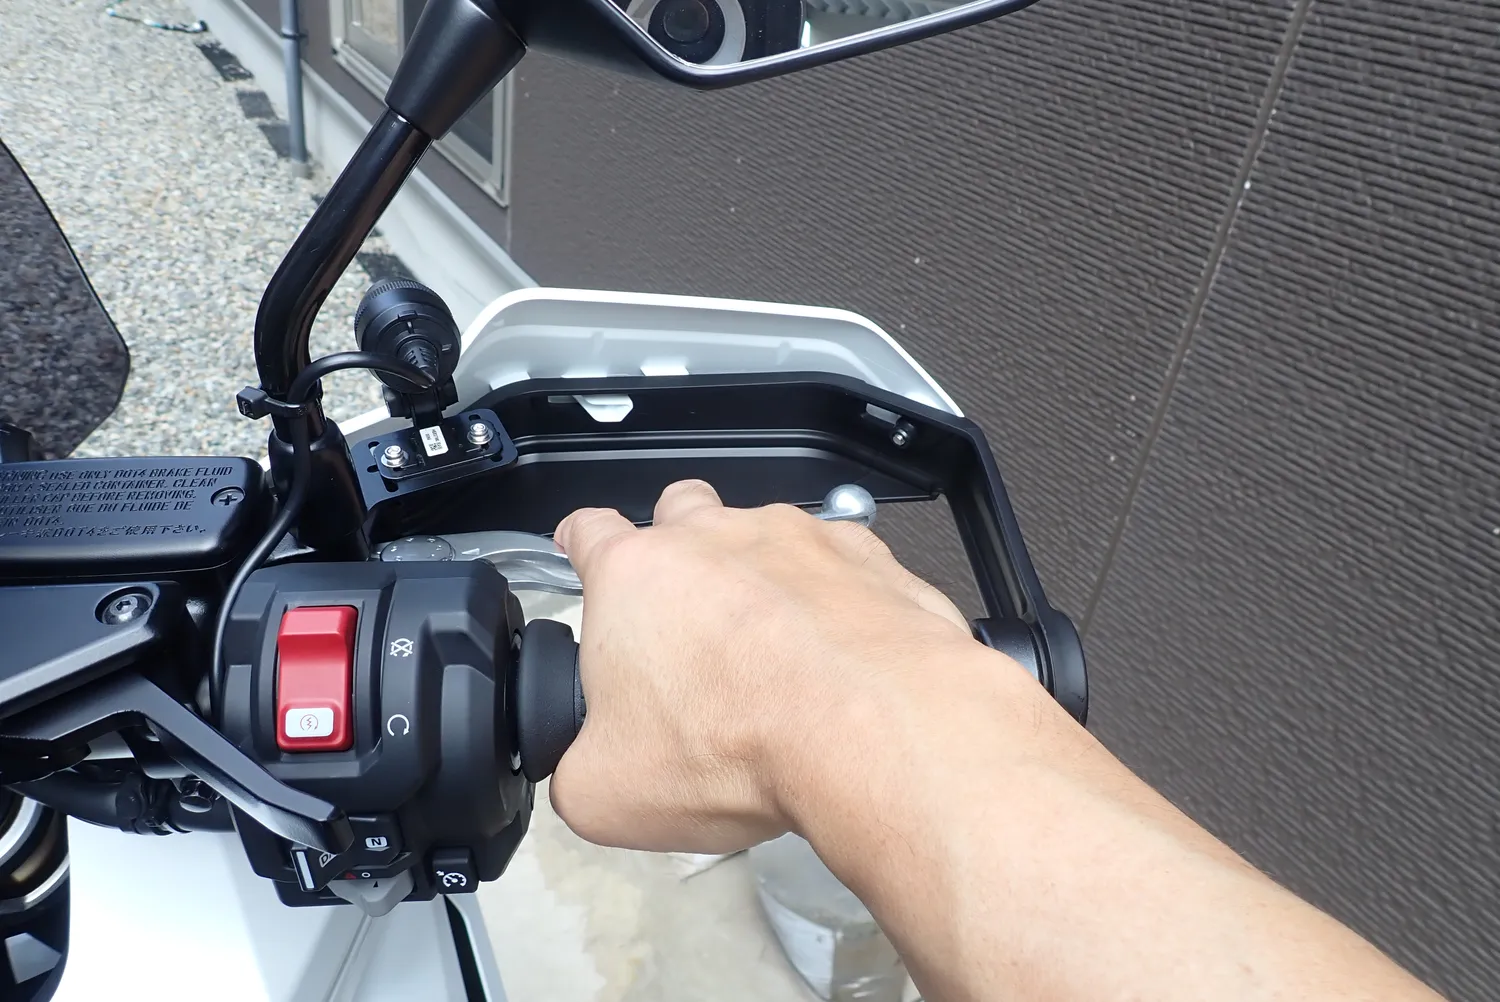
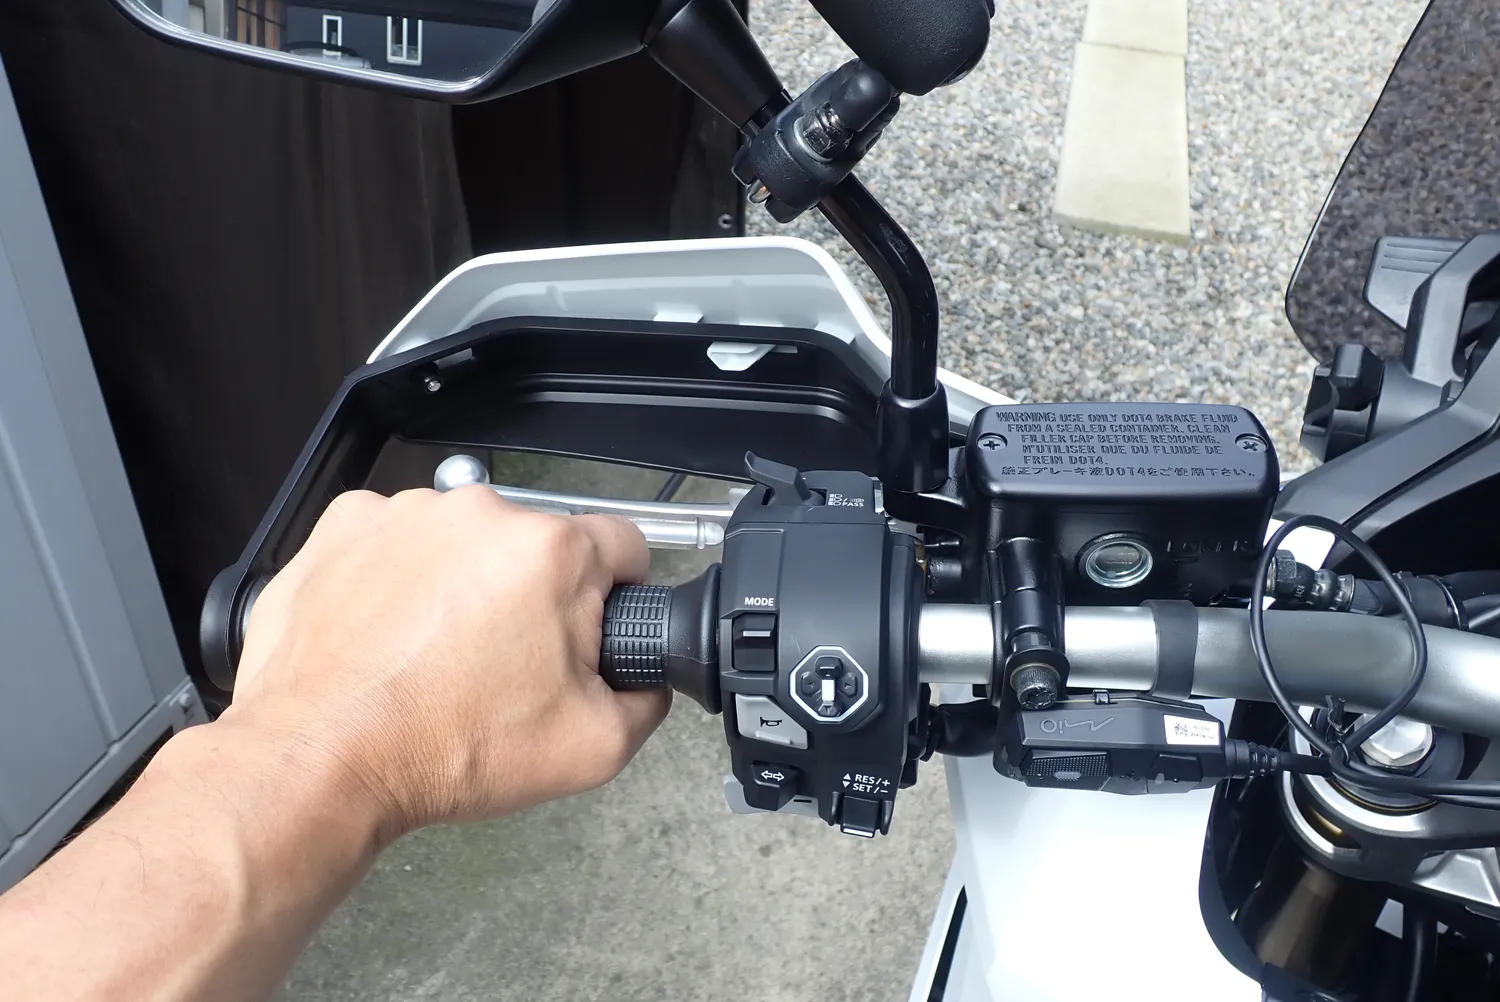
Where it sits relative to your hand
From the side, you can see it covers the area in front of your hand on the grip.
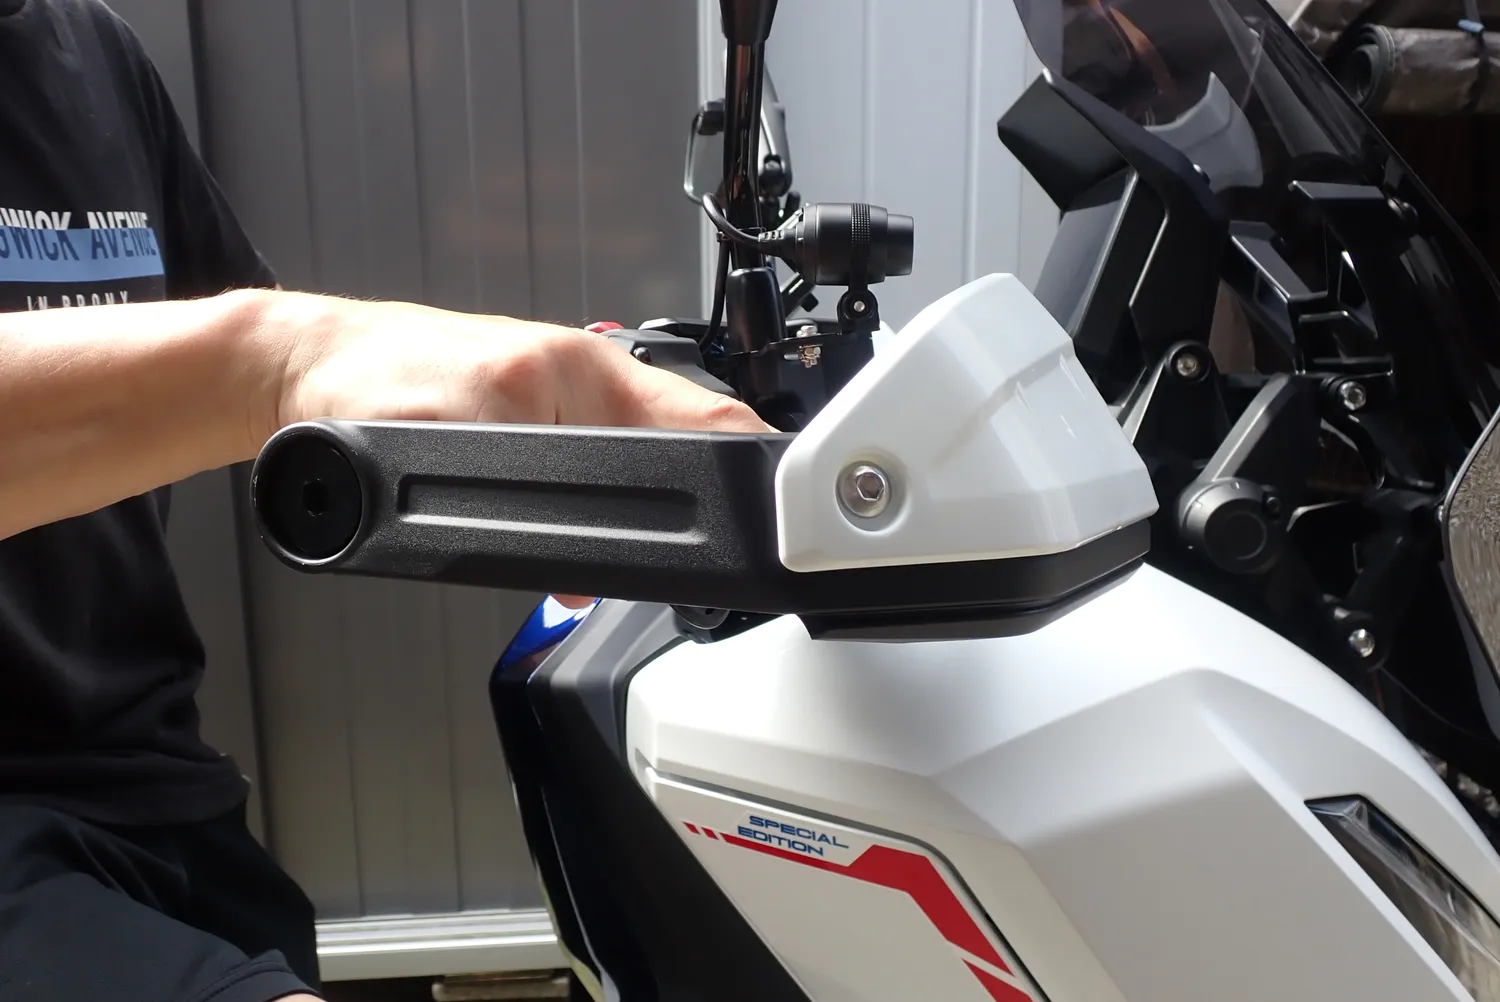
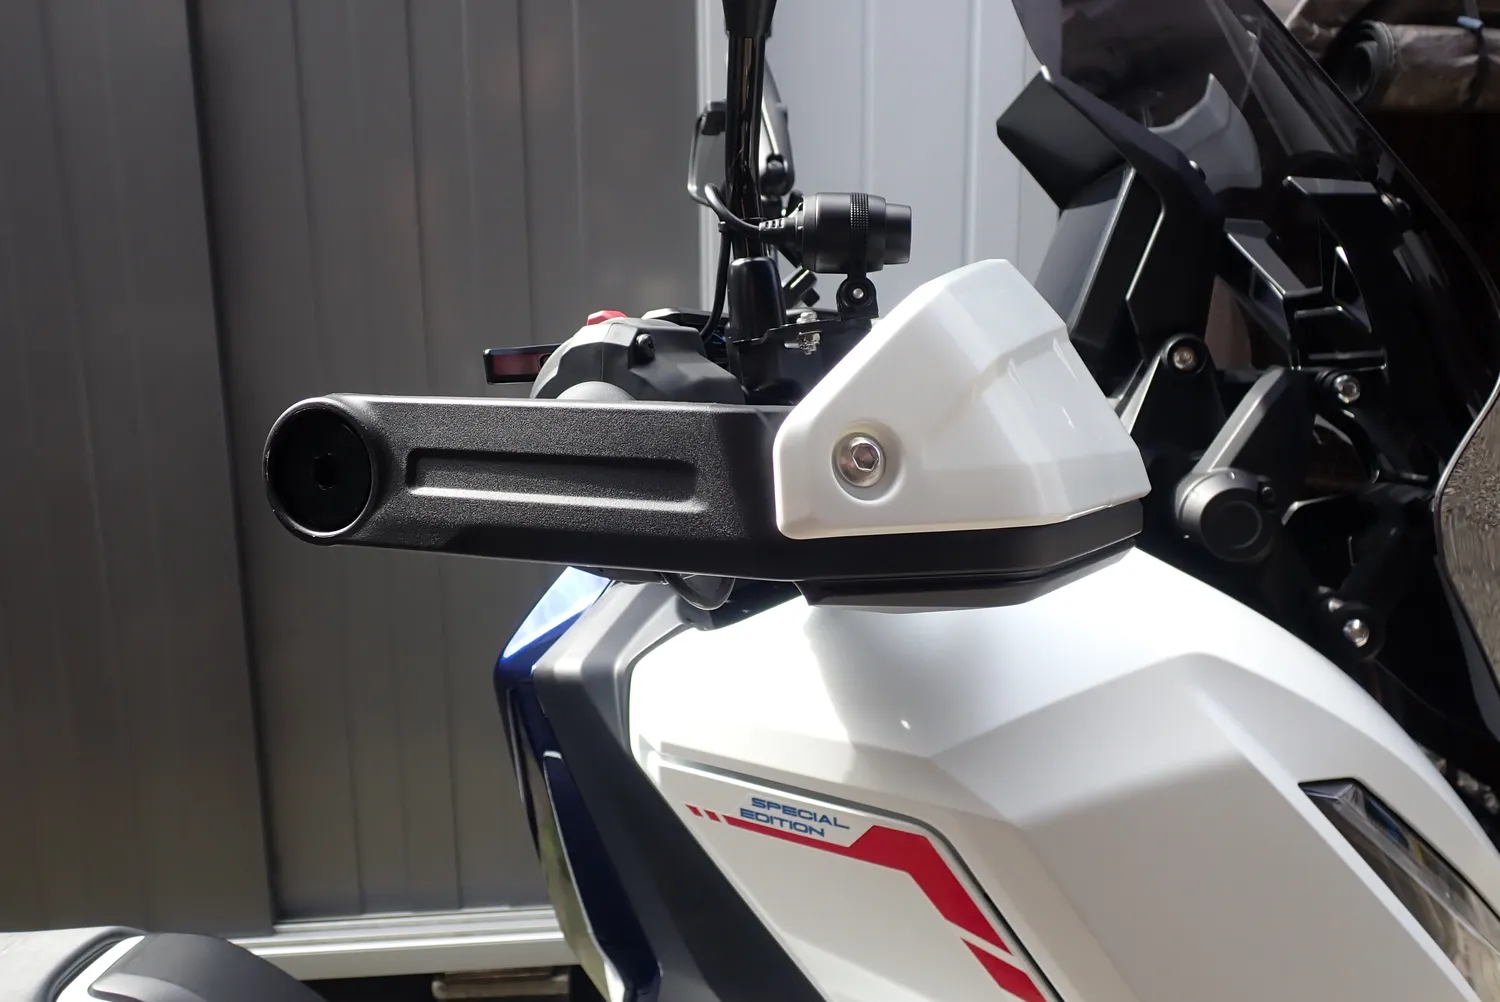
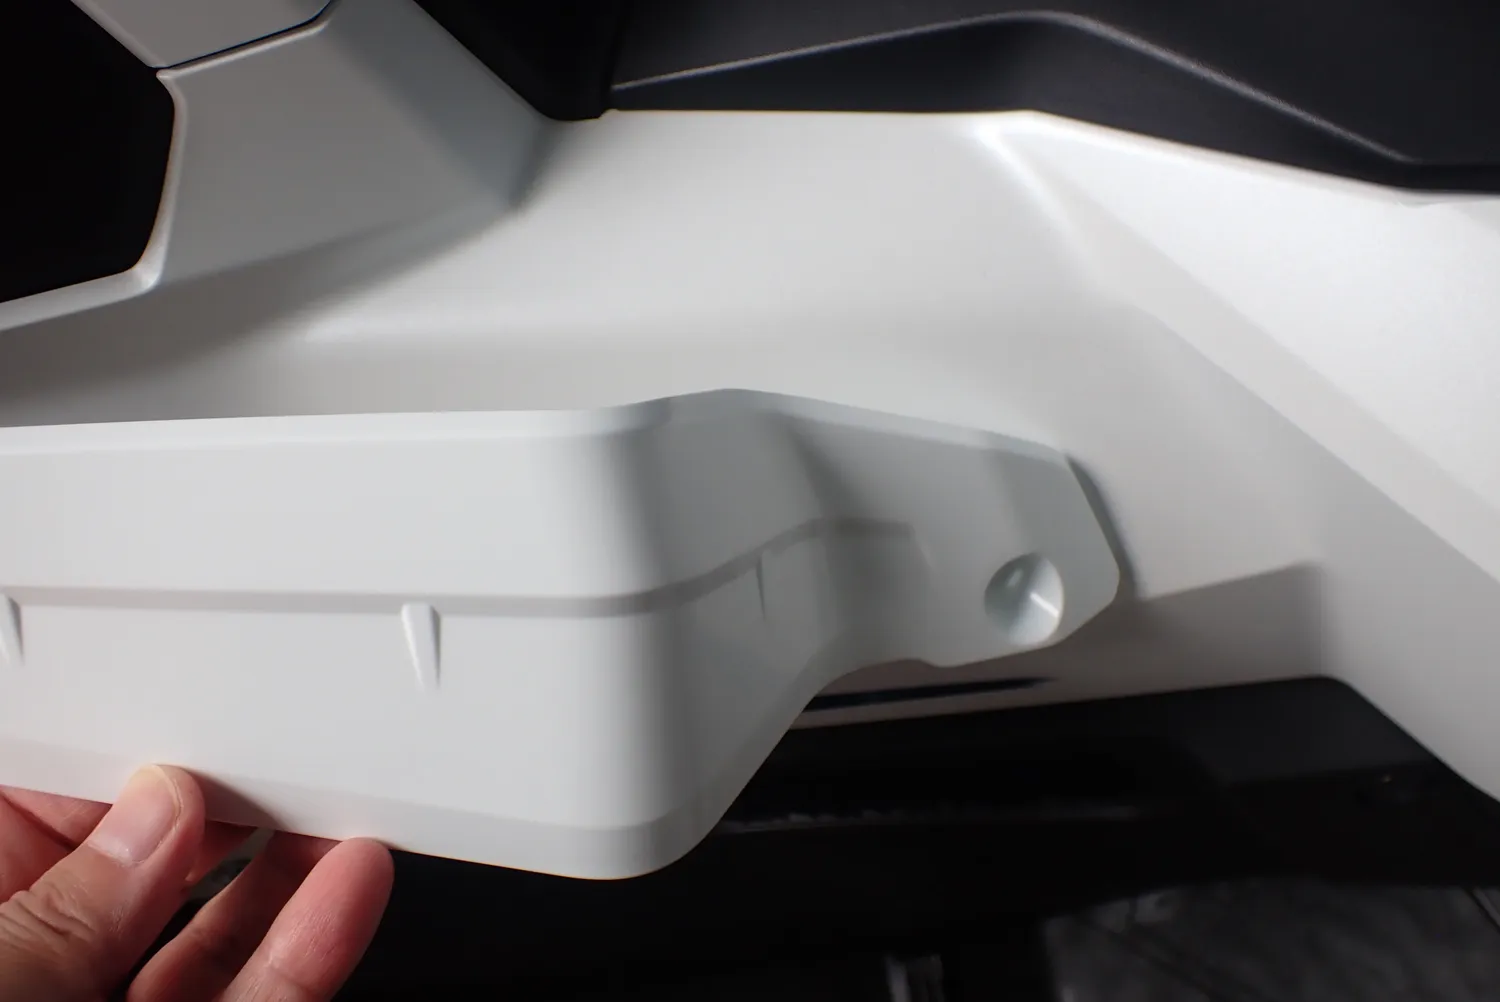
Colour difference from the standard bodywork
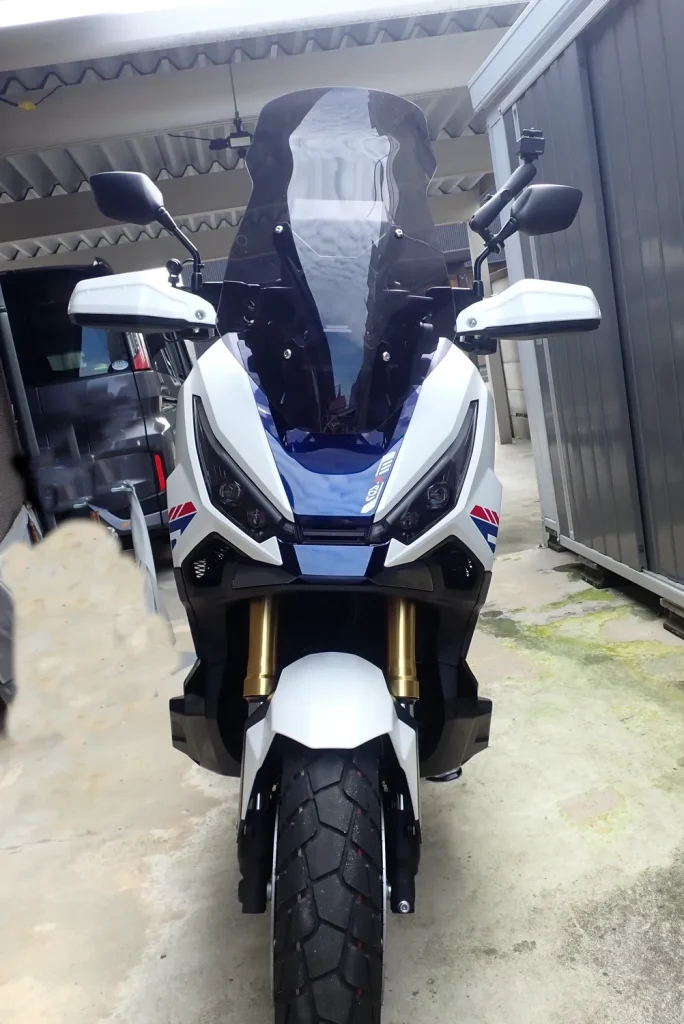
The extension is matt white and the shade is slightly different from the bodywork.
But you'd have to look closely to notice. It didn't bother me at all.
The X-ADV after fitting
The white extensions change the look around the handlebar.
Summary
Honda's genuine Knuckle Guard Extension (08P72-MKS-E00ZB) fitted my X-ADV.
- Only two tools: a 5 mm hex and a ratchet
- Don't forget the well-nut washers
- The 5 mm screw is 0.4 N·m. Don't overtighten
- No interference even at full lock
- Only a slight colour difference from the bodywork
I've written up how well it blocks the wind on the road in this article. The wind on my fingertips was gone, but it wasn't enough to keep my hands warm in winter.
*This is work I did myself on my own 2026 X-ADV (18 years of home maintenance, no mechanic's qualification). The X-ADV could not be confirmed as a listed fitment for this part. Work at your own risk, and follow the torque values in the fitting instructions and service manual.