Hello everyone.
An engine guard protects the bike if you drop it. It's reassuring to have, but buying one new costs tens of thousands of yen, which takes some nerve.
So this time, I won a GIVI engine guard for my Honda X-ADV cheaply on Yahoo! Auctions (a Japanese auction site).
I knew what I was bidding on, but what arrived had the "deep scrapes" you expect on a used part, with "rust" starting to spread from them. I was a little reluctant to fit it as it was, but it's a protector that is bound to get scratched sooner or later anyway.
So I wasn't aiming for a showroom finish. "Stop the rust spreading and make it look clean at a glance" was my goal for this quick, practical DIY repair.
- "I've got a used engine guard, but the rust bothers me"
- "I want to freshen it up cheaply and easily, without too much effort"
- "I want to know how to stop the rust coming back"
If that's you, here is my relaxed maintenance record. I've written up the steps for bringing a part back to life cheaply so that they're easy to read on a phone.
The condition of the GIVI engine guard I won at auction
Checking the "scrapes" and "rust" of a used part
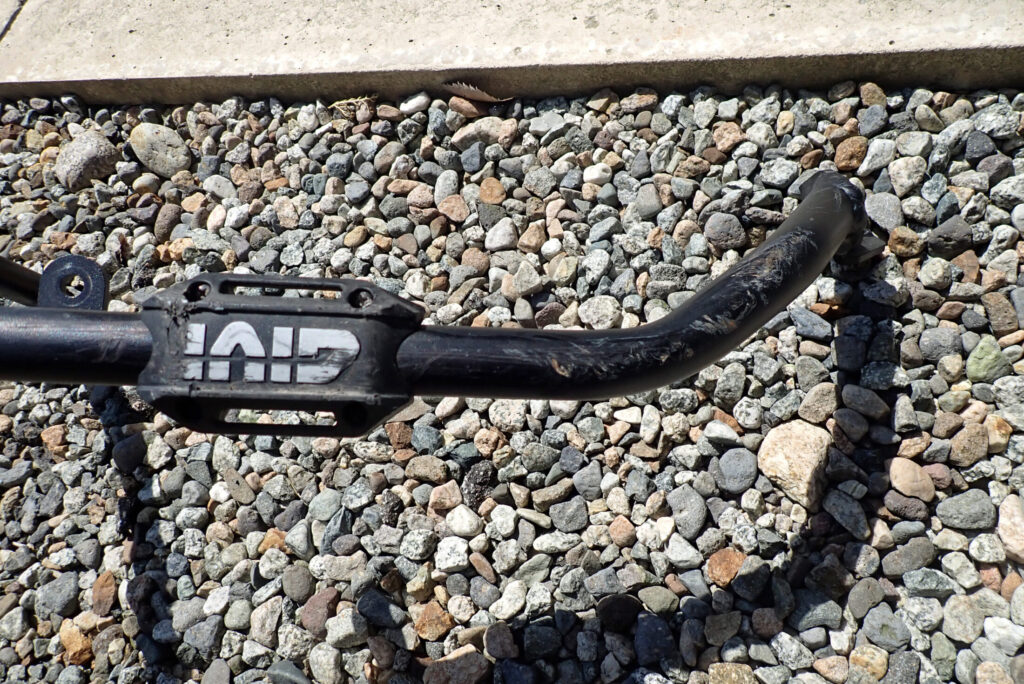
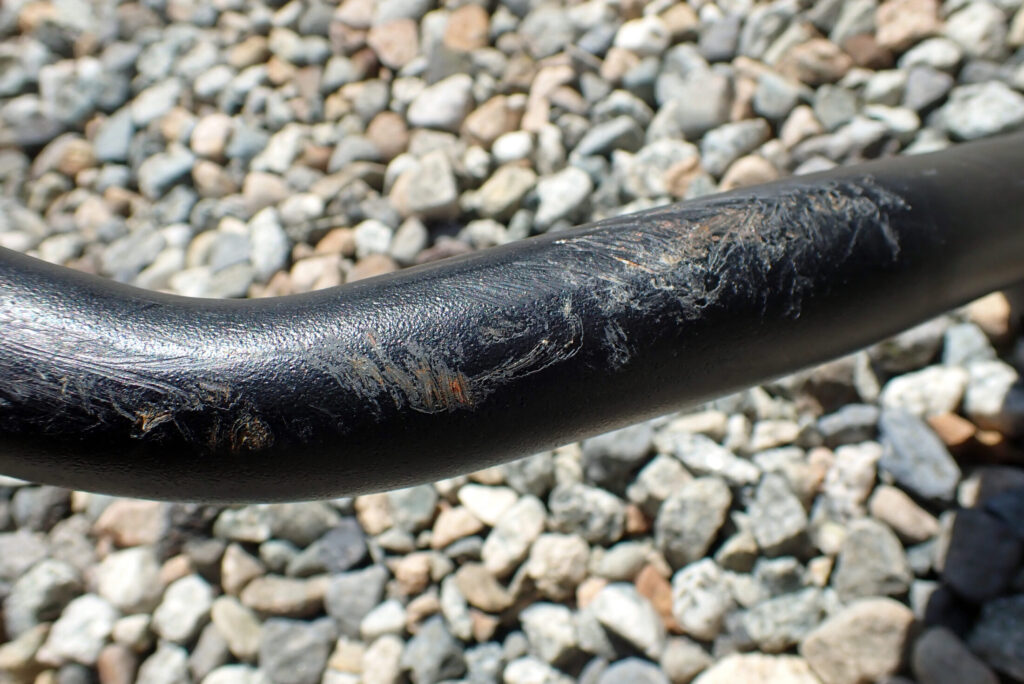
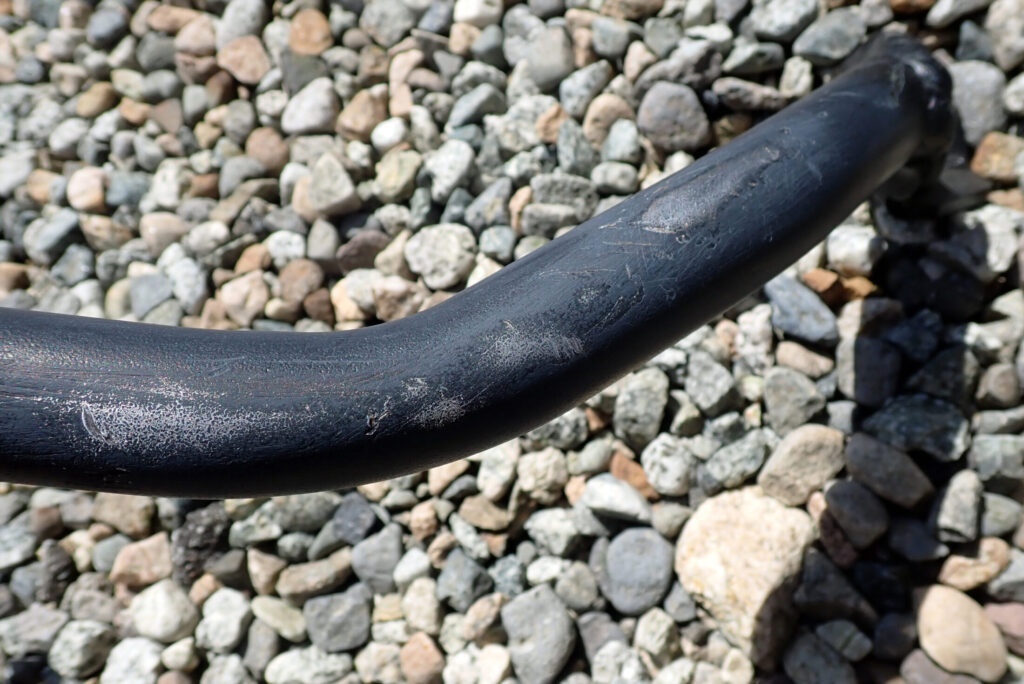
This is the worst-scraped area.
It was less serious than I had expected.
Tools and chemicals for the DIY touch-up
To keep it simple, I used only things I already had.
Sandpaper for smoothing the scrapes
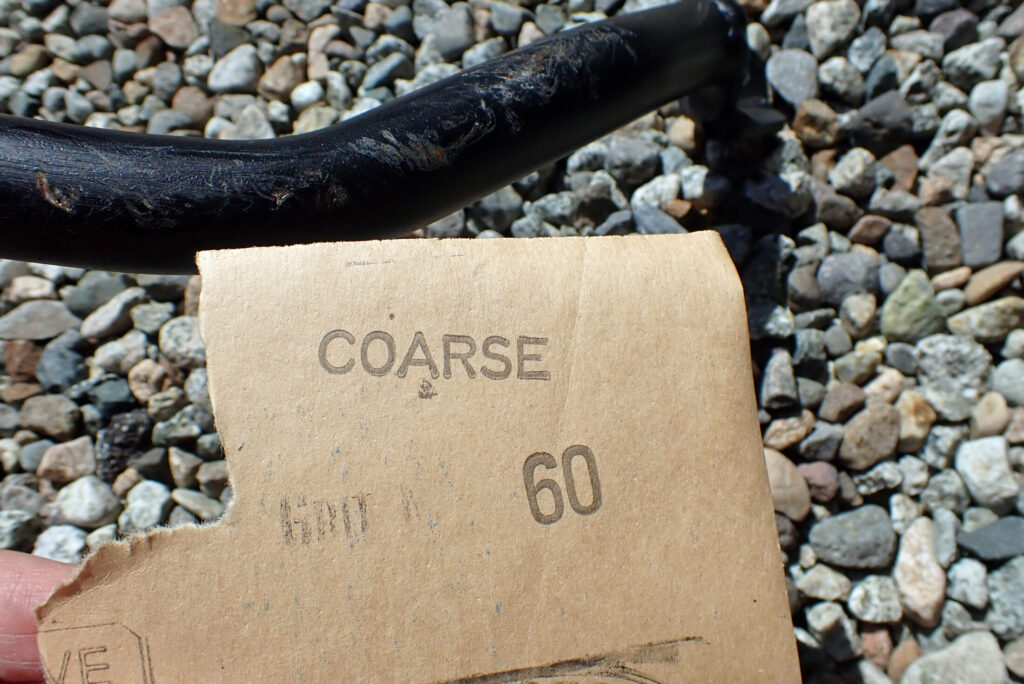
This was something I already had too. I think I bought it at a nearby convenience store or stationery shop when I suddenly needed some sandpaper.
I was short of time, so I sanded with coarse 60-grit paper.
Silicone remover for cleaning off dirt and oil
After sanding off the rust, I use silicone remover to wipe away oil and sanding dust.
For any job involving paint, silicone remover is a must.
Kimwipes, which leave no lint, for wiping the surface
If lint sticks to the surface when you wipe it before painting, the cleaning is pointless.
Kimwipes don't shed lint, so they suit wiping before painting.
Rust converter to stop rust spreading (not used this time)
I didn't have any, so I didn't use it this time, but I think it's better to use rust converter to stop the rust spreading in future.
The paint I chose for finishing: matt black
I say "chose", but in fact I just used the matt black I had at home.
As you can see in the final photos, gloss paint would have looked quite out of place.
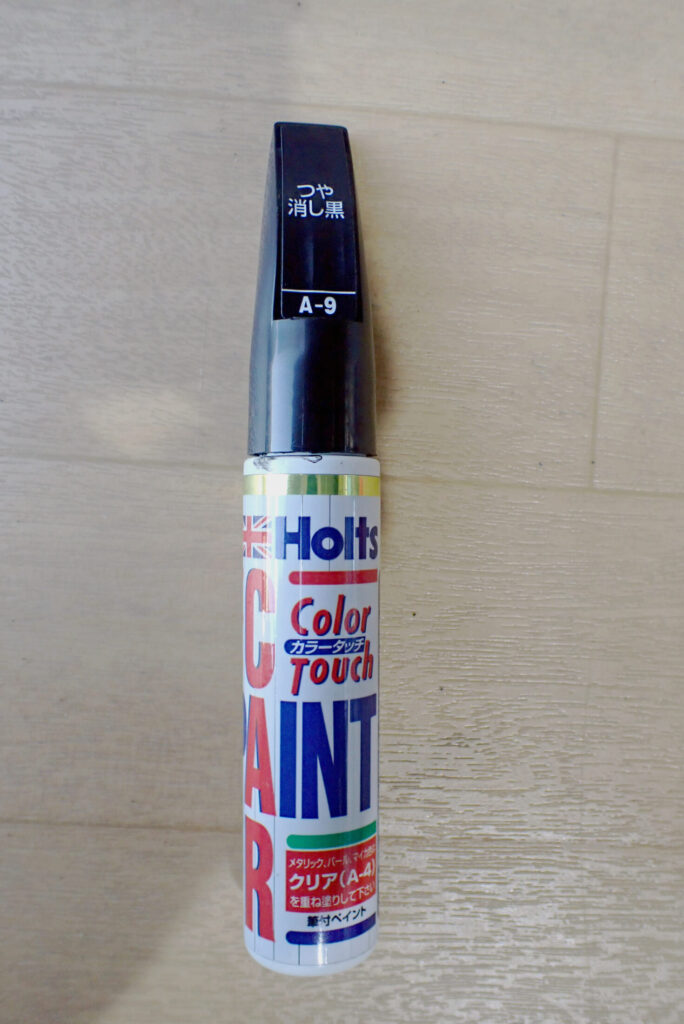
Touch-up pen: Holts matt black (A-9)
In practice: repairing the scrapes and repainting the engine guard
Step 1: Sand the scrapes smooth and remove the rust
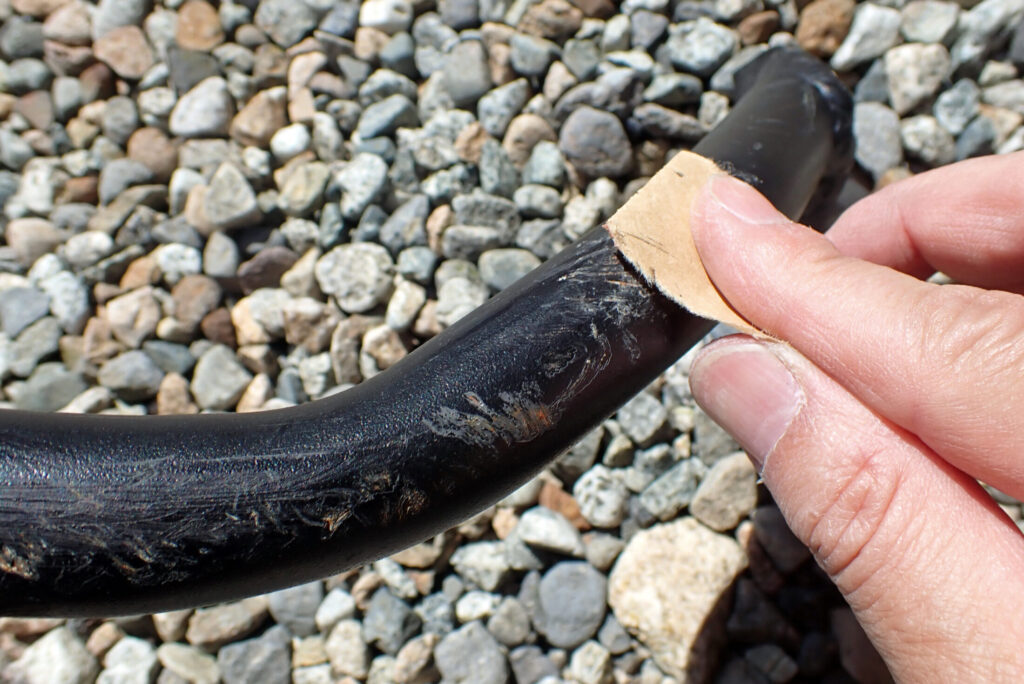
With this many scratches to start with, you can sand without hesitation.
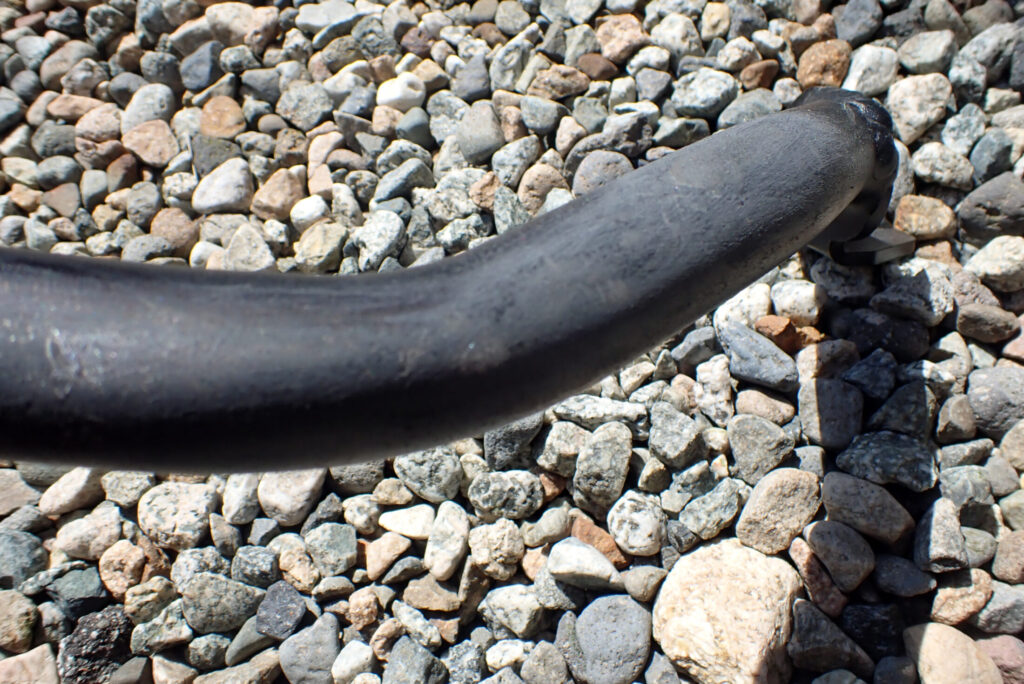
It's hard to see under the paint dust from sanding, but the rust is gone.
Step 2: Prepare the surface by degreasing (and rust treatment)
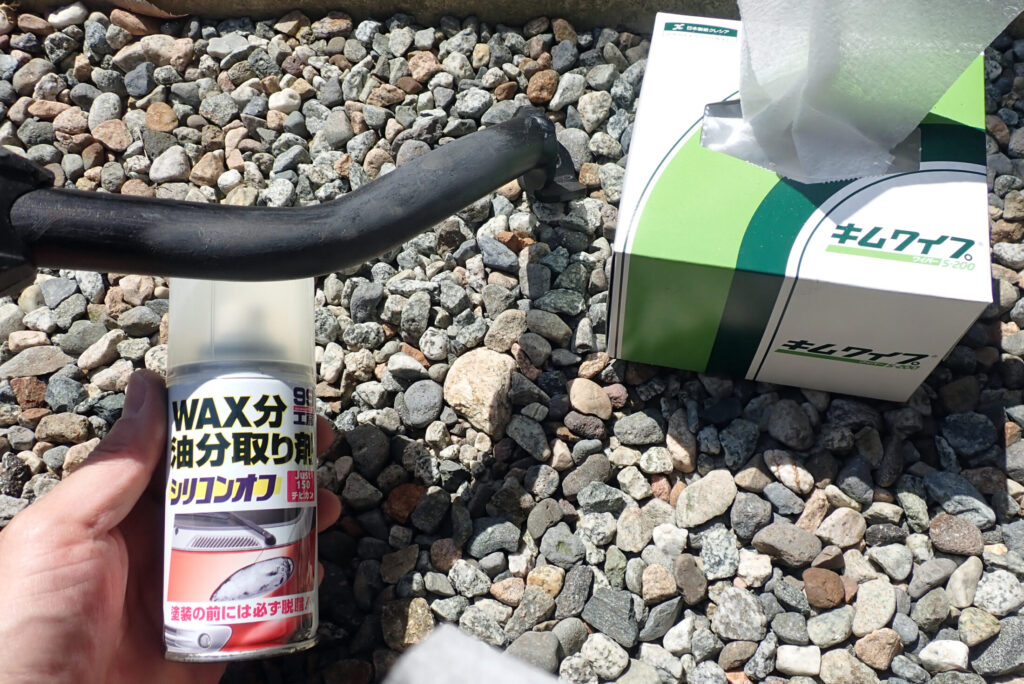
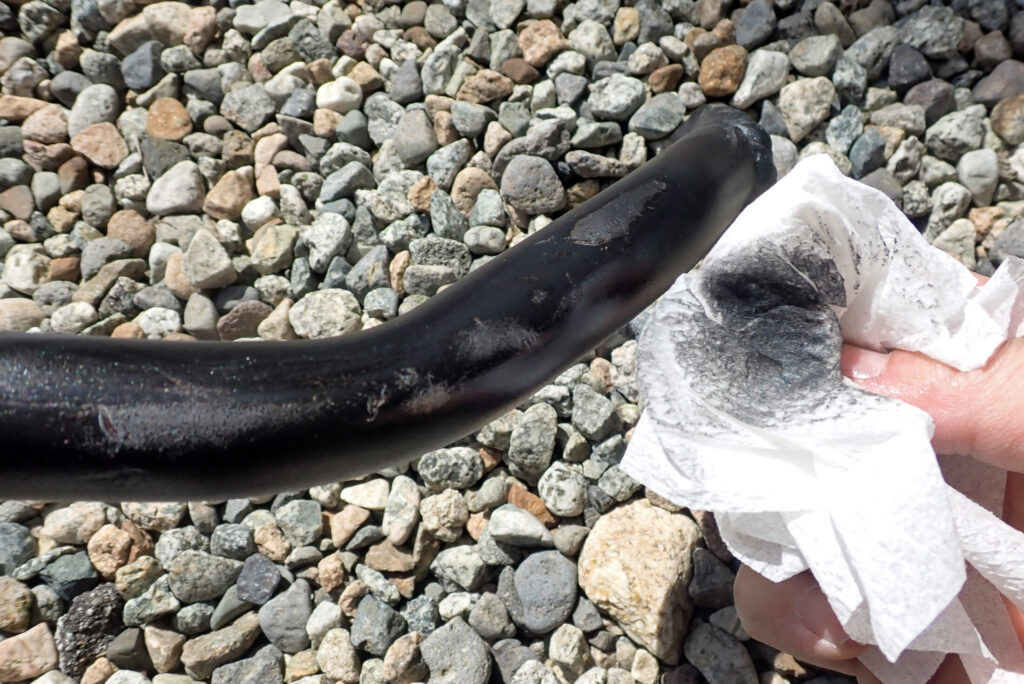
I clean the sanded area with a Kimwipe soaked in silicone remover.
I meant to keep cleaning until no more black came off on the Kimwipe, but however many times I wiped, it was still black. I wondered if I was dissolving the paint, so I stopped after a reasonable amount.
Here the silicone remover has dried.
A little rust was left, but I couldn't be bothered, so I called it good enough.
Step 3: Paint with the touch-up pen
I think about 20°C is a good temperature for painting with a touch-up pen.
I painted the areas of bare metal first, then gradually widened the painted area.
I applied three coats, leaving about 15 minutes between each.
Done! Before and after
How good is a DIY paint job? Hard to spot from a distance
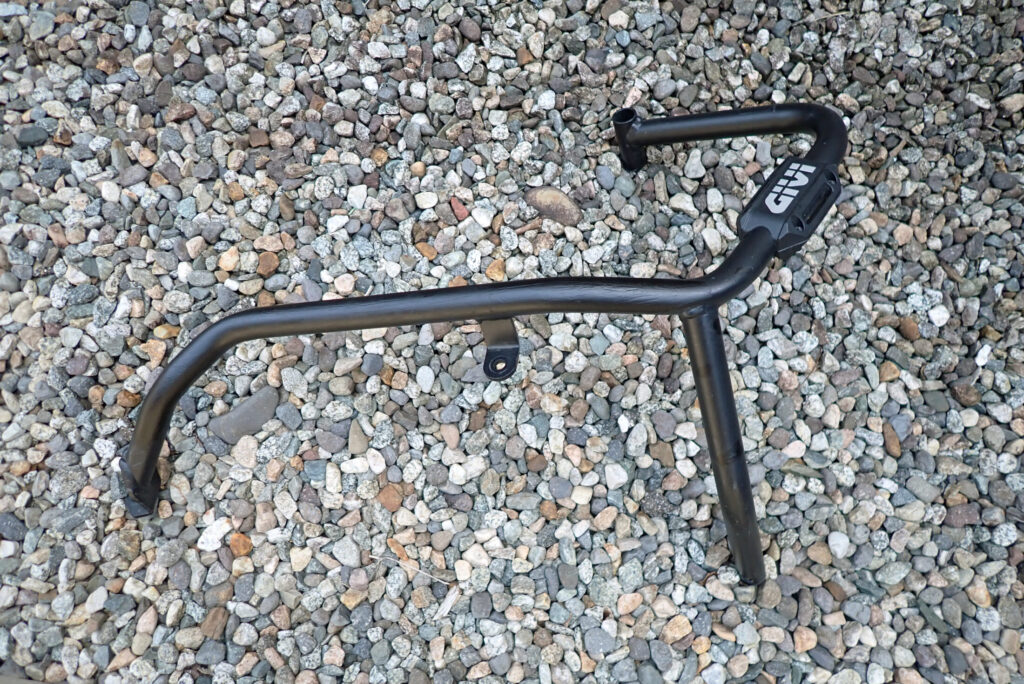
It looks neat in the photo, but up close you can tell it has been repaired.
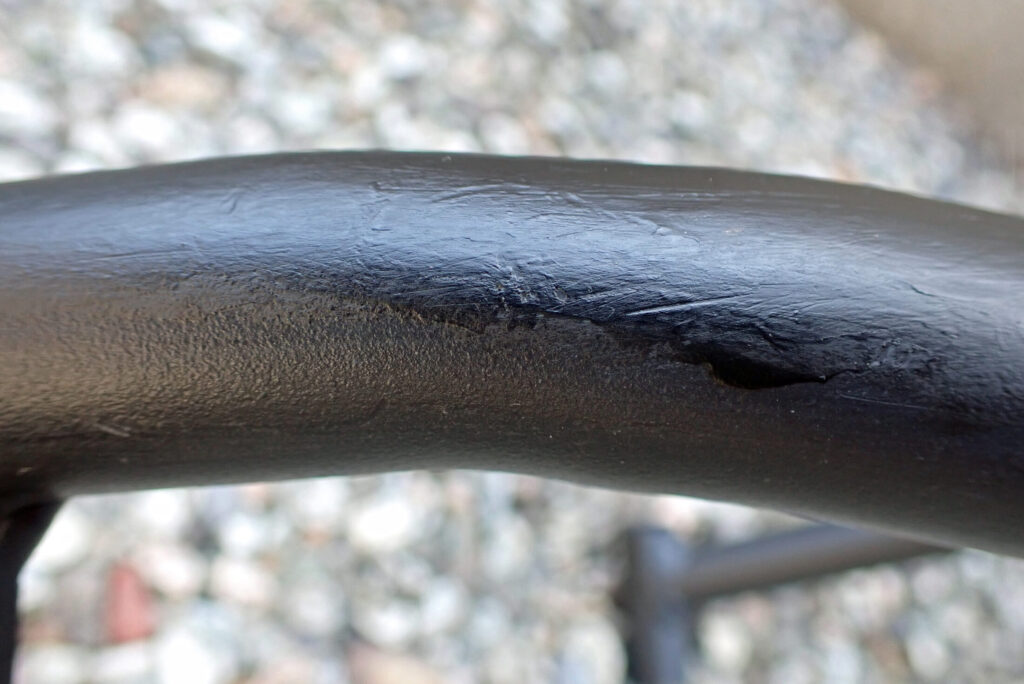
A close-up.
The straight scrape marks haven't been filled. For a really clean finish, I think filler would be the way to go.
In the photo above, roughly the top half of the tube was painted with the touch-up pen, and the bottom half was not repaired.
Look closely and you can see the repair.
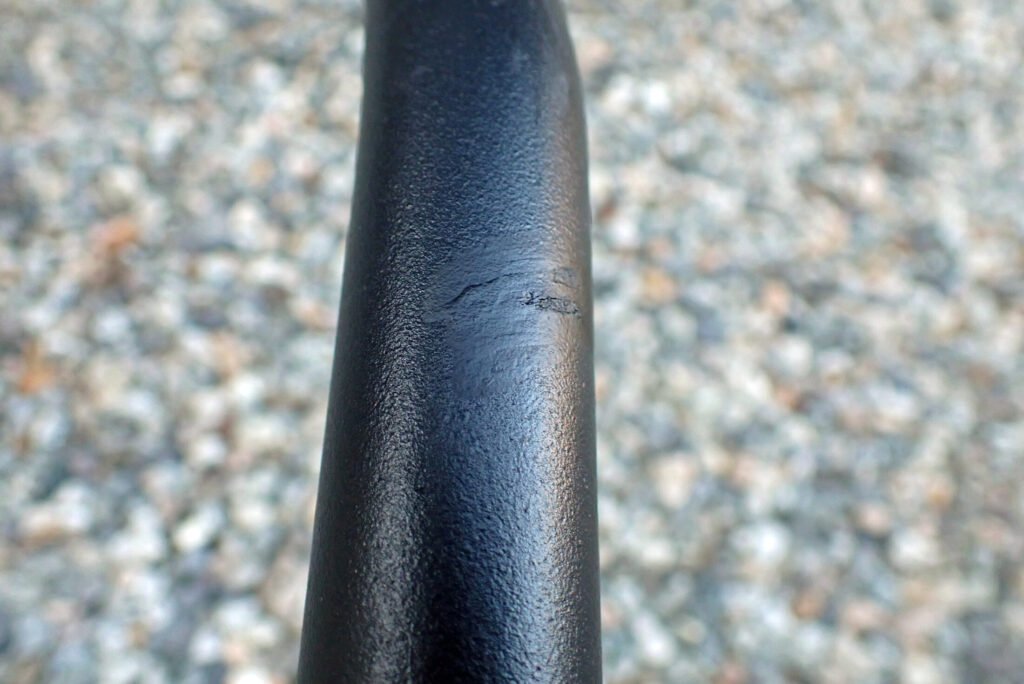
The centre of the photo is the part I touched up with the pen.
Up close you can tell, but from a distance I think the repair is hard to spot.
Summary: a used part plus DIY paint makes a good money-saving mod
Total cost and time for this repair
[Cost]
• Engine guard: less than half the new price (about 43,000 yen → about 18,000 yen)
• Touch-up pen: 0 yen (already had it)
• Kimwipes: 0 yen (already had them)
• Silicone remover: 0 yen (already had it)
• Sandpaper: 0 yen (already had it)
[Time]
I did it on a fine day alongside other jobs, but the actual work took about 30 minutes, I think (not counting drying time).
Summary: a practical refresh is enough for an engine guard
So, what did you think of this engine guard repair?
If you accept that "engine guards get scratched anyway", you don't need an expensive new one: a used part and a little DIY can bring it back to a perfectly practical standard.
Finally, here are the key points of this job.
Key points
- Don't aim for perfection: Put stopping the rust ahead of show-bike looks.
- Deal with rust properly: More than looks, the key to long life is preventing corrosion from within with something like rust converter. (I didn't do this, but I recommend it.)
- The benefit of matt paint: Matt black hides unevenness, which makes it a great help for quick touch-ups.
Spend the savings on your next tour!
The difference from the new price works out to a good amount of fuel, or lunch on a tour. That's one of the benefits of maintaining used parts yourself.
Even with a few scratches and some rust, looking after a part with your own hands makes you more attached to it. If you find a part you like on an auction site, consider repairing it and using it yourself.