Hello everyone.
Today I'm writing about replacing the clutch cable on my G650GS.
I replaced the cable to make the clutch lever even a little lighter to pull, so that I would get less tired on long tours.
There are several ways to make a clutch lever lighter (so that it takes less force to pull): greasing the lever pivot, lubricating the cable, and rethinking the cable routing.
This time, as well as greasing the clutch lever, I replaced the clutch cable itself.
The new cable is a Venhill Featherlight clutch cable.
I bought it new on Yahoo! Auctions (a Japanese auction site), and the seller's listing said:
- The inner cable is stainless steel
- The outer sleeve is PTFE (Teflon) lined for smooth movement
- The cable needs no lubrication
"A Featherlight clutch cable with friction cut to the absolute minimum.
Its very light action makes a huge difference to fatigue on tour!
Recommended if you find your current clutch heavy!"
That is what the seller claimed.
When I checked the fitment list on the Venhill website, it said:
F650 GS 1999-2007
G650 GS 2008-2010
My bike is a 2012 G650GS, so it is not on the list. In other words, it is a cable made for the F650GS (and the G650GS up to 2010).
However, I thought the G650GS probably had not changed much between model years, and many of the clutch and handlebar part numbers are shared between the F650GS and the G650GS. So I decided that
it would probably fit my 2012 G650GS as well, and bought it. (If you buy one, you do so at your own risk.)
When it arrived, I compared it with the original clutch cable.
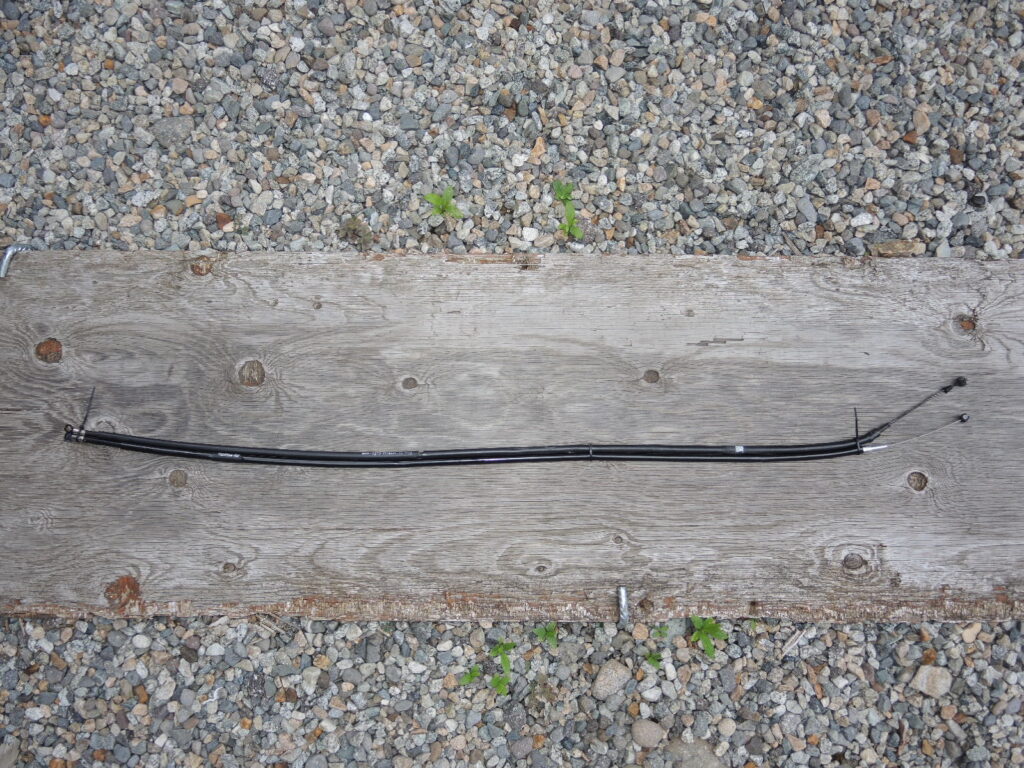
Top: the clutch cable that was on the bike. Bottom: the Featherlight clutch cable.
(The cable on the bike had a BMW stamp on it, so I took it to be the original part.)
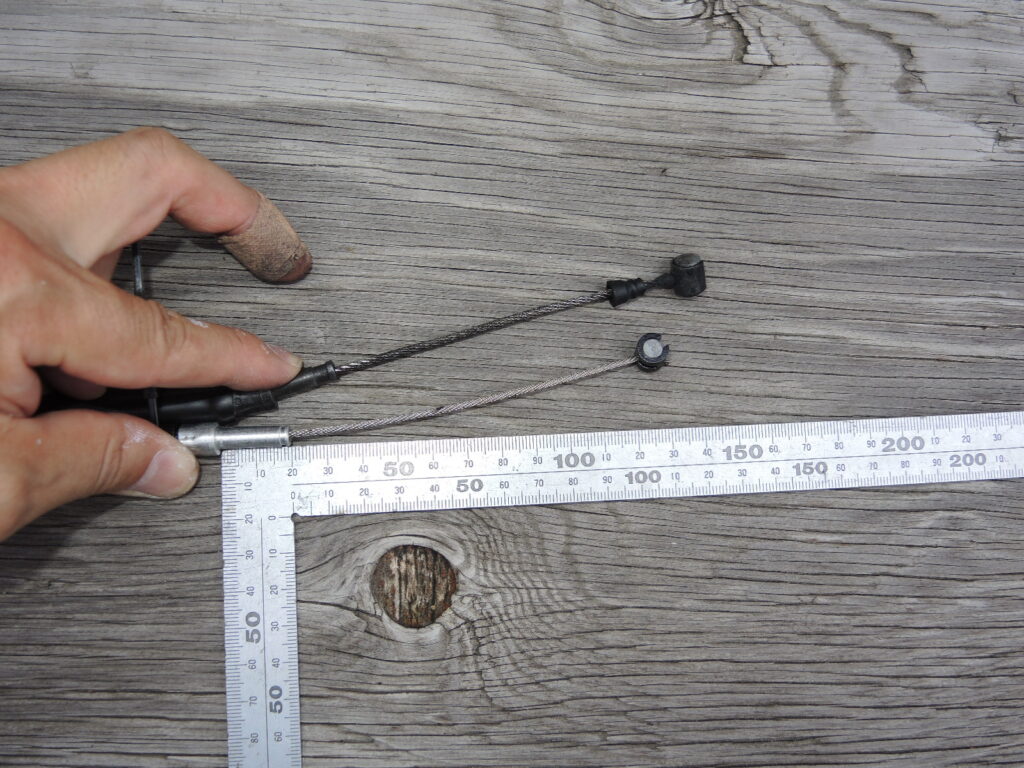
Top: original Bottom: Featherlight clutch cable
With the lever ends lined up, the Featherlight cable was about 1.5 cm shorter overall, and its outer sleeve (I think) was also about 1.5 cm shorter.
I judged that it would still fit with a difference this small.
If you replace your clutch cable with this post as a reference, please do so at your own risk.
Now for the job itself.
Roughly, the steps are:
- Remove the hand guard
- Remove the clutch lever
- Remove the clutch release lever
- Remove the clutch cable
- Fit everything back in the reverse order
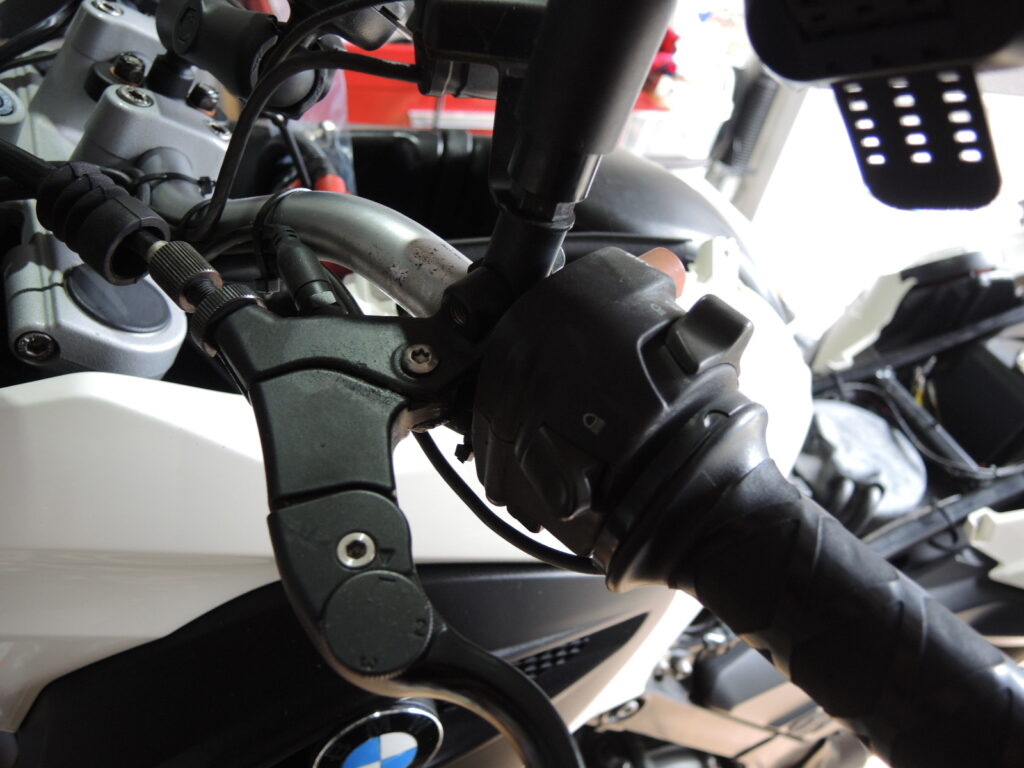
This is with the hand guard removed. Undo the bolt marked by the arrow.
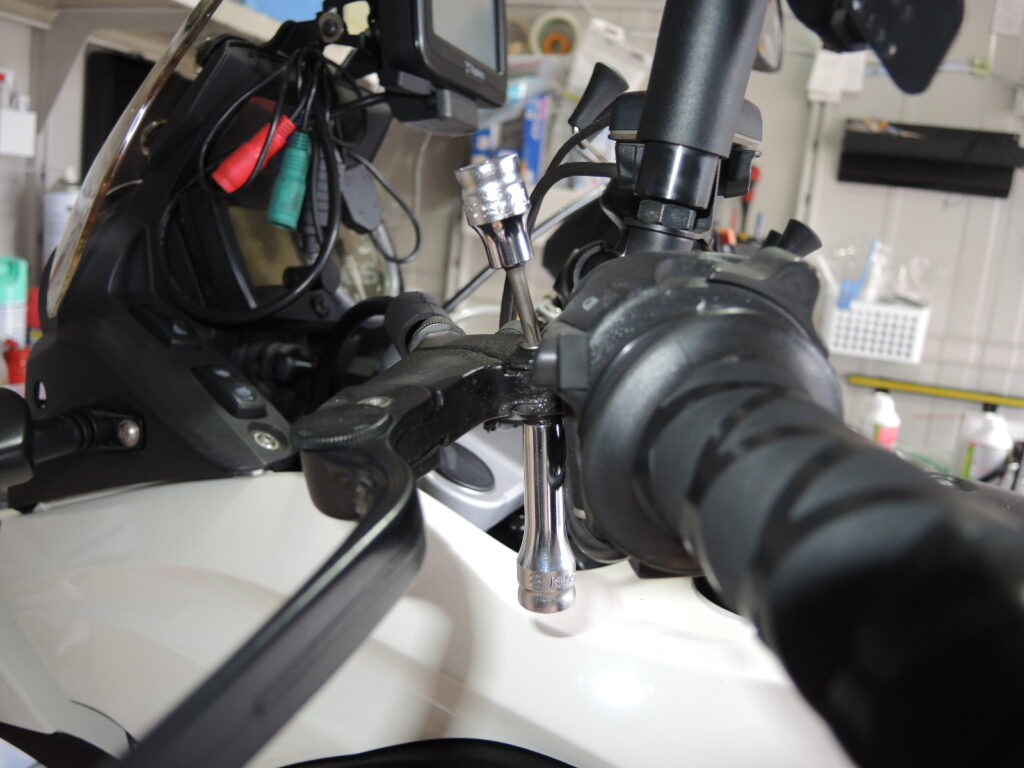
This bolt has a Torx T20 head and an 8 mm nut (across flats).
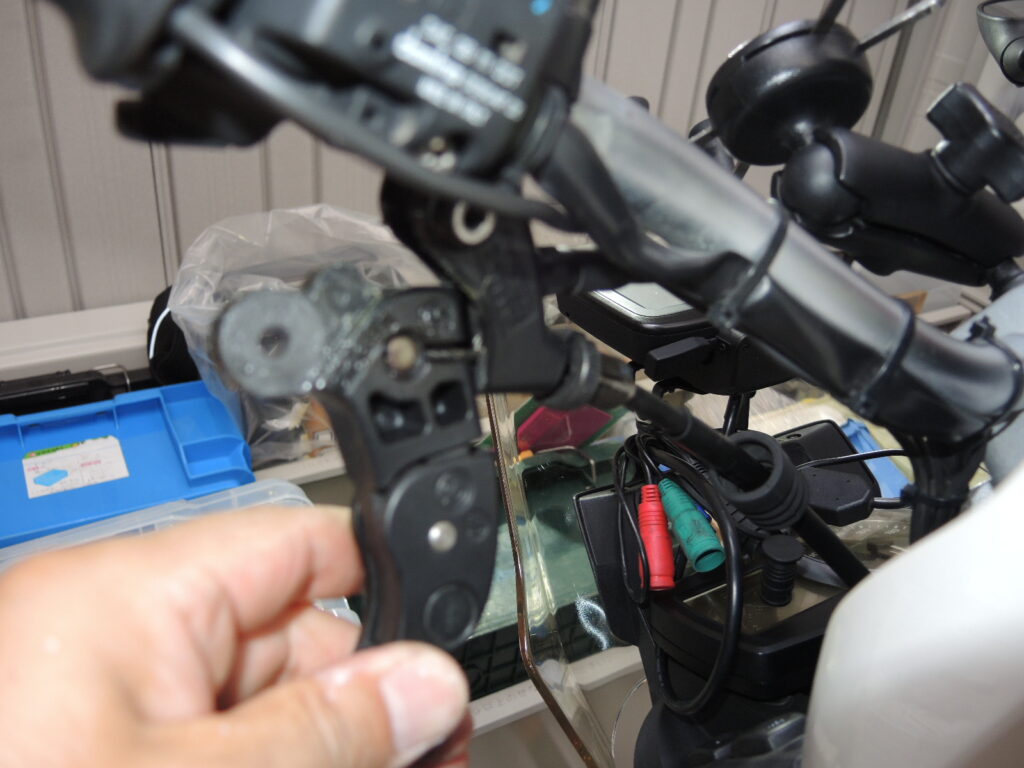
Here the bolt and the clutch lever are off. The lever has a slot for releasing the cable, so line the cable up with it as you take the lever off.
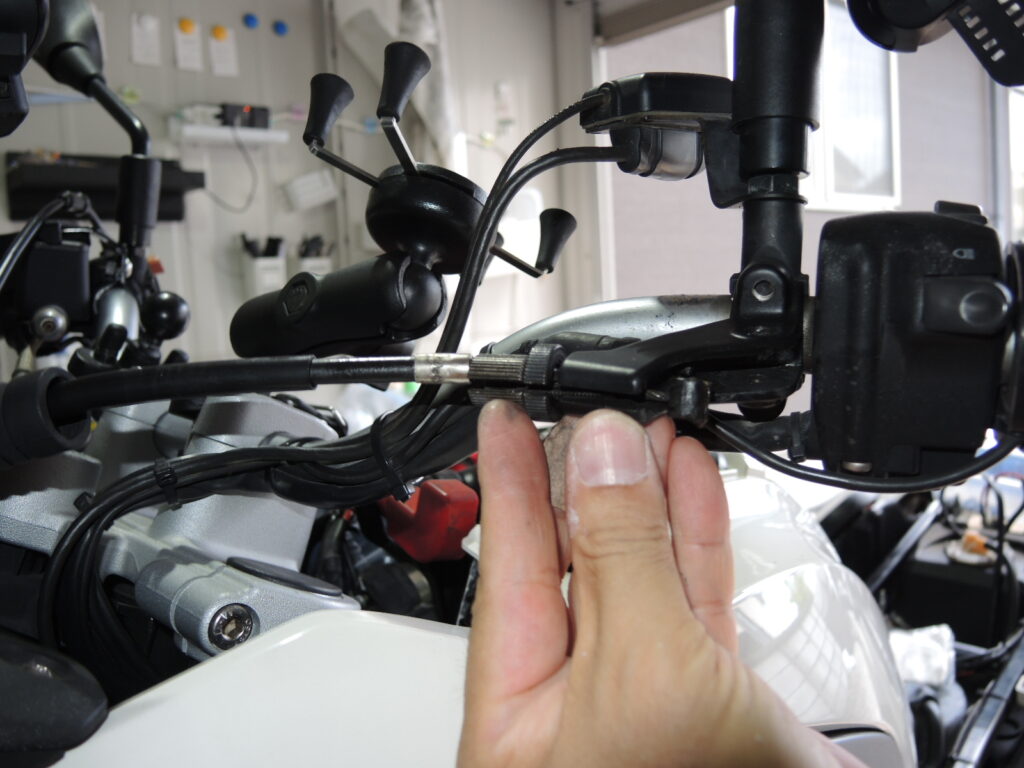
Line up the slot in the cable adjuster with the cable, and slip the cable out.
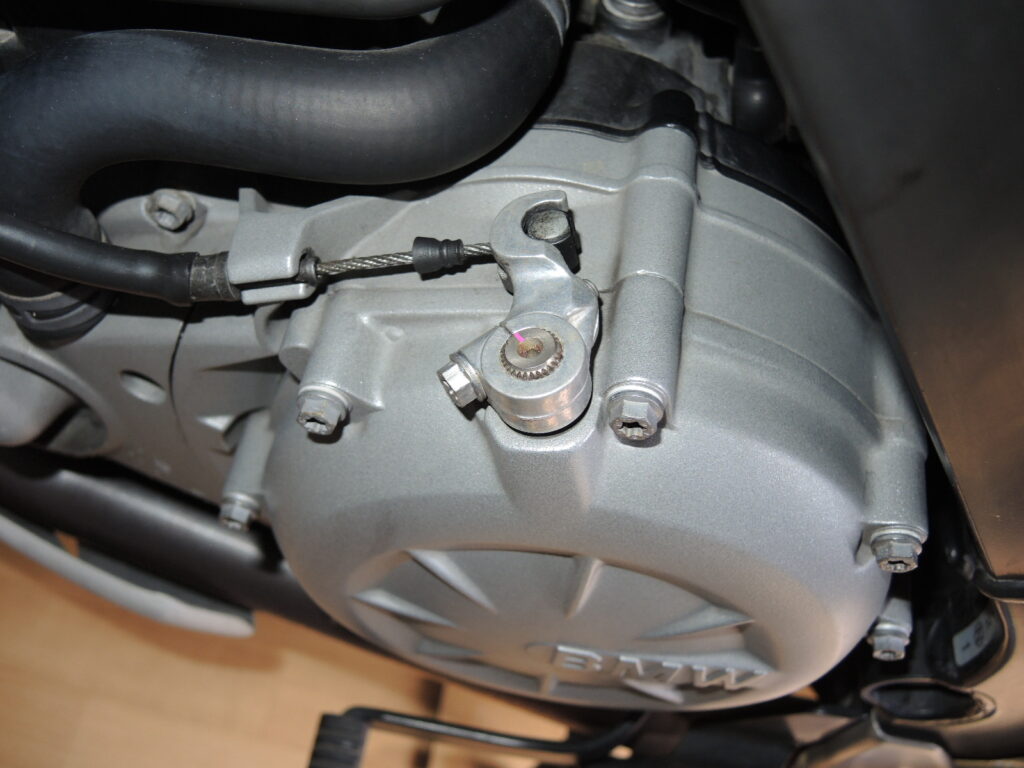
Once the cable is free at the lever end, move on to the clutch release end.
Before taking anything off, I put a mark across the split in the clutch release lever. I thought that without a mark, it would be hard to adjust the free play after refitting.
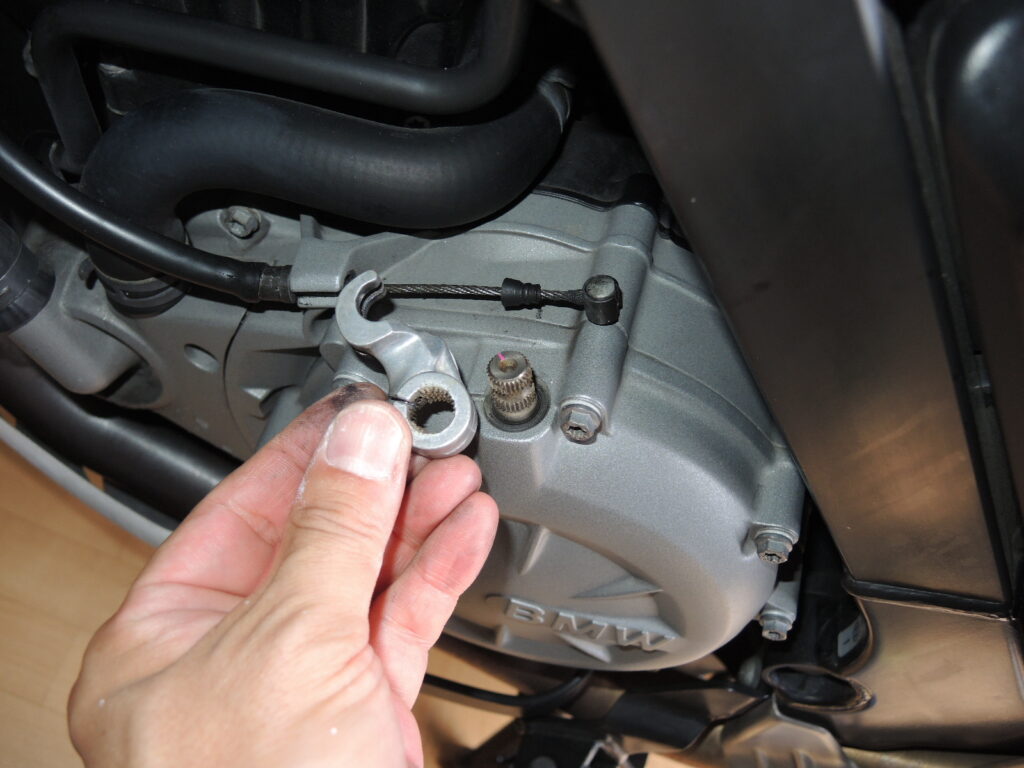
Loosen the bolt on the clutch release lever and take the lever off.
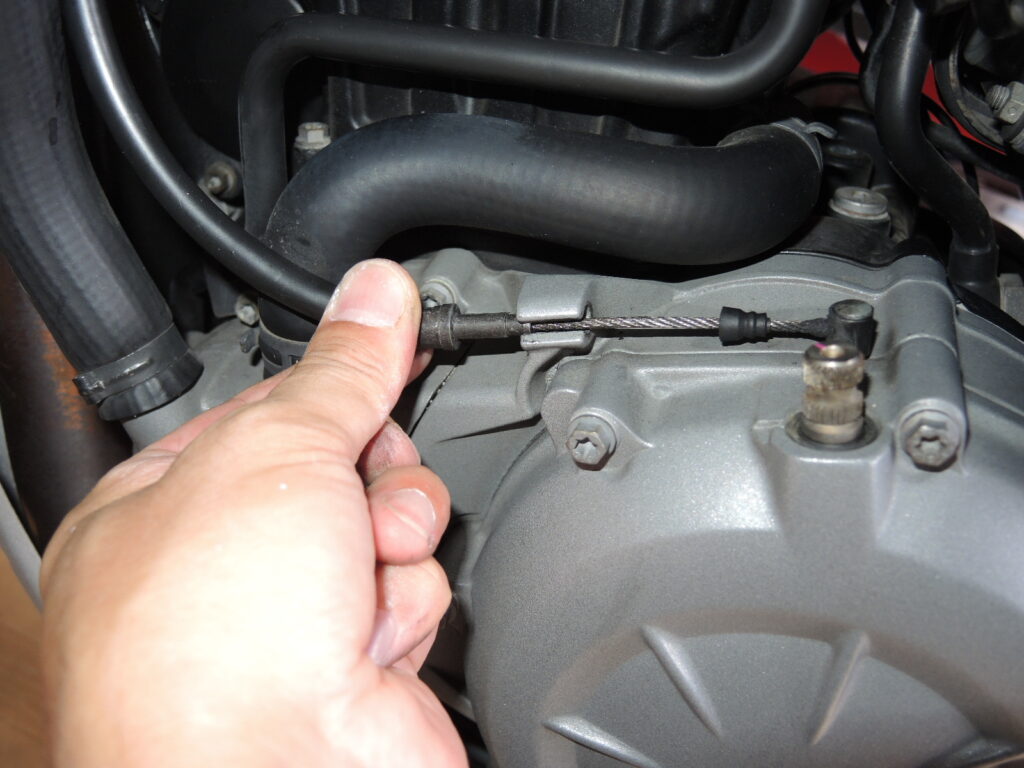
Pull the clutch cable out of the clutch cover.
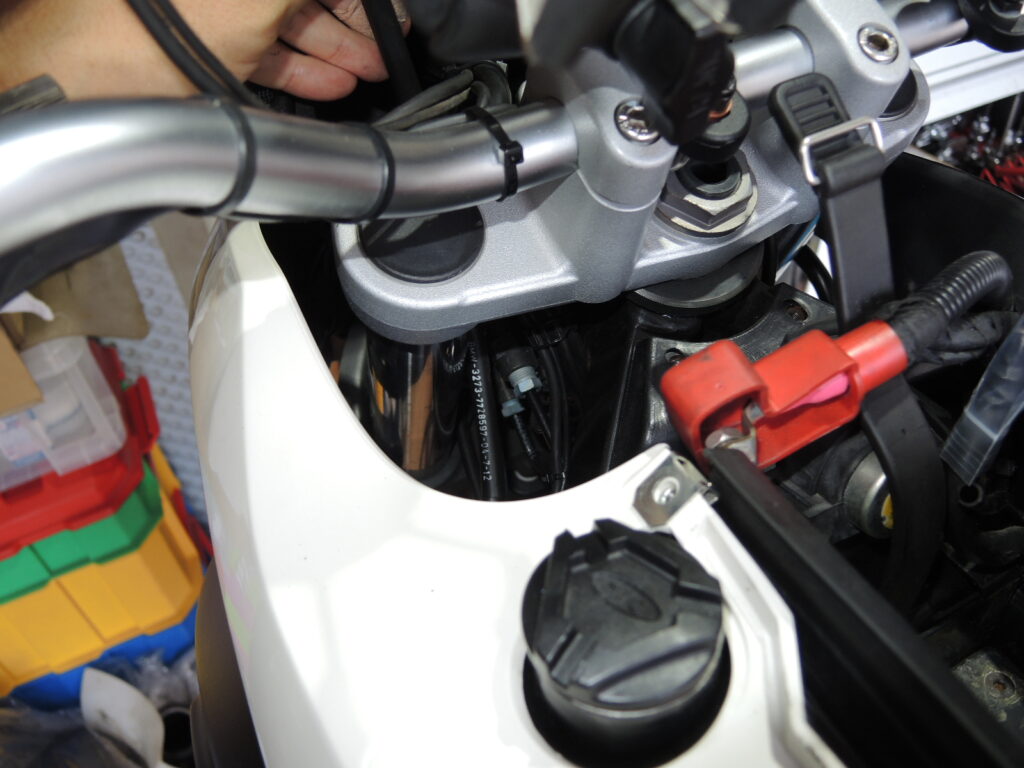
Then pull the clutch cable out from the handlebar end. Before you do, memorise the route the cable takes, or take photos or notes. That makes the rest of the job go smoothly.
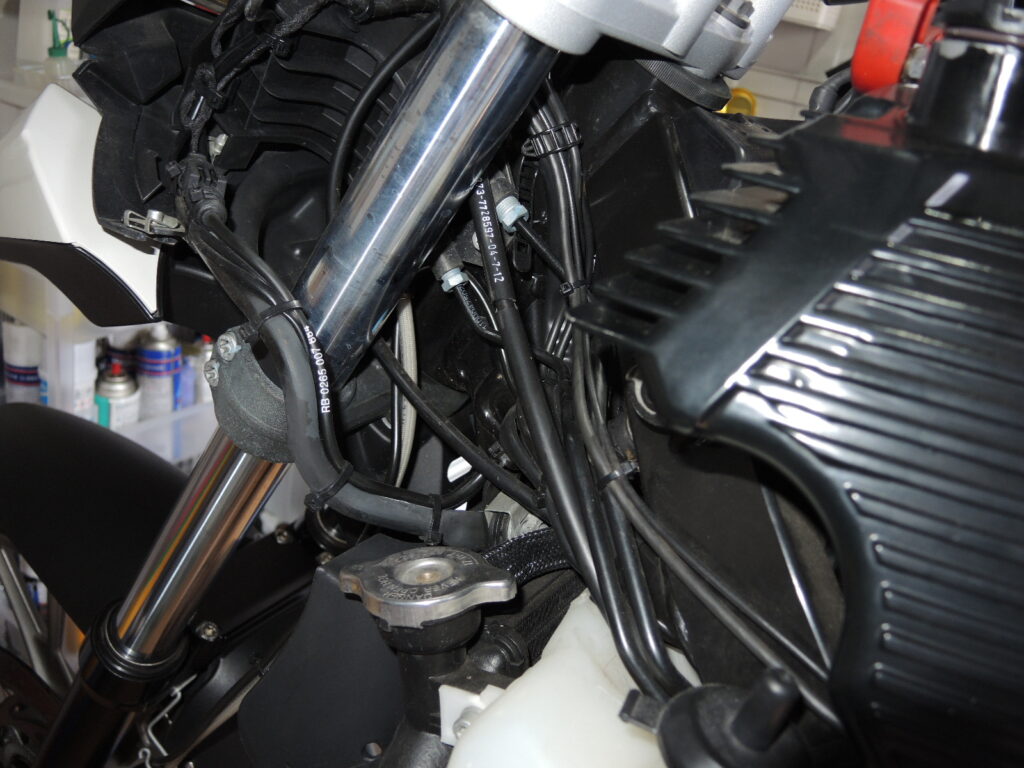
As you pull it out, watch the routing and make sure the cable does not snag on other parts.
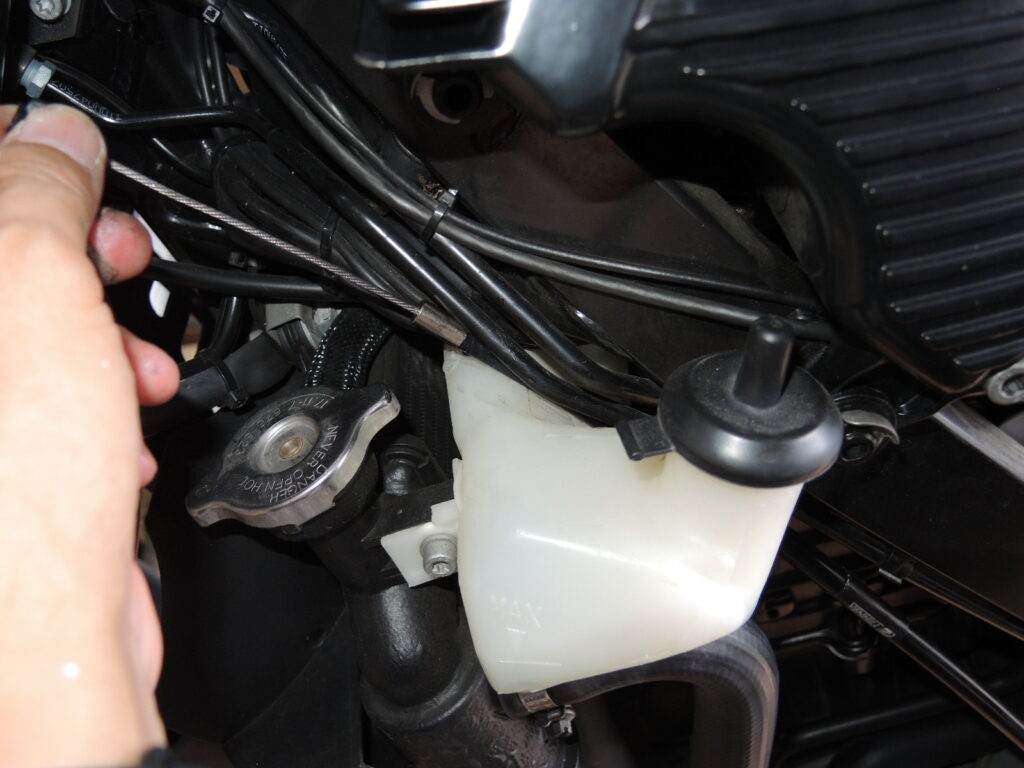
I fed the new cable in from the clutch release end towards the lever end, the same way the old one came out. The gap above the coolant reservoir is narrow and hard to get through.
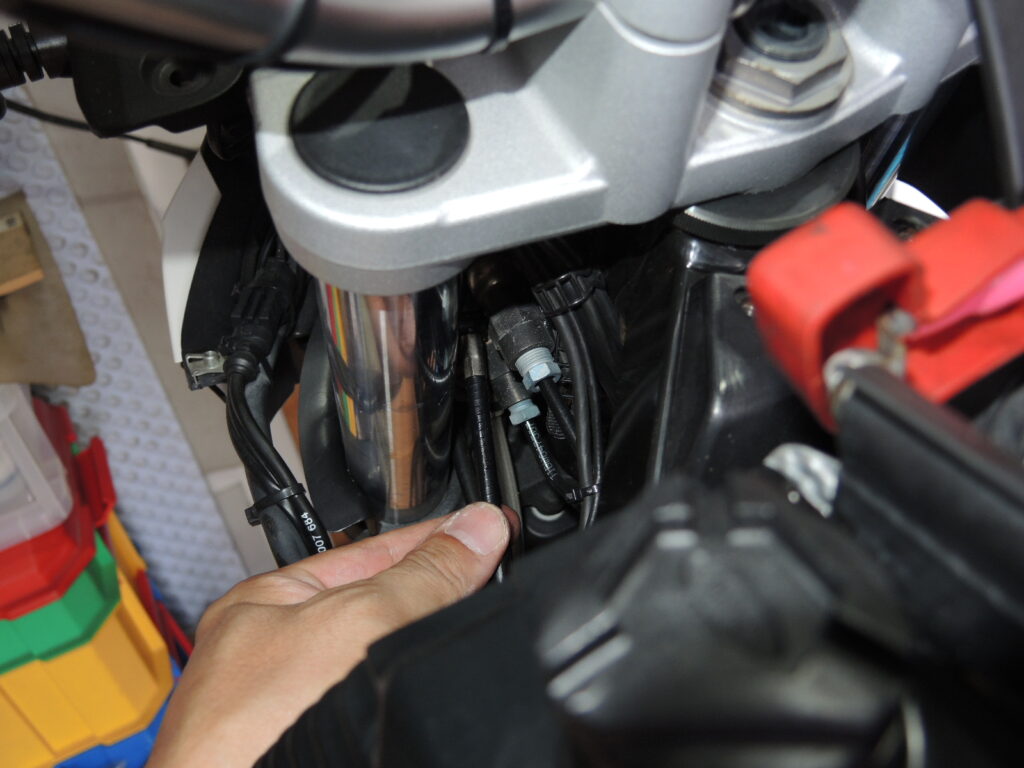
Near the front fork, route the cable where it will not be pinched when you turn the handlebars.
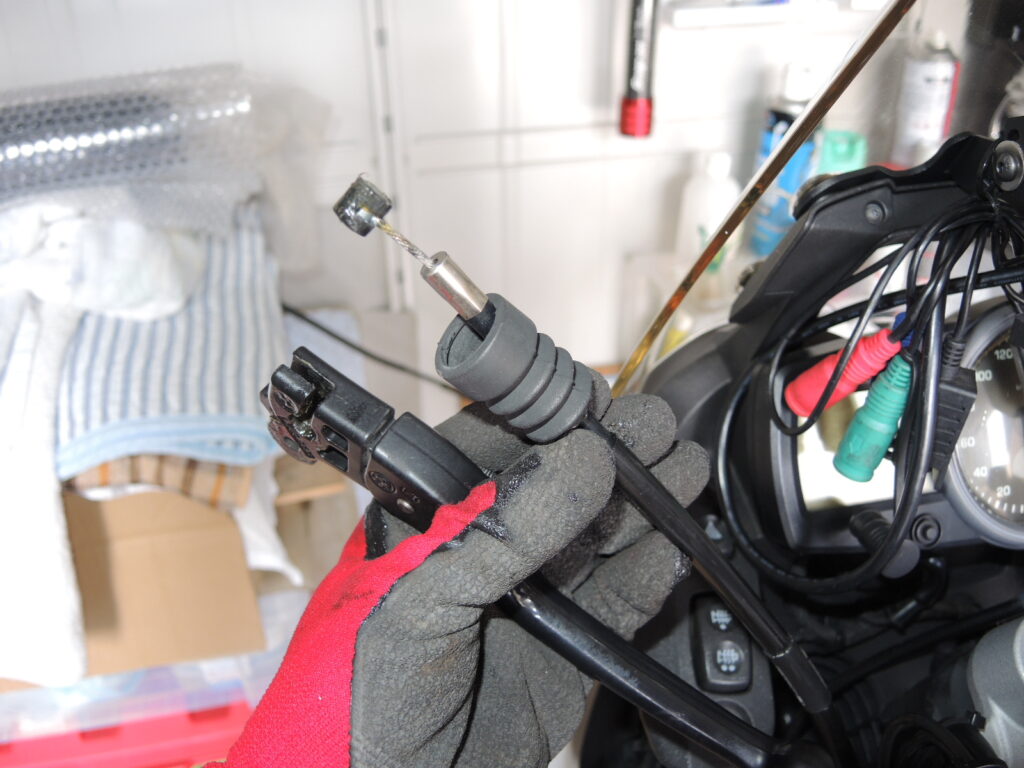
When the cable reaches the clutch lever, fit it to the lever in the reverse order of removal.
Before connecting the cable to the lever, slide the rubber boot shown in the photo onto the cable.
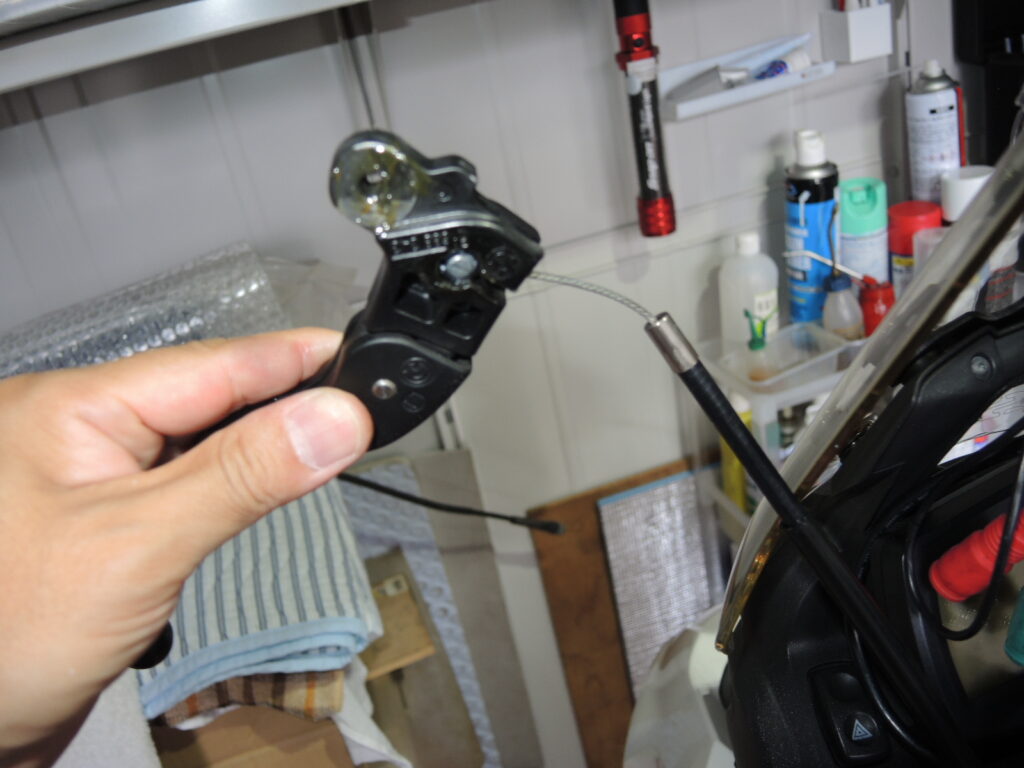
At this point, grease the part near the end of the cable where it touches the clutch lever.
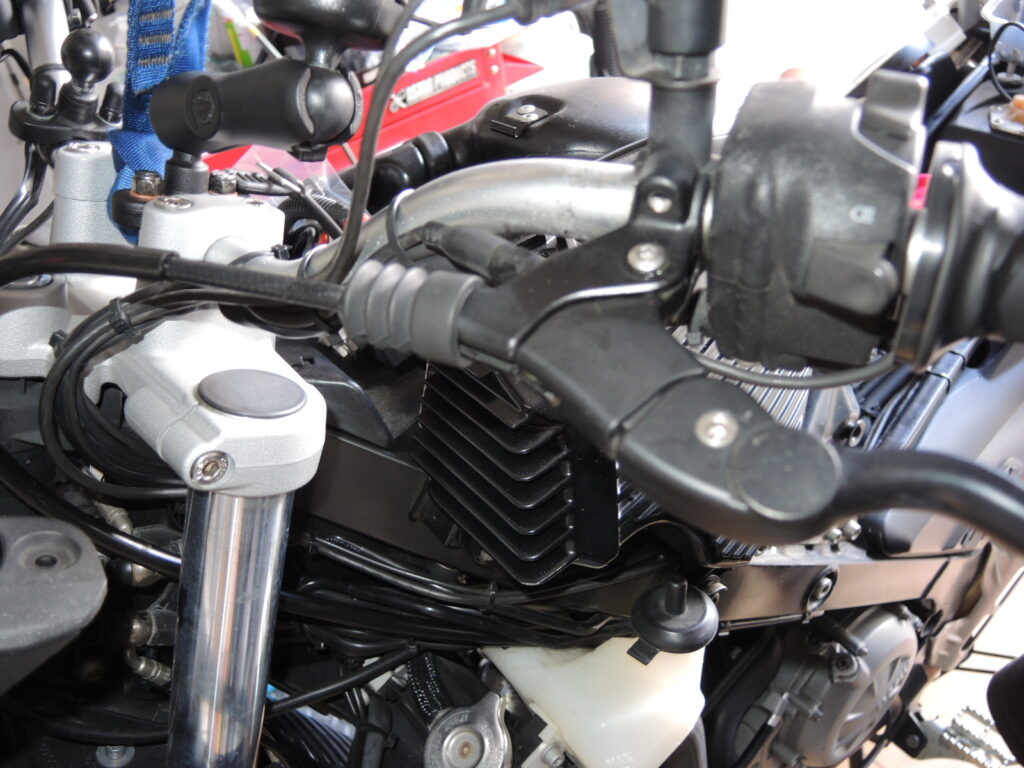
Refit the clutch lever to the lever holder.
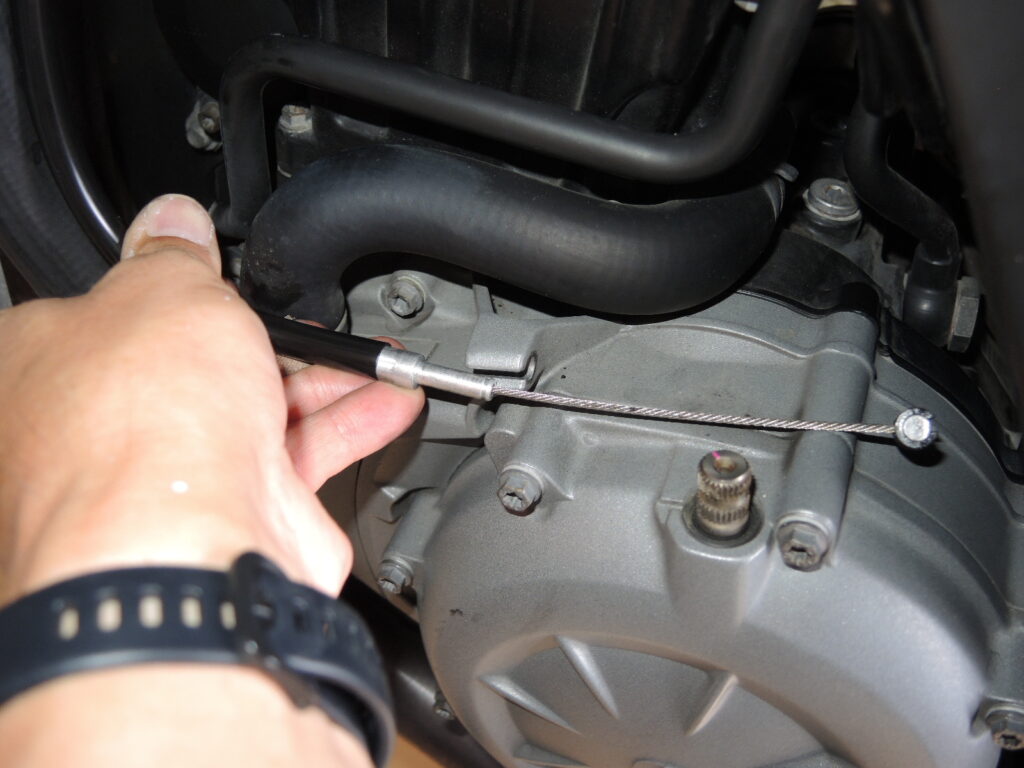
With the lever end done, move on to refitting the clutch release end. Again, this is the reverse of removal.
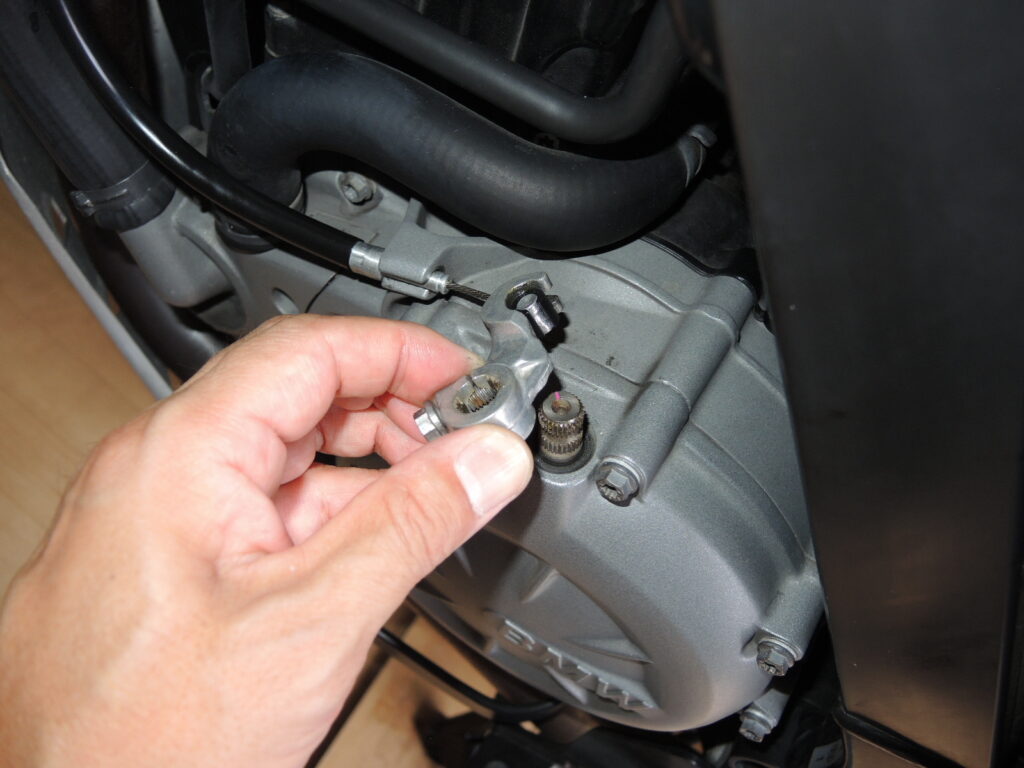
Hook the clutch release lever onto the end of the cable first, then fit the lever onto the clutch.
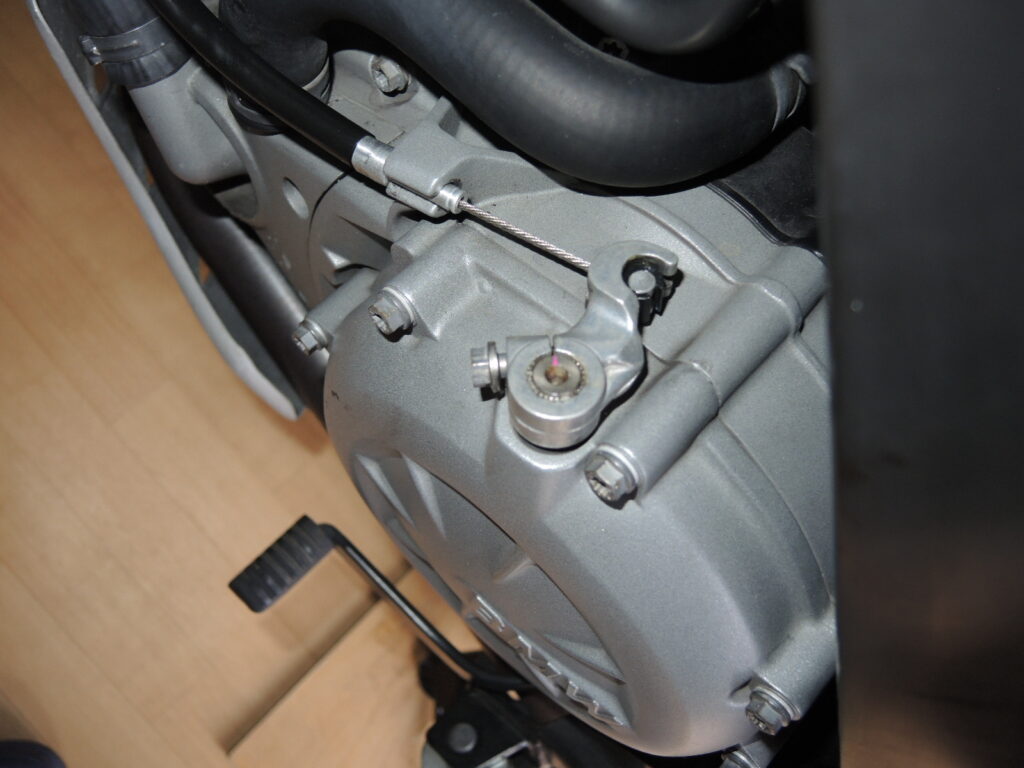
Fit the clutch release lever so that it lines up with the mark you made during removal.
Don't tighten the clutch release lever bolt yet.
Tighten it after you have adjusted the clutch cable free play.
I set the free play with the adjuster at the clutch lever. I prefer very little free play, so I set it on the small side. However, I made sure the clutch did not start to slip (partly disengage) when I turned the handlebars fully left and right.
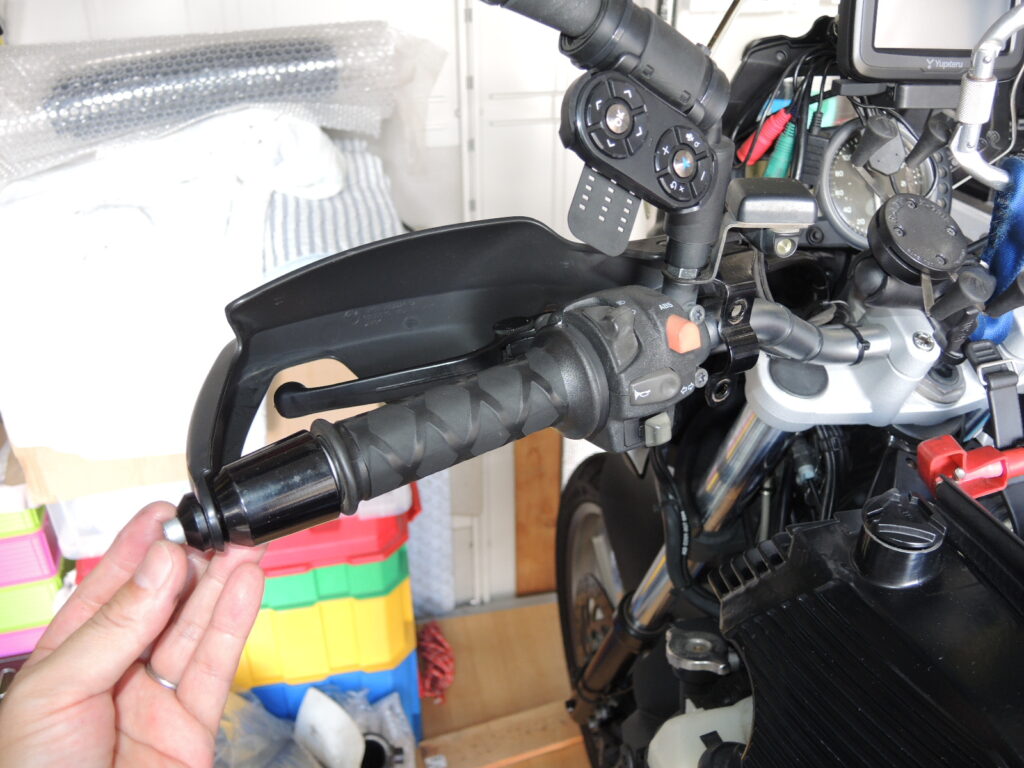
Finally, refit the hand guard, and the job is done.
My impression after the swap: the clutch lever seemed a little lighter, but that was about it. I did not notice a big difference. Still, the cable worked without any trouble until I sold the G650GS in April 2026.