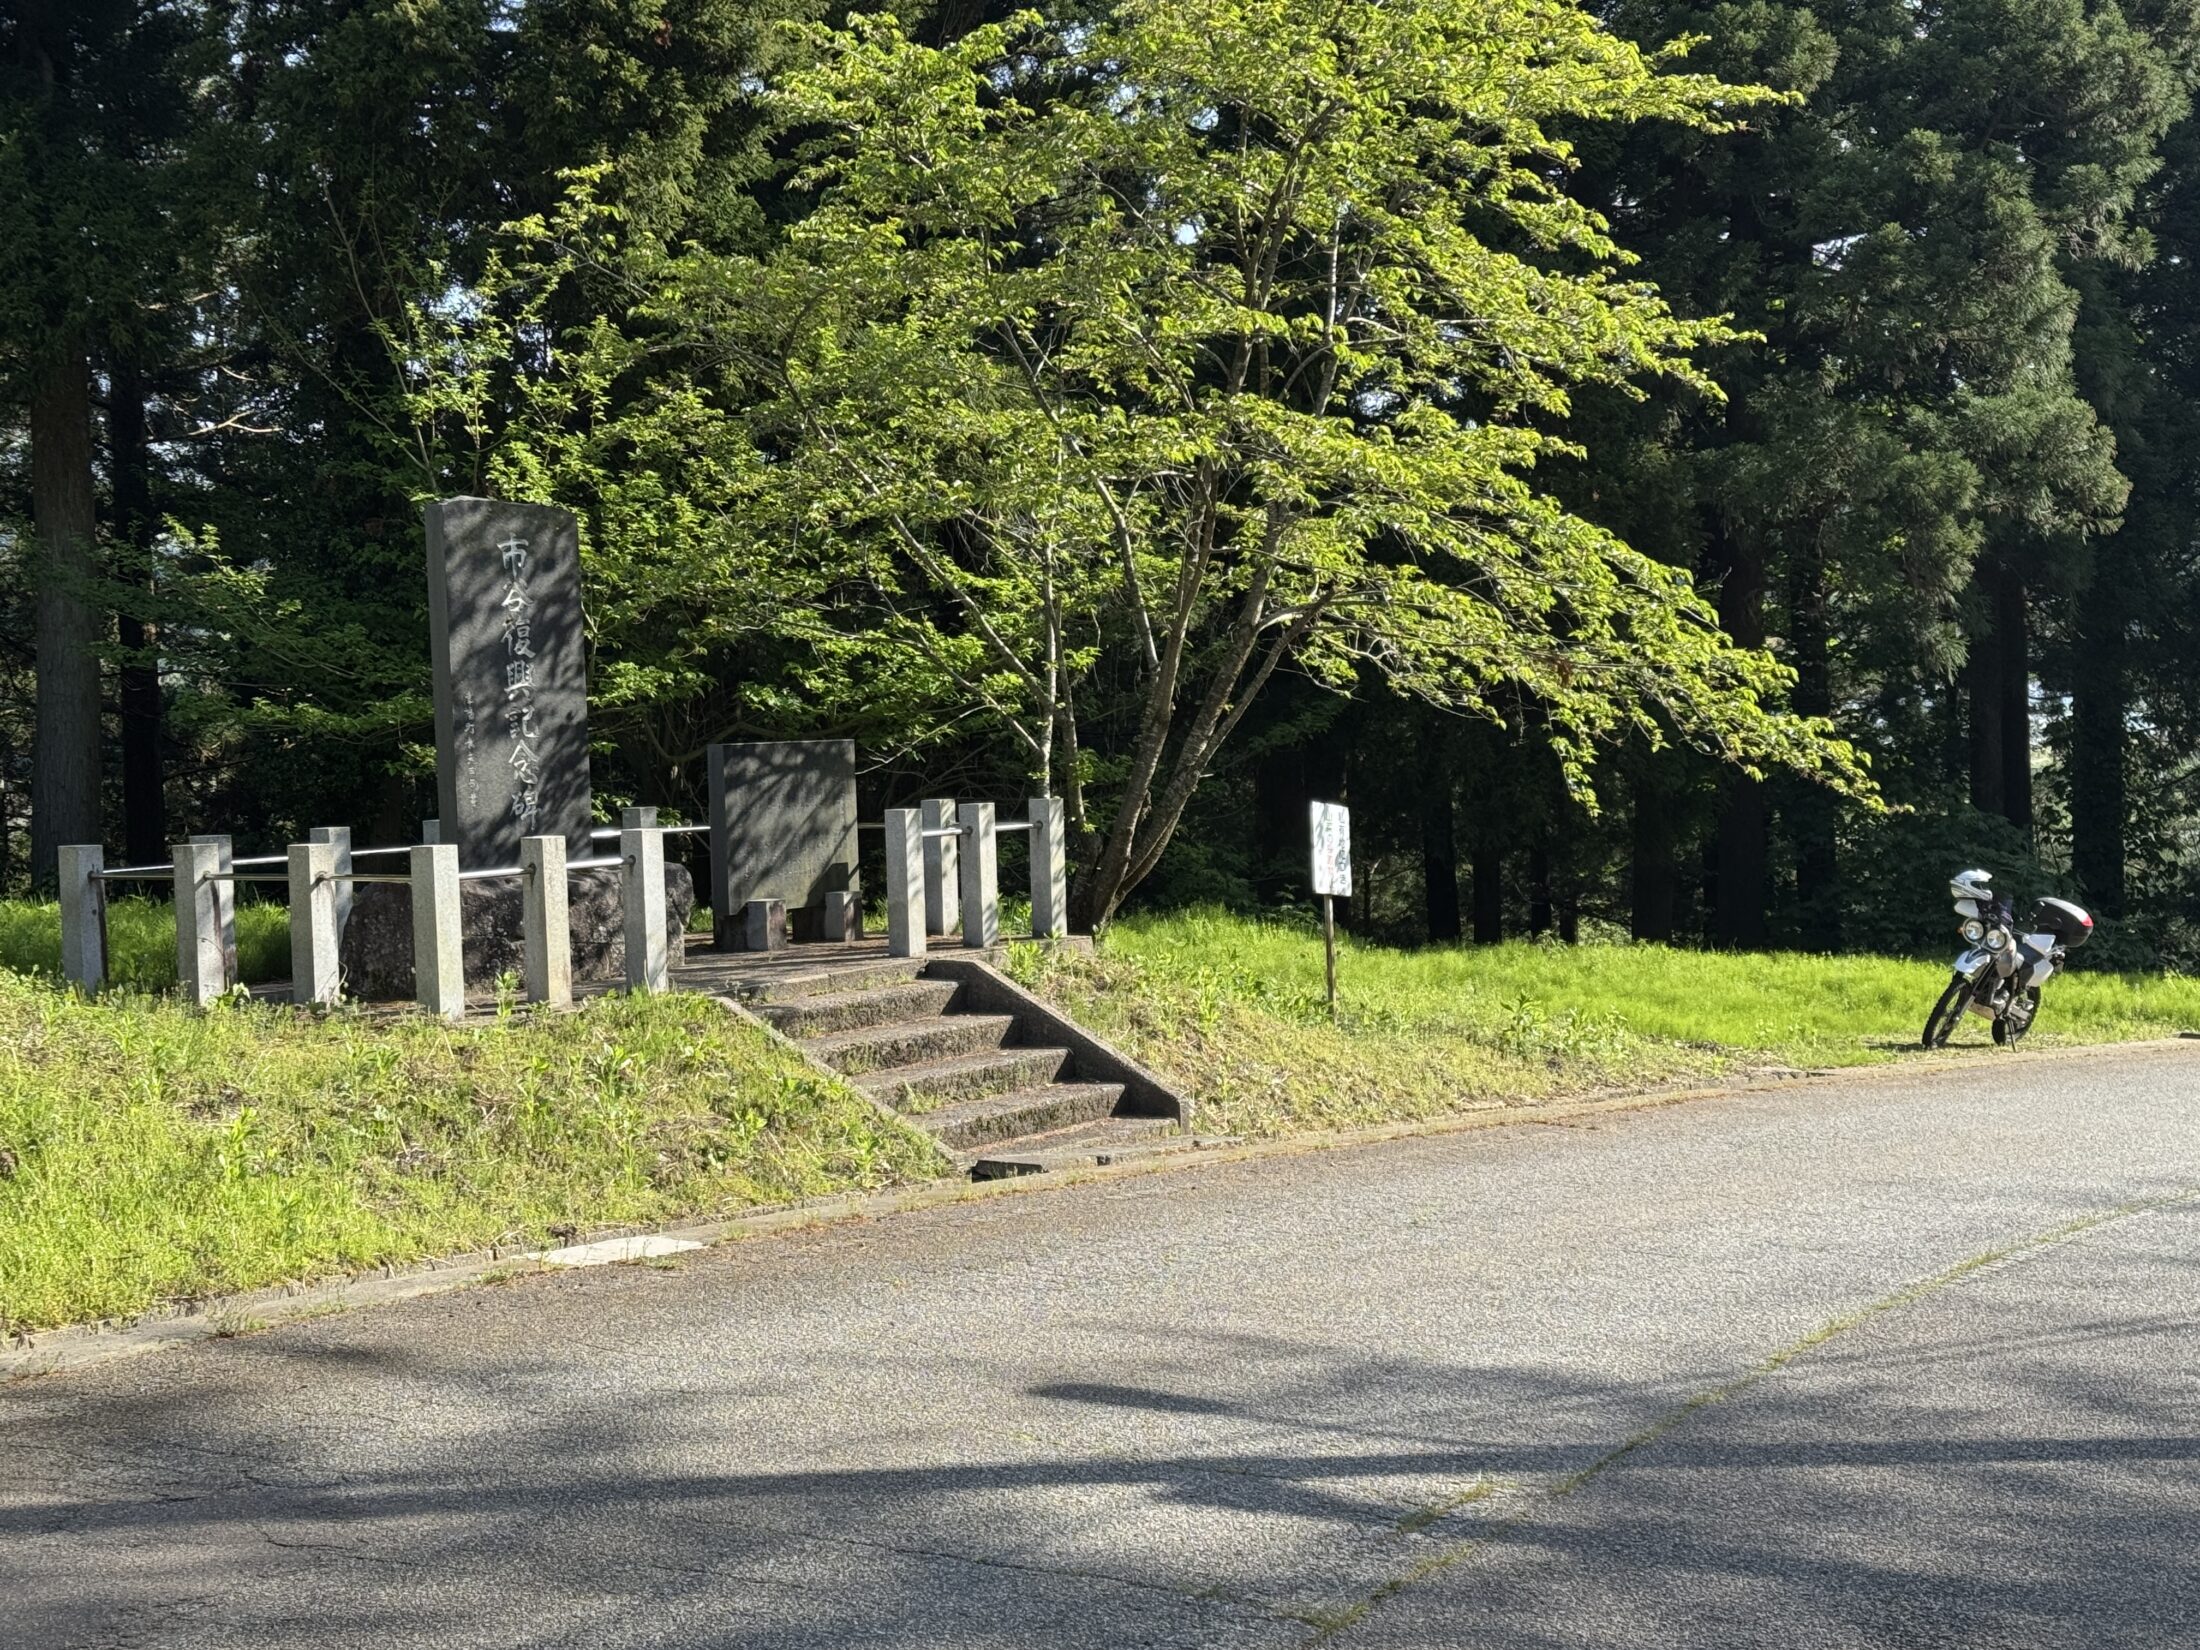
Hello everyone.
I stripped, cleaned and greased the rear linkage on my Honda XR250 BAJA (the Japan-market XR250 / MD30). To lower the seat height, my BAJA has the linkage arm from an Antlion ride-height adjustment kit. This arm uses THK pillow-ball rod ends, and I had not serviced it for a long time.
When I opened it up, it was in worse shape than I expected: a loose lock nut, a grease nipple that had fallen out on the road, and a seized pillow ball. In this post I'll show the steps from stripping to refitting, and the tools and grease I used.
Tools and grease I used
- Combination spanners and sockets
- Torque wrench
- Lift stand (to raise the bike)
- Parts cleaner
For the pillow balls I used WAKO'S Hi-Multi Grease (urea-based), and for the bolts Omega 77. I chose between them according to whether the part gets wet or not.
Stripping the XR250 BAJA (MD30) rear linkage
Supporting the bike safely
First, make the bike stable. When you remove the linkage, the swingarm drops under its own weight, so a stand that supports the frame is ideal.
- Tip: leave enough room around the bike so it can't fall over towards the side-stand side.
Removing the linkage arm and bolts
Taking the bolts out in a sensible order makes the job easier.
- Remove the rear wheel (to make the swingarm lighter)
- Loosen each bolt a little at a time (don't take them out yet).
- Support the swingarm while you remove the bolts, and once a bolt is out, rest the swingarm on something (I used a 10-litre plastic fuel can).
- Take the bolts out one by one from the bottom. The MD30 has several linkage pivots (Honda's Pro-Link), so it's a good idea to photograph the direction and position of each bolt.
Here is the actual job, with photos.

First, lift the rear wheel off the ground with a stand.
Even so, the bike could fall over if something knocks it, so it's safer to use a hanging-type stand as well.

The gold part in the middle of the photo is the rear linkage arm.
This bike uses the linkage arm from an Antlion ride-height adjustment kit to lower the seat height.

First, remove the rear wheel.

With the rear wheel off, remove the bolt joining the swingarm linkage to the linkage arm (the bolt in the centre of the photo).

The rear linkage and the linkage arm are apart. Now the swingarm will drop under its own weight, so support it with "something" to stop it falling.

Here I'm supporting the swingarm with a 10-litre plastic fuel can. I use the same can when I do this job on my other bikes.

Next, remove the bolt that holds the rear linkage arm to the frame.
It's the bolt just left of centre in the photo.

The rear linkage arm is off!
It's filthy...
Cleaning and checking the parts
I washed the bolts and collars with parts cleaner. The standard linkage uses needle bearings, but the Antlion linkage arm uses pillow balls.

Now let's look at the rear linkage arm. It was in a state that made me ask myself how long I'd been skipping maintenance...
The thin nut in the photo above is a lock nut, but there's a gap between it and the gold part. It has come loose.

You can see a black hole just left of centre in the photo. There was a grease nipple screwed in here. It seems to have fallen out while riding.

On top of that, the pillow ball (a THK pillow-ball rod end) had seized and wouldn't come off.
I held it in a vice and just about managed to get it off.

The threaded part that was so hard to remove was rusty (galvanic corrosion?).
Greasing and refitting
The pillow balls have small grease nipples, so I pumped in WAKO'S Hi-Multi Grease with a special nozzle.
-

-
antlion Ride Height Adjustment Kit Maintenance Part 3: Greasing the Tiny PB107 Nipple with a Modified Mini Grease Gun Nozzle (Honda XR)
How I greased the rod ends of the antlion ride height adjustment kit on my Honda XR: the standard nozzle versus a cut-down AZ nozzle tapped M5 x P0.5 for a dedicated PB107 nozzle, with costs.
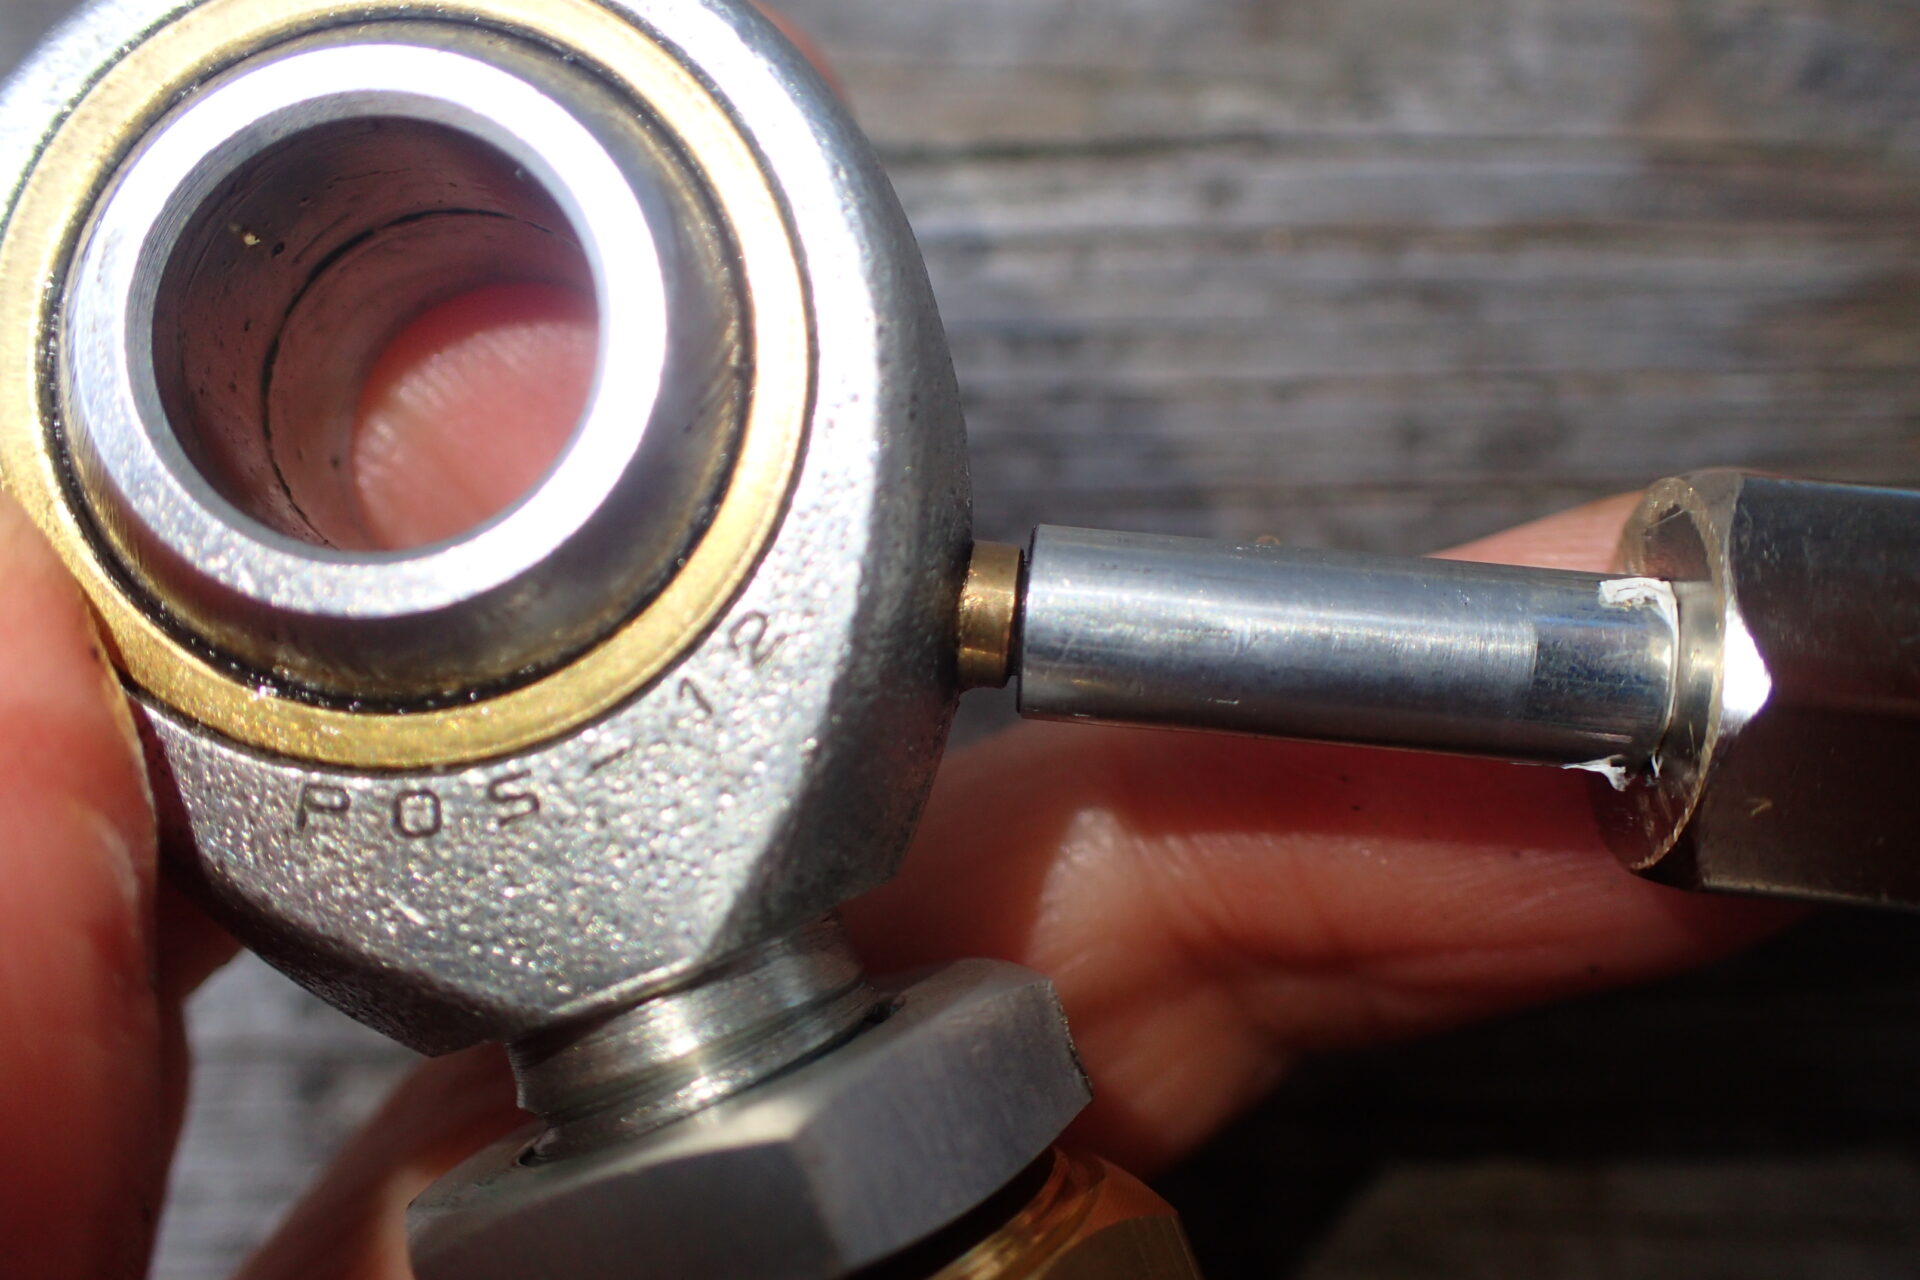

With the pillow balls greased through their nipples, I made a few changes to deal with the problems I'd found.
First, I put plenty of grease on the rod end threads so they won't seize.

Then I fitted rod end covers to keep water and mud out of the pillow balls and to stop the grease nipples falling out.

However, with the covers on, the collars won't go in, so I trimmed them with scissors.

The covers only have a hole on one side, so I cut a generous hole in the other side.
Tightening with a torque wrench
I tightened everything to the specified torque with a torque wrench (check the values in the service manual).

First, clean whatever you can reach.

Fit the linkage arm to the frame.

Next, put the bolt through the joint between the linkage arm and the rear linkage (swingarm).

As on the frame side, tighten this nut properly with a torque wrench.

The rear linkage arm is back on.
It's greased, and it has rubber covers to keep the dirt out, so I'm happy.

Refit the wheel you took off at the start.

Tighten the wheel to the specified torque too, and the job is done!
Summary
- The linkage arm I had neglected for years had a loose lock nut, a missing grease nipple and seized pillow balls
- Once things seize you may need a vice to get them apart, so grease the linkage regularly before it starts creaking
- I fitted rod end covers to keep out water and mud and to stop the grease nipples falling out
When I rode the bike after greasing the linkage, the bumps went from a harsh "thud" to a soft "float". At the same time, a new issue showed up: the rear now feels floaty and doesn't settle quickly.
-

-
Honda XR250 BAJA Rear Linkage Greasing: Ride Test to the Ichitani Reconstruction Memorial
After greasing the rear linkage on my Honda XR250 BAJA, I rode to the Ichitani Reconstruction Memorial in Ishikawa. The harsh thud became a soft float, but a new floaty-rear issue appeared. Plus the story of a 1965 landslide.