Hello everyone, Boo here.
Today's post is about changing the oil on my BAJA.
To be honest, I'd been putting off the BAJA's oil change because it hadn't done many miles.
I change the oil on my bikes every 3,000 km, but last year I hardly rode, so the bike went through the winter without an oil change.
I decided that wasn't good for the engine, so I finally changed it.
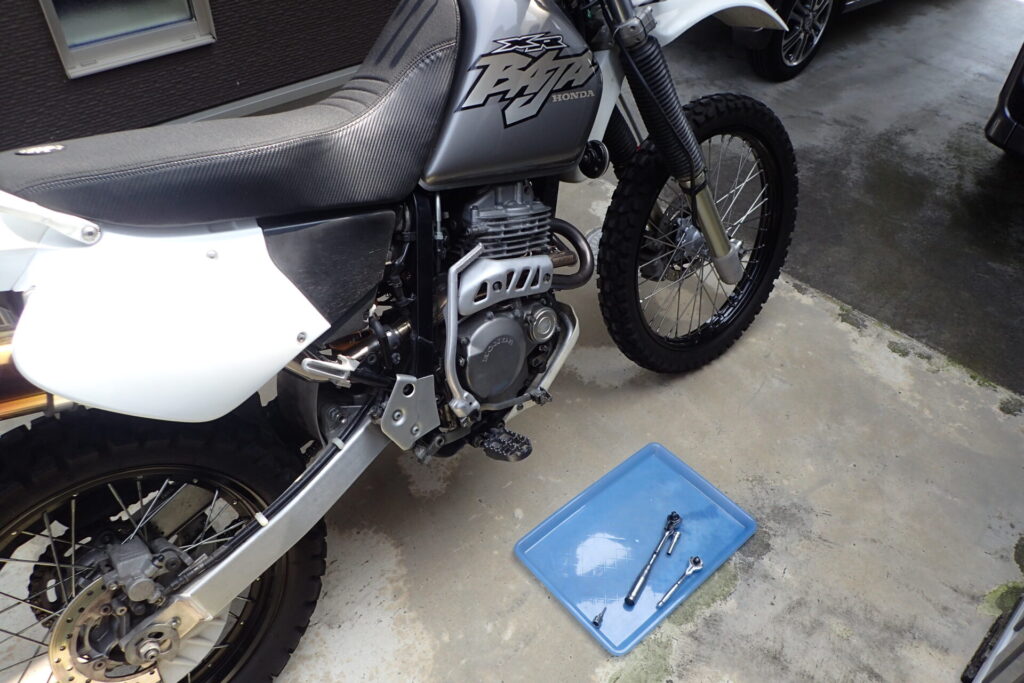
The XR series has a dry sump, so there are two oil drain bolts: one on the frame and one on the crankcase.
I want to remove the drain bolt on the bottom of the crankcase first, but before that I have to take off the skid plate.
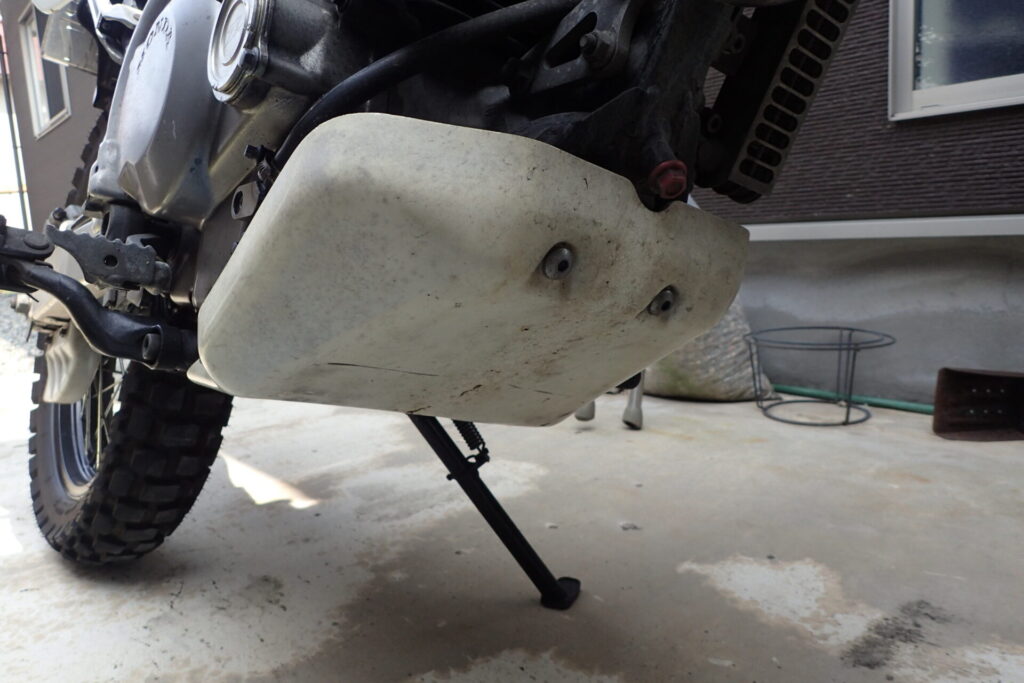
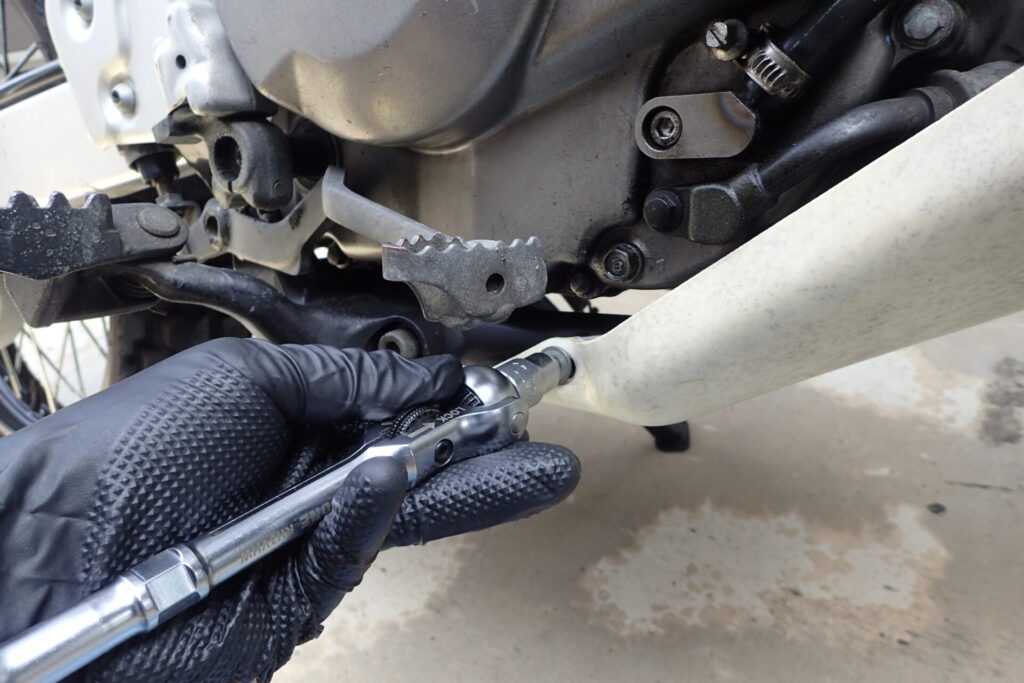
First remove the bolts on the left and right. This is the right side.
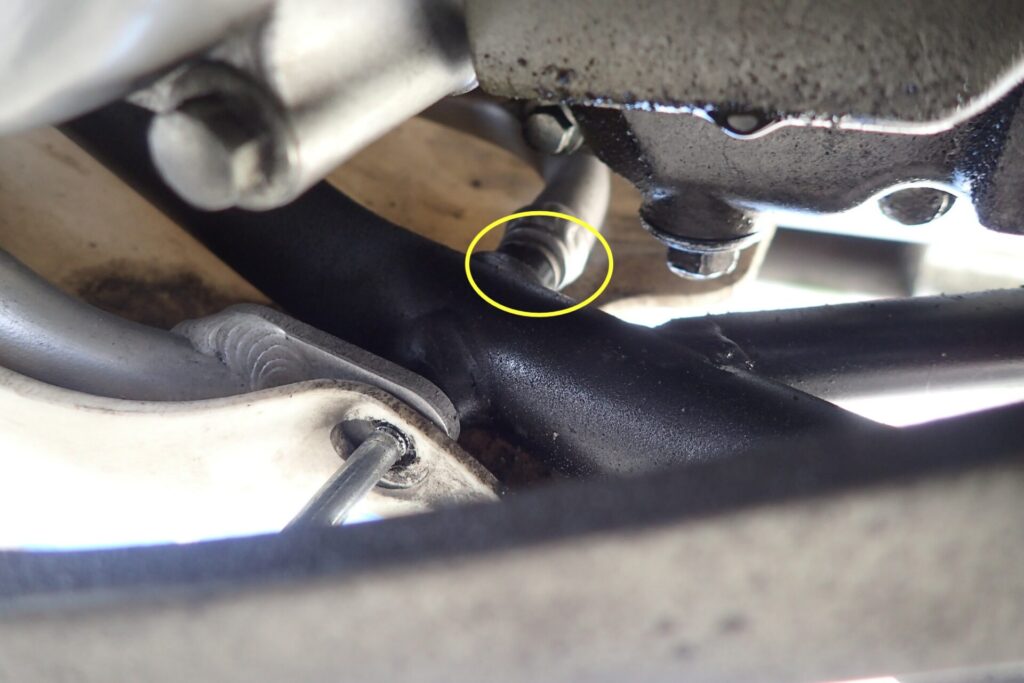
Next, remove the bolt on the left side.
Be careful here not to lose the washer between the pipe guard and the frame (yellow circle in the photo).
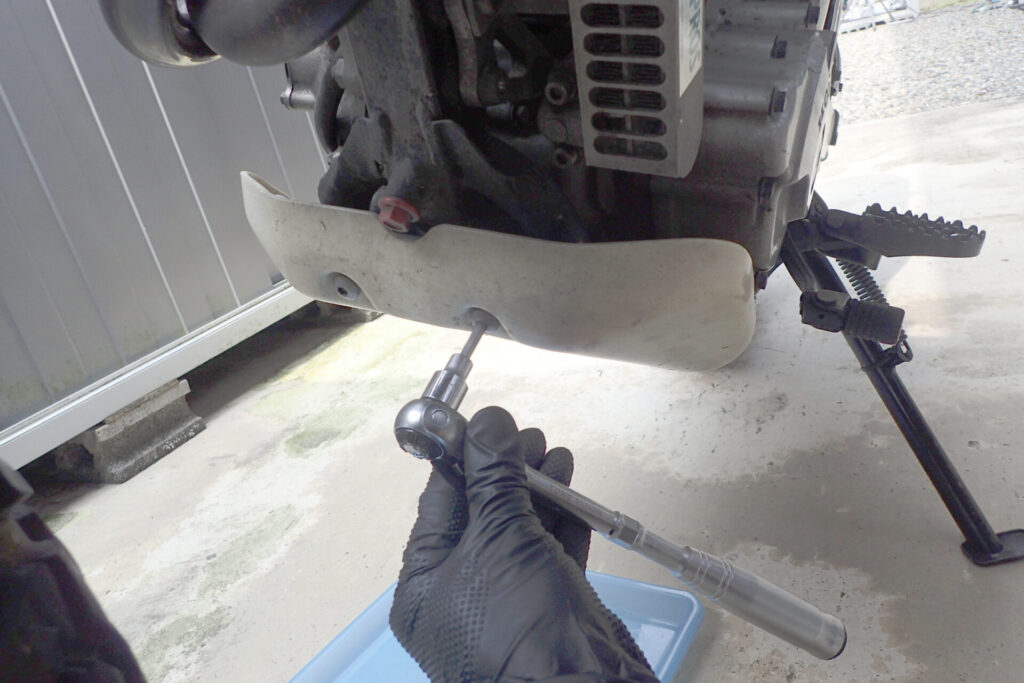
Next, remove the two bolts at the front.
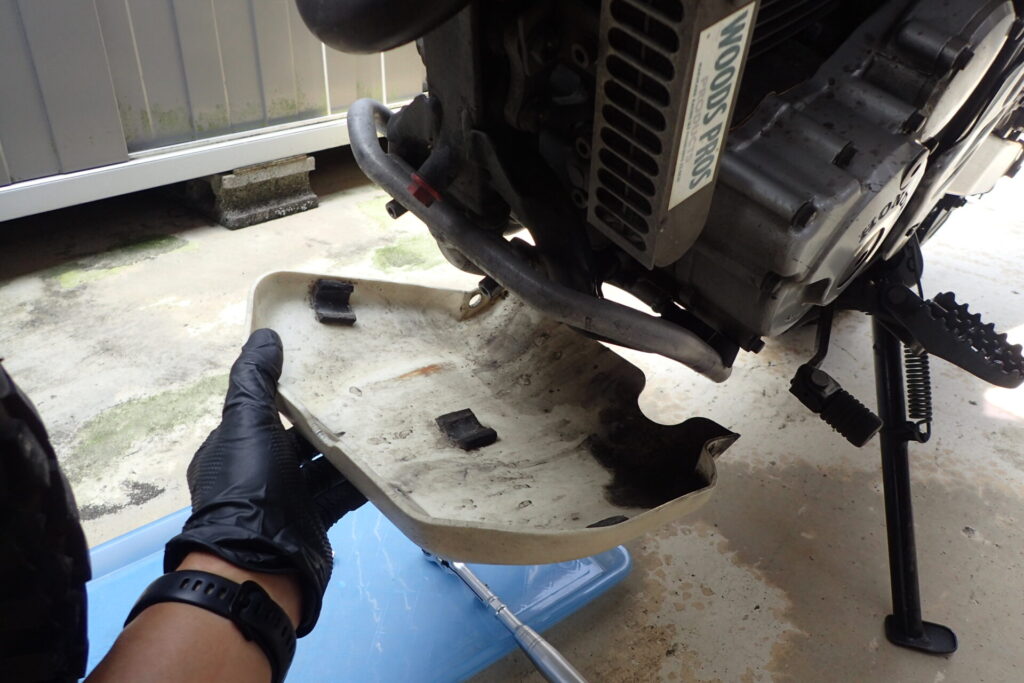
The skid plate is off.
With the skid plate off, remove the drain bolt.
Not just for drain bolts, I always use a ratchet tool when tightening or undoing bolts.
And before loosening a bolt, I always check that the ratchet is set to the loosening direction before putting the socket on the bolt.
Why? Because the drain bolt is on the underside of the crankcase, it's easy to get the loosening direction wrong.
The same goes for bolts that are at an angle to you or tucked away out of sight.
If you were to strip the crankcase drain bolt, think of the cost and effort afterwards: it's worth working carefully.
Now, loosen the crankcase drain bolt.
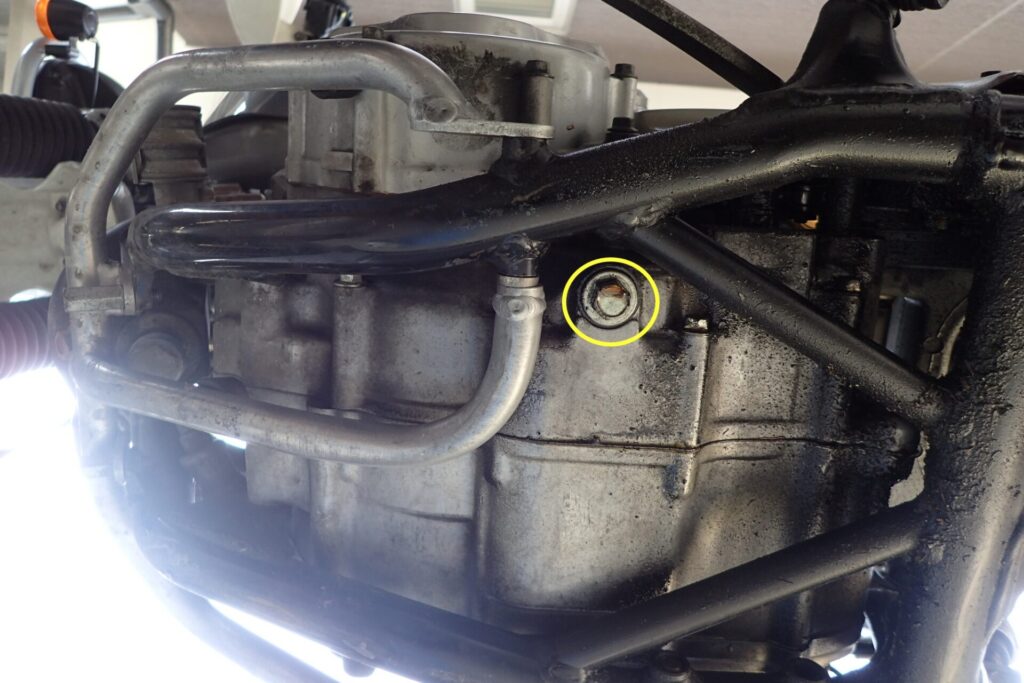
I took this with the camera pointing up from directly under the bike. The yellow circle is the oil drain bolt.
Not a view you see very often.
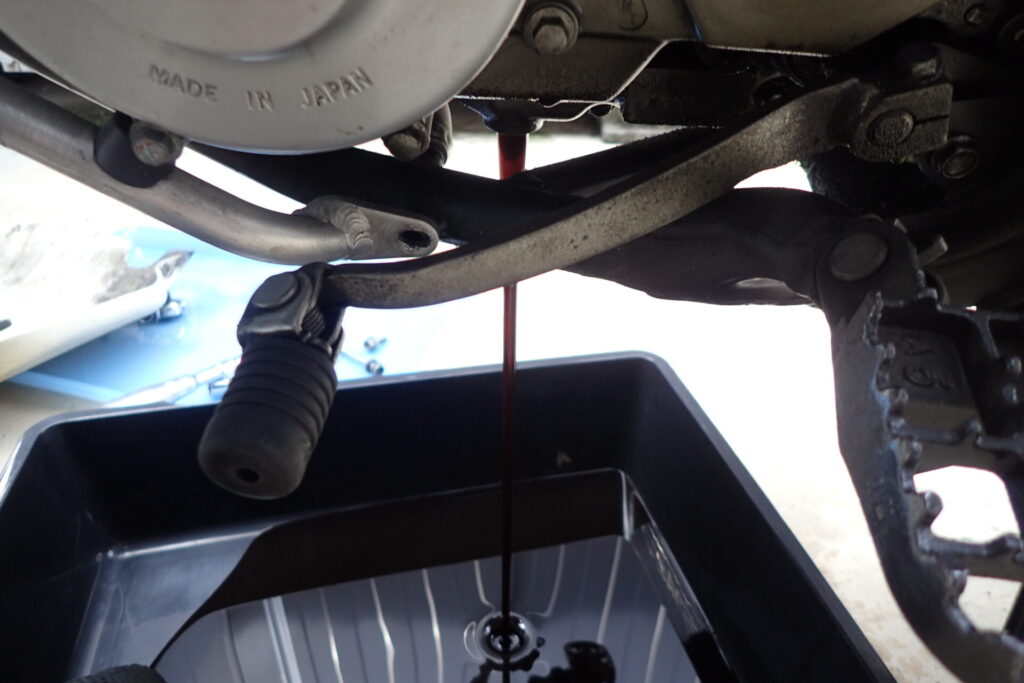
When you remove the drain bolt, the oil comes out, so unless you take the bolt out carefully, your hand ends up covered in oil.
The oil that came out was dark but still fairly clear, and I thought maybe it didn't need changing yet.
(After the oil change, a test ride proved that thought completely wrong.)
Next, remove the drain bolt on the frame.
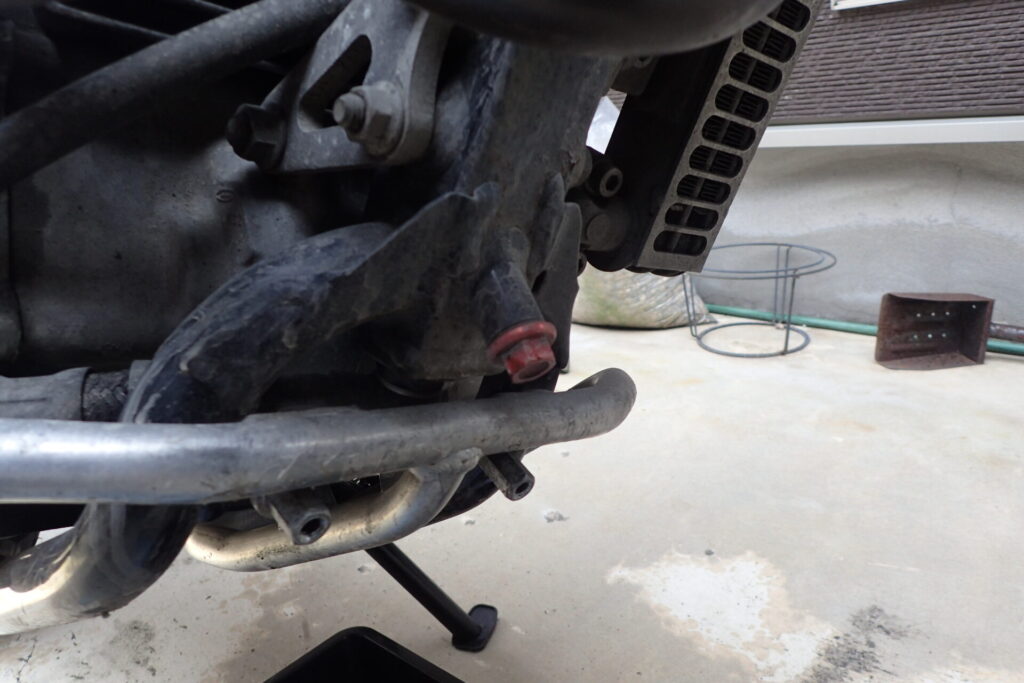
If oil gushes out of the frame drain, it gets on the front tyre, so I hold something against the outlet first to deflect the oil.
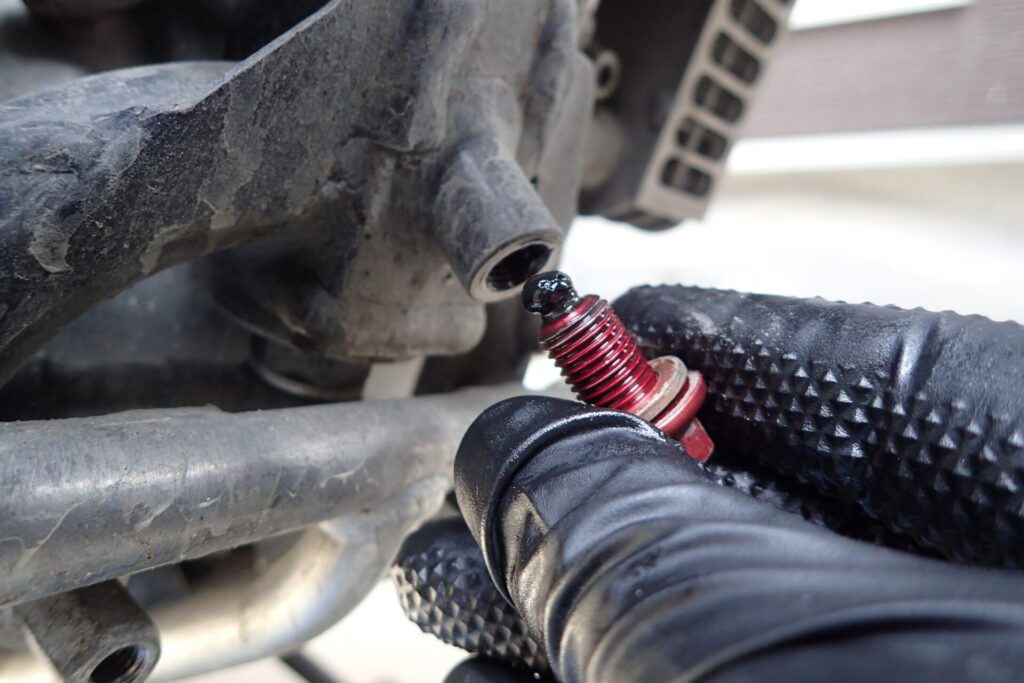
Perhaps because I hadn't started the engine for about a week, no oil came out of the frame drain. I think all the oil in the frame had already drained down into the crankcase.
I use a magnetic drain bolt, and the magnet was covered in iron particles.
While the oil drains, I get the new oil and the drain bolt gaskets ready.
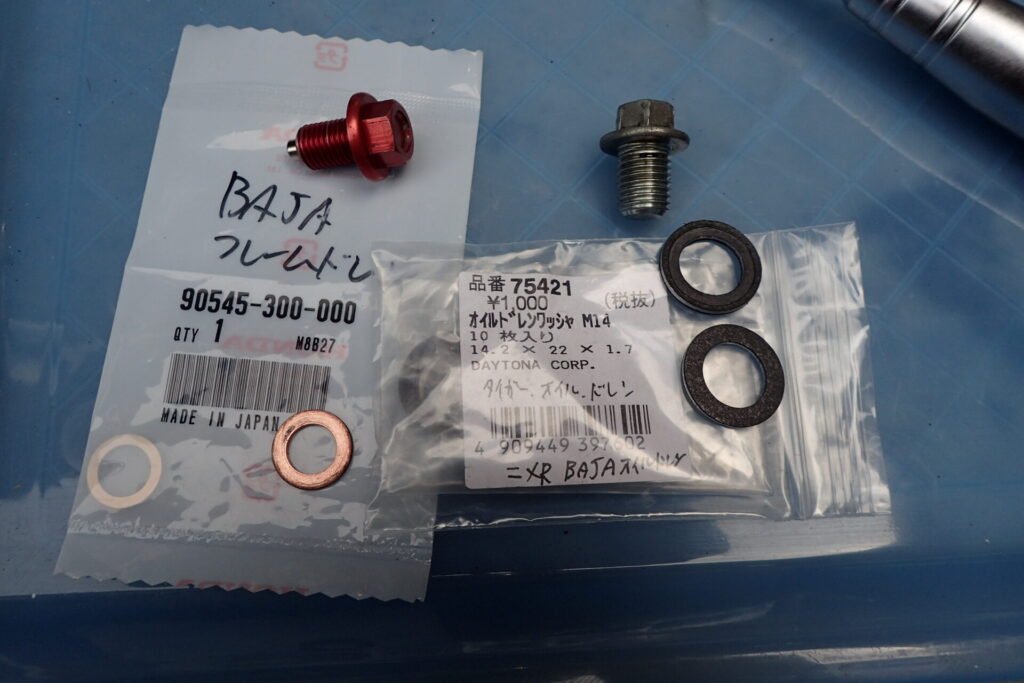
I used gaskets I had prepared in advance (for another bike, but the right size). If you're unsure, I recommend genuine parts.
The oil I prepared is ASH PSE 15W-50.
With the oil drained, I tighten the drain bolts to the specified torque and fill with oil.
According to the service manual, the tightening torque for the crankcase oil drain bolt is 2.5 kgf·m (about 25 Nm), and for the down tube oil drain bolt it is 4.0 kgf·m (about 39 Nm).
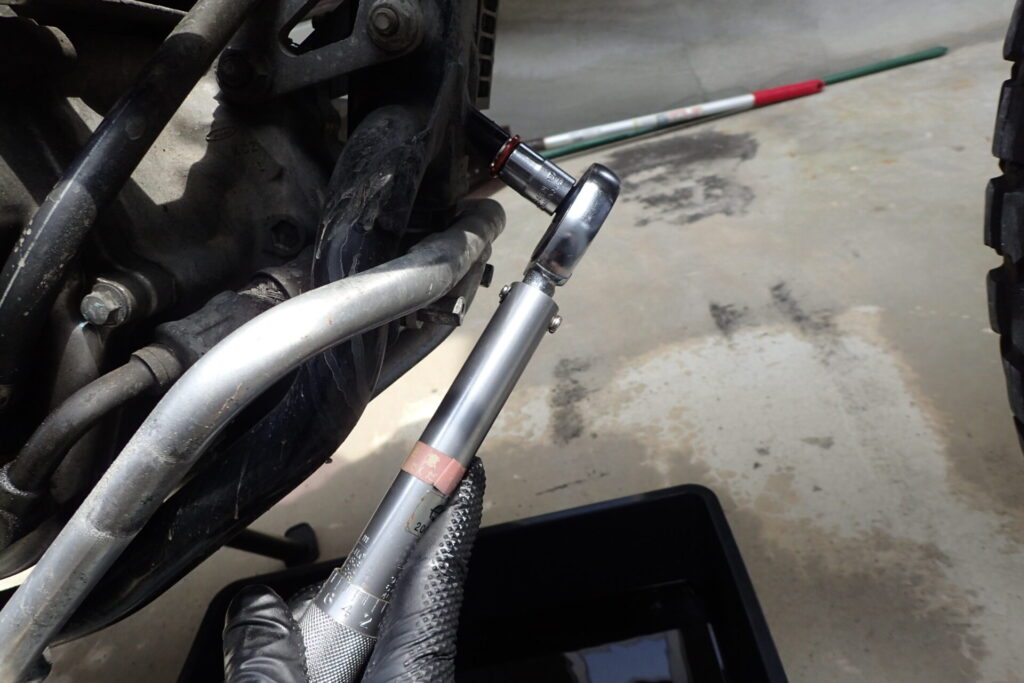
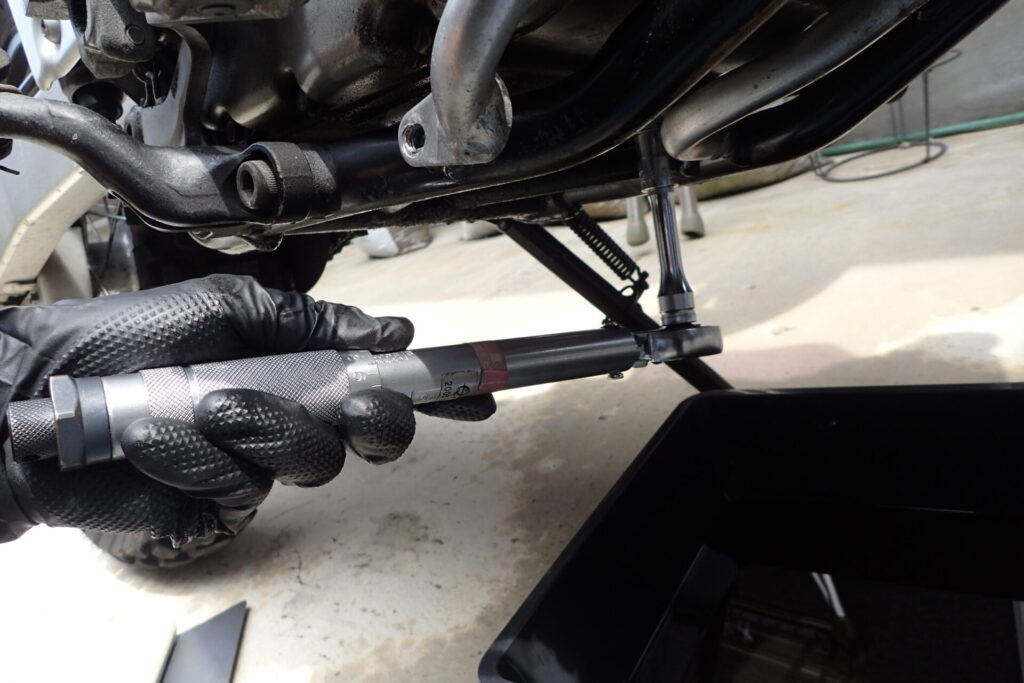
It's a cheap one, but I use a torque wrench.
On the XR, oil goes in through the frame, but if you pour it all in at once it overflows.
So I stop after pouring in 1 litre.
Then I put the oil cap on and start the engine.
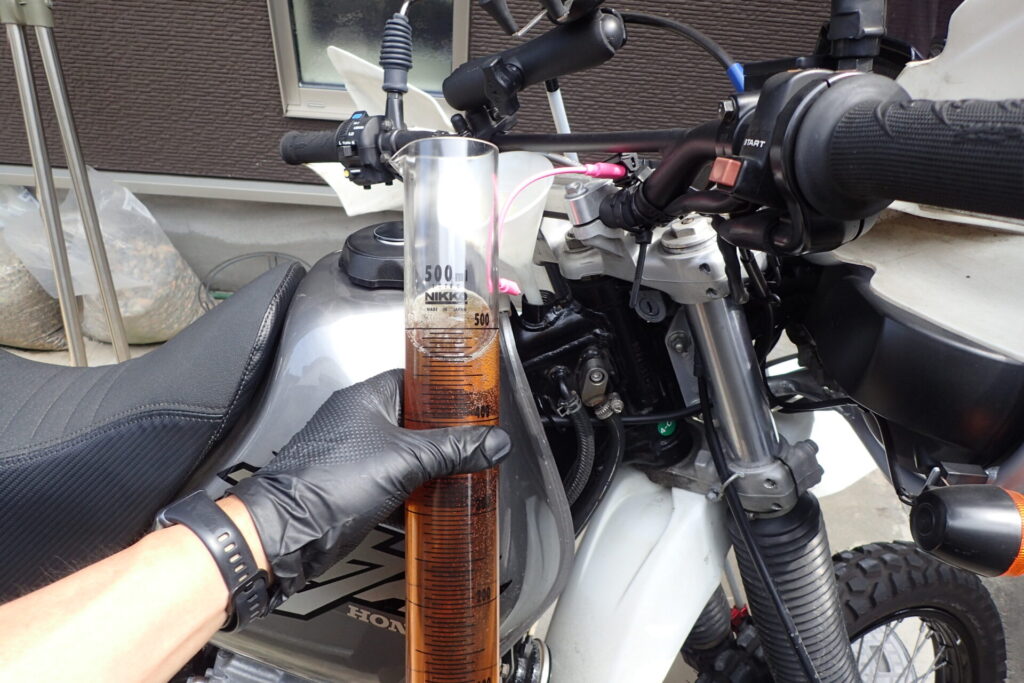
After running the engine for 1 to 2 minutes, I stop it and add the rest of the oil.
I didn't change the filter this time, so the oil quantity is 1.3 litres.
However, this BAJA has an oil cooler fitted, so it needs 100 cc (0.1 litre) more than the specified amount.
So I put in 1.4 litres.
* There seem to be various ways to fill the oil. The service manual doesn't say to start the engine part-way through filling.
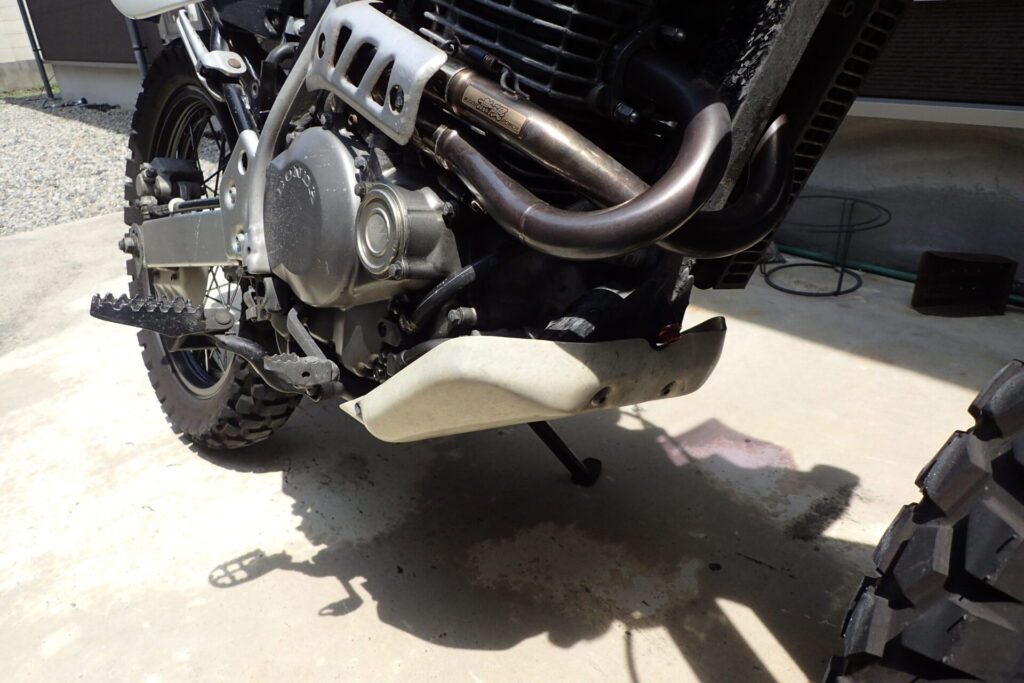
Once the oil is in, refit the skid plate and the oil change is done!
I took it for a test ride after the oil change, and I could clearly tell the oil had been changed!
- Gear changes were smoother
- The engine revved more smoothly (or so it felt)
Until now I've decided oil changes by mileage, but from now on I'll change the oil when any of the following applies.
* This is just my personal approach.
- Every 3,000 km
- If the oil temperature often goes over 110°C, or goes over 120°C
- After the winter
Still, the BAJA is getting rust in various places and some oil seepage.
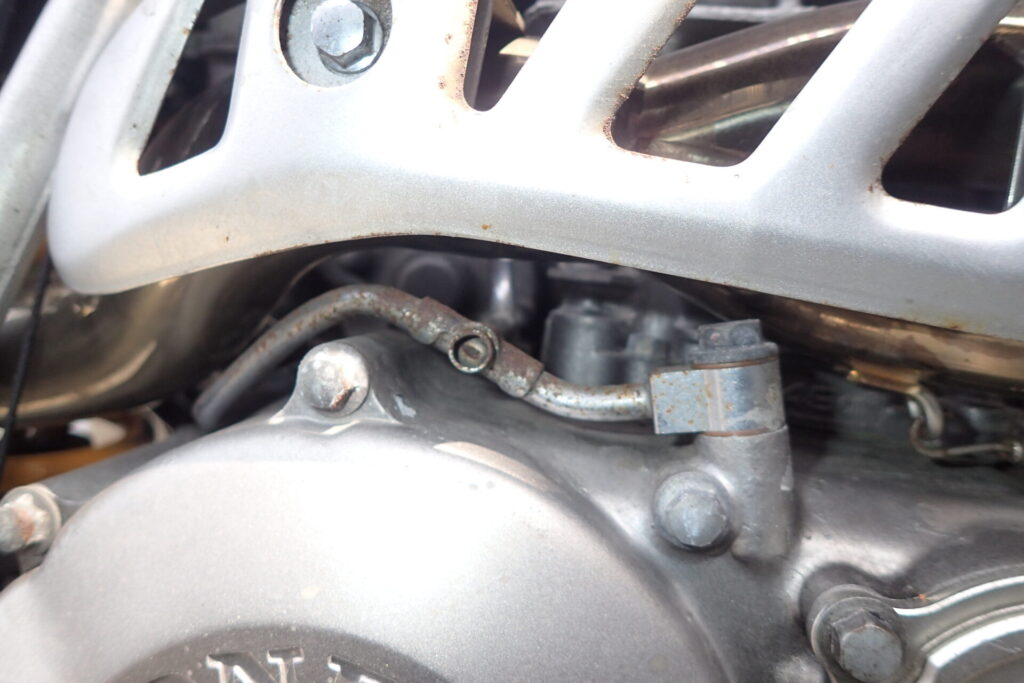
It makes me want to restore it.