Hello everyone!
In my previous post, I delivered a detailed 1,000 km riding review covering the rock-solid stability provided by the X-ADV's low center of gravity and dual handbrakes.
(If you haven't checked out that ground reach review yet, feel free to dive in!)
While the Honda X-ADV is an exceptionally polished machine boasting phenomenal overall performance, logging 1,000 km across diverse road surfaces revealed a single, nagging riding complaint: a harsh rear suspension spike that hits the lower back directly over specific road bumps.
In this post, drawing from my experience riding numerous dual-sports and heavy adventure bikes, I'll break down this real-world rear suspension feedback. If you are struggling with ride quality or harsh suspension compliance on your machine, let's get into it!
[The Single Flaw] Direct Lower Back Impacts: Analyzing the X-ADV's Rear Suspension Harshness
While overall satisfaction with the X-ADV's handling and powertrain remains sky-high, traversing specific road seams and bumps in urban environments highlighted a clear chassis limitation. While I'm still analyzing the exact bump profiles that trigger it, it isn't every road imperfection—just specific, sharp joints.
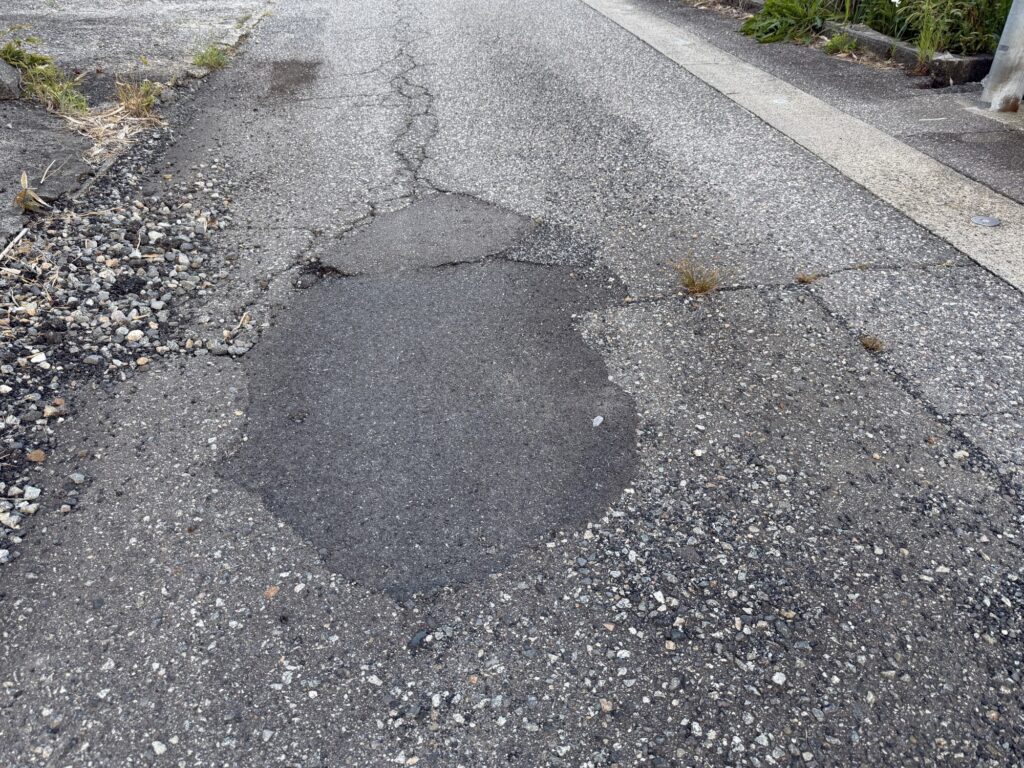
The moment the rear wheel hits one of these sharp joints, a harsh "THUD!" transfers through the rear tire and delivers a sharp spike directly into the rider's lower back.
Insights from an Off-Road & Big-Wheel Adventure Veteran
Over the years, I have logged heavy miles on big-wheel off-road machines like the TT250R, DT200WR, and XR BAJA, as well as adventure touring bikes like the TDM900, Tiger Explorer 1200, BMW G650GS, and Transalp.
- Big-Wheel Machines (21-inch Front / 17–18-inch Rear): The large overall outer tire diameter allows the wheel to roll over road imperfections at a gentle attack angle, absorbing bumps smoothly.
- X-ADV (17-inch Front / 15-inch Rear): Due to its adventure maxi-scooter packaging, the rear wheel is scaled down to a 15-inch diameter. This smaller radius creates a steeper attack angle against road steps, making it physically more prone to sharp impact shocks.
While dressed in adventure styling, the X-ADV's factory suspension valving is tuned firm for high-speed tarmac stability. For a rider accustomed to the supple compliance of large spoked wheels, the combination of a small 15-inch rear wheel and firm damping creates a harsh shock to the lower back that becomes a major source of fatigue on long tours.
[High-End Upgrades] The Temptation of Technix TASC & Nitron Shocks
To eliminate this rear harshness at its root, high-end suspension upgrades naturally cross any mechanic's mind:
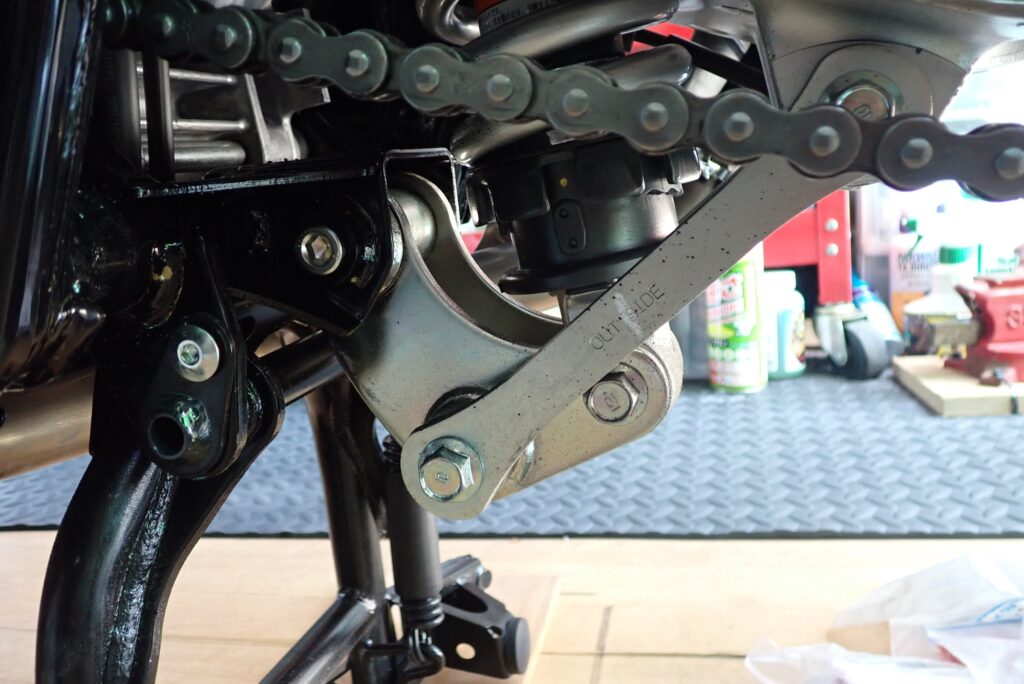
- Option 1: Technix TASC Front Fork TuningA professional shop overhaul that optimizes fork stroke travel and damping characteristics to dramatically improve front-end pitching and initial stroke compliance.
- Option 2: Premium Rear Shock Upgrade (Nitron, Öhlins, etc.)Installing a top-tier rear shock absorber to unlock supple initial stroke movement and maximum tire tracking.
While dropping $1,000 to $2,000 on high-end suspension components would undoubtedly transform the ride quality, I paused to ask a fundamental garage mechanic question: "Before spending big money on aftermarket parts, can I unlock 100% of the factory suspension's potential through proper baseline maintenance?"
[The DIY Plan] Unlocking Factory Compliance: Pro-Link Rear Linkage Lubricating
Before reaching for my credit card, my focus turned to the initial breakaway friction (stiction) in the Pro-Link progressive linkage assembly positioned at the base of the rear shock.
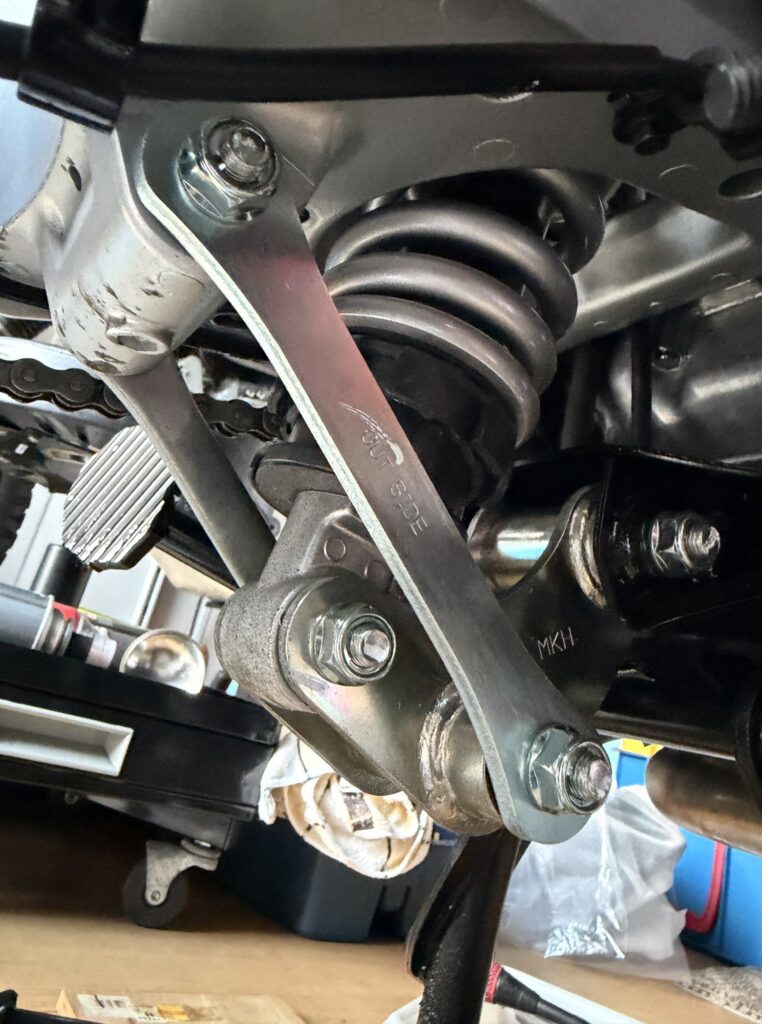
In factory production environments, brand-new motorcycles are often assembled with minimal grease inside linkage needle bearings, bushings, and collars—frequently applying just enough for basic rust prevention during transit.
When grease is sparse, initial sliding friction creates stiction in the linkage pivot points. This makes the first few millimeters of suspension movement stiff and notch-like, directly causing a harsh initial impact feel (lower back spikes) over small road ripples.
3 Expected Benefits of Linkage Lubricating
- Supple Initial Breakaway: Eliminating linkage friction allows the rear shock to stroke smoothly and instantly over microscopic road ripples.
- Enhanced Ride Comfort: Transforms harsh, sharp impacts ("THUD!") over expansion joints into gentle, rounded inputs ("thump").
- Extended Component Lifespan: Shields needle bearings against moisture and road grit, preventing rust, scoring, and premature seizure.
Instead of buying expensive aftermarket shocks, I decided to execute a zero-cost DIY rear link lubricating overhaul in my garage—pulling every linkage bolt and packing the needle bearings with high-performance waterproof grease!
Essential Garage Tools & Chemicals for Chassis Maintenance
To execute suspension disassembly and lubricating safely and reliably, here are essential workshop supplies to keep on hand:
- WAKO'S Urea Grease (High-Pressure / Waterproof)A top-tier urea-based (or organic molybdenum) extreme-pressure grease engineered for heavy-load pivot points like suspension linkages. It resists water washout and maintains ultra-smooth sliding action over long service intervals.
- Calibrated Torque WrenchSuspension and running gear linkage bolts are critical safety components. Always use a torque wrench to tighten fasteners strictly to factory torque specifications ($N \cdot m$) rather than relying on guesswork.
- AZ Heavy-Duty Brake & Parts Cleaner (840 ml)Essential for flushing out old factory grease film and residual assembly debris, ensuring fresh grease adheres perfectly to needle bearings and collars.
Conclusion: Unlock Your Factory Suspension Potential with DIY Care
That wraps up my breakdown of the X-ADV's rear suspension harshness and the blueprint for my DIY Pro-Link lubricating project.
- Packaging Limitations: The 15-inch rear wheel combined with firm factory damping creates harsh initial compliance over sharp road steps.
- Zero-Cost Fix: Before investing in high-end aftermarket shocks, optimizing factory linkage stiction is a crucial first step.
- Proper Lubricating: Packing needle bearings with premium grease restores initial stroke compliance and extends component life.
Rolling up your sleeves in the garage to diagnose and eliminate a chassis weakness is the absolute best part of motorcycle ownership.
Stay tuned for my upcoming hands-on guide: [Hands-On Workshop] X-ADV Rear Link Disassembly & Lubricating: Did Ride Comfort Improve?, featuring full garage photos, factory grease inspection, and post-service test ride feedback!
Ride safe, and enjoy the ultimate motorcycle life!