Hello everyone, Boo here.
The Honda XR250 BAJA (the Japan-market XR250 / MD30) and the XR250 are tough bikes, and they seem to keep running reasonably well even without much maintenance.
But the last XR250 models were made in 2007. Even the newest one is now nearly 20 years old.
My BAJA is a 2000 model, so it was 24 years since it was first registered when I wrote this, and more and more parts are being discontinued.
If you don't keep up with regular maintenance, one day it may simply stop running, and if the parts you need are discontinued, you may have no choice but to scrap it.
Adjusting the tappet clearance can make the engine run better
Prevention is better than cure, so today's topic is adjusting the tappet (valve) clearance. This first part covers the preparation: getting the bike upright and removing the seat and fuel tank. The tappet adjustment is the same job on the standard XR250 (MD30), but the BAJA has a bigger tank, so the tank removal may differ slightly on other models.
It needs quite a few tools, so it's not the easiest job, but I recommend it because the engine seems to rev more smoothly after adjustment (that's how it feels to me).
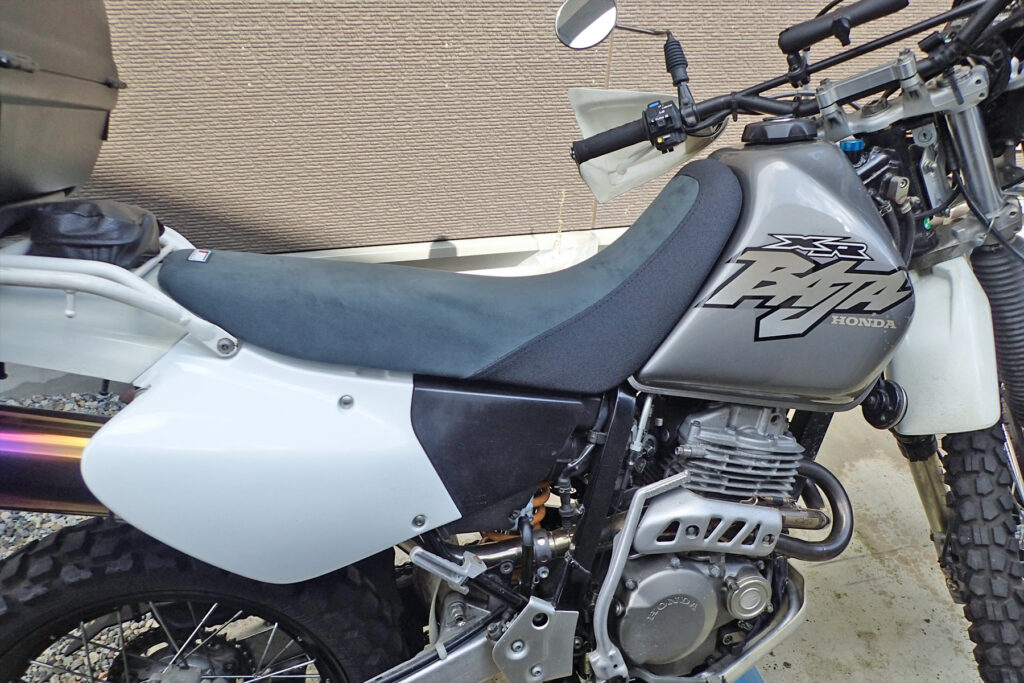
Let's get started.
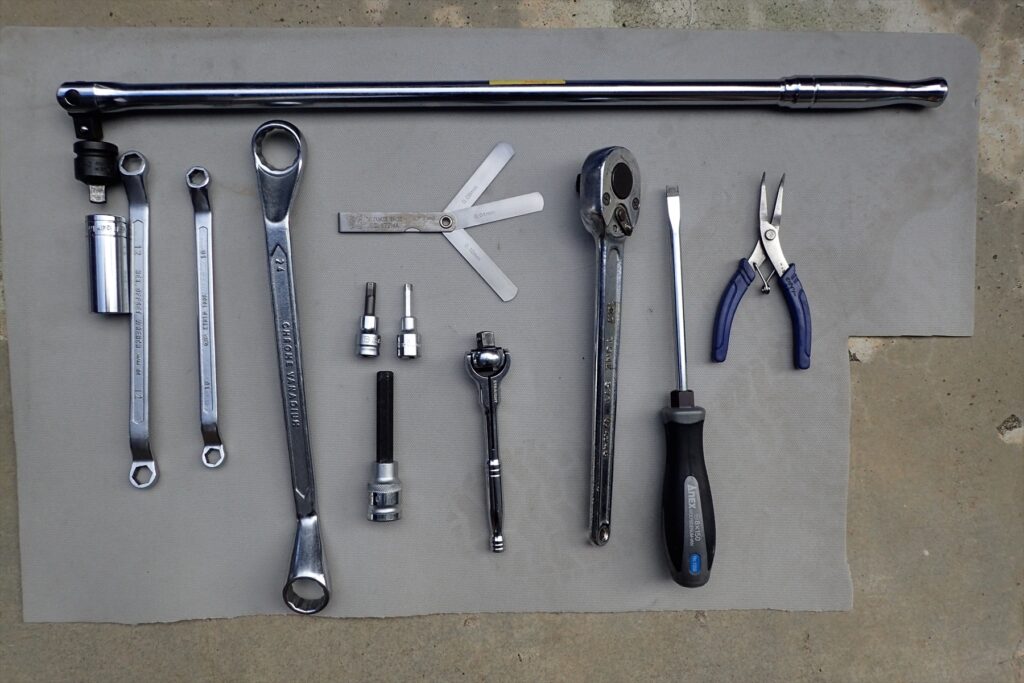
Before that, here are the tools I used for the tappet clearance adjustment.
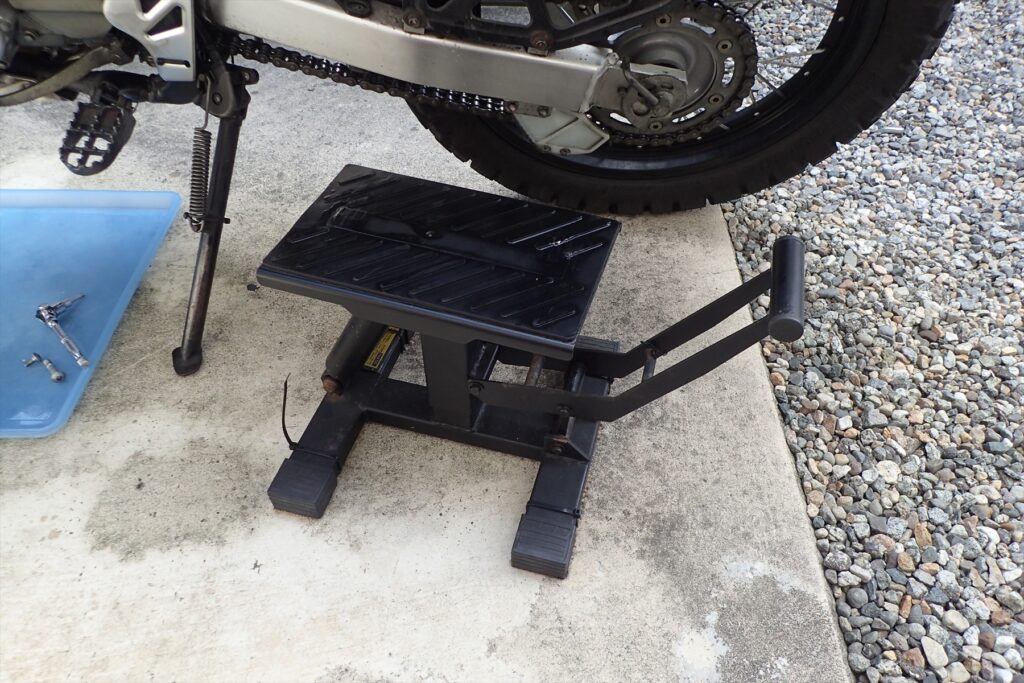
It's a nice-to-have rather than essential, but a stand to keep the bike upright helps.
Here I'm using a DRC stand.
I used to use a cheap stand without a damper.
But with a stand that has no damper, the bike drops down with a loud clang when you lower it.
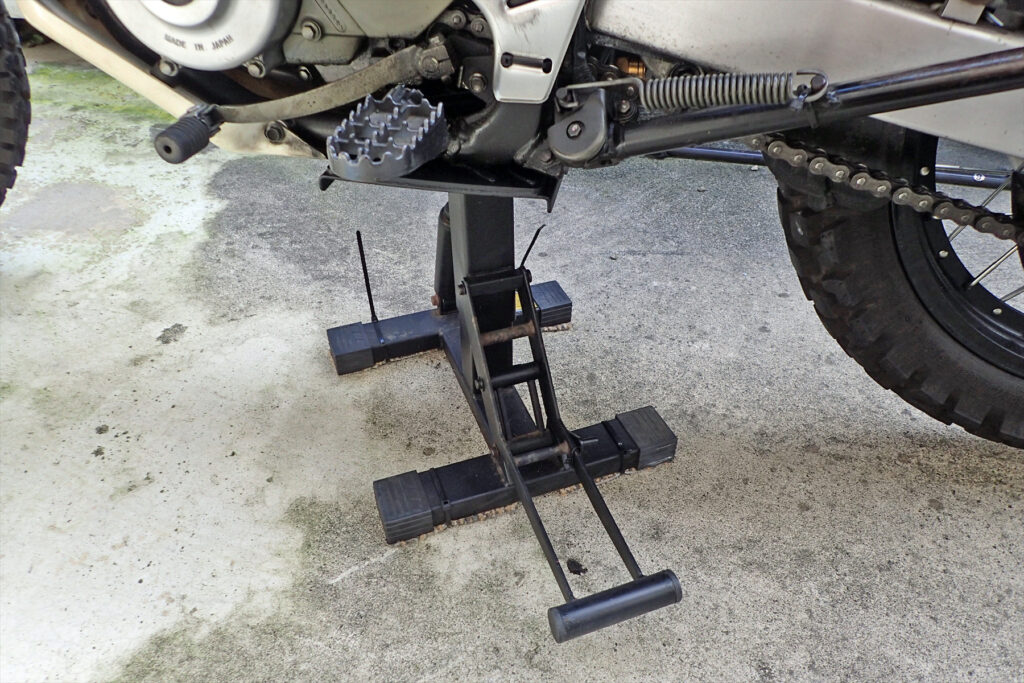
The bike standing upright on the stand.
Removing the seat
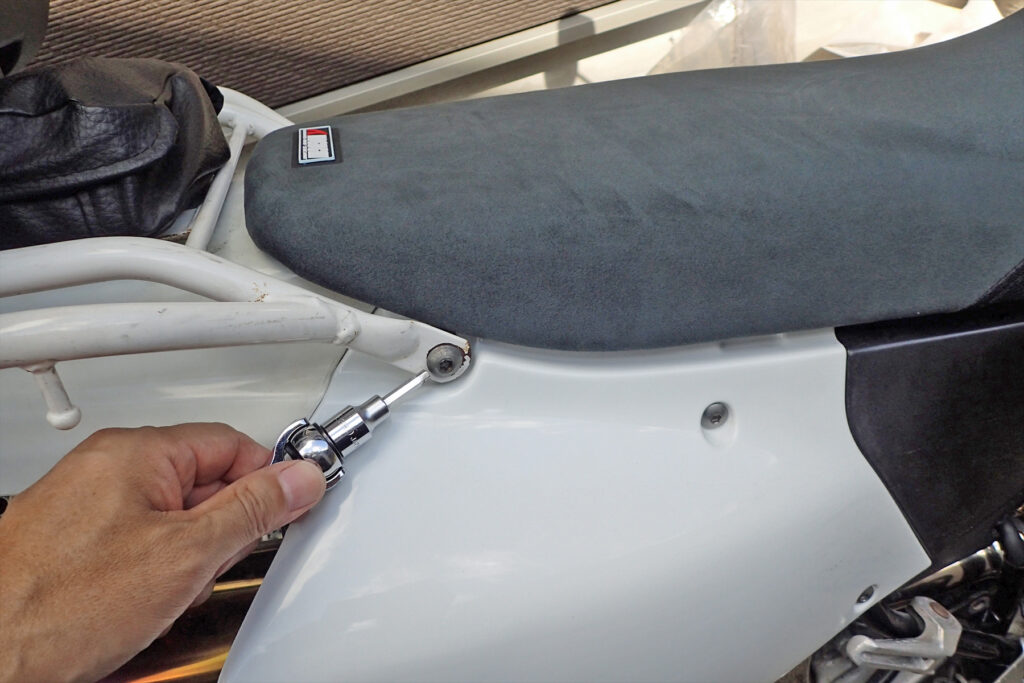
The tappet adjustment is easier with the fuel tank off, so to get the tank off, I removed the seat first.
To remove the seat, you need to take out the bolts the tool is pointing to in the photo above, on both the left and right sides.
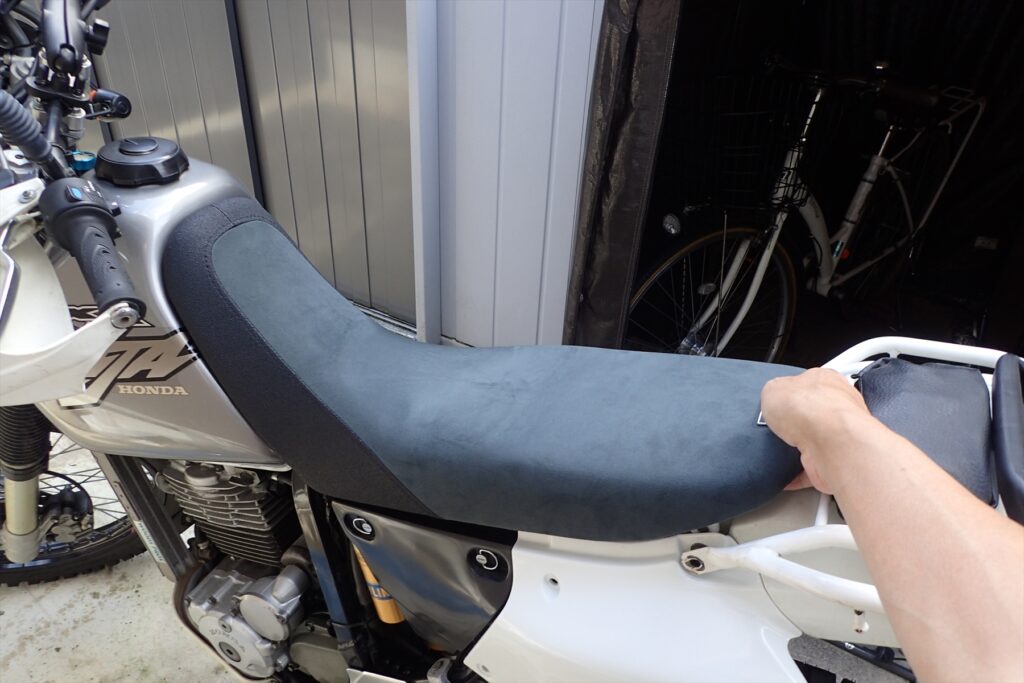
With the bolts out, pull the seat backwards to remove it.
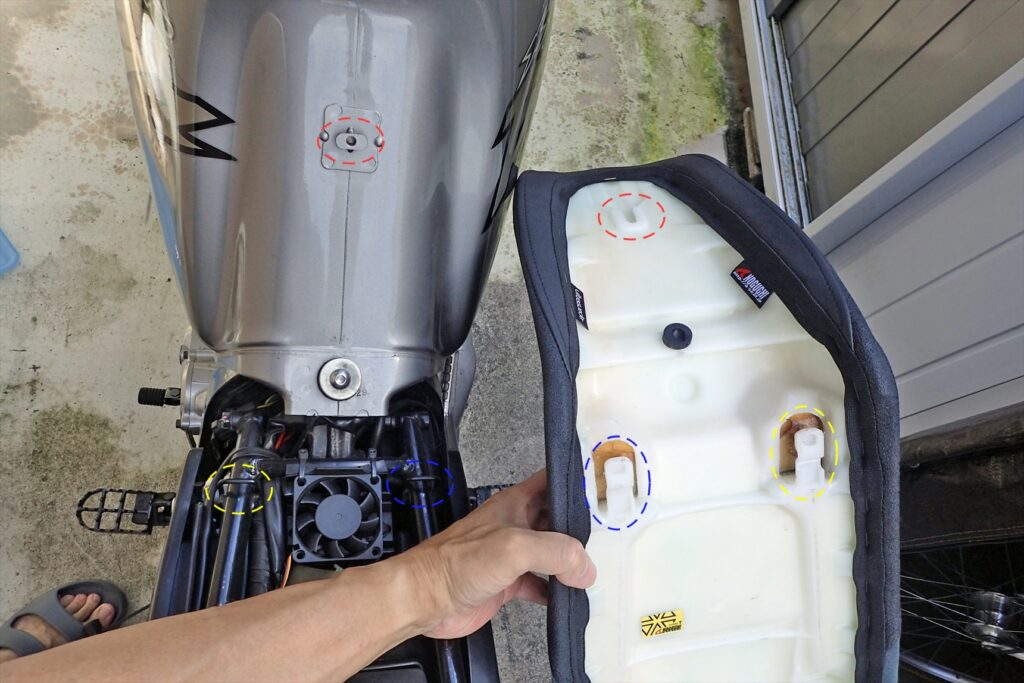
The seat hooks on in three places: one at the tank (red dotted circle) and two on the subframe (blue and yellow dotted circles).
So keep these mounting points in mind when you remove the seat.
As an aside, I've fitted a desktop PC cooling fan to the regulator (between the blue and yellow dotted circles).
The regulator once failed about 40 km from home and the bike stopped running, so I fitted the fan to keep the regulator a little cooler.
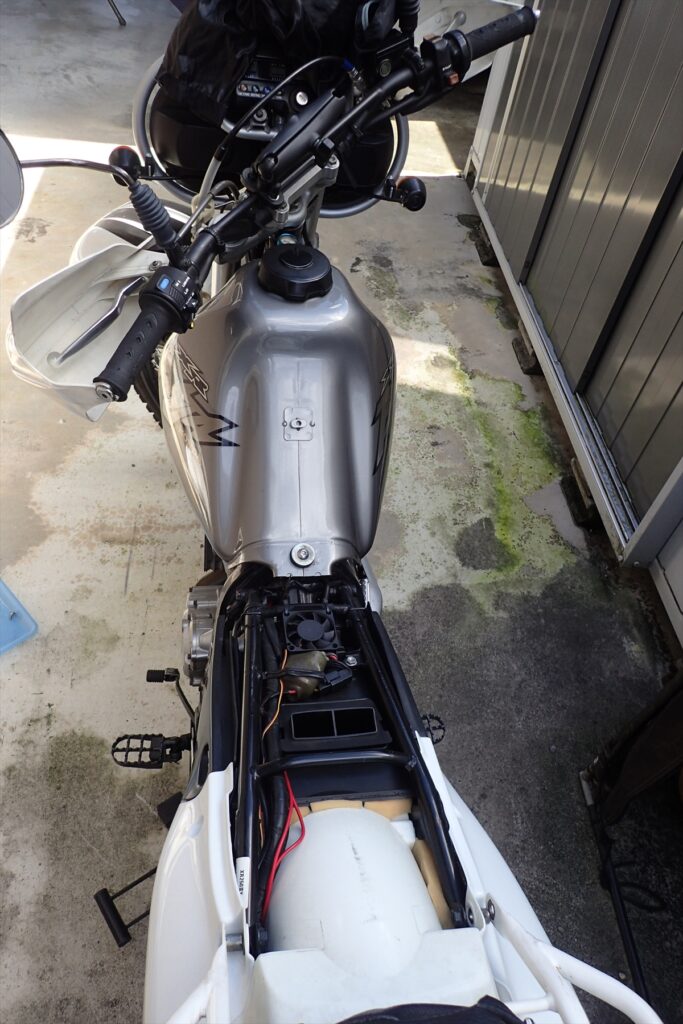
And the seat is off.
Off-road bikes really are slim, and I think they're designed with maintenance in mind.
Removing the fuel tank
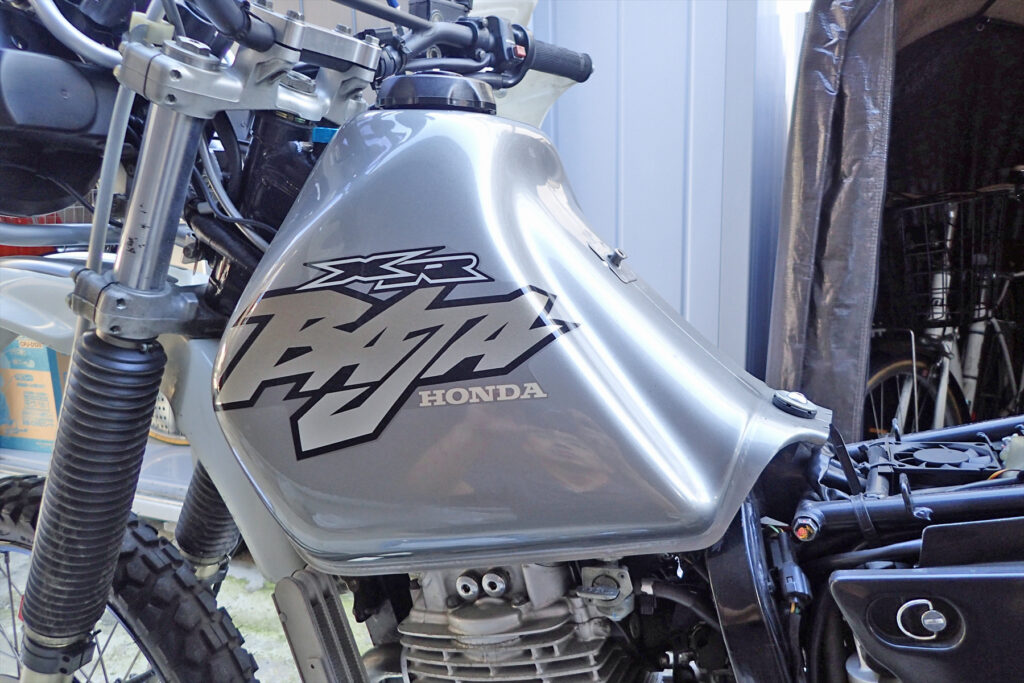
With the seat off, the next step is to remove the fuel tank.
The tank has petrol (gas) in it, and dropping it or denting it would be a disaster, so work carefully.
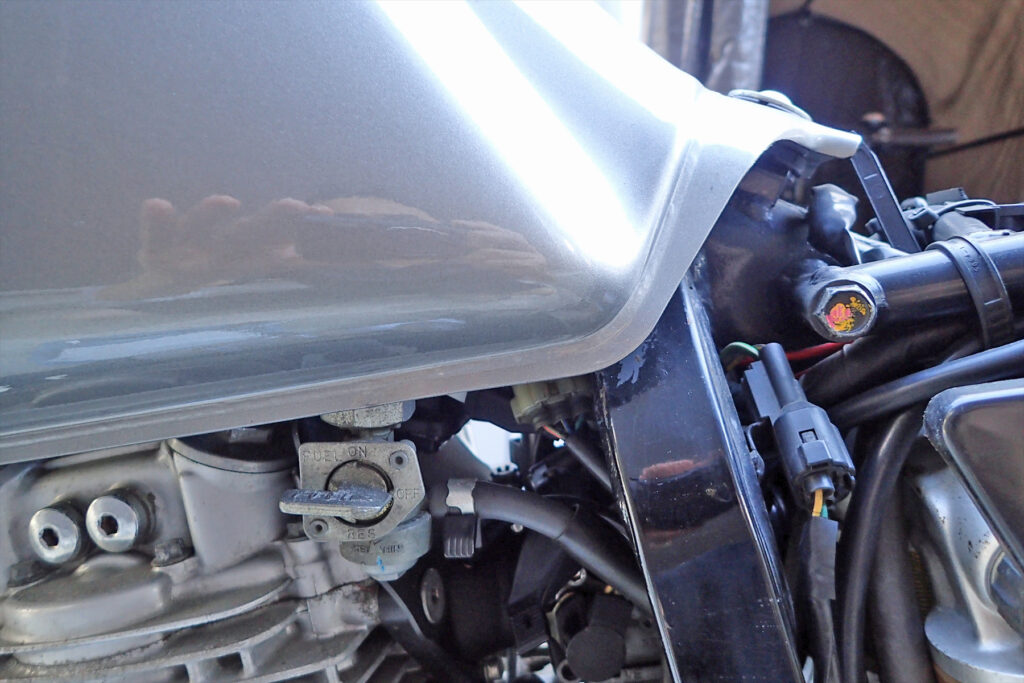
First, turn the fuel tap to OFF.
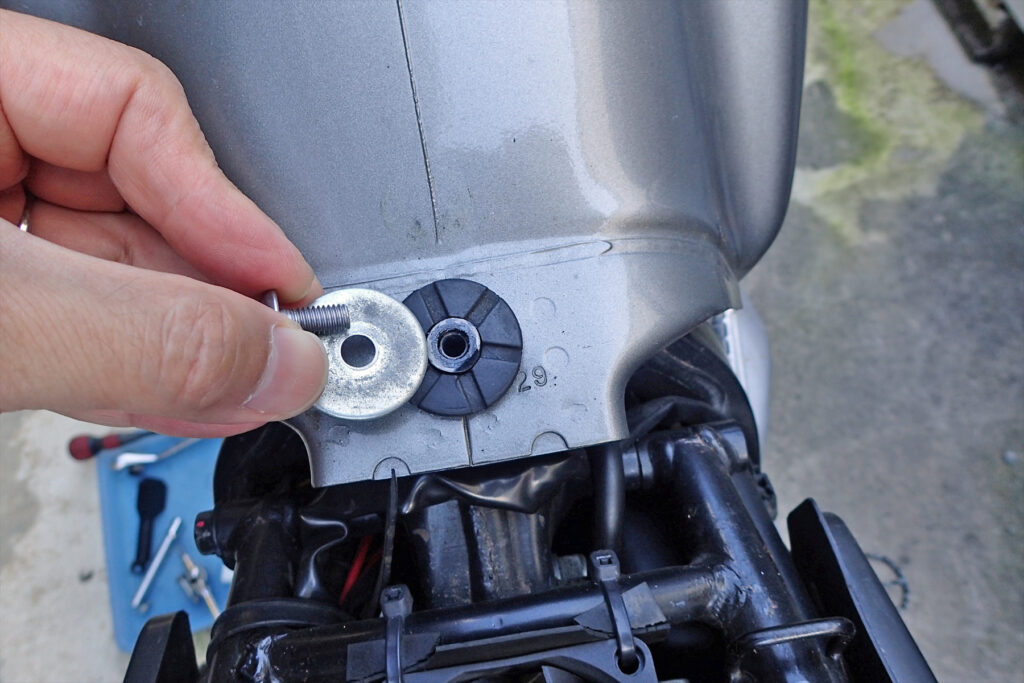
Remove the bolt holding the tank.
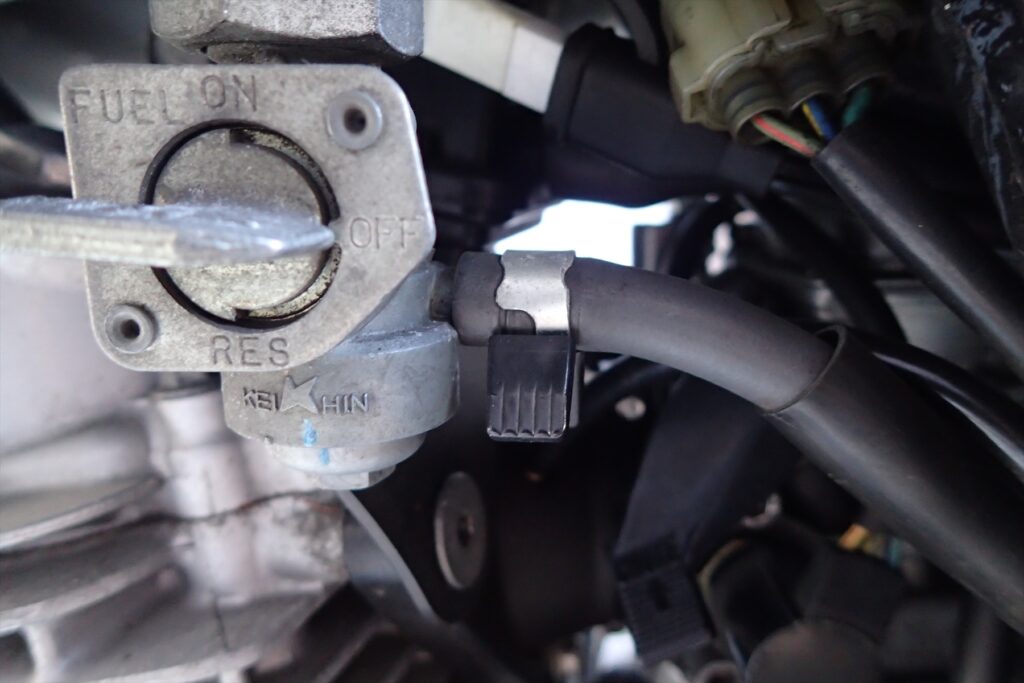
Remove the clip on the fuel hose.
The clip in the photo is a Kijima hose Power Band.
I swapped the original clip for this one because it's easier to remove.
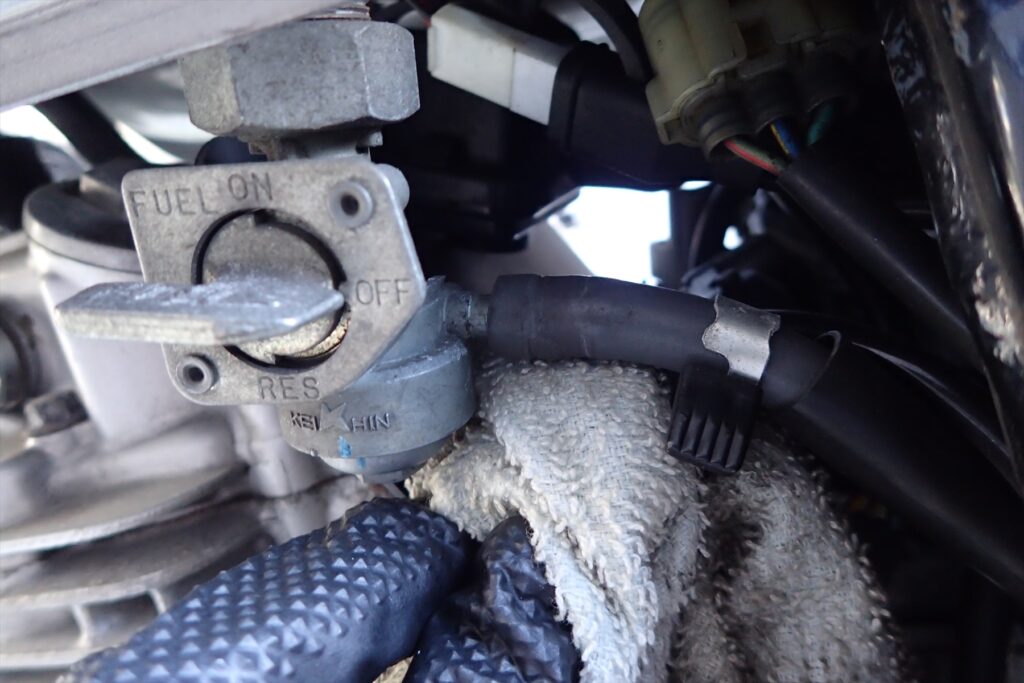
Squeeze the clip and slide it away from the end of the hose.
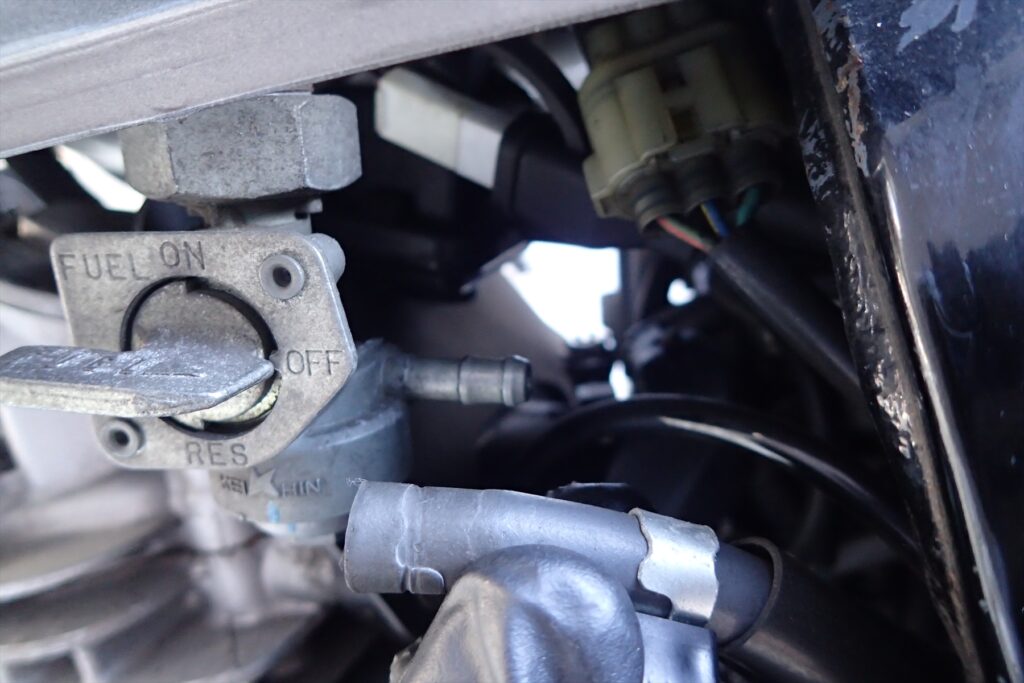
Pull the hose off the fuel tap.
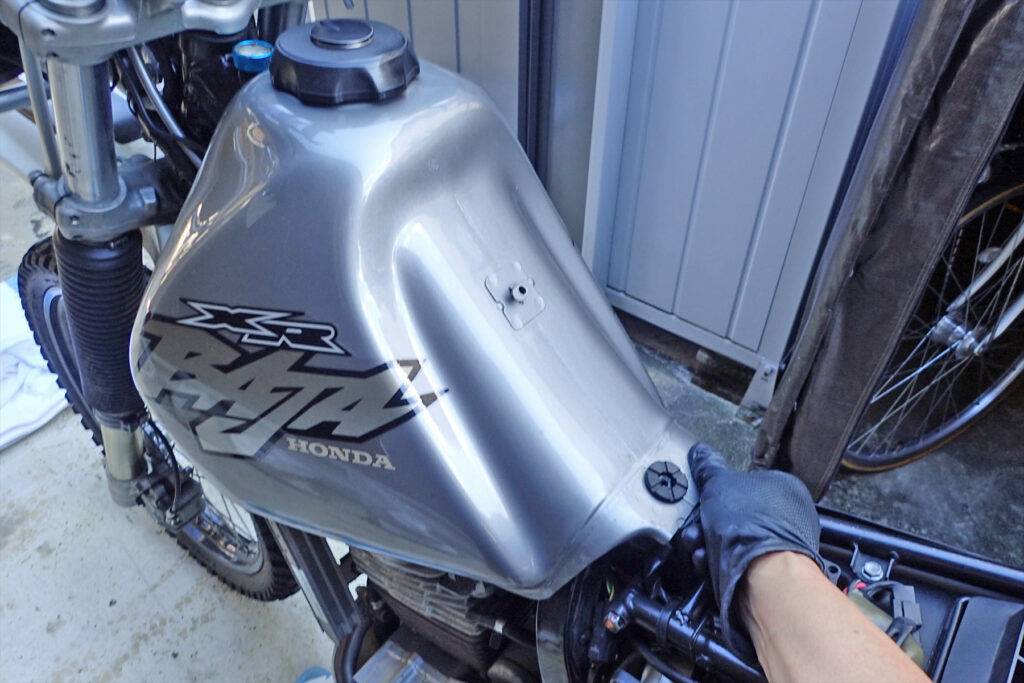
Lift the rear of the tank.
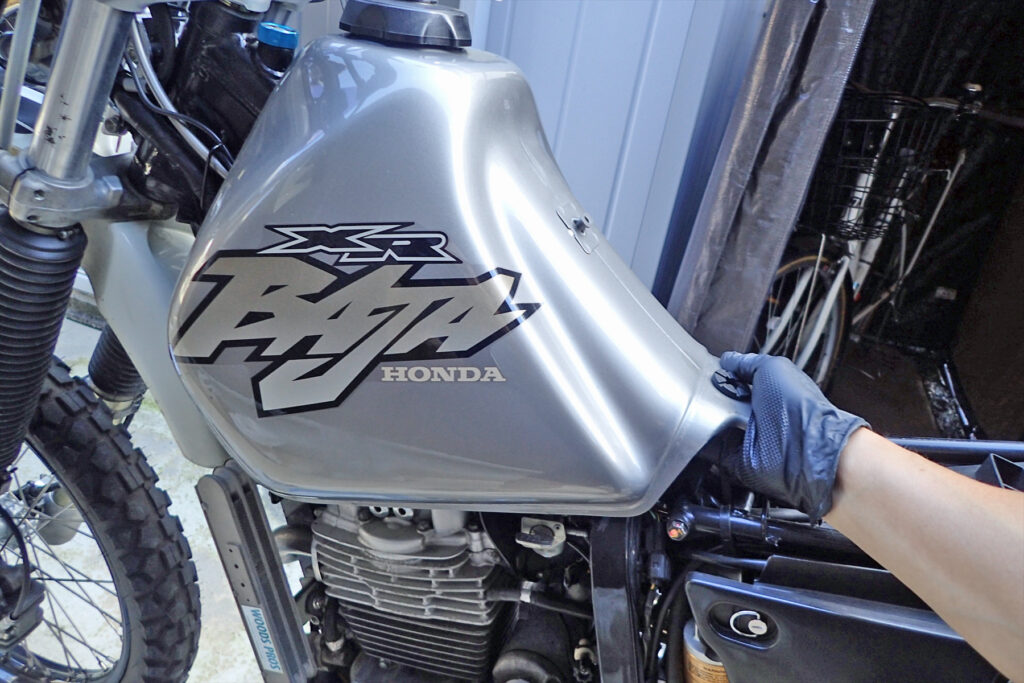
Once the rear of the tank is lifted, slide the tank back a little at a time.
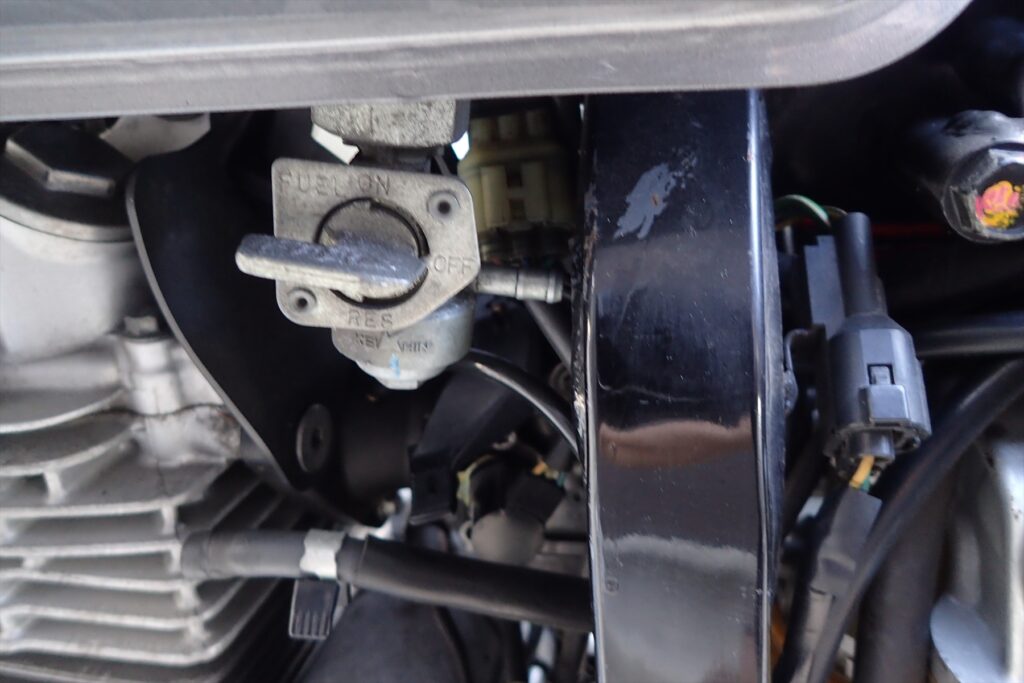
As you slide the tank back, the fuel tap catches on the frame, so slide the tank back in a way that keeps the tap clear of the frame.
It helps to keep the rear of the tank slightly raised.
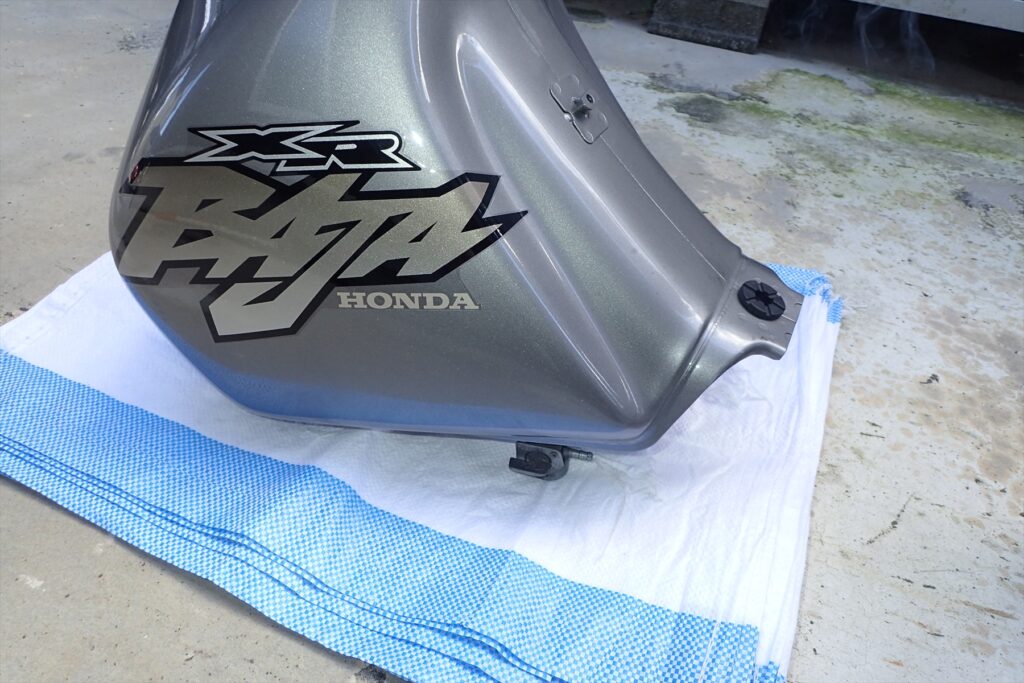
Put the tank somewhere it won't get scratched and won't be in your way.
Catching it with your foot while you work would be a disaster.
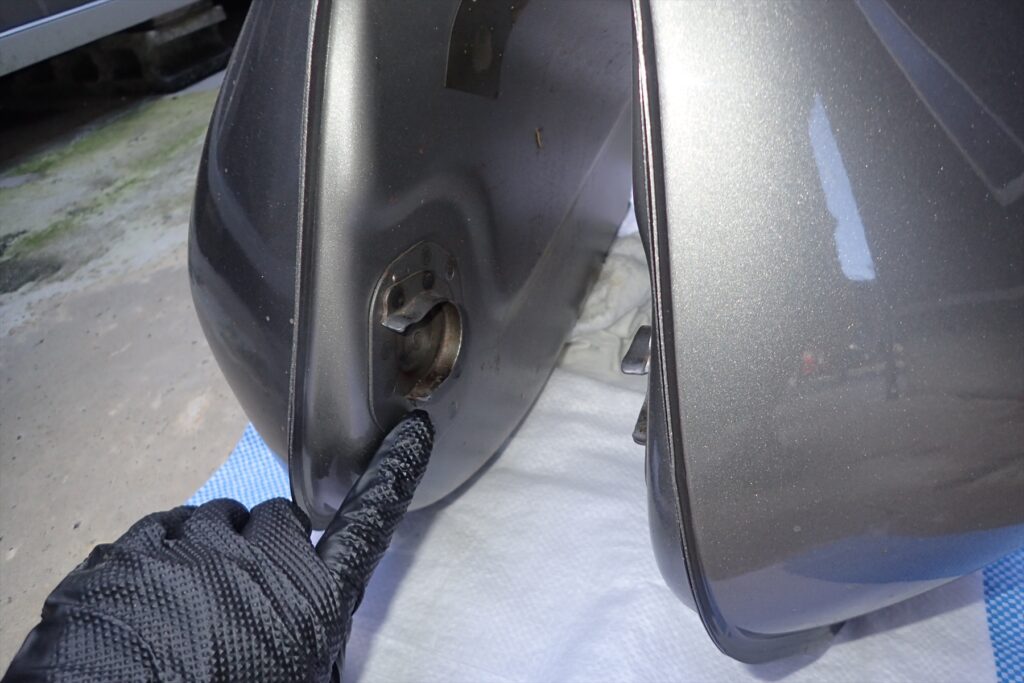
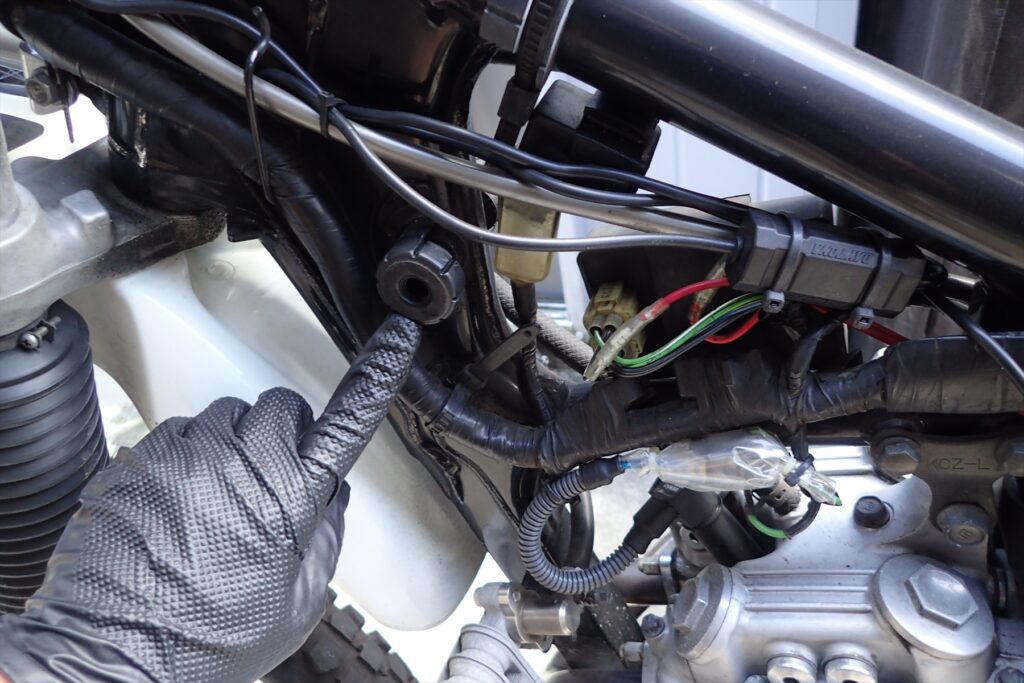
The tank is held in place by the part my finger is pointing to in the photo above slotting onto the part of the frame I'm pointing to in the photo below.
From this shape, you can see that the tank comes off by pulling it backwards.
And that's everything ready for the tappet clearance adjustment.
Next, I'll prepare the engine side and adjust the tappet clearance.